How to Use Raspberry Pi 4B: Examples, Pinouts, and Specs
Introduction
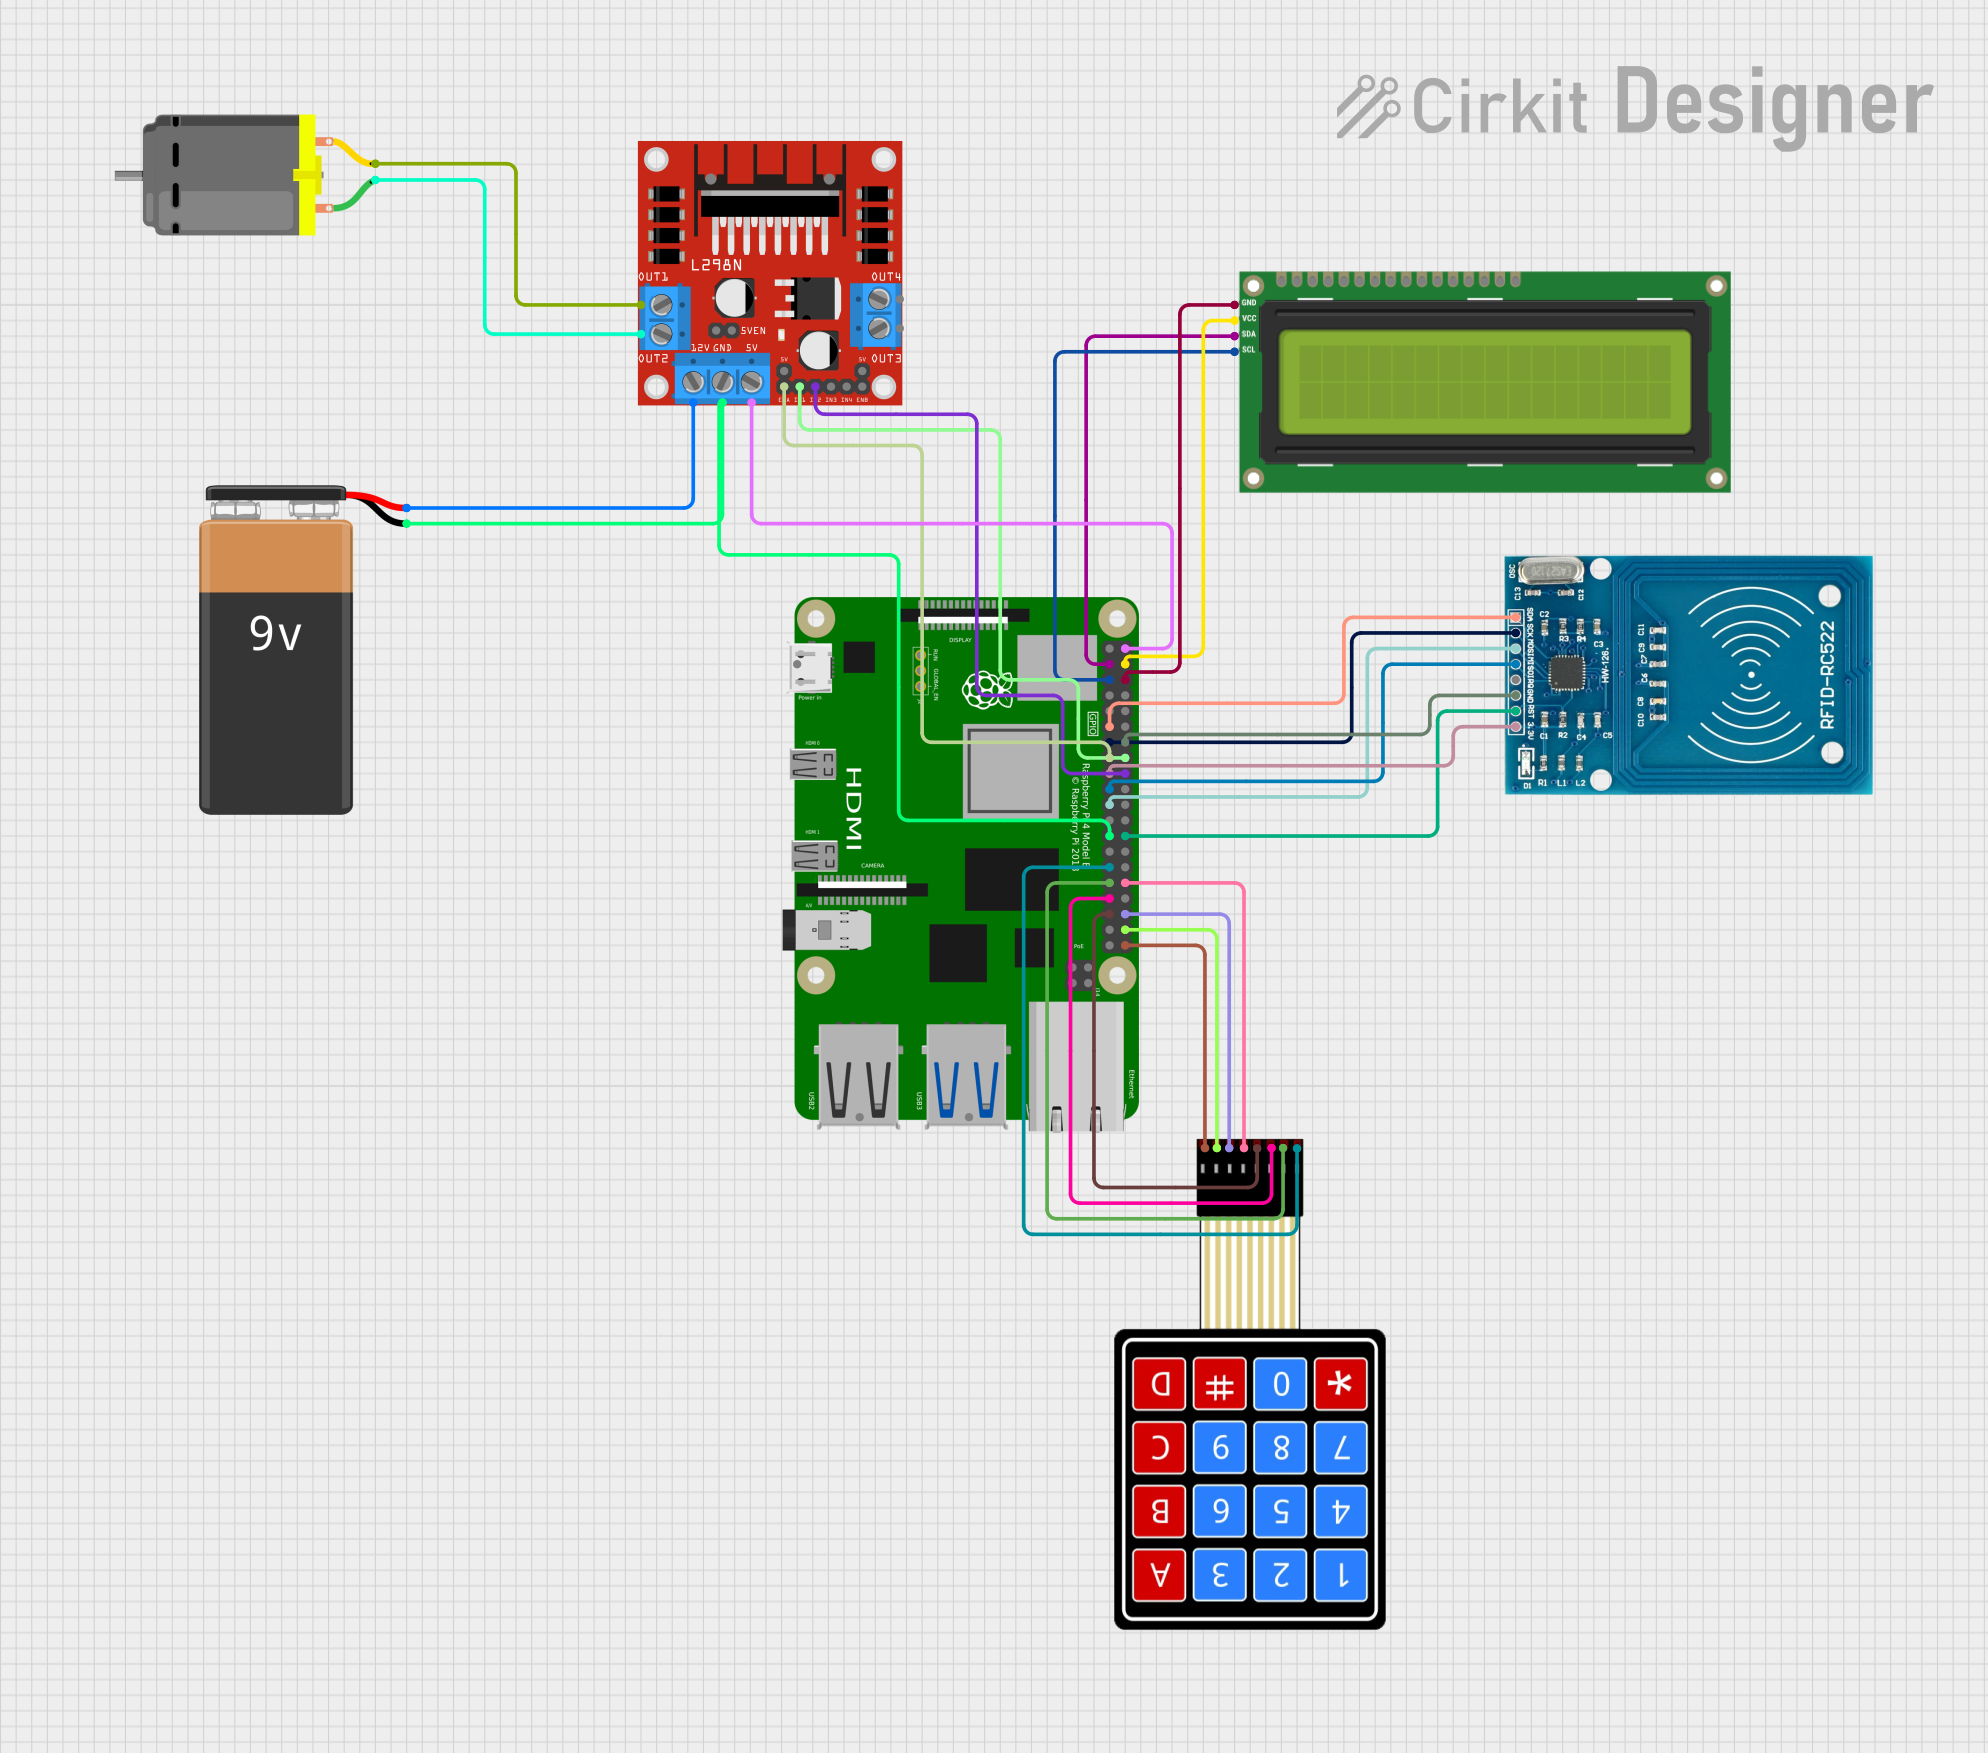
The Raspberry Pi 4 Model B is a powerful single-board computer developed by the Raspberry Pi Foundation. It is the latest iteration in the Raspberry Pi series and offers significant improvements in processor speed, multimedia performance, memory, and connectivity compared to its predecessors. The Raspberry Pi 4B is commonly used in a wide range of applications, from educational projects to industrial automation, and serves as a versatile platform for hobbyists, educators, and professionals alike.
Explore Projects Built with Raspberry Pi 4B
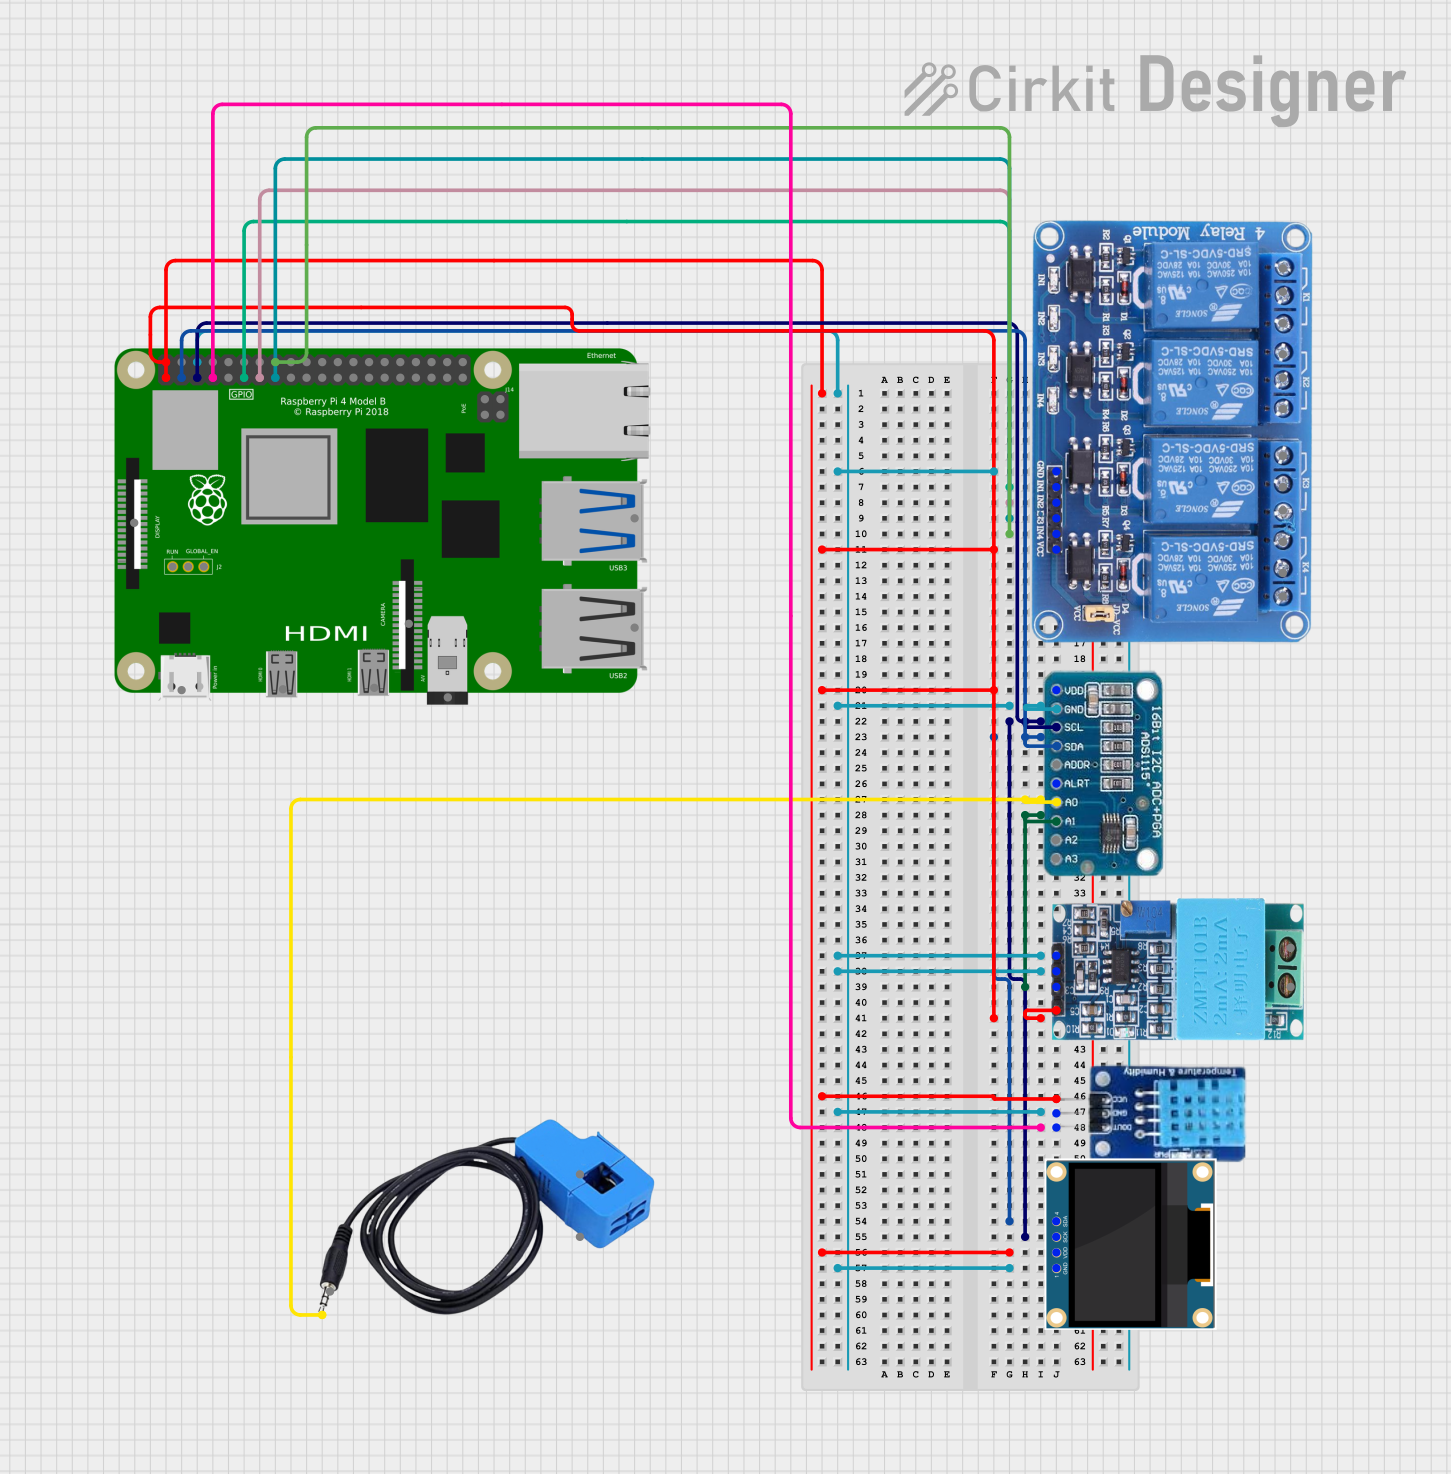
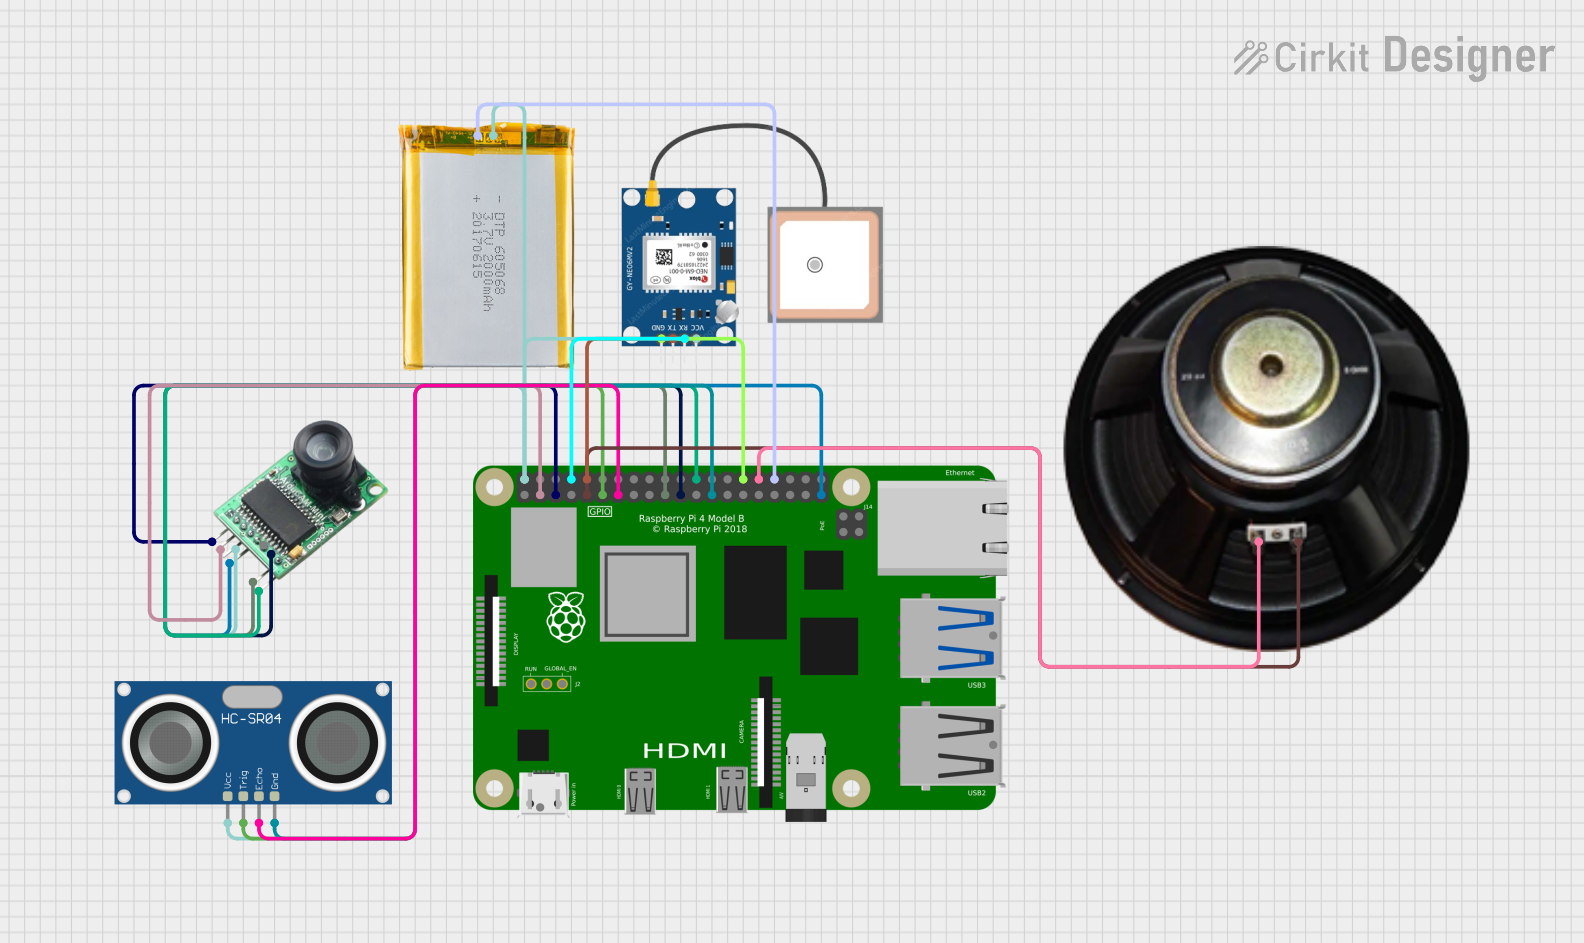
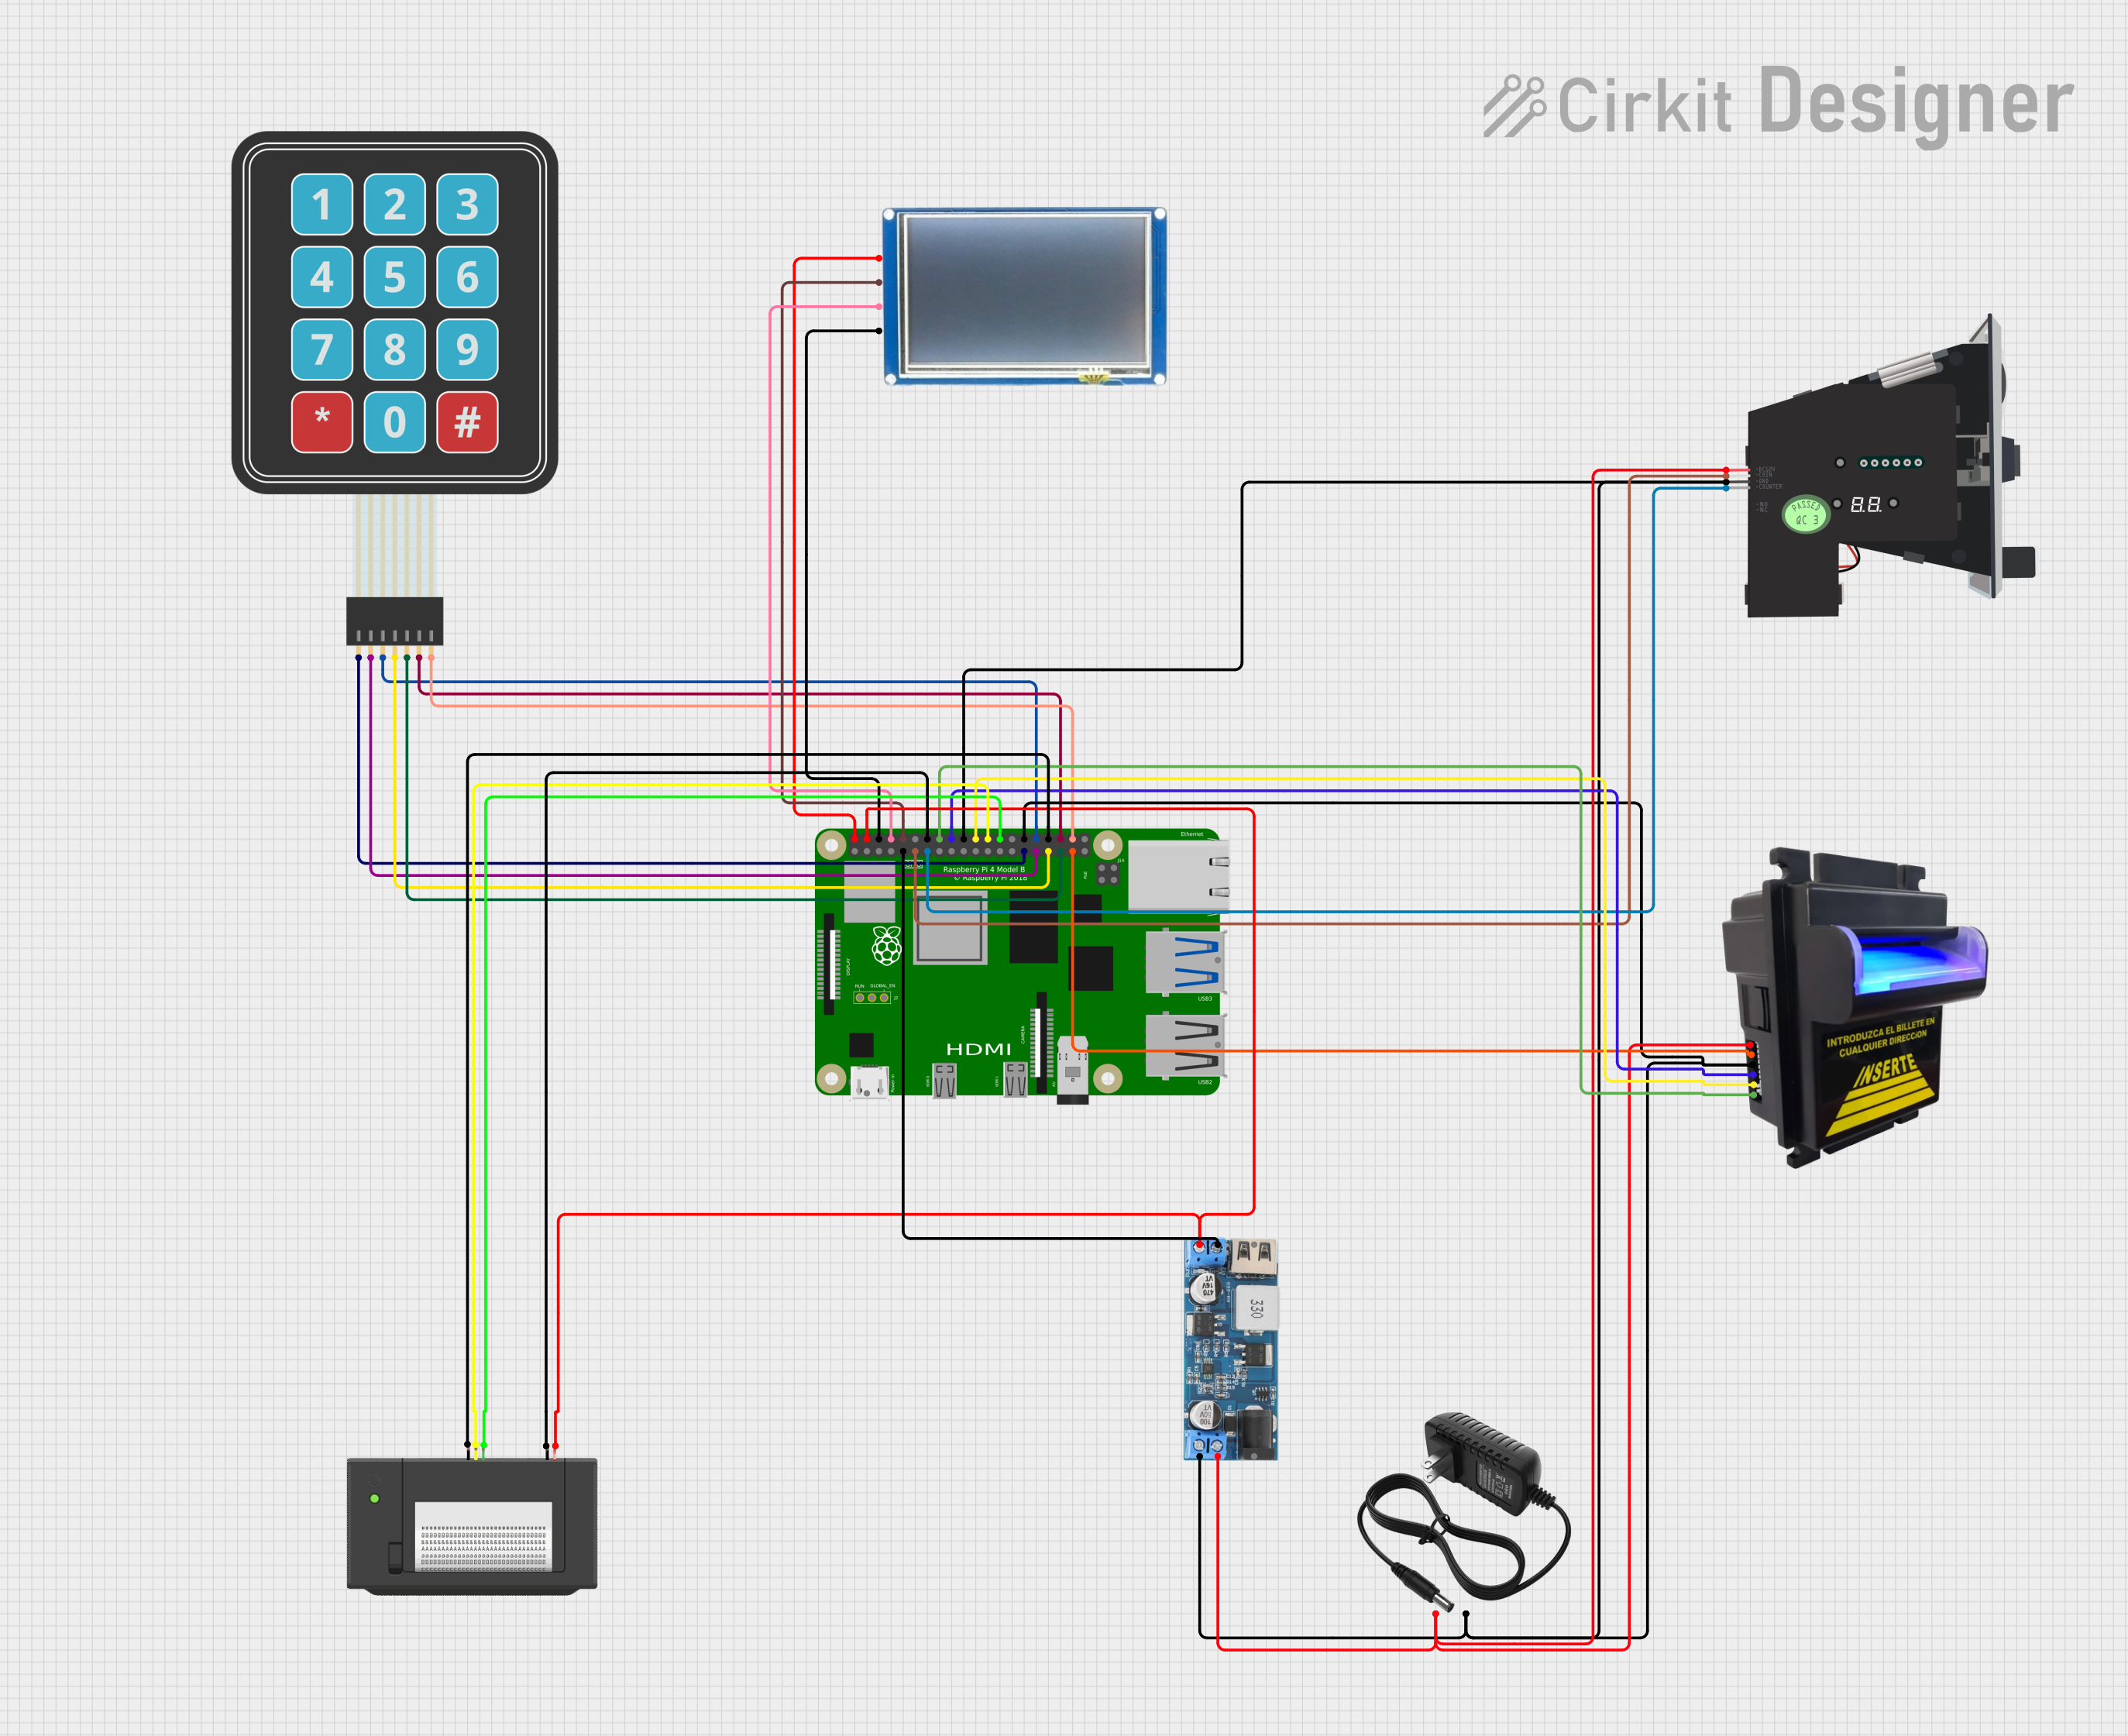
Explore Projects Built with Raspberry Pi 4B
Common Applications and Use Cases
- Educational Projects: Teaching programming, computer science, and electronics.
- Media Centers: Running media-centric operating systems for streaming and playback.
- Home Automation: Controlling smart devices and creating custom IoT solutions.
- Retro Gaming: Emulating classic video games with software like RetroPie.
- Prototyping: Developing and testing new hardware and software designs.
Technical Specifications
Key Technical Details
- Processor: Broadcom BCM2711, Quad-core Cortex-A72 (ARM v8) 64-bit SoC @ 1.5GHz
- Memory: 2GB, 4GB, or 8GB LPDDR4-3200 SDRAM (depending on model)
- Connectivity:
- Gigabit Ethernet
- 2.4 GHz and 5.0 GHz IEEE 802.11ac wireless
- Bluetooth 5.0, BLE
- 2 × USB 3.0 ports
- 2 × USB 2.0 ports
- Video & Sound:
- 2 × micro HDMI ports (up to 4kp60 supported)
- H.265 (4Kp60 decode)
- H.264 (1080p60 decode, 1080p30 encode)
- OpenGL ES 3.0 graphics
- 3.5mm analog audio-video jack
- Storage: Micro-SD card slot for loading operating system and data storage
- Power: 5V DC via USB-C connector (minimum 3A*)
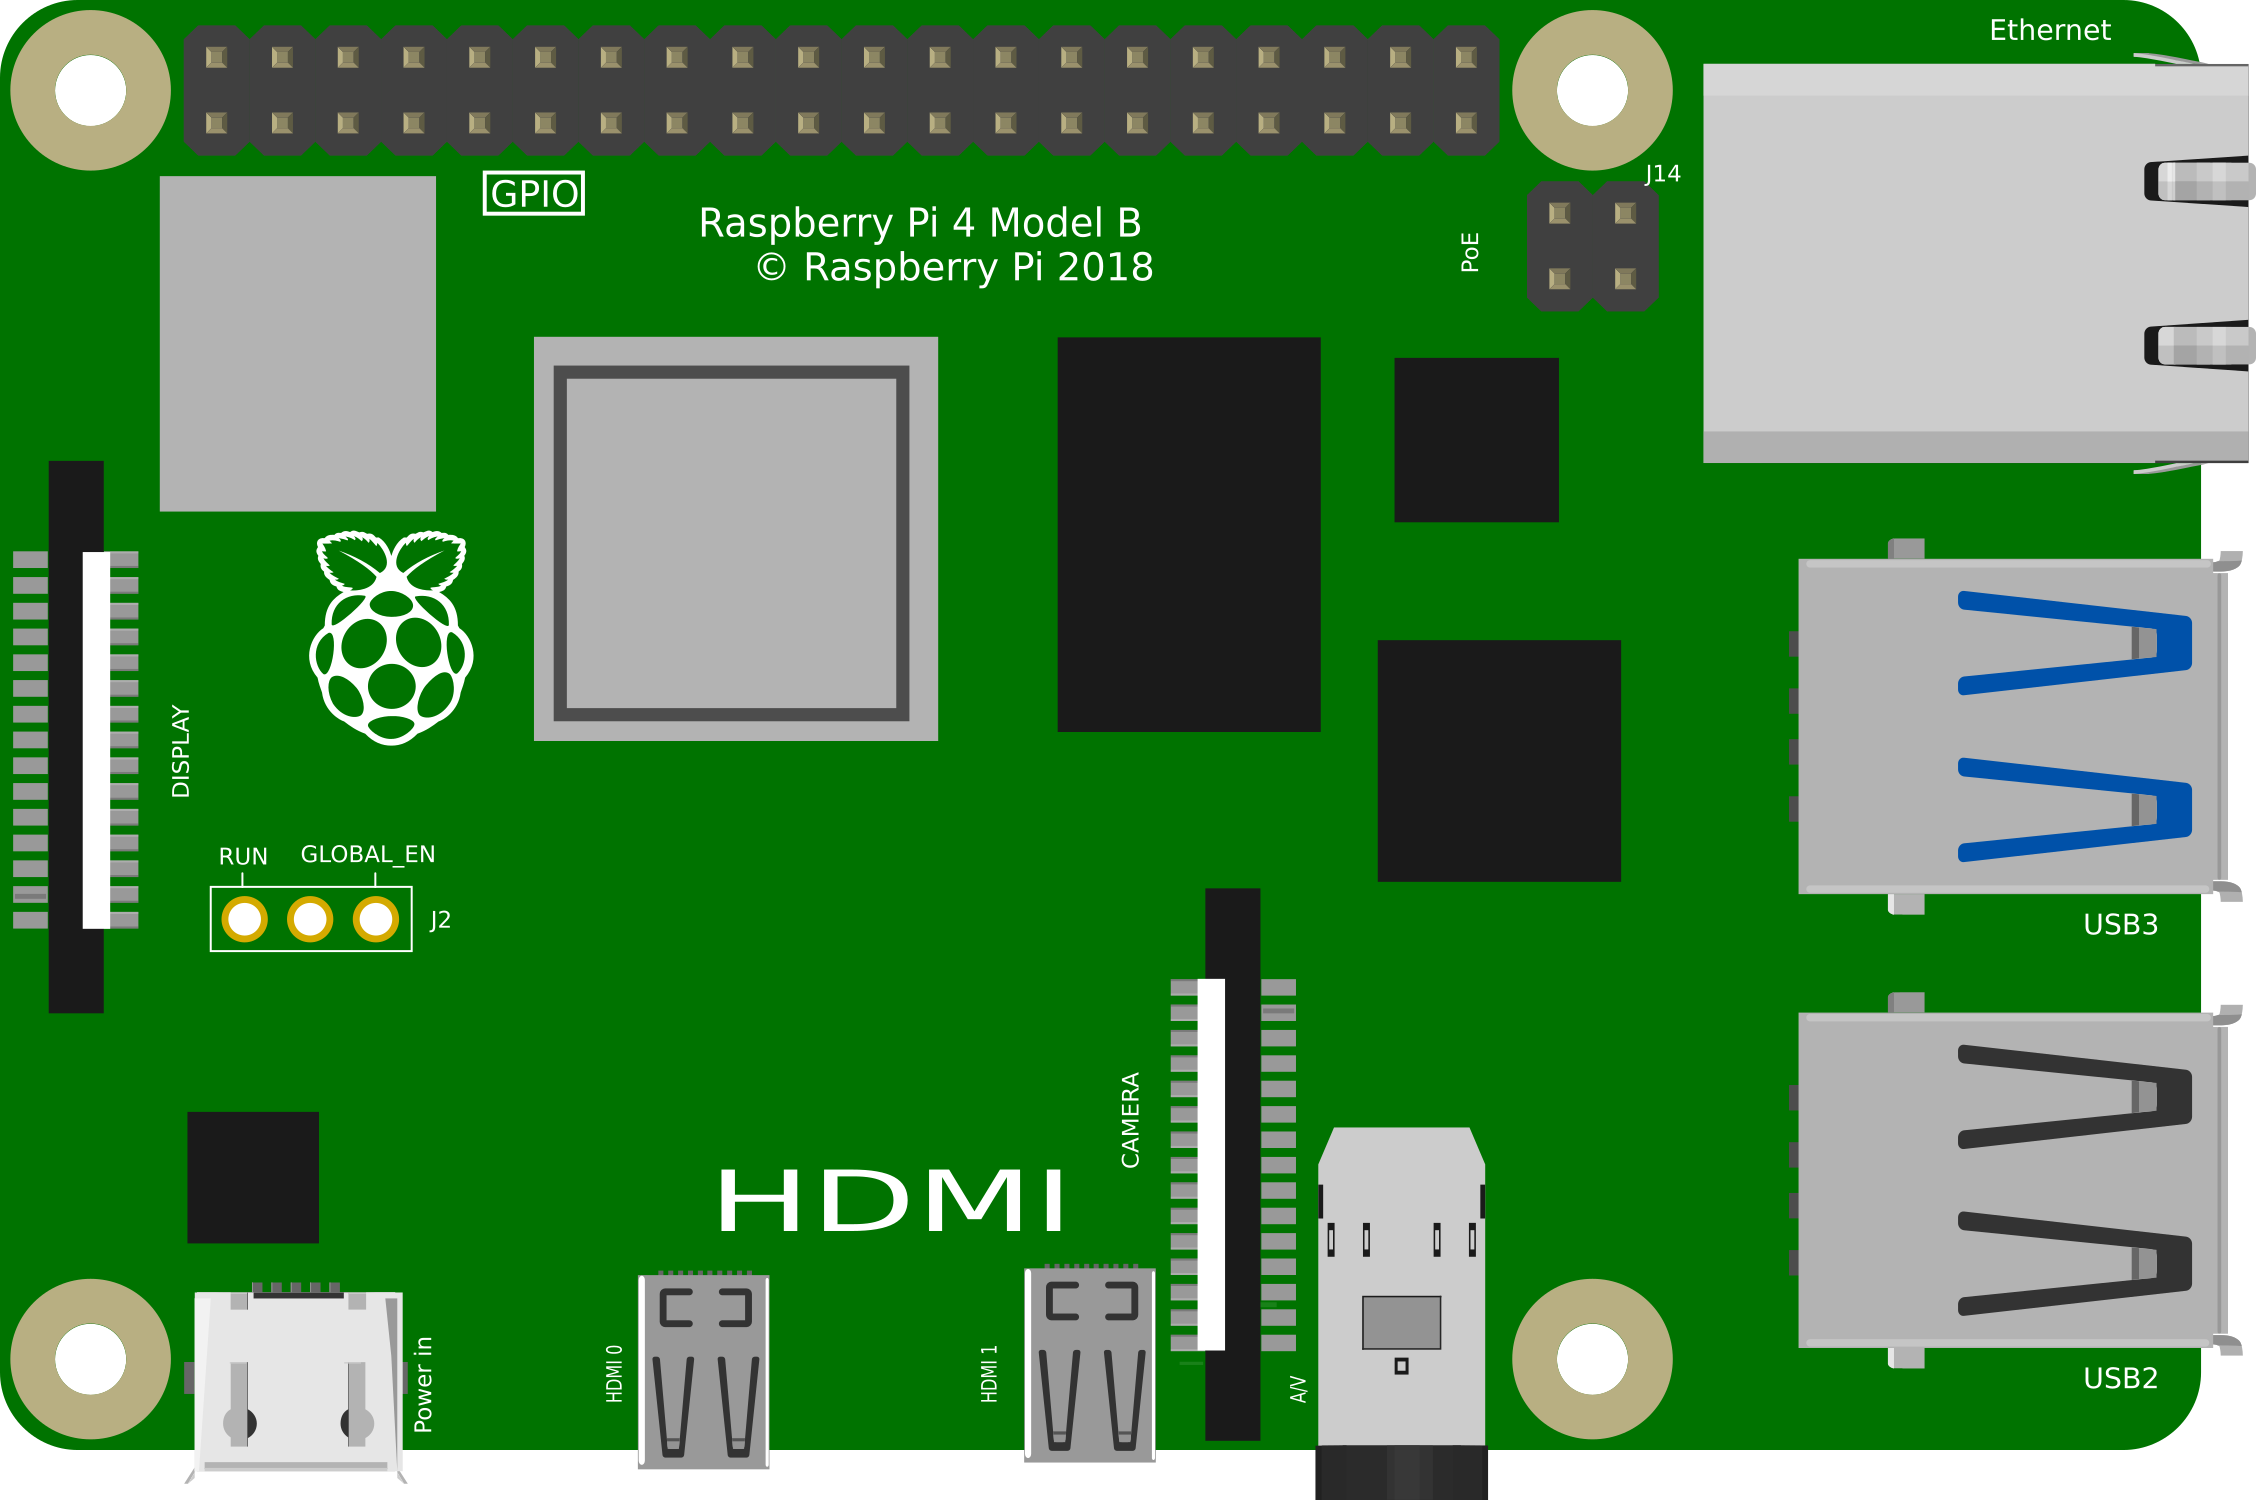
- GPIO: Standard 40-pin GPIO header (fully backward-compatible with previous boards)
Pin Configuration and Descriptions
| Pin Number | Name | Description |
|---|---|---|
| 1 | 3V3 | 3.3V Power Rail |
| 2 | 5V | 5V Power Rail |
| 3 | GPIO2 | SDA1 (I2C) |
| 4 | 5V | 5V Power Rail |
| 5 | GPIO3 | SCL1 (I2C) |
| ... | ... | ... |
| 39 | GND | Ground |
| 40 | GPIO21 | SPI0_MOSI |
*Note: The full pinout can be found in the official Raspberry Pi documentation or GPIO pinout resources online.
Usage Instructions
How to Use the Raspberry Pi 4B in a Circuit
- Powering the Device: Connect a 5V, 3A USB-C power supply to the USB-C power port.
- Setting Up Storage: Insert a micro-SD card with a Raspberry Pi-compatible OS flashed onto it.
- Connecting Peripherals: Attach a keyboard, mouse, and monitor via the USB and HDMI ports.
- Initial Configuration: Follow the on-screen setup instructions to configure the OS and Wi-Fi.
- GPIO Usage: Connect electronic components to the GPIO pins using jumper wires or a breadboard.
Important Considerations and Best Practices
- Use a high-quality power supply to prevent power-related issues.
- Always shut down the OS before disconnecting the power to avoid SD card corruption.
- Use heat sinks and proper ventilation to manage heat dissipation.
- Keep the Raspberry Pi in a case to protect it from static and physical damage.
- Regularly update the OS and software to ensure security and stability.
Troubleshooting and FAQs
Common Issues Users Might Face
- Power Issues: The Raspberry Pi 4B may not boot if the power supply is insufficient.
- Overheating: Without proper cooling, the Raspberry Pi may throttle performance or shut down.
- SD Card Corruption: Improper shutdowns or power loss can corrupt the SD card.
Solutions and Tips for Troubleshooting
- Ensure the power supply is rated at 5V and at least 3A.
- Use heat sinks and consider a fan for active cooling if running intensive tasks.
- Always perform a proper shutdown through the OS before powering off.
FAQs
Q: Can I use any micro-SD card with the Raspberry Pi 4B? A: It's recommended to use a high-quality, class 10 micro-SD card for optimal performance.
Q: What operating systems can I run on the Raspberry Pi 4B? A: The Raspberry Pi 4B supports various OSes such as Raspberry Pi OS, Ubuntu, and others.
Q: How do I access the GPIO pins programmatically? A: You can access GPIO pins using libraries like RPi.GPIO in Python or the WiringPi library in C.
Q: Can I power the Raspberry Pi 4B through the GPIO pins? A: It is not recommended to power the Raspberry Pi through GPIO pins as it bypasses the board's power management and can damage the device.
Note: Always refer to the official Raspberry Pi documentation for the most accurate and detailed information.
This documentation is provided for informational purposes only and is subject to change without notice. The Raspberry Pi Foundation is not responsible for any damages incurred as a result of following these instructions.