Cirkit Designer Logo
Cirkit Designer
Your all-in-one circuit design IDE
Home / 
Component Documentation

How to Use Adafruit NeoPXL8 Friend: Examples, Pinouts, and Specs

Image of Adafruit NeoPXL8 Friend
Cirkit Designer LogoDesign with Adafruit NeoPXL8 Friend in Cirkit Designer

Introduction

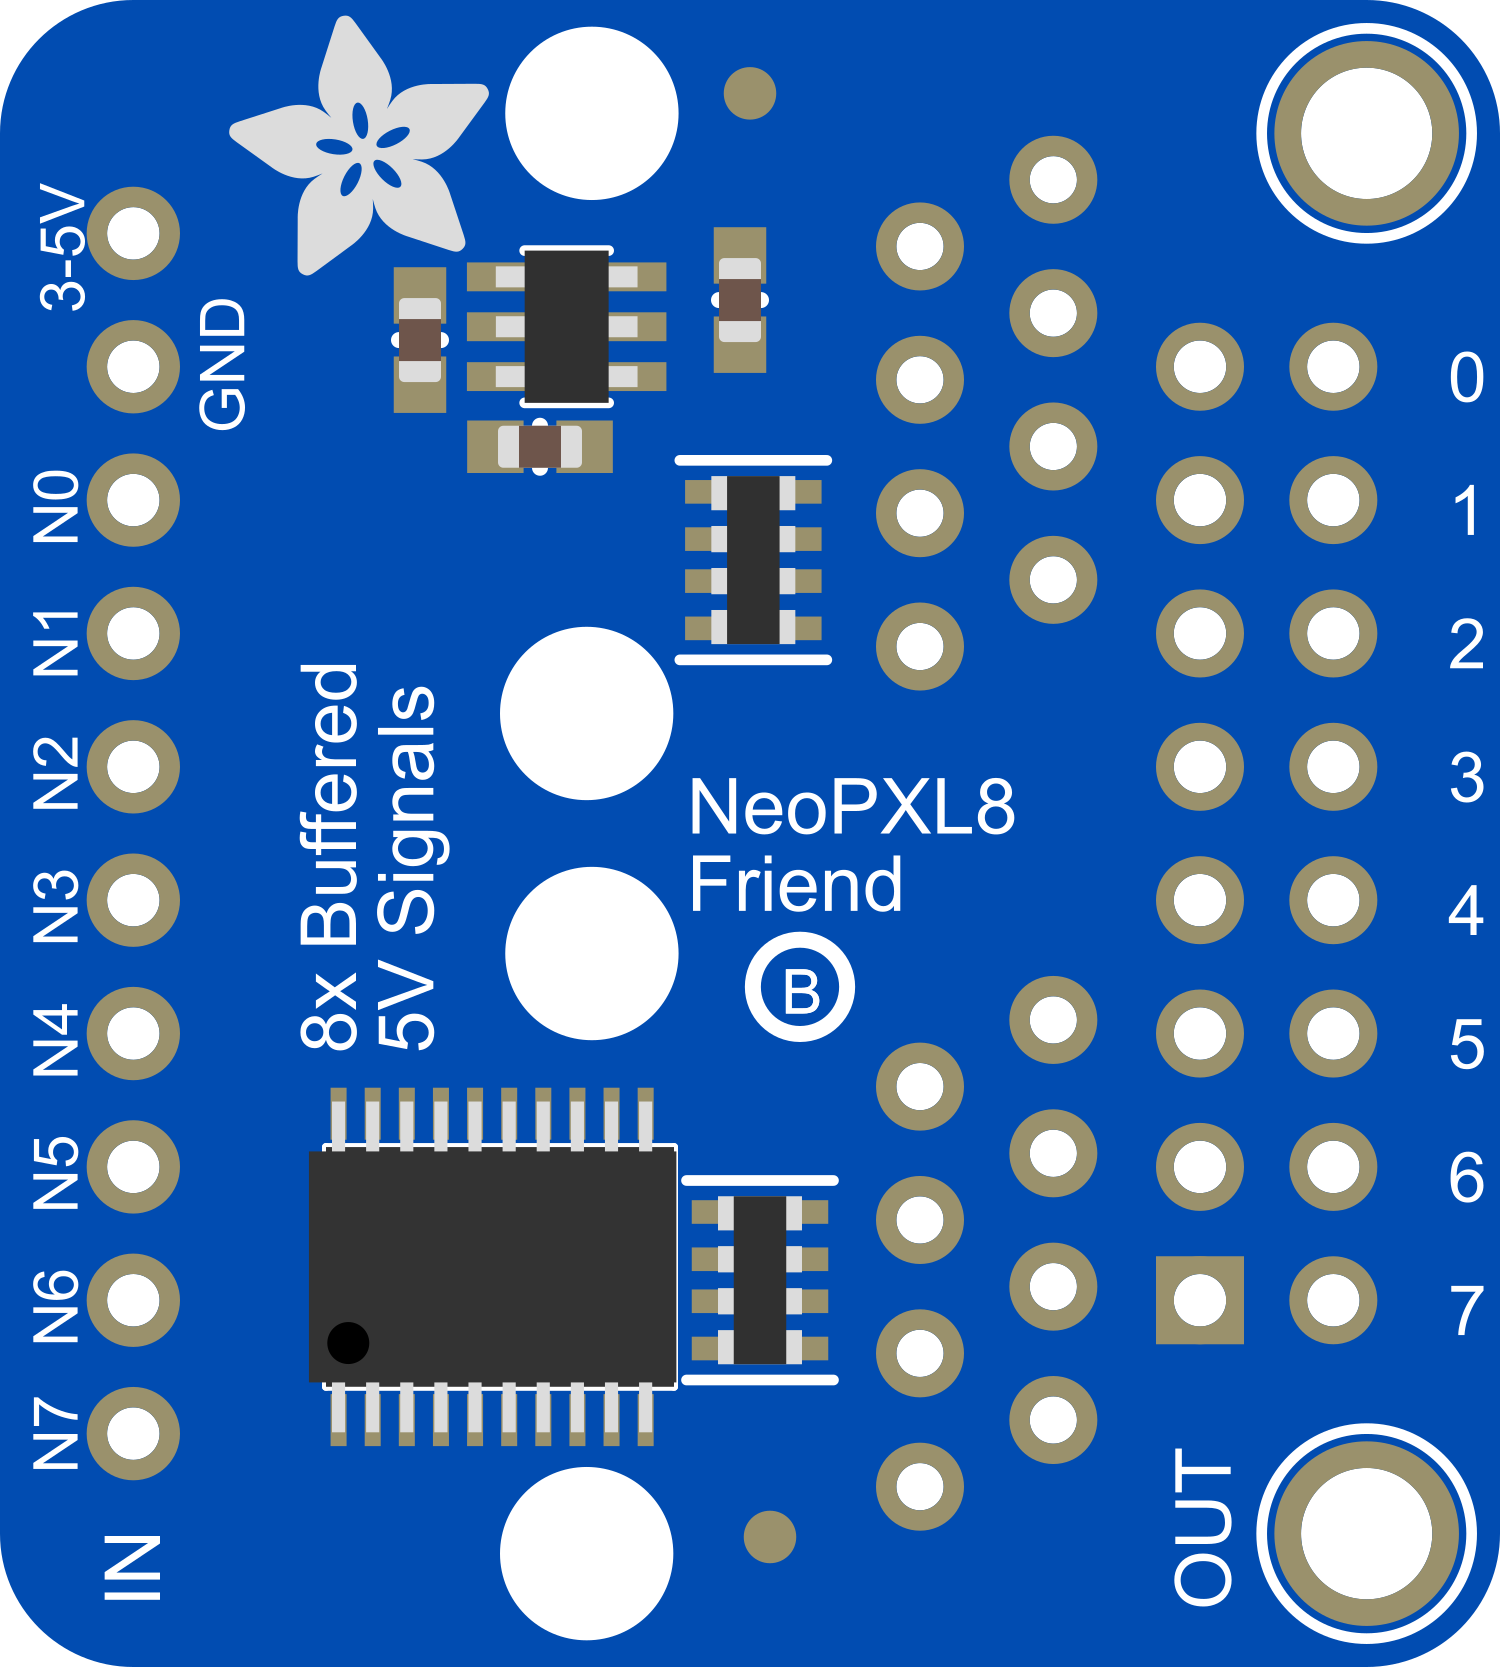
The Adafruit NeoPXL8 Friend is a specialized LED driver designed to control up to 8 strands of NeoPixel RGB LEDs simultaneously. This component leverages the power of the NeoPixel technology, which integrates the control circuit and RGB chip into a single 5050-sized package. The NeoPXL8 Friend is ideal for creating large-scale LED installations, complex lighting effects, and dynamic displays with smooth color transitions and minimal wiring complexity.

Explore Projects Built with Adafruit NeoPXL8 Friend

Use Cirkit Designer to design, explore, and prototype these projects online. Some projects support real-time simulation. Click "Open Project" to start designing instantly!
Battery-Powered Arduino UNO Smart Light with NeoPixel and ADXL345
Image of Cubagick: A project utilizing Adafruit NeoPXL8 Friend in a practical application
This circuit is a battery-powered system featuring an Arduino UNO that controls an Adafruit NeoPixel Stick and interfaces with an ADXL345 accelerometer and an ILI9341 TFT display. The TP4056 module charges a 18650 battery, which powers the system through a DC-DC converter. The Arduino code drives the NeoPixel Stick to display a red light sequence.
Cirkit Designer LogoOpen Project in Cirkit Designer
Battery-Powered Adafruit Flora RGB NeoPixel Light Show
Image of FloraTest: A project utilizing Adafruit NeoPXL8 Friend in a practical application
This circuit consists of an Adafruit Flora v3 microcontroller connected to a Breadboard-friendly RGB Smart NeoPixel and powered by a 3xAAA battery pack. The microcontroller runs code to control the NeoPixel, displaying various colors and patterns.
Cirkit Designer LogoOpen Project in Cirkit Designer
Arduino Nano Controlled Ambient Light Sensing and NeoPixel Display
Image of GuesturLED: A project utilizing Adafruit NeoPXL8 Friend in a practical application
This circuit features an Arduino Nano microcontroller interfaced with an APDS-9930 Proximity and Ambient Light Sensor for sensing environmental light and proximity. The Arduino Nano also controls an Adafruit Quarter 60 NeoPixel Ring, likely for visual feedback or display purposes. The sensor communicates with the Arduino via I2C (SDA and SCL connections), and the NeoPixel Ring is driven by a digital output (D8) from the Arduino.
Cirkit Designer LogoOpen Project in Cirkit Designer
Arduino UNO with APDS-9930 Sensor and NeoPixel Ring Light Control
Image of Burglar: A project utilizing Adafruit NeoPXL8 Friend in a practical application
This circuit features an Arduino UNO microcontroller connected to an APDS-9930 Proximity and Ambient Light Sensor for sensing environmental light and proximity, and an Adafruit Quarter 60 NeoPixel Ring for visual output. The Arduino provides power to both the sensor and the NeoPixel Ring, and communicates with the sensor via I2C (SDA and SCL) and controls the NeoPixel Ring through a digital data input (D8). The provided code skeleton suggests that the Arduino is programmed to interact with these components, although the specific functionality is not implemented in the given code.
Cirkit Designer LogoOpen Project in Cirkit Designer

Explore Projects Built with Adafruit NeoPXL8 Friend

Use Cirkit Designer to design, explore, and prototype these projects online. Some projects support real-time simulation. Click "Open Project" to start designing instantly!
Image of Cubagick: A project utilizing Adafruit NeoPXL8 Friend in a practical application
Battery-Powered Arduino UNO Smart Light with NeoPixel and ADXL345
This circuit is a battery-powered system featuring an Arduino UNO that controls an Adafruit NeoPixel Stick and interfaces with an ADXL345 accelerometer and an ILI9341 TFT display. The TP4056 module charges a 18650 battery, which powers the system through a DC-DC converter. The Arduino code drives the NeoPixel Stick to display a red light sequence.
Cirkit Designer LogoOpen Project in Cirkit Designer
Image of FloraTest: A project utilizing Adafruit NeoPXL8 Friend in a practical application
Battery-Powered Adafruit Flora RGB NeoPixel Light Show
This circuit consists of an Adafruit Flora v3 microcontroller connected to a Breadboard-friendly RGB Smart NeoPixel and powered by a 3xAAA battery pack. The microcontroller runs code to control the NeoPixel, displaying various colors and patterns.
Cirkit Designer LogoOpen Project in Cirkit Designer
Image of GuesturLED: A project utilizing Adafruit NeoPXL8 Friend in a practical application
Arduino Nano Controlled Ambient Light Sensing and NeoPixel Display
This circuit features an Arduino Nano microcontroller interfaced with an APDS-9930 Proximity and Ambient Light Sensor for sensing environmental light and proximity. The Arduino Nano also controls an Adafruit Quarter 60 NeoPixel Ring, likely for visual feedback or display purposes. The sensor communicates with the Arduino via I2C (SDA and SCL connections), and the NeoPixel Ring is driven by a digital output (D8) from the Arduino.
Cirkit Designer LogoOpen Project in Cirkit Designer
Image of Burglar: A project utilizing Adafruit NeoPXL8 Friend in a practical application
Arduino UNO with APDS-9930 Sensor and NeoPixel Ring Light Control
This circuit features an Arduino UNO microcontroller connected to an APDS-9930 Proximity and Ambient Light Sensor for sensing environmental light and proximity, and an Adafruit Quarter 60 NeoPixel Ring for visual output. The Arduino provides power to both the sensor and the NeoPixel Ring, and communicates with the sensor via I2C (SDA and SCL) and controls the NeoPixel Ring through a digital data input (D8). The provided code skeleton suggests that the Arduino is programmed to interact with these components, although the specific functionality is not implemented in the given code.
Cirkit Designer LogoOpen Project in Cirkit Designer

Common Applications and Use Cases

  • Large LED displays and matrices
  • Dynamic lighting installations for events
  • Interactive art installations
  • Wearable electronics with multiple LED strands
  • Prototyping with RGB LED strips for product design

Technical Specifications

Key Technical Details

  • Operating Voltage: 3.3V to 5V
  • Maximum Current per Pin: 8A (with proper power supply and cooling)
  • Communication Protocol: Custom high-speed SPI-like protocol

Pin Configuration and Descriptions

Pin Number Name Description
1 GND Ground connection
2 PWR Power supply for the LEDs (3.3V to 5V)
3 D0 Data line for strand 0
4 D1 Data line for strand 1
... ... ...
10 D7 Data line for strand 7
11 CLK Clock line for synchronous data transmission
12 LAT Latch pin to update LED states

Usage Instructions

How to Use the Component in a Circuit

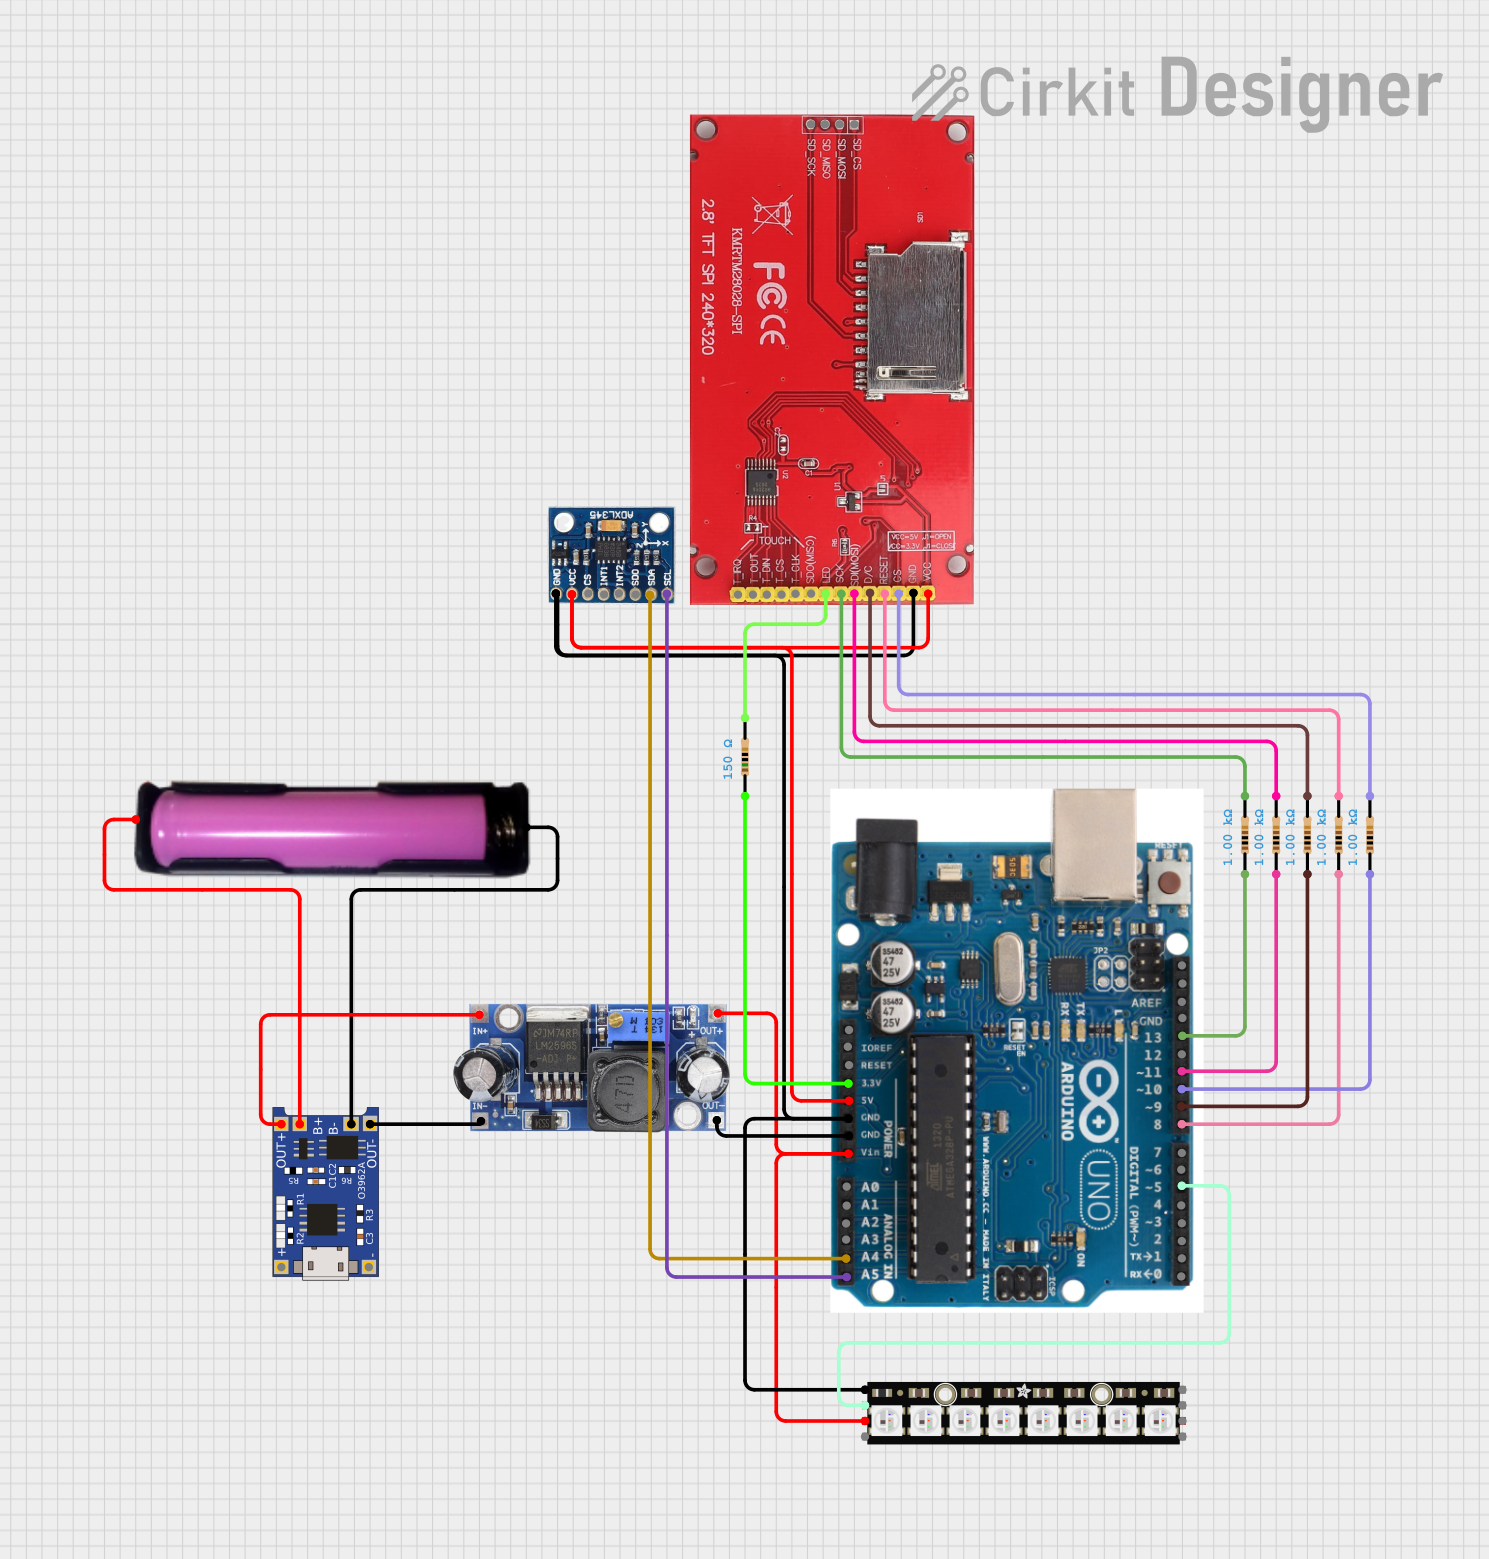
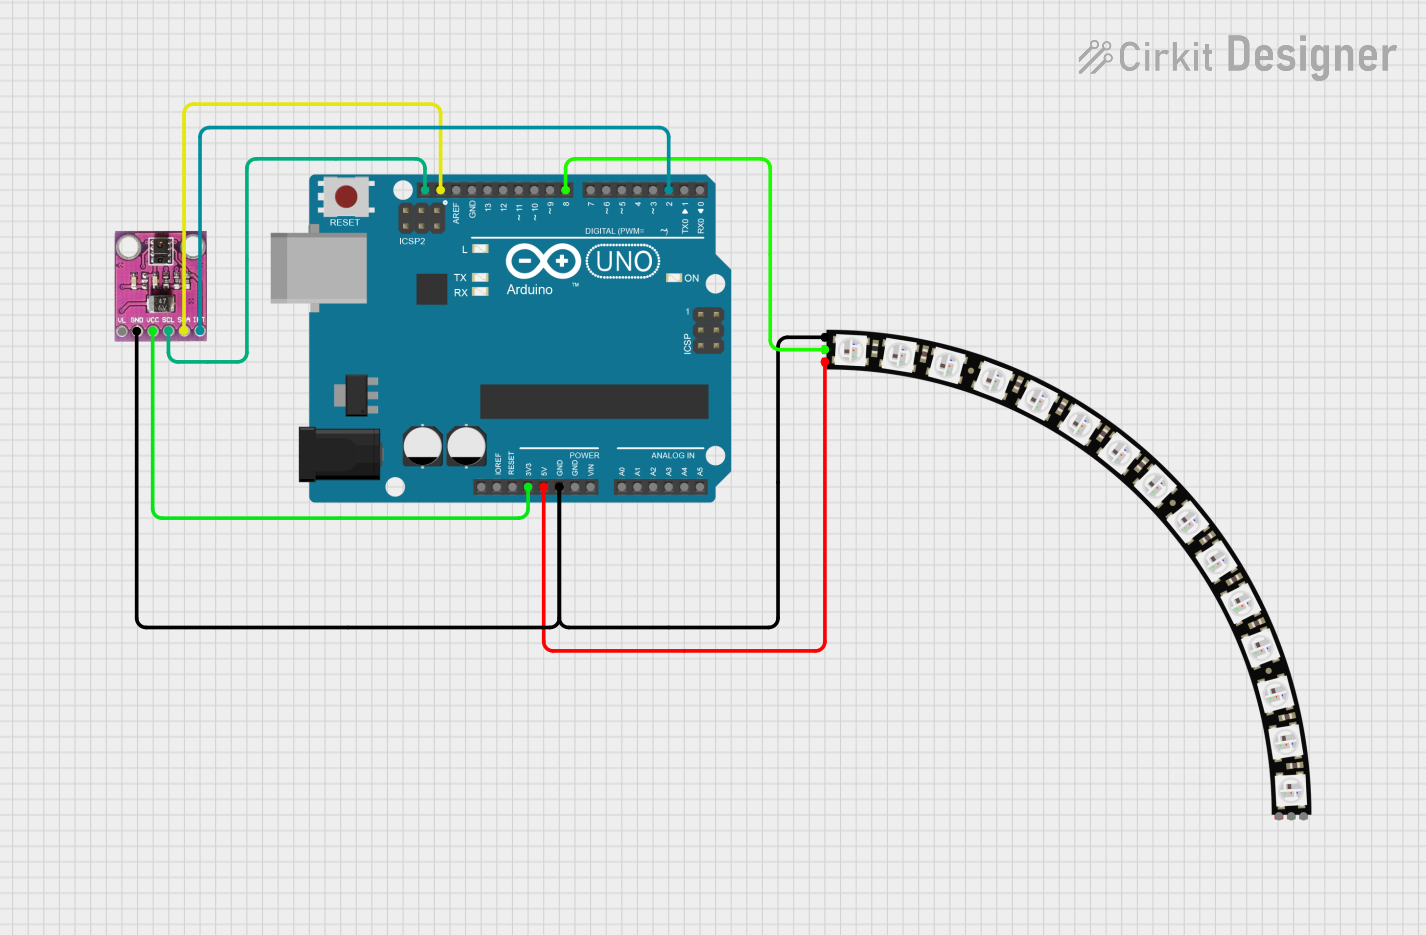
  1. Connect the GND pin of the NeoPXL8 Friend to the ground of your power supply and microcontroller (e.g., Arduino UNO).
  2. Supply power to the PWR pin within the operating voltage range.
  3. Connect each data line (D0 to D7) to the corresponding input on your NeoPixel strands.
  4. The CLK and LAT pins should be connected to the microcontroller for synchronous communication.

Important Considerations and Best Practices

  • Ensure that the power supply can handle the maximum current draw of all connected LED strands.
  • Use a level shifter if your microcontroller operates at 3.3V and your NeoPixels are powered at 5V.
  • Keep the data lines as short as possible to prevent signal degradation.
  • Use a common ground for the NeoPXL8 Friend, the microcontroller, and the power supply.

Example Code for Arduino UNO

#include <Adafruit_NeoPixel.h>
#include <Adafruit_NeoPXL8.h>

#define NUM_LEDS_PER_STRIP 30
#define NUM_STRIPS 8

// Define pin numbers for the 8 data lines
int8_t pins[NUM_STRIPS] = {2, 3, 4, 5, 6, 7, 8, 9};

// Create a NeoPXL8 object
Adafruit_NeoPXL8 leds(NUM_LEDS_PER_STRIP, pins, NEO_GRB + NEO_KHZ800);

void setup() {
  leds.begin();
}

void loop() {
  for (int i = 0; i < leds.numPixels(); i++) {
    leds.setPixelColor(i, leds.Color(255, 0, 0)); // Set all pixels to red
  }
  leds.show();
  delay(500);

  for (int i = 0; i < leds.numPixels(); i++) {
    leds.setPixelColor(i, leds.Color(0, 255, 0)); // Set all pixels to green
  }
  leds.show();
  delay(500);
}

Troubleshooting and FAQs

Common Issues Users Might Face

  • LEDs not lighting up: Check the power supply and connections to ensure proper voltage and ground continuity.
  • Flickering LEDs: This may be due to a power supply that cannot provide consistent current. Consider using a more robust power supply or adding capacitors to smooth out the power supply.
  • Data signal issues: Ensure that the data lines are not too long and that they are properly shielded if necessary.

Solutions and Tips for Troubleshooting

  • Always start with a single strand of LEDs to ensure your setup is working before expanding to more strands.
  • If using an Arduino running at 5V, ensure that the logic level for data lines matches the operating voltage of the NeoPixels.
  • Use a multimeter to check for continuity and proper voltage levels on the power and data lines.

FAQs

Q: Can I use the NeoPXL8 Friend with a 3.3V microcontroller? A: Yes, but ensure that the NeoPixel LEDs can operate at 3.3V, or use a level shifter for compatibility with 5V LEDs.

Q: How many LEDs can I control with the NeoPXL8 Friend? A: The total number of LEDs is limited by your power supply and the memory of your microcontroller. Each strand can support a large number of LEDs, typically in the hundreds.

Q: Do I need to use all 8 strands? A: No, you can use as many or as few strands as your project requires. Unused data lines can be left unconnected.