
How to Use thermocouple: Examples, Pinouts, and Specs
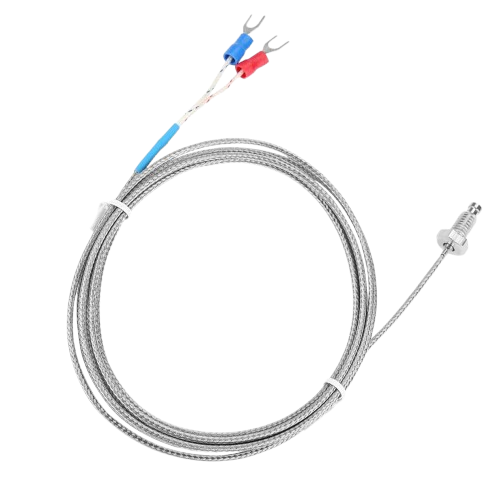
 Design with thermocouple in Cirkit Designer
Introduction
A thermocouple is a temperature sensor that consists of two dissimilar metal wires joined at one end. It generates a voltage that is proportional to the temperature difference between the joined end (hot junction) and the other ends of the wires (cold junction). This voltage can be measured and converted into a temperature reading. Thermocouples are widely used due to their simplicity, durability, and ability to measure a wide range of temperatures.
Explore Projects Built with thermocouple
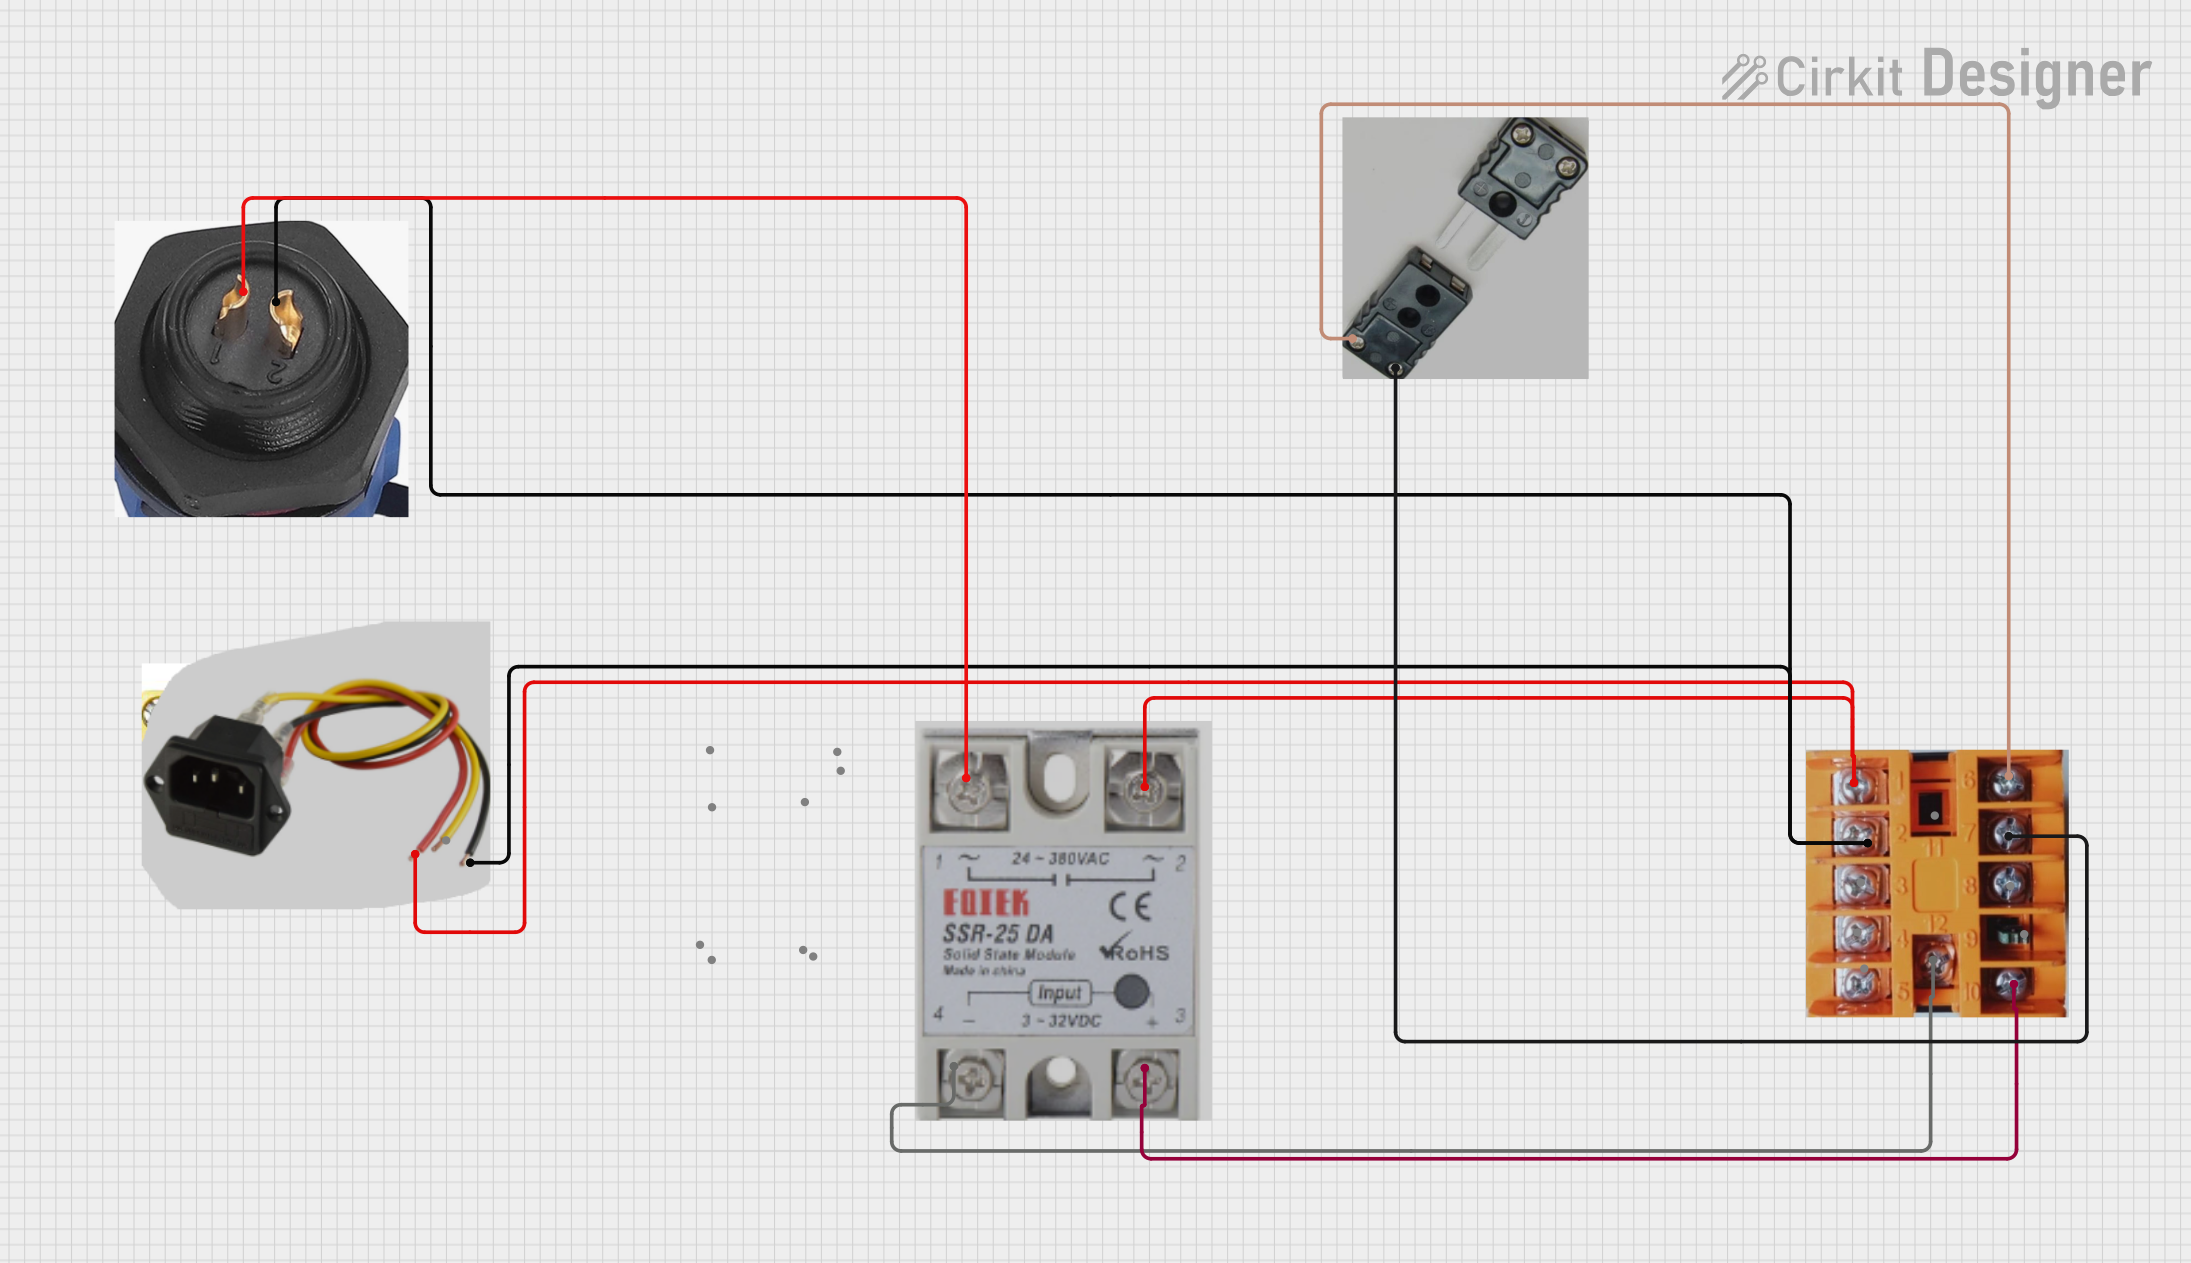 Open Project in Cirkit Designer
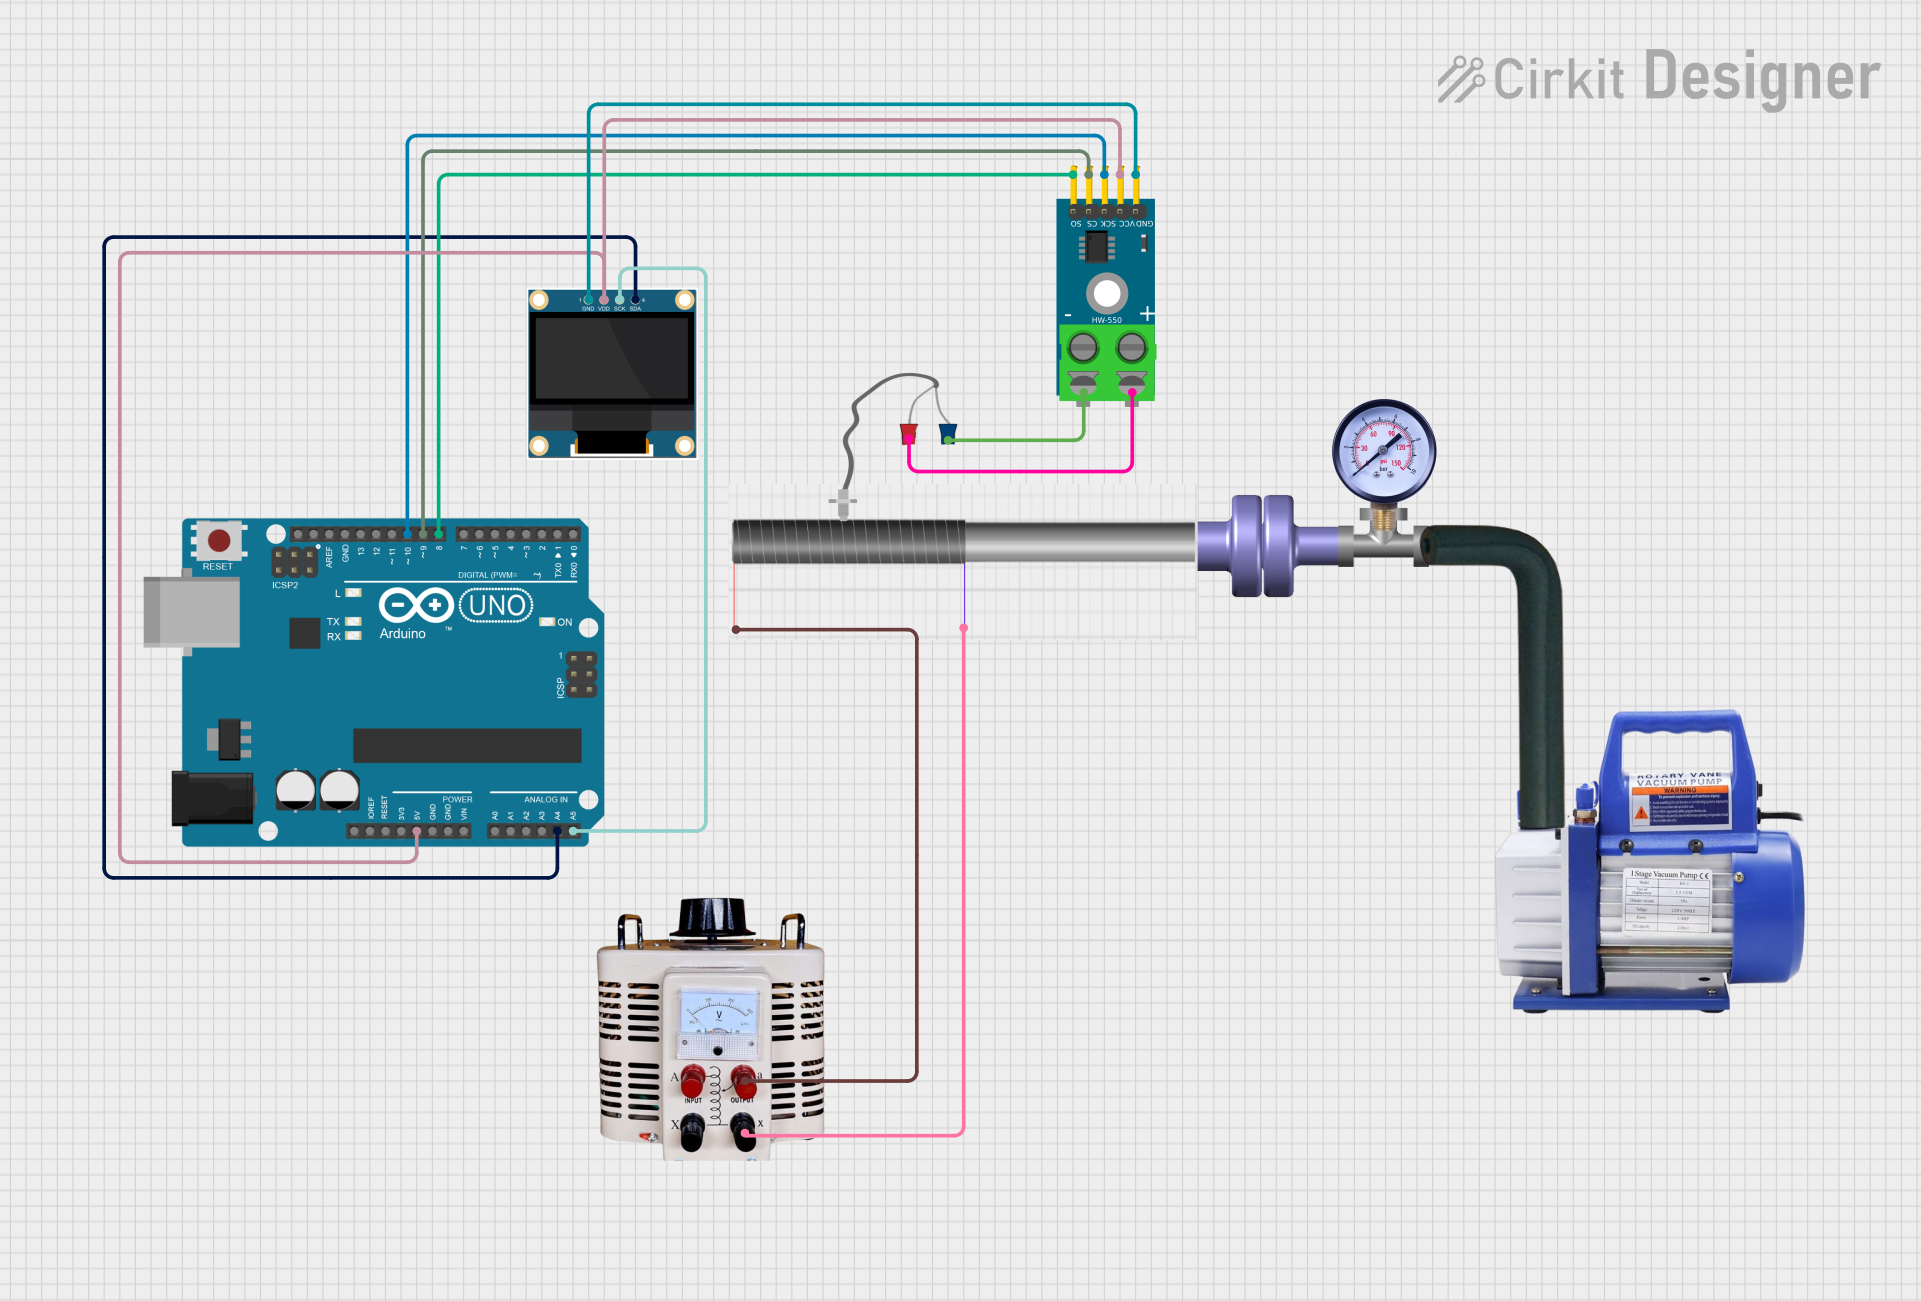 Open Project in Cirkit Designer
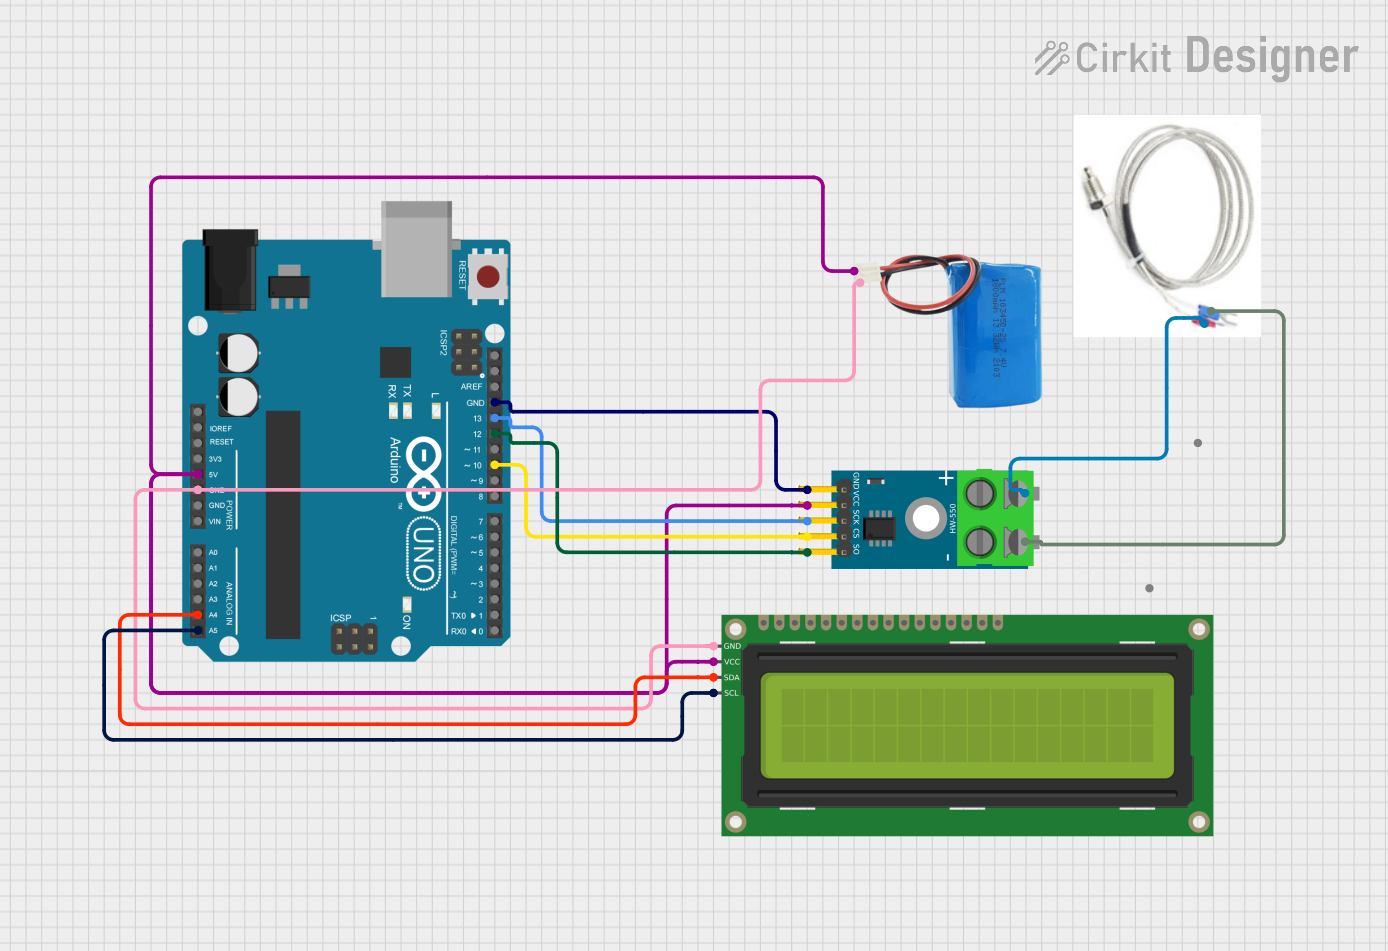 Open Project in Cirkit Designer
 Open Project in Cirkit Designer
Explore Projects Built with thermocouple
Open Project in Cirkit DesignerOpen Project in Cirkit DesignerOpen Project in Cirkit DesignerOpen Project in Cirkit DesignerCommon Applications and Use Cases
- Industrial temperature monitoring (e.g., furnaces, kilns, and engines)
- HVAC systems for temperature control
- Food processing and storage
- Scientific research and laboratory experiments
- Home appliances like ovens and water heaters
Technical Specifications
Thermocouples come in various types (e.g., Type K, J, T, E), each with different characteristics. Below are general specifications for a Type K thermocouple, one of the most commonly used types:
| Parameter | Specification |
|---|---|
| Temperature Range | -200°C to 1,260°C (-328°F to 2,300°F) |
| Accuracy | ±1.5°C or ±0.4% of reading |
| Sensitivity | ~41 µV/°C |
| Wire Material | Chromel (Ni-Cr) and Alumel (Ni-Al) |
| Output Voltage Range | 0 to ~54 mV (depending on temperature) |
| Response Time | Typically 0.5 to 5 seconds |
Pin Configuration and Descriptions
Thermocouples do not have traditional "pins" but consist of two wires. The wire colors and polarity depend on the thermocouple type and standard (e.g., IEC or ANSI). For a Type K thermocouple:
| Wire Color (ANSI Standard) | Polarity | Description |
|---|---|---|
| Yellow | Positive (+) | Chromel wire |
| Red | Negative (-) | Alumel wire |
Usage Instructions
How to Use the Thermocouple in a Circuit
Connect the Thermocouple to an Amplifier or ADC:
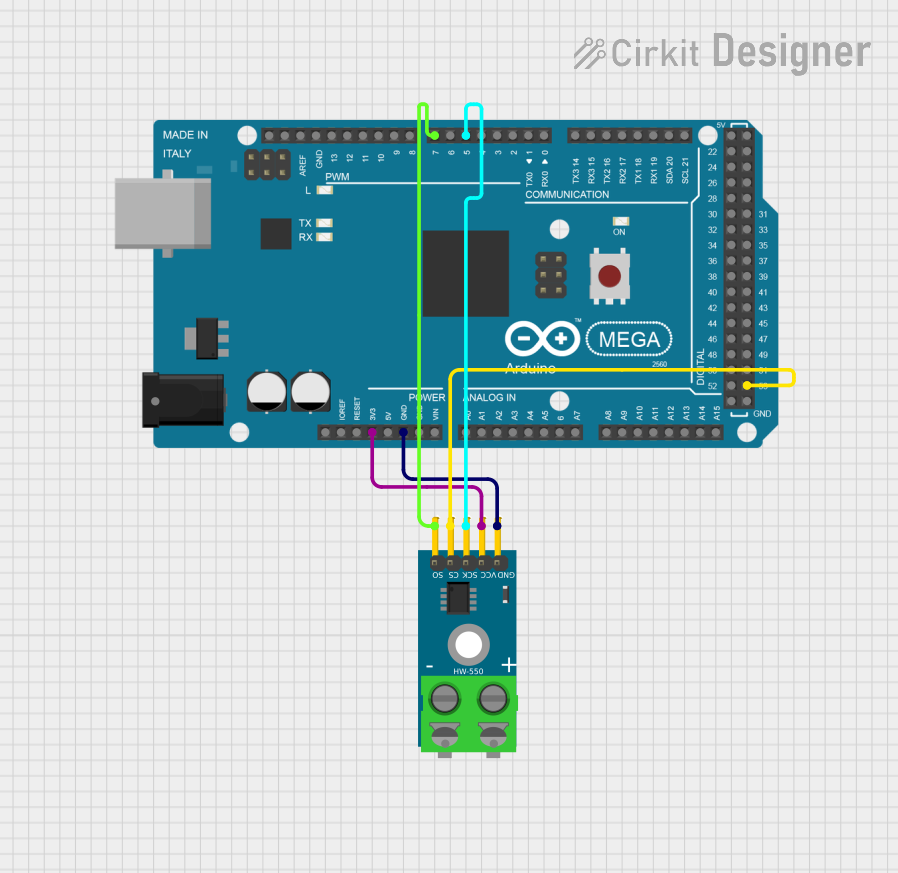
Thermocouples produce very small voltages, so you need an amplifier or a specialized thermocouple interface IC (e.g., MAX31855 or MAX6675) to amplify the signal and convert it to a digital value.Cold Junction Compensation:
Since thermocouples measure the temperature difference, you must account for the cold junction temperature (the point where the thermocouple wires connect to the measurement circuit). Many thermocouple interface ICs include built-in cold junction compensation.Connect to a Microcontroller:
The amplified or digitized signal can be read by a microcontroller (e.g., Arduino UNO) for further processing and display.Power Supply:
Ensure the amplifier or interface IC is powered correctly, typically requiring 3.3V or 5V.
Important Considerations and Best Practices
- Avoid Electrical Noise: Use shielded cables and proper grounding to minimize noise interference.
- Polarity Matters: Ensure the positive and negative wires are connected correctly to the amplifier or interface IC.
- Calibration: Regularly calibrate the thermocouple for accurate readings.
- Temperature Limits: Do not exceed the specified temperature range of the thermocouple type.
- Mechanical Stress: Avoid bending or twisting the thermocouple wires excessively, as this can degrade performance.
Example: Using a Type K Thermocouple with Arduino UNO
Below is an example of interfacing a Type K thermocouple with an Arduino UNO using the MAX6675 thermocouple amplifier module:
#include <SPI.h>
#include "Adafruit_MAX6675.h"

// Define the pins connected to the MAX6675 module
int thermoDO = 4;  // Data Out pin
int thermoCS = 5;  // Chip Select pin
int thermoCLK = 6; // Clock pin

// Create an instance of the MAX6675 library
Adafruit_MAX6675 thermocouple(thermoCLK, thermoCS, thermoDO);

void setup() {
  Serial.begin(9600); // Initialize serial communication
  Serial.println("Thermocouple Test");
  delay(500); // Allow some time for initialization
}

void loop() {
  // Read the temperature from the thermocouple
  double temperature = thermocouple.readCelsius();

  // Check if the reading is valid
  if (isnan(temperature)) {
    Serial.println("Error: Failed to read temperature!");
  } else {
    // Print the temperature to the Serial Monitor
    Serial.print("Temperature: ");
    Serial.print(temperature);
    Serial.println(" °C");
  }

  delay(1000); // Wait 1 second before the next reading
}
Troubleshooting and FAQs
Common Issues and Solutions
No Temperature Reading or NAN Output:
- Cause: Loose or incorrect wiring.
- Solution: Double-check the connections between the thermocouple, amplifier, and microcontroller.
Inaccurate Temperature Readings:
- Cause: Missing or incorrect cold junction compensation.
- Solution: Use an amplifier or interface IC with built-in cold junction compensation.
Fluctuating or Noisy Readings:
- Cause: Electrical noise or interference.
- Solution: Use shielded cables, proper grounding, and keep the thermocouple wires away from high-power lines.
Thermocouple Wires Overheating:
- Cause: Operating beyond the specified temperature range.
- Solution: Ensure the thermocouple is used within its rated temperature range.
FAQs
Q: Can I extend the thermocouple wires?
A: Yes, but use thermocouple extension wires made of the same materials as the original wires to avoid introducing errors.
Q: How do I choose the right thermocouple type?
A: Consider the temperature range, accuracy, and environmental conditions. For general-purpose use, Type K is a good choice.
Q: Do thermocouples require calibration?
A: Yes, periodic calibration is recommended to maintain accuracy, especially in critical applications.
Q: Can I use a thermocouple without an amplifier?
A: Not directly. The voltage generated by a thermocouple is very small and requires amplification or digitization for accurate measurement.