How to Use NPK Soil Sensor (mini): Examples, Pinouts, and Specs

 Design with NPK Soil Sensor (mini) in Cirkit Designer
Introduction
The NPK Soil Sensor (mini) is a compact and efficient device designed to measure the nitrogen (N), phosphorus (P), and potassium (K) levels in soil. These three nutrients are critical for plant growth and health, and the sensor provides real-time data to help optimize soil conditions for agriculture, gardening, and research purposes. Its small size and ease of use make it ideal for both hobbyists and professionals.
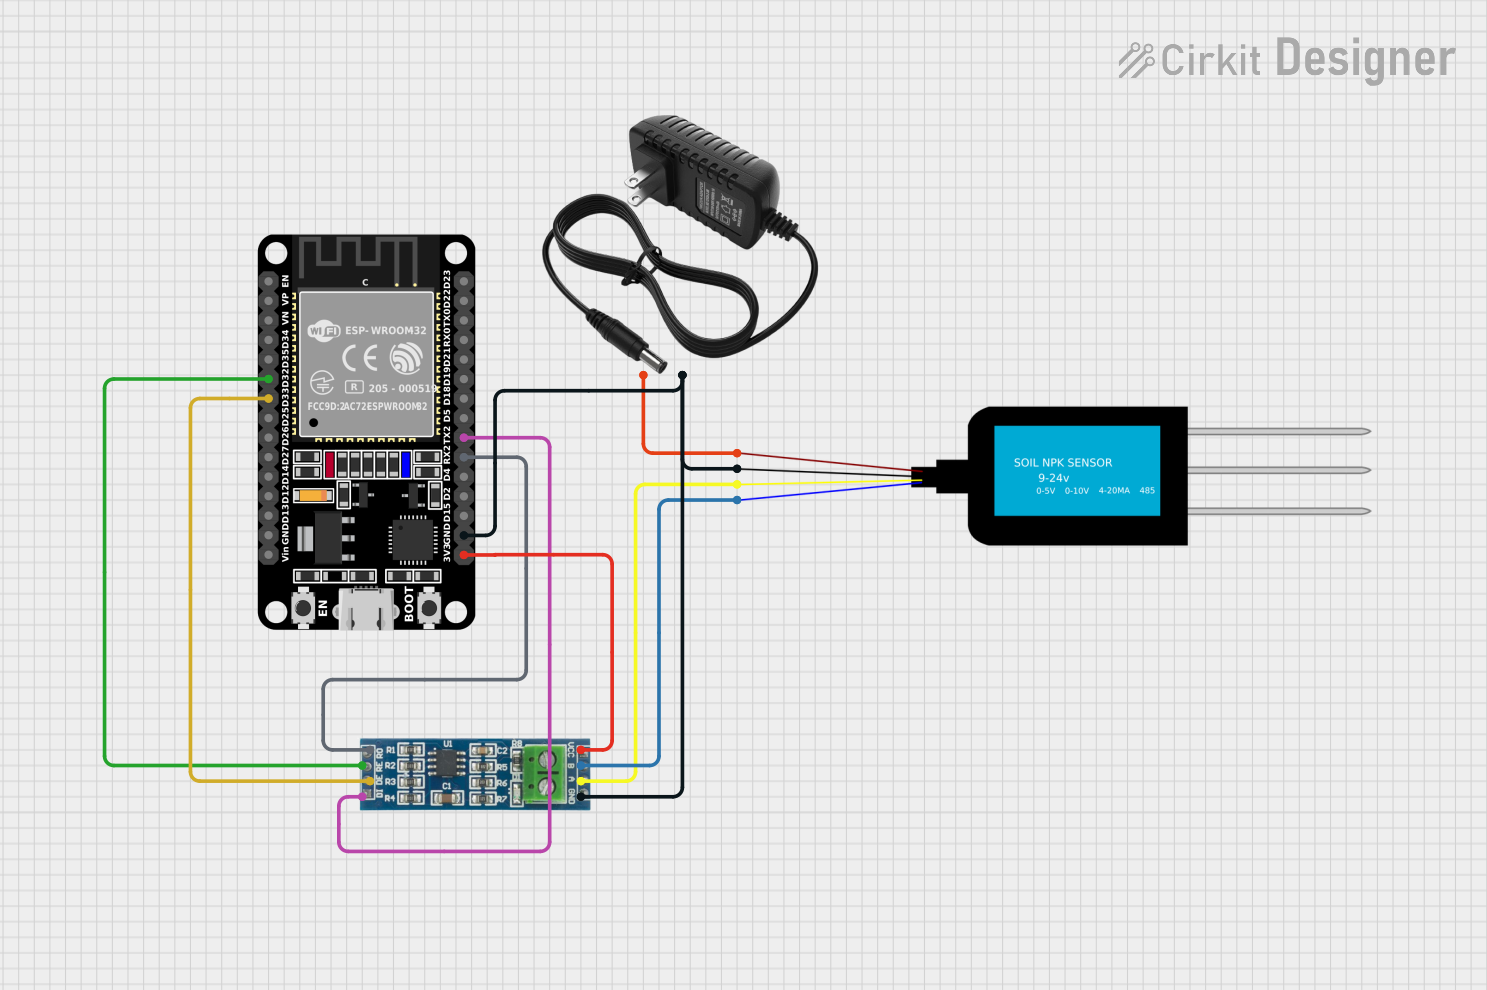
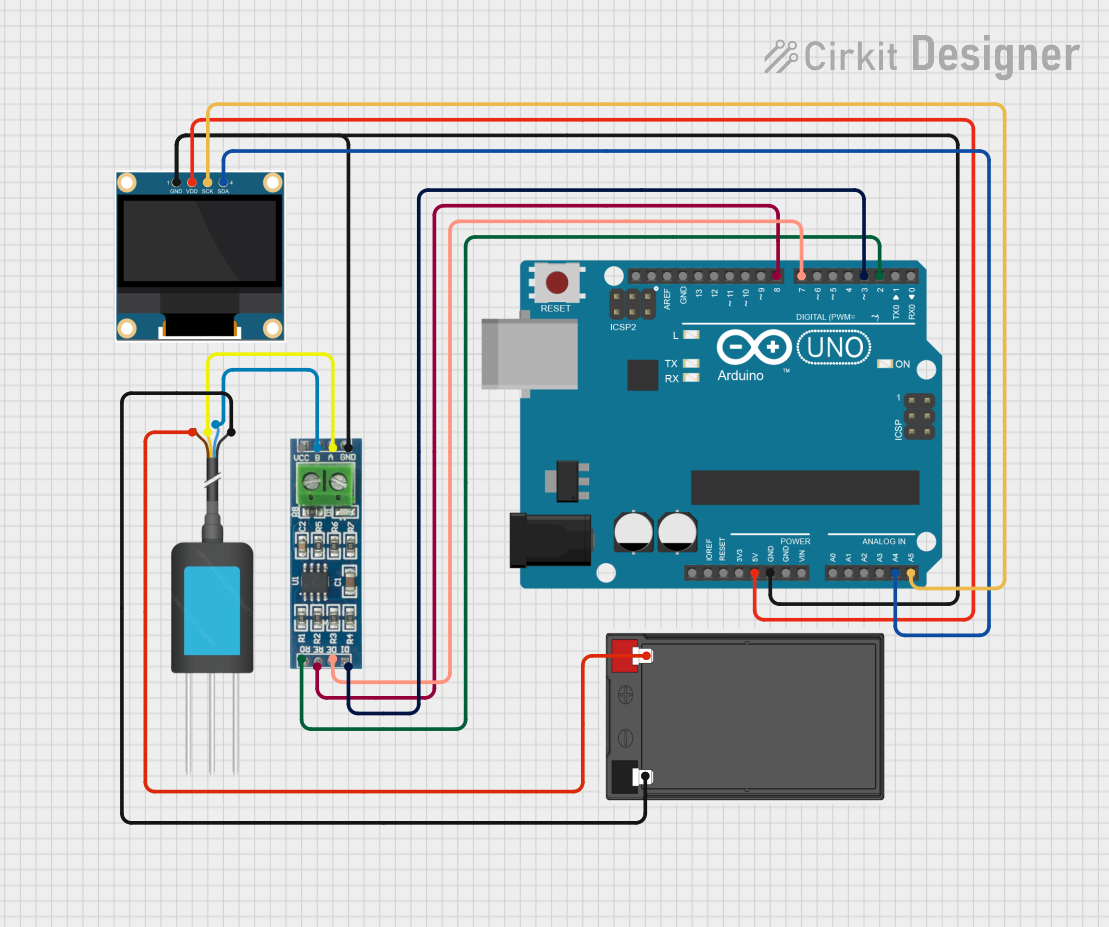
Explore Projects Built with NPK Soil Sensor (mini)

 Open Project in Cirkit Designer
 Open Project in Cirkit Designer
 Open Project in Cirkit Designer
 Open Project in Cirkit Designer
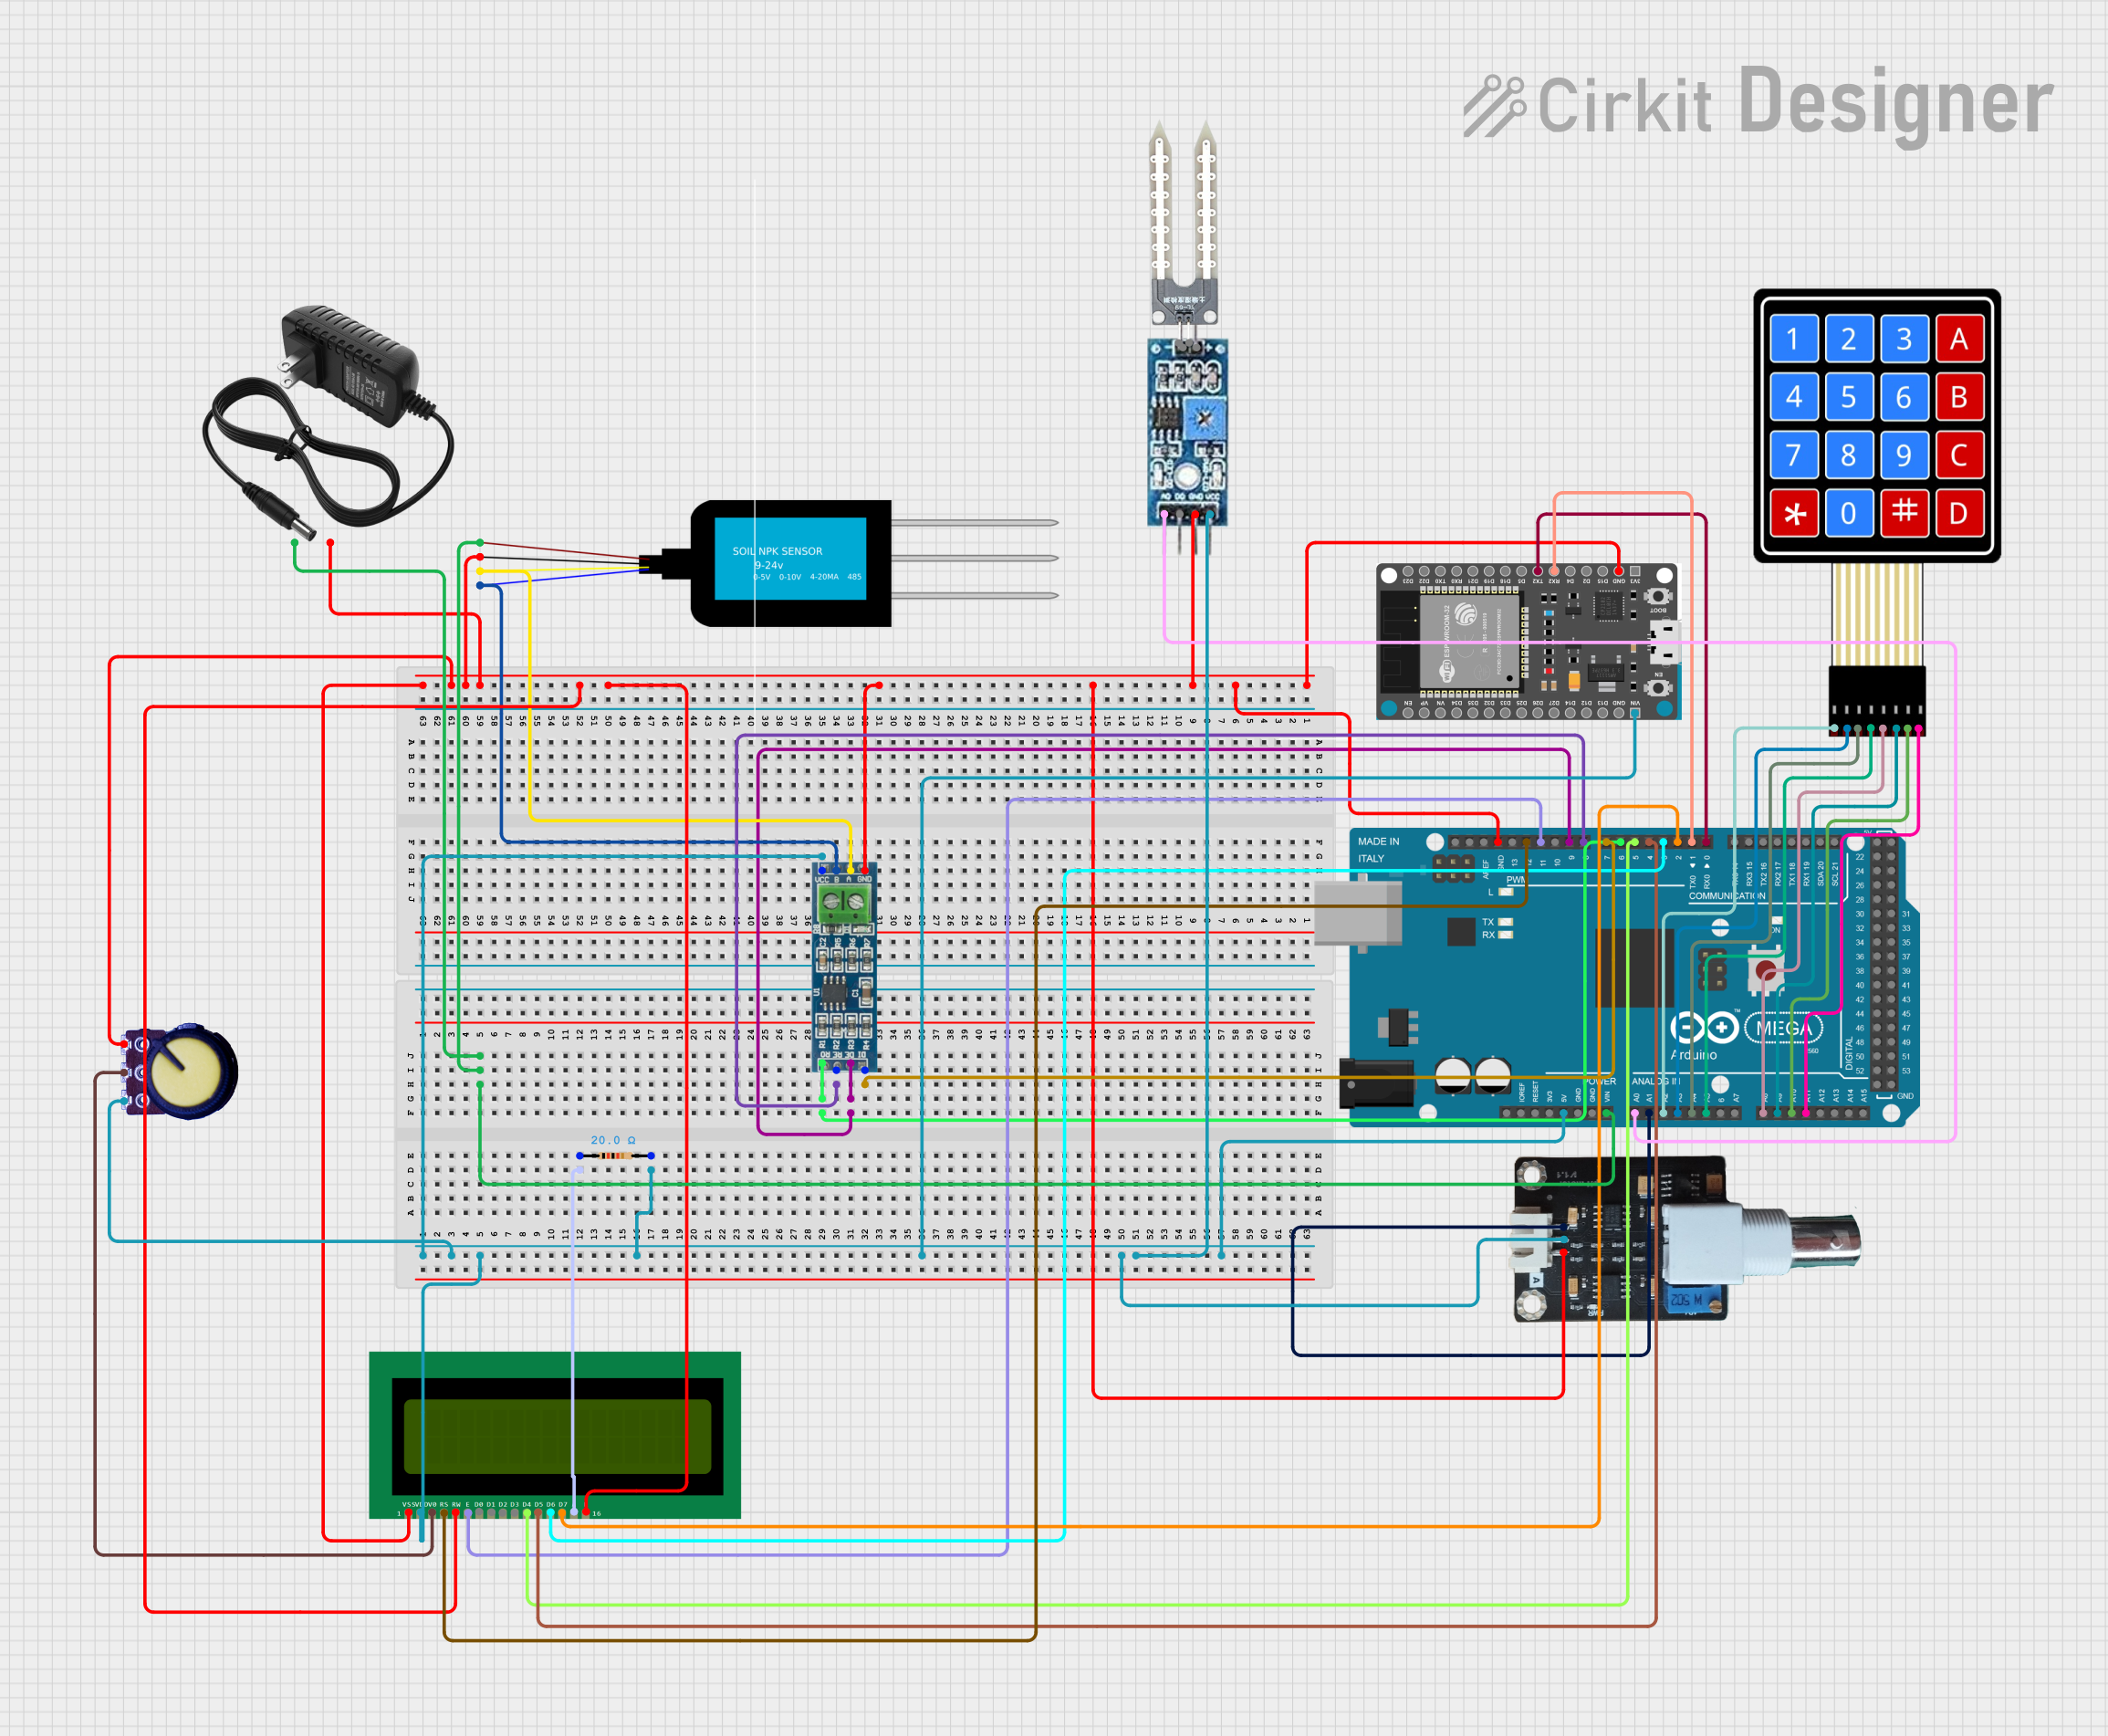
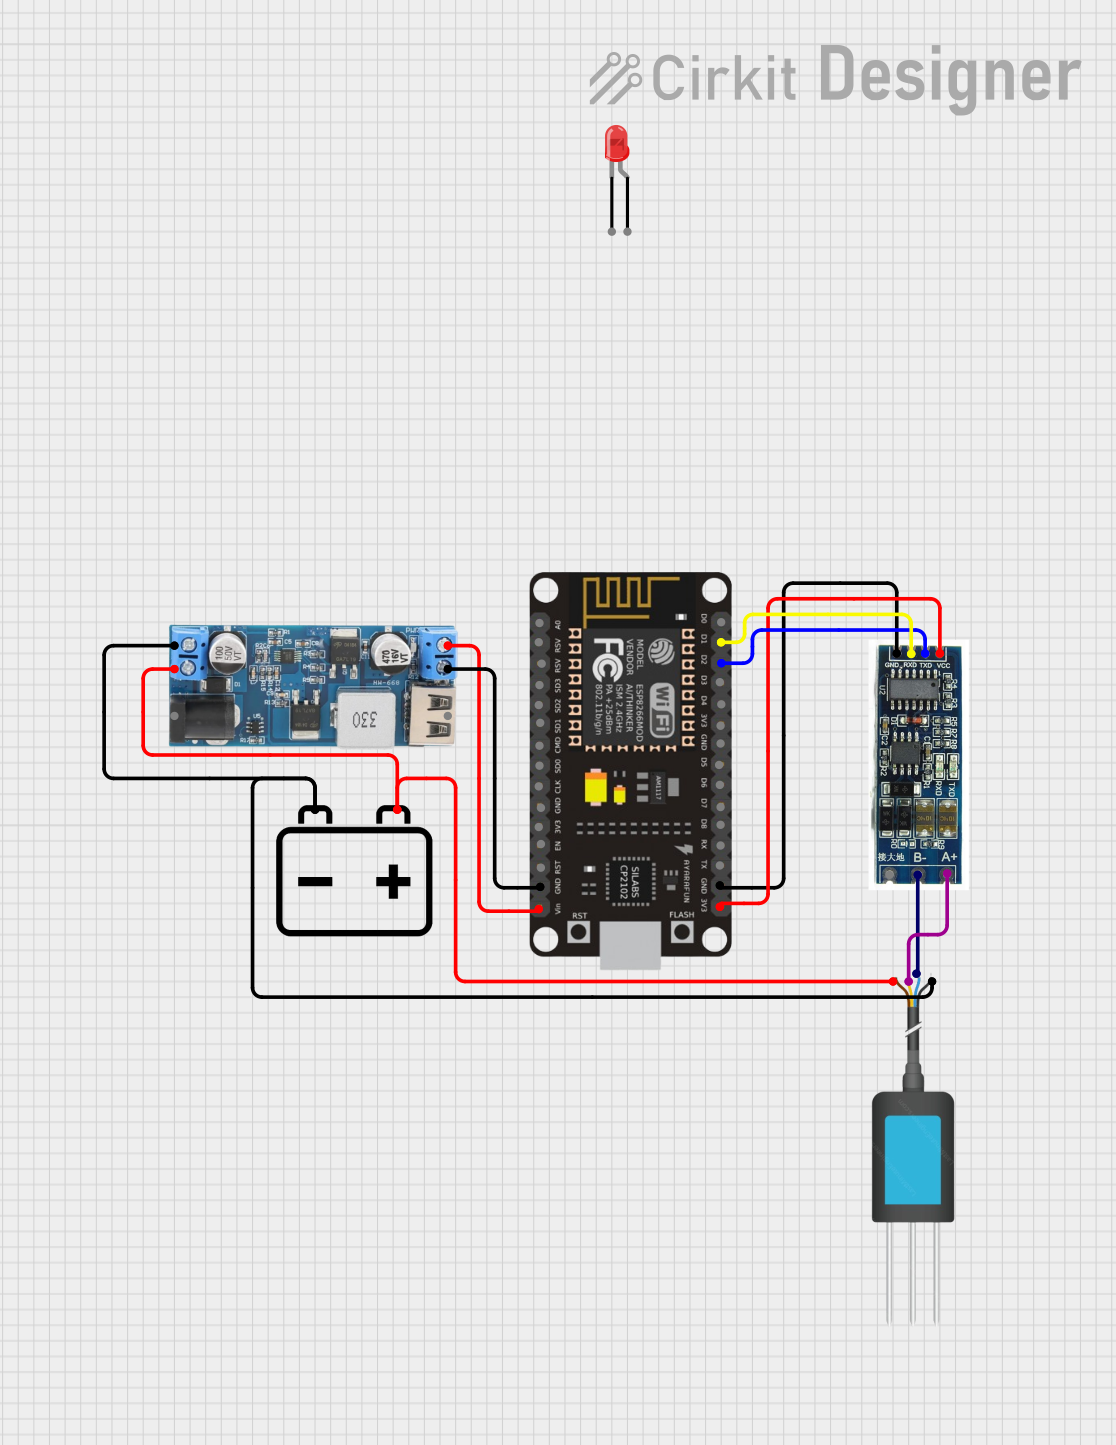
Explore Projects Built with NPK Soil Sensor (mini)

 Open Project in Cirkit Designer
 Open Project in Cirkit Designer
 Open Project in Cirkit Designer
 Open Project in Cirkit Designer
Common Applications and Use Cases
- Precision agriculture for optimizing crop yield
- Home gardening and plant care
- Soil quality monitoring in research and education
- Environmental studies and soil health assessments
Technical Specifications
The NPK Soil Sensor (mini) is designed to provide accurate and reliable measurements of soil nutrient levels. Below are its key technical details:
| Parameter | Specification |
|---|---|
| Operating Voltage | 5V DC |
| Operating Current | ≤ 50mA |
| Measurement Range | 0–1999 mg/kg (for N, P, and K) |
| Communication Protocol | UART (Universal Asynchronous Receiver-Transmitter) |
| Baud Rate | 9600 bps |
| Operating Temperature | -20°C to 60°C |
| Dimensions | 35mm x 15mm x 5mm |
Pin Configuration and Descriptions
The NPK Soil Sensor (mini) has a simple 4-pin interface for easy integration into circuits:
| Pin | Name | Description |
|---|---|---|
| 1 | VCC | Power supply input (5V DC) |
| 2 | GND | Ground connection |
| 3 | TX | UART Transmit pin (sends data to the microcontroller) |
| 4 | RX | UART Receive pin (receives data from the microcontroller) |
Usage Instructions
How to Use the Component in a Circuit
Wiring the Sensor:
- Connect the
VCCpin to the 5V output of your microcontroller or power source. - Connect the
GNDpin to the ground (GND) of your circuit. - Connect the
TXpin of the sensor to theRXpin of your microcontroller. - Connect the
RXpin of the sensor to theTXpin of your microcontroller.
- Connect the
Placement:
- Insert the sensor probes into the soil at the desired depth. Ensure the probes are in full contact with the soil for accurate readings.
Data Reading:
- The sensor communicates via UART. It sends data in a predefined format, which can be read and processed by a microcontroller such as an Arduino UNO.
Important Considerations and Best Practices
- Ensure the sensor is powered with a stable 5V DC supply to avoid inaccurate readings.
- Avoid using the sensor in highly acidic or alkaline soils, as this may damage the probes.
- Clean the sensor probes after use to prevent corrosion and ensure long-term accuracy.
- Do not submerge the sensor in water or expose it to excessive moisture.
Example Code for Arduino UNO
Below is an example Arduino sketch to read data from the NPK Soil Sensor (mini):
#include <SoftwareSerial.h>

// Define RX and TX pins for the sensor
SoftwareSerial npkSensor(10, 11); // RX = pin 10, TX = pin 11

void setup() {
  Serial.begin(9600); // Initialize Serial Monitor at 9600 bps
  npkSensor.begin(9600); // Initialize sensor communication at 9600 bps
  Serial.println("NPK Soil Sensor (mini) Test");
}

void loop() {
  if (npkSensor.available()) {
    // Read data from the sensor
    String sensorData = "";
    while (npkSensor.available()) {
      char c = npkSensor.read();
      sensorData += c;
    }
    // Print the received data to the Serial Monitor
    Serial.println("Sensor Data: " + sensorData);
  }
  delay(1000); // Wait 1 second before the next reading
}
Code Explanation:
- The
SoftwareSeriallibrary is used to communicate with the sensor via UART. - The sensor's
TXpin is connected to Arduino'sRXpin (pin 10), and the sensor'sRXpin is connected to Arduino'sTXpin (pin 11). - The code reads data from the sensor and displays it on the Serial Monitor.
Troubleshooting and FAQs
Common Issues and Solutions
No Data Received:
- Cause: Incorrect wiring or loose connections.
- Solution: Double-check the wiring and ensure the
TXandRXpins are correctly connected.
Inaccurate Readings:
- Cause: Poor contact between the sensor probes and soil.
- Solution: Ensure the probes are fully inserted into the soil and in good contact.
Sensor Not Responding:
- Cause: Incorrect baud rate or damaged sensor.
- Solution: Verify the baud rate is set to 9600 bps. If the issue persists, test the sensor with another microcontroller.
Corrosion on Probes:
- Cause: Prolonged exposure to moisture or corrosive soil.
- Solution: Clean the probes with a soft cloth and store the sensor in a dry place when not in use.
FAQs
Q1: Can the sensor measure other soil parameters like pH or moisture?
A1: No, the NPK Soil Sensor (mini) is specifically designed to measure nitrogen, phosphorus, and potassium levels. For pH or moisture measurements, additional sensors are required.
Q2: Is the sensor waterproof?
A2: The sensor is not fully waterproof. Avoid submerging it in water or exposing it to excessive moisture.
Q3: Can I use this sensor with a Raspberry Pi?
A3: Yes, the sensor can be used with a Raspberry Pi. You will need to configure the UART pins on the Raspberry Pi and use a 5V-to-3.3V level shifter if necessary.
Q4: How often should I calibrate the sensor?
A4: The sensor is factory-calibrated and does not require frequent calibration. However, periodic testing with known soil samples is recommended for accuracy.