How to Use 6xAA_bare: Examples, Pinouts, and Specs

Introduction
The 6xAA Battery Holder is a versatile and essential component designed to hold six AA batteries. This configuration is commonly used to provide a higher voltage power supply for various electronic circuits. By combining six AA batteries, the holder can deliver a nominal voltage of 9V (1.5V per AA battery). This makes it suitable for powering a wide range of devices, from small electronic projects to more demanding applications.
Explore Projects Built with 6xAA_bare
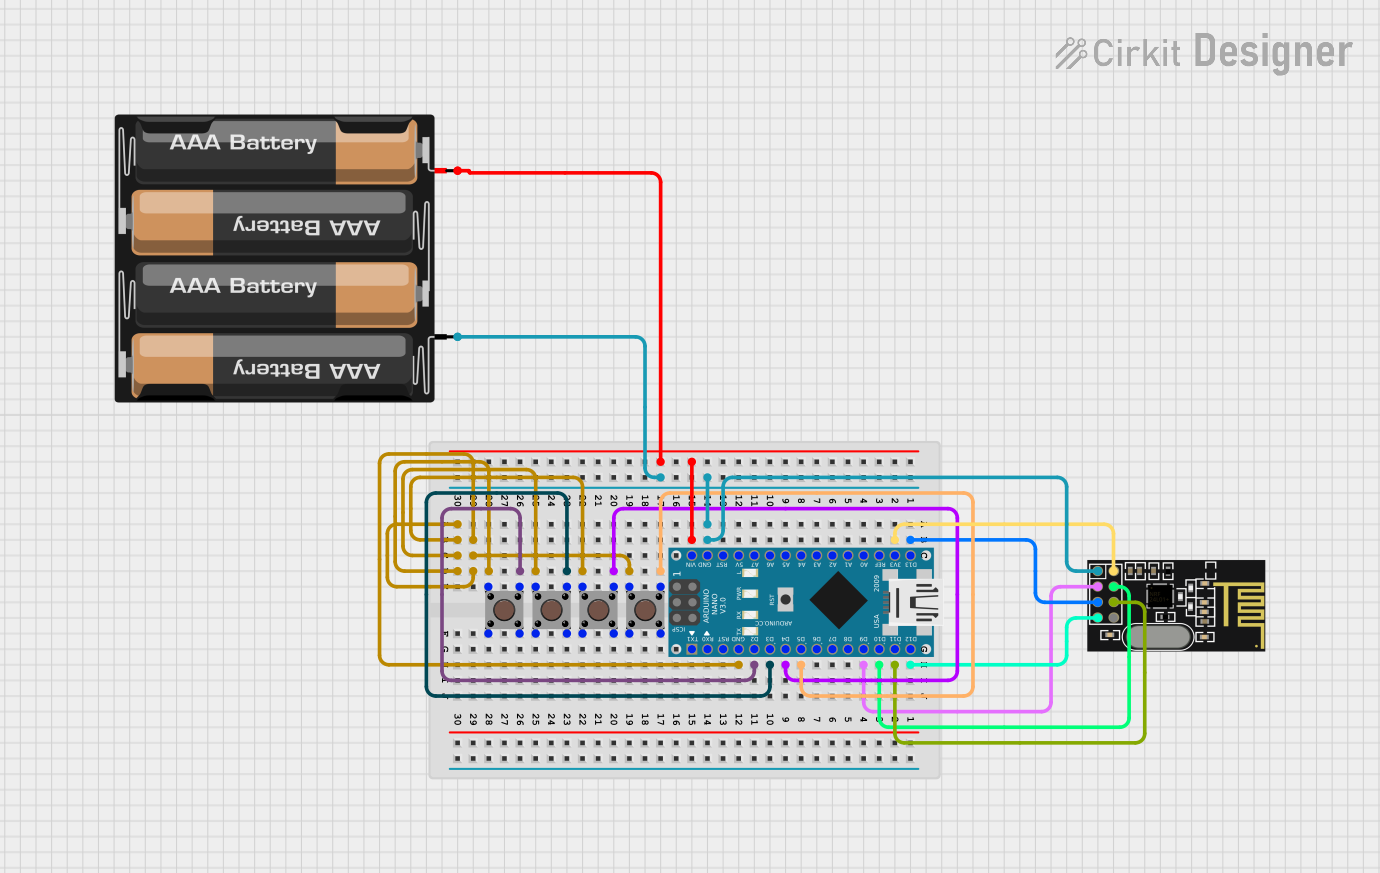

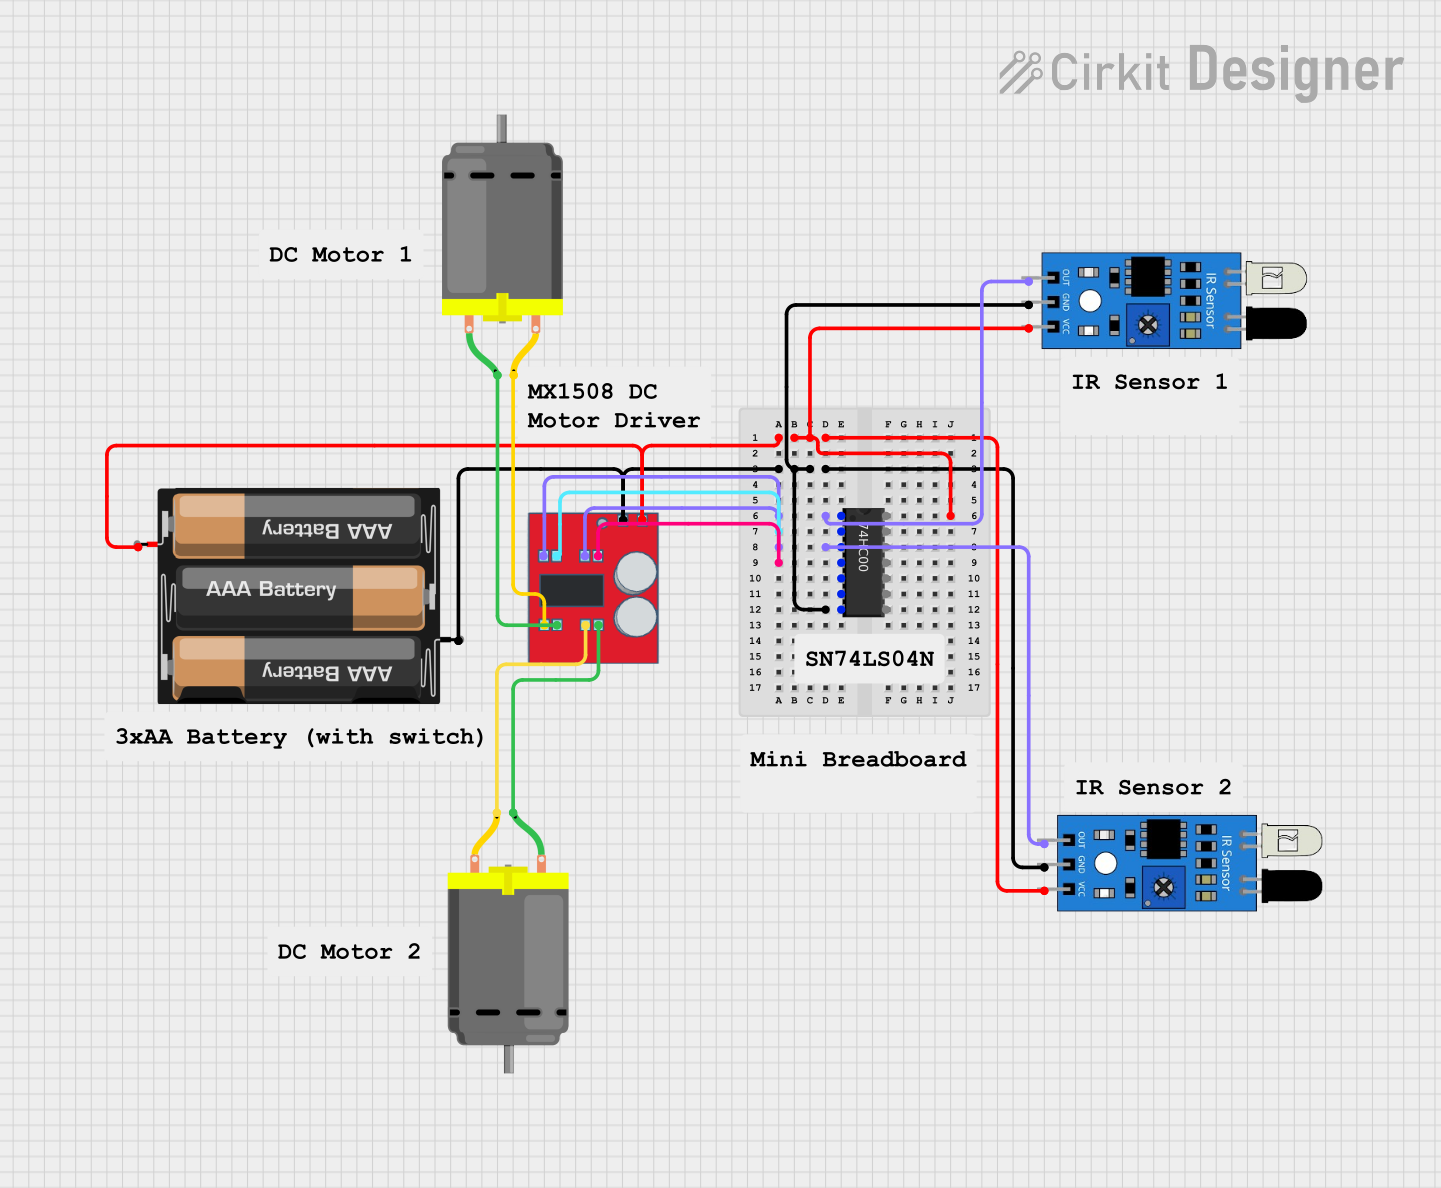
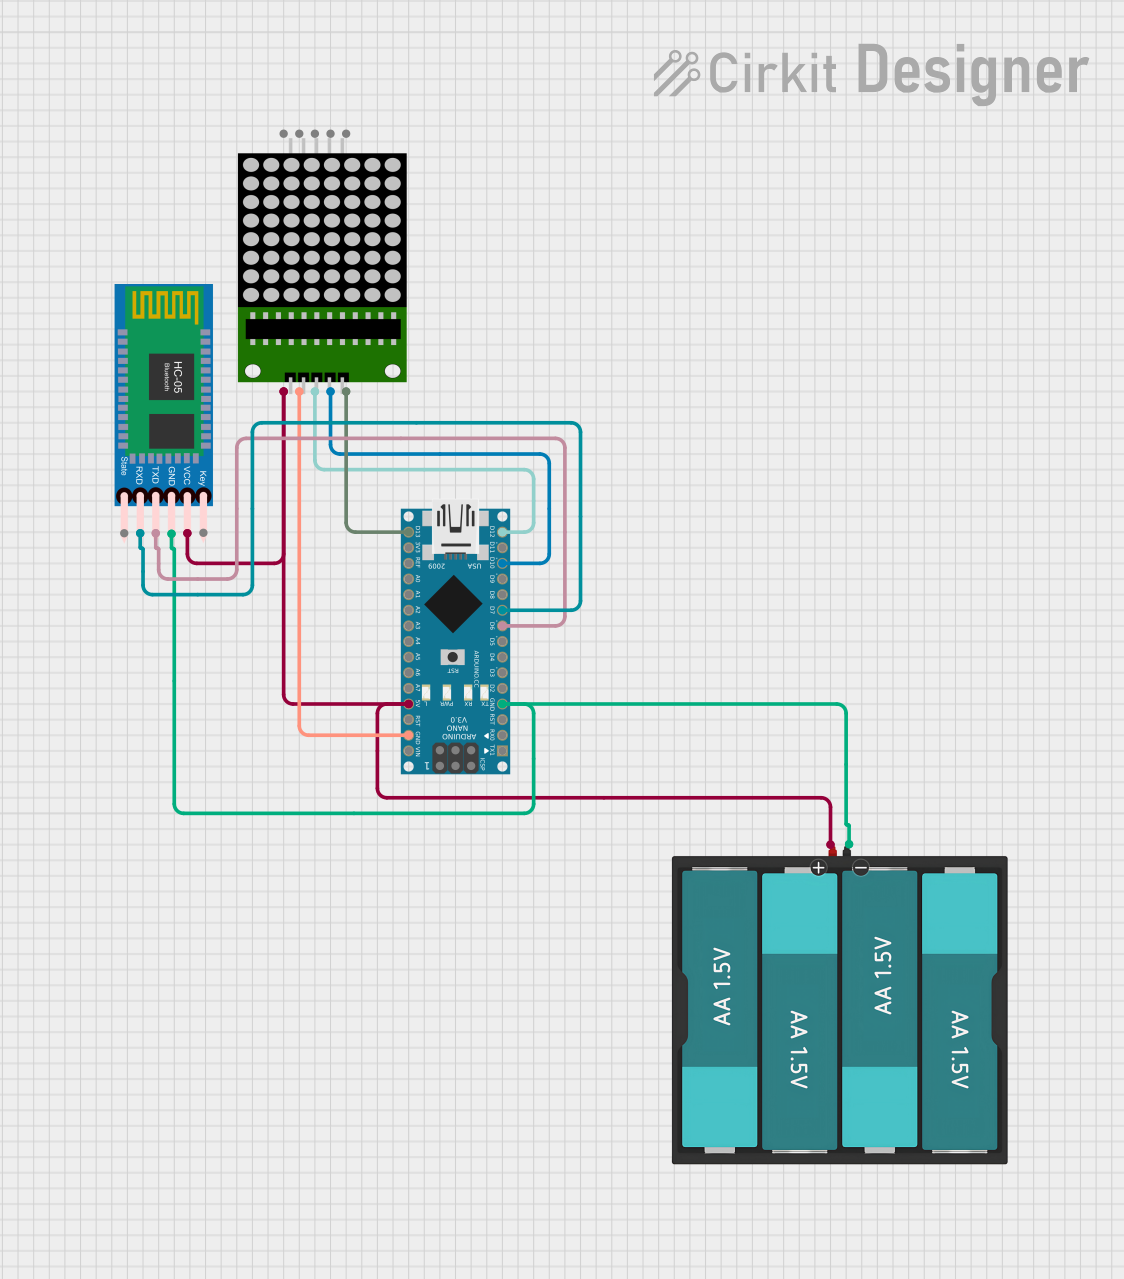
Explore Projects Built with 6xAA_bare
Common Applications and Use Cases
- Portable Electronics: Ideal for powering portable devices that require a higher voltage.
- Robotics: Used in robotic projects to provide a stable power source.
- Arduino Projects: Commonly used with Arduino boards to supply the necessary voltage.
- DIY Projects: Suitable for various DIY electronics and prototyping.
Technical Specifications
Key Technical Details
| Specification | Value |
|---|---|
| Battery Type | AA (1.5V each) |
| Number of Batteries | 6 |
| Nominal Voltage | 9V (1.5V x 6) |
| Material | Plastic holder with metal contacts |
| Dimensions | Varies by manufacturer |
| Weight | Varies by manufacturer |
Pin Configuration and Descriptions
| Pin Number | Description |
|---|---|
| 1 | Positive terminal (V+) |
| 2 | Negative terminal (GND) |
Usage Instructions
How to Use the Component in a Circuit
Insert Batteries:
- Place six AA batteries into the holder, ensuring correct polarity.
- The positive and negative terminals of each battery should align with the holder's contacts.
Connect to Circuit:
- Connect the positive terminal (V+) of the battery holder to the positive rail of your circuit.
- Connect the negative terminal (GND) to the ground rail of your circuit.
Powering an Arduino UNO:
- Connect the positive terminal (V+) to the VIN pin on the Arduino UNO.
- Connect the negative terminal (GND) to the GND pin on the Arduino UNO.
Important Considerations and Best Practices
- Polarity: Always ensure correct polarity when inserting batteries to avoid damage.
- Battery Type: Use only AA batteries; mixing different types or brands can cause issues.
- Heat Dissipation: Ensure proper ventilation to prevent overheating.
- Secure Connections: Make sure all connections are secure to avoid intermittent power issues.
Troubleshooting and FAQs
Common Issues Users Might Face
No Power Output:
- Solution: Check battery orientation and ensure all batteries are properly inserted.
- Tip: Use a multimeter to check the voltage output from the holder.
Intermittent Power:
- Solution: Ensure all connections are secure and free from corrosion.
- Tip: Clean the contacts with a small amount of rubbing alcohol if needed.
Overheating:
- Solution: Ensure the battery holder is not enclosed in a tight space without ventilation.
- Tip: Use batteries with a higher current rating if your circuit demands more power.
FAQs
Q: Can I use rechargeable AA batteries with this holder? A: Yes, you can use rechargeable AA batteries. However, note that the nominal voltage of rechargeable AA batteries is typically 1.2V, resulting in a total voltage of 7.2V.
Q: How do I know if the batteries are running low? A: Use a multimeter to measure the voltage output. If the voltage is significantly lower than 9V, it's time to replace or recharge the batteries.
Q: Can I connect multiple 6xAA battery holders in series? A: Yes, you can connect multiple holders in series to increase the voltage. Ensure that the total voltage does not exceed the maximum voltage rating of your circuit components.
Example Code for Arduino UNO
Here is an example code to read the voltage from the 6xAA battery holder using an Arduino UNO:
// Define the analog pin to read the voltage
const int voltagePin = A0;

void setup() {
  // Initialize serial communication at 9600 baud rate
  Serial.begin(9600);
}

void loop() {
  // Read the analog value from the voltage pin
  int sensorValue = analogRead(voltagePin);

  // Convert the analog value to voltage
  float voltage = sensorValue * (5.0 / 1023.0) * (9.0 / 5.0);

  // Print the voltage to the serial monitor
  Serial.print("Battery Voltage: ");
  Serial.print(voltage);
  Serial.println(" V");

  // Wait for a second before taking another reading
  delay(1000);
}
Note: This code assumes that the voltage is being read through a voltage divider to bring the 9V down to a readable range for the Arduino's analog input.
By following this documentation, users can effectively utilize the 6xAA Battery Holder in their electronic projects, ensuring reliable and efficient power supply.