Cirkit Designer Logo
Cirkit Designer
Your all-in-one circuit design IDE
Home / 
Component Documentation

How to Use HW-404: Examples, Pinouts, and Specs

Image of HW-404
Cirkit Designer LogoDesign with HW-404 in Cirkit Designer

Introduction

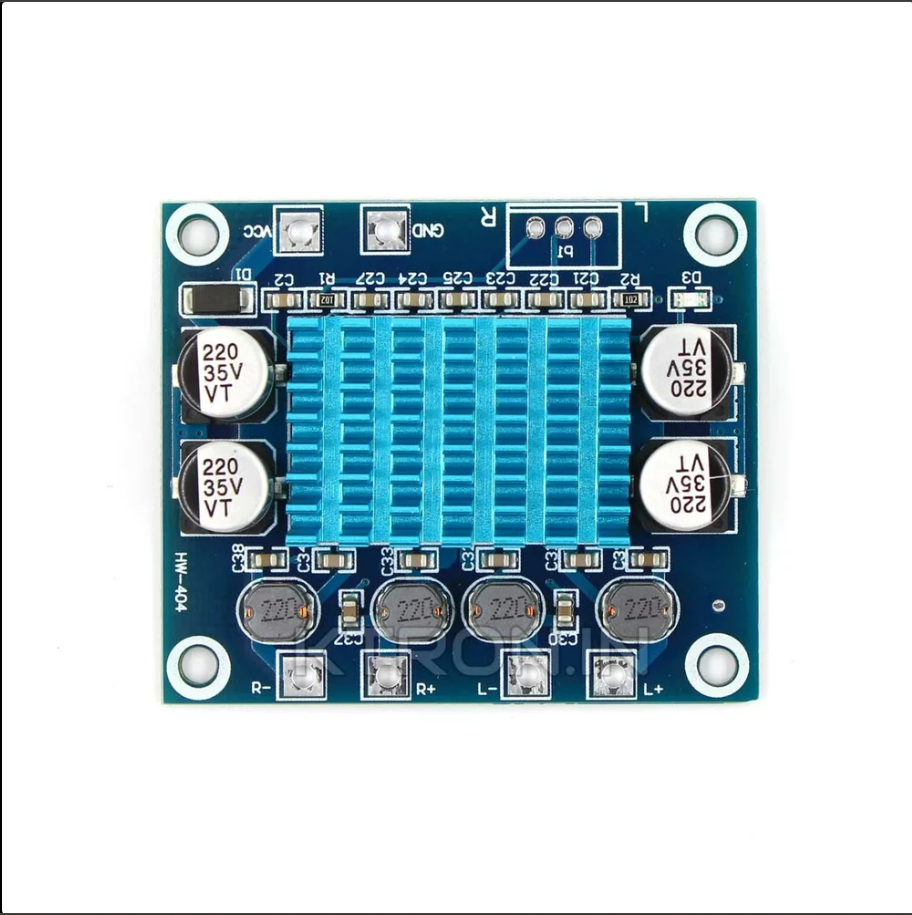
The HW-404 is a bridge rectifier component designed to convert alternating current (AC) voltage into direct current (DC) voltage. It is a fundamental component in power supply design and is widely used in various electronic applications where a stable DC voltage is required. The HW-404 utilizes a bridge configuration composed of four diodes to efficiently rectify AC into DC.

Explore Projects Built with HW-404

Use Cirkit Designer to design, explore, and prototype these projects online. Some projects support real-time simulation. Click "Open Project" to start designing instantly!
ESP32-Based Water Flow Monitoring System with OLED Display
Image of Copy of Copy of Flow: A project utilizing HW-404 in a practical application
This circuit features an ESP32 microcontroller interfaced with a water flow sensor to measure flow rates and an OLED display for visual output. A 4060 binary counter IC is configured for timing or frequency division, with its outputs connected to the ESP32. A SN74AHCT125N buffer is used for level shifting or driving capabilities.
Cirkit Designer LogoOpen Project in Cirkit Designer
Arduino-Controlled Soundwave Generator with IR Sensor Activation and LCD Feedback
Image of Fish Attractor: A project utilizing HW-404 in a practical application
This circuit features an Arduino UNO R4 WiFi microcontroller programmed to control a 4-channel relay, read from two IR sensors, and adjust a micro servo's position based on the IR sensors' input. It also generates variable frequency sound waves through a speaker using an XR2206 function generator, with the frequency adjusted by a potentiometer. An LCD I2C display is used to show the frequency and IR sensor status, and the sound's volume is controlled by a PAM8403 amplifier.
Cirkit Designer LogoOpen Project in Cirkit Designer
Bluetooth-Controlled Multi-Function Arduino Nano Gadget
Image of Copy of Smarttt: A project utilizing HW-404 in a practical application
This is a portable, microcontroller-driven interactive device featuring Bluetooth connectivity, visual (RGB LED), auditory (loudspeaker), and haptic (vibration motor) feedback, user input (pushbutton), and a rechargeable power system (TP4056 with Li-ion battery).
Cirkit Designer LogoOpen Project in Cirkit Designer
ESP32-Based Load Measurement and Distance Sensing System with LCD Display
Image of bmi project name: A project utilizing HW-404 in a practical application
This circuit features an ESP32 microcontroller connected to an HX711 bridge sensor interface and a load cell, forming a weight measurement system. The ESP32 also interfaces with an HC-SR04 ultrasonic sensor for distance measurement and an I2C LCD screen for displaying data. The circuit is designed to measure weight and distance, and display the results on the LCD.
Cirkit Designer LogoOpen Project in Cirkit Designer

Explore Projects Built with HW-404

Use Cirkit Designer to design, explore, and prototype these projects online. Some projects support real-time simulation. Click "Open Project" to start designing instantly!
Image of Copy of Copy of Flow: A project utilizing HW-404 in a practical application
ESP32-Based Water Flow Monitoring System with OLED Display
This circuit features an ESP32 microcontroller interfaced with a water flow sensor to measure flow rates and an OLED display for visual output. A 4060 binary counter IC is configured for timing or frequency division, with its outputs connected to the ESP32. A SN74AHCT125N buffer is used for level shifting or driving capabilities.
Cirkit Designer LogoOpen Project in Cirkit Designer
Image of Fish Attractor: A project utilizing HW-404 in a practical application
Arduino-Controlled Soundwave Generator with IR Sensor Activation and LCD Feedback
This circuit features an Arduino UNO R4 WiFi microcontroller programmed to control a 4-channel relay, read from two IR sensors, and adjust a micro servo's position based on the IR sensors' input. It also generates variable frequency sound waves through a speaker using an XR2206 function generator, with the frequency adjusted by a potentiometer. An LCD I2C display is used to show the frequency and IR sensor status, and the sound's volume is controlled by a PAM8403 amplifier.
Cirkit Designer LogoOpen Project in Cirkit Designer
Image of Copy of Smarttt: A project utilizing HW-404 in a practical application
Bluetooth-Controlled Multi-Function Arduino Nano Gadget
This is a portable, microcontroller-driven interactive device featuring Bluetooth connectivity, visual (RGB LED), auditory (loudspeaker), and haptic (vibration motor) feedback, user input (pushbutton), and a rechargeable power system (TP4056 with Li-ion battery).
Cirkit Designer LogoOpen Project in Cirkit Designer
Image of bmi project name: A project utilizing HW-404 in a practical application
ESP32-Based Load Measurement and Distance Sensing System with LCD Display
This circuit features an ESP32 microcontroller connected to an HX711 bridge sensor interface and a load cell, forming a weight measurement system. The ESP32 also interfaces with an HC-SR04 ultrasonic sensor for distance measurement and an I2C LCD screen for displaying data. The circuit is designed to measure weight and distance, and display the results on the LCD.
Cirkit Designer LogoOpen Project in Cirkit Designer

Common Applications and Use Cases

  • Power supplies for electronic devices
  • Battery charging circuits
  • DC motor drives
  • Rectification for power conversion in appliances

Technical Specifications

Key Technical Details

  • Maximum Repetitive Peak Reverse Voltage (VRRM): Specified in volts (V)
  • Maximum RMS Bridge Input Voltage (VRMS): Specified in volts (V)
  • DC Output Current (Io): Specified in amperes (A)
  • Peak Forward Surge Current (IFSM): Specified in amperes (A)
  • Operating Temperature Range: Specified in degrees Celsius (°C)

Pin Configuration and Descriptions

Pin Number Description Functionality
1 AC Input (AC1) First AC input terminal
2 AC Input (AC2) Second AC input terminal
3 Positive DC Output (+) Positive output terminal for DC voltage
4 Negative DC Output (−) Negative output terminal for DC voltage

Usage Instructions

How to Use the HW-404 in a Circuit

  1. Connect the AC voltage source to the AC input terminals (pins 1 and 2).
  2. Connect the load to the DC output terminals (pins 3 and 4), ensuring correct polarity.
  3. Ensure that the input AC voltage does not exceed the maximum rated VRMS.
  4. Verify that the load current does not exceed the rated DC output current (Io).

Important Considerations and Best Practices

  • Always check the component's maximum ratings before use to prevent damage.
  • Use appropriate heat sinking if the rectifier is expected to handle high currents.
  • Ensure proper insulation and spacing on the PCB to prevent short circuits.
  • Consider using a filter capacitor across the DC output to smooth out the DC voltage.

Troubleshooting and FAQs

Common Issues Users Might Face

  • Insufficient DC Output Voltage: This could be due to an input AC voltage lower than expected or a heavy load that exceeds the current rating.
  • Component Overheating: If the rectifier overheats, it may be due to excessive current or insufficient heat sinking.
  • Unexpected Voltage Drops: Check for possible reverse leakage current in the diodes or a faulty connection in the bridge.

Solutions and Tips for Troubleshooting

  • Verify the input AC voltage with a multimeter to ensure it matches the expected value.
  • Check the load connected to the rectifier to ensure it does not exceed the rated current.
  • Inspect the PCB for any solder bridges or poor connections that may affect performance.
  • If the rectifier is overheating, consider improving heat dissipation with a heat sink or by increasing PCB copper area.

FAQs

Q: Can the HW-404 be used for high-frequency AC inputs? A: The HW-404 is designed for 50/60 Hz AC inputs. For high-frequency applications, a fast-switching rectifier may be required.

Q: What is the purpose of the bridge configuration in rectifiers? A: The bridge configuration allows for full-wave rectification, which is more efficient than half-wave rectification, as it utilizes both halves of the AC cycle.

Q: How can I improve the DC output voltage stability? A: Adding a filter capacitor across the DC output can help stabilize the voltage by reducing ripple.

Note: The HW-404 is a generic part number for a bridge rectifier, and the specifications provided here are for illustrative purposes. Always refer to the manufacturer's datasheet for exact specifications and ratings of the component you are using.