How to Use HVAC Damper: Examples, Pinouts, and Specs
Introduction
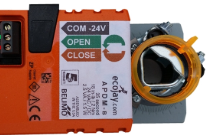
The HVAC Damper, manufactured by Ecojay, is a critical component in heating, ventilation, and air conditioning (HVAC) systems. It is designed to regulate airflow within ducts by opening or closing in response to control signals. This functionality allows for precise control of air distribution, improving energy efficiency and maintaining desired temperature zones in residential, commercial, and industrial environments.
Explore Projects Built with HVAC Damper

Explore Projects Built with HVAC Damper
Common Applications and Use Cases
- Zoning Systems: Directing airflow to specific areas or rooms for temperature control.
- Energy Efficiency: Reducing energy consumption by limiting airflow to unused spaces.
- Air Quality Management: Controlling airflow to maintain proper ventilation and air quality.
- System Balancing: Ensuring even distribution of air across an HVAC system.
Technical Specifications
The Ecojay HVAC Damper is available in various sizes and configurations to suit different duct systems. Below are the general technical specifications:
Key Technical Details
| Parameter | Value/Range |
|---|---|
| Operating Voltage | 24 VAC |
| Power Consumption | 2-5 VA (depending on model) |
| Control Signal | 2-wire or 3-wire (24 VAC) |
| Actuator Type | Motorized (spring-return or non-spring-return) |
| Damper Material | Galvanized steel or aluminum |
| Operating Temperature | -20°C to 60°C (-4°F to 140°F) |
| Torque Rating | 35 in-lb (typical) |
| Dimensions | Varies by model (6", 8", 10", etc.) |
Pin Configuration and Descriptions
The HVAC Damper actuator typically has a 2-wire or 3-wire connection for control. Below is the pin configuration:
2-Wire Configuration
| Pin Number | Label | Description |
|---|---|---|
| 1 | COM | Common (ground) |
| 2 | 24V | 24 VAC power input |
3-Wire Configuration
| Pin Number | Label | Description |
|---|---|---|
| 1 | COM | Common (ground) |
| 2 | OPEN | Signal to open the damper |
| 3 | CLOSE | Signal to close the damper |
Usage Instructions
How to Use the HVAC Damper in a Circuit
- Power Supply: Connect the damper to a 24 VAC power source. Ensure the power supply matches the damper's voltage requirements.
- Control Signal: For a 2-wire damper, provide a continuous 24 VAC signal to open the damper. For a 3-wire damper, apply 24 VAC to the "OPEN" or "CLOSE" pin as needed.
- Integration with Thermostat or Controller: Connect the damper to a compatible thermostat or zoning controller. The controller will send signals to open or close the damper based on temperature or airflow requirements.
- Installation: Mount the damper securely in the ductwork. Ensure the actuator is accessible for maintenance.
Important Considerations and Best Practices
- Wiring: Double-check all connections to avoid short circuits or incorrect operation.
- Power Supply: Use a dedicated 24 VAC transformer if multiple dampers are connected to prevent overloading.
- Orientation: Install the damper in the correct orientation as indicated by the manufacturer.
- Maintenance: Periodically inspect the damper for dust or debris that may obstruct movement.
- Testing: After installation, test the damper's operation by sending open and close signals.
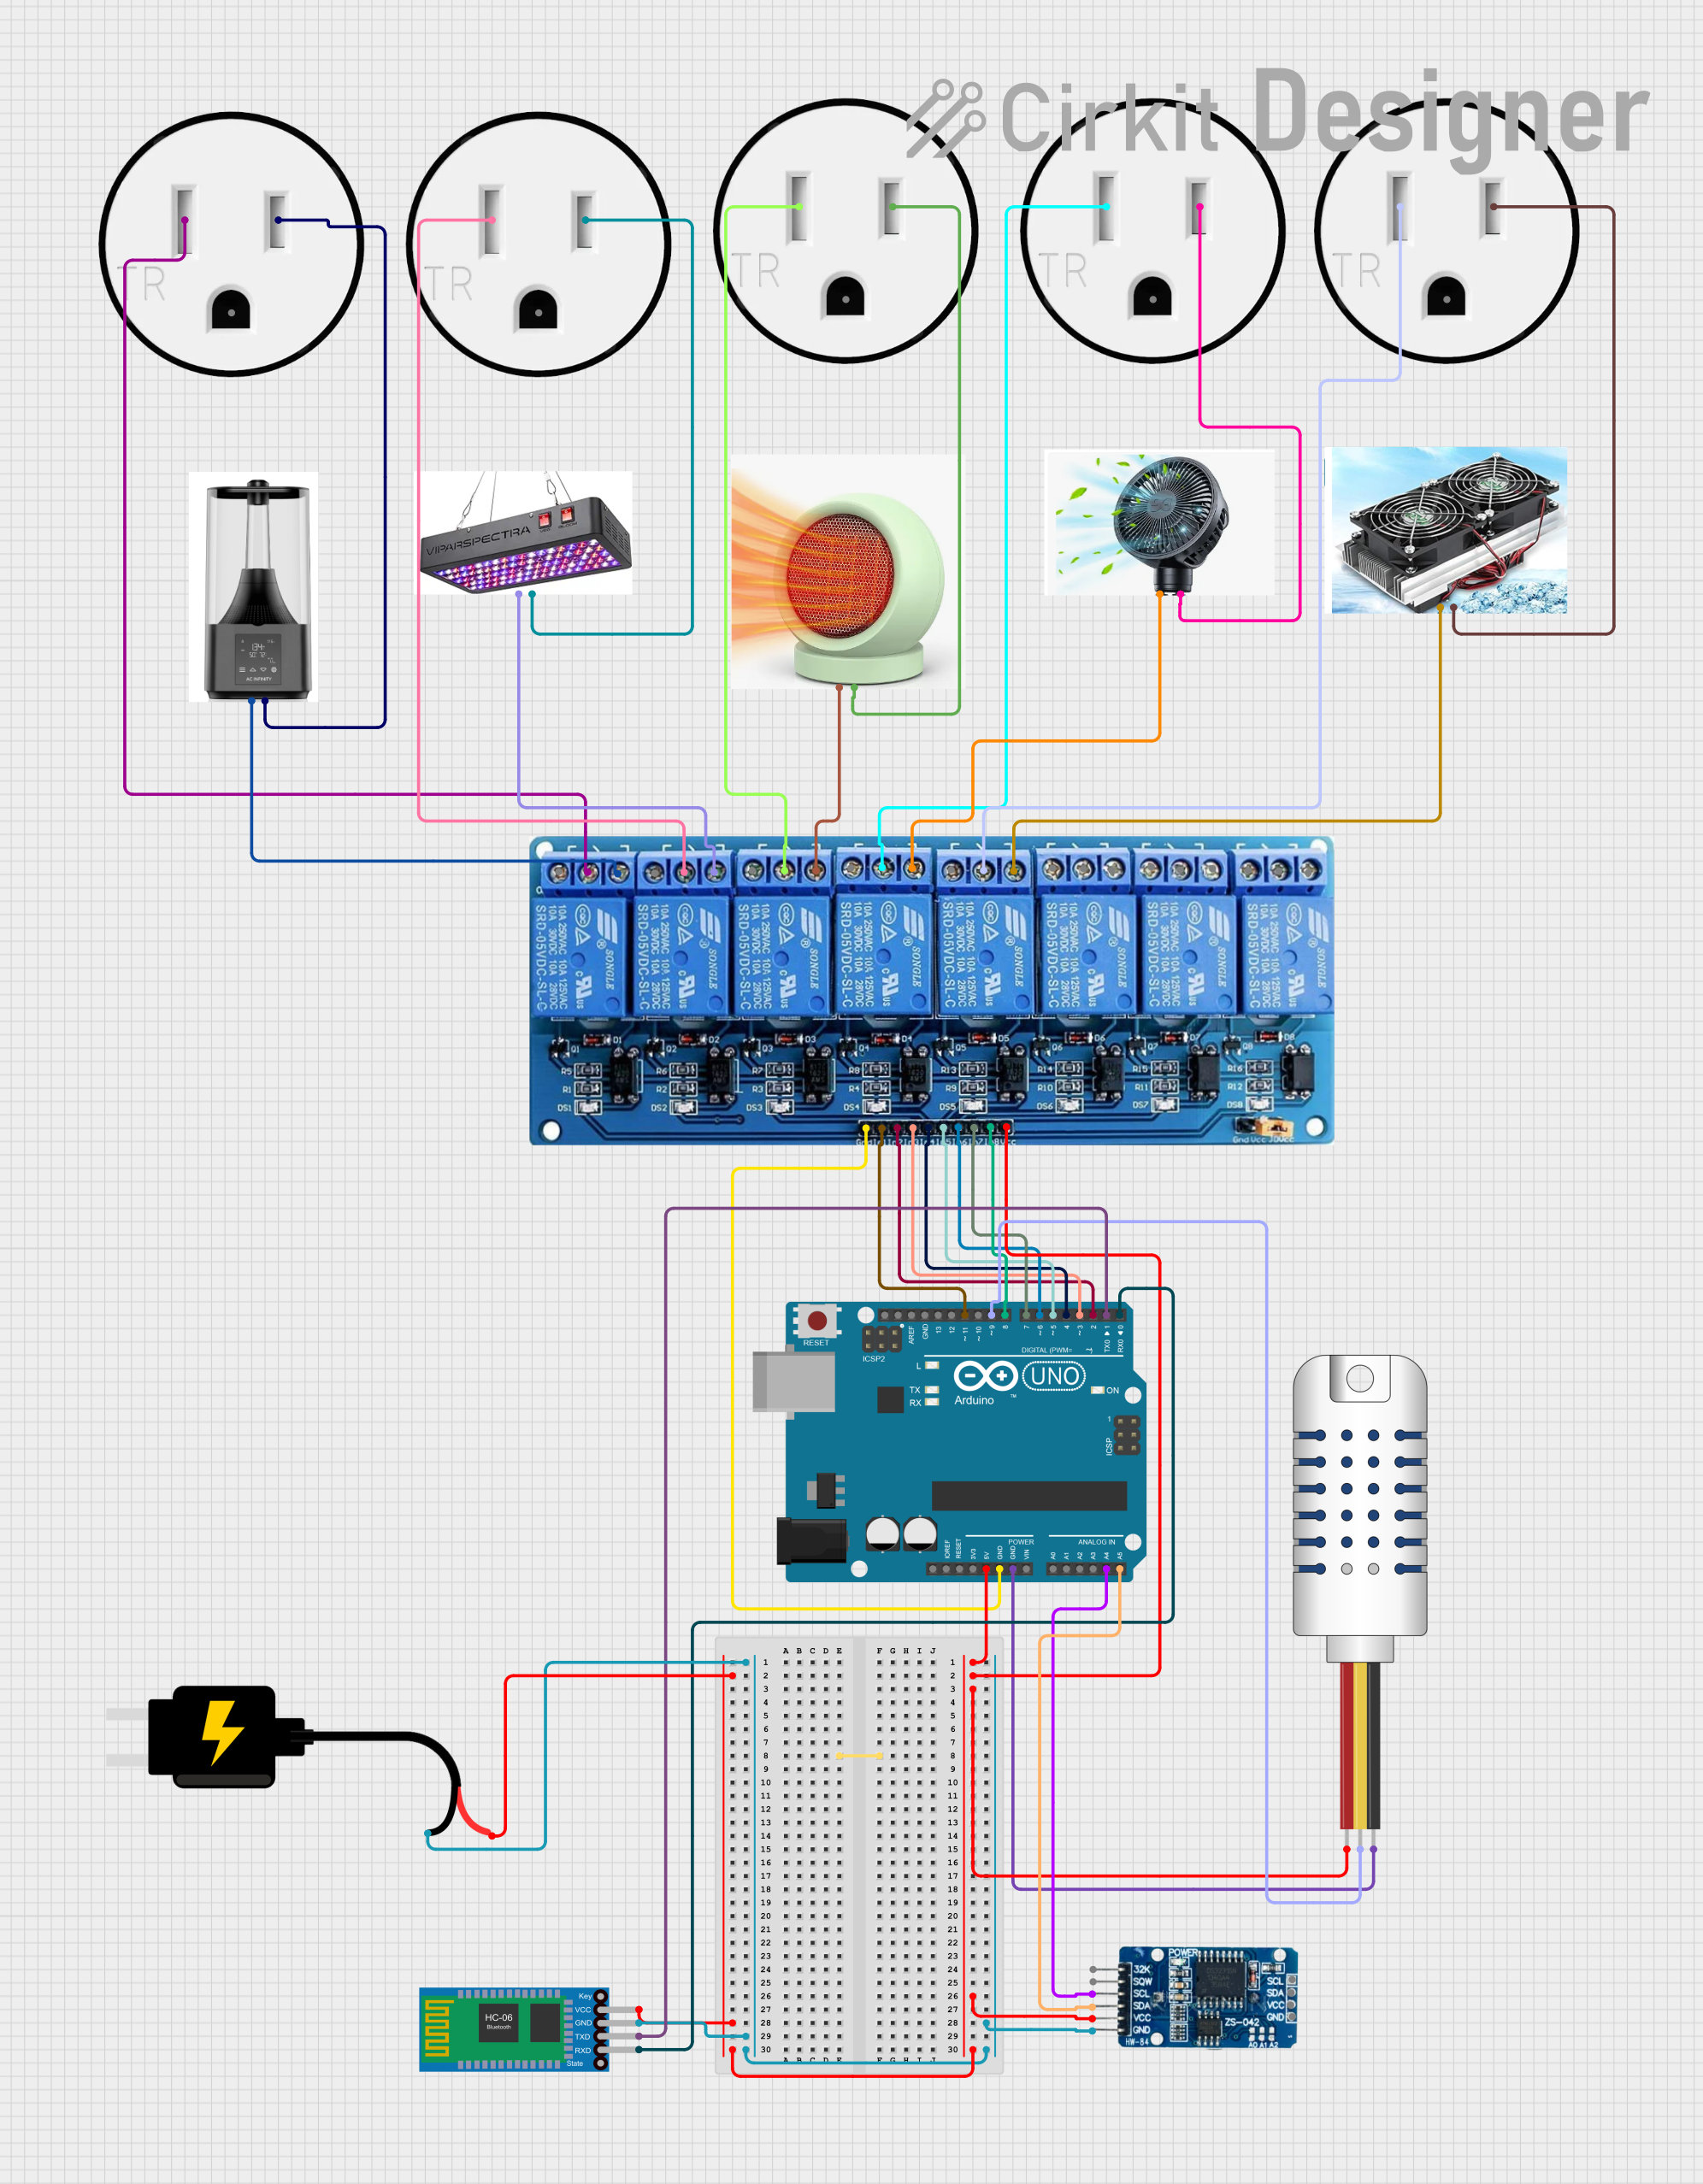
Example: Connecting to an Arduino UNO
The HVAC Damper can be controlled using an Arduino UNO with a relay module to switch the 24 VAC signal. Below is an example code snippet:
// Example code to control an HVAC Damper using Arduino UNO and a relay module
// Ensure the relay module is rated for 24 VAC switching

const int openRelayPin = 7;  // Pin connected to the relay for opening the damper
const int closeRelayPin = 8; // Pin connected to the relay for closing the damper

void setup() {
  pinMode(openRelayPin, OUTPUT);  // Set the open relay pin as output
  pinMode(closeRelayPin, OUTPUT); // Set the close relay pin as output

  // Initialize both relays to OFF state
  digitalWrite(openRelayPin, LOW);
  digitalWrite(closeRelayPin, LOW);
}

void loop() {
  // Example: Open the damper for 5 seconds
  digitalWrite(openRelayPin, HIGH); // Activate the open relay
  delay(5000);                      // Wait for 5 seconds
  digitalWrite(openRelayPin, LOW);  // Deactivate the open relay

  // Example: Close the damper for 5 seconds
  digitalWrite(closeRelayPin, HIGH); // Activate the close relay
  delay(5000);                       // Wait for 5 seconds
  digitalWrite(closeRelayPin, LOW);  // Deactivate the close relay

  delay(10000); // Wait for 10 seconds before repeating
}
Troubleshooting and FAQs
Common Issues and Solutions
Damper Not Responding:
- Cause: No power or incorrect wiring.
- Solution: Verify the power supply and check all connections. Ensure the control signal is being sent correctly.
Damper Stuck in One Position:
- Cause: Mechanical obstruction or actuator failure.
- Solution: Inspect the damper for debris or damage. Replace the actuator if necessary.
Intermittent Operation:
- Cause: Insufficient power supply or loose connections.
- Solution: Use a dedicated transformer and secure all connections.
Noisy Operation:
- Cause: Worn-out actuator or misaligned damper.
- Solution: Replace the actuator or realign the damper.
FAQs
Q: Can the damper be used with a smart thermostat?
- A: Yes, the damper can be integrated with most smart thermostats that support zoning control.
Q: What is the lifespan of the damper?
- A: The lifespan depends on usage and maintenance but typically ranges from 5 to 10 years.
Q: Can the damper be manually operated?
- A: Some models include a manual override feature for emergency operation.
Q: Is the damper compatible with DC power?
- A: No, the damper is designed for 24 VAC operation only.