How to Use DEYE-SUN-10K: Examples, Pinouts, and Specs
Introduction
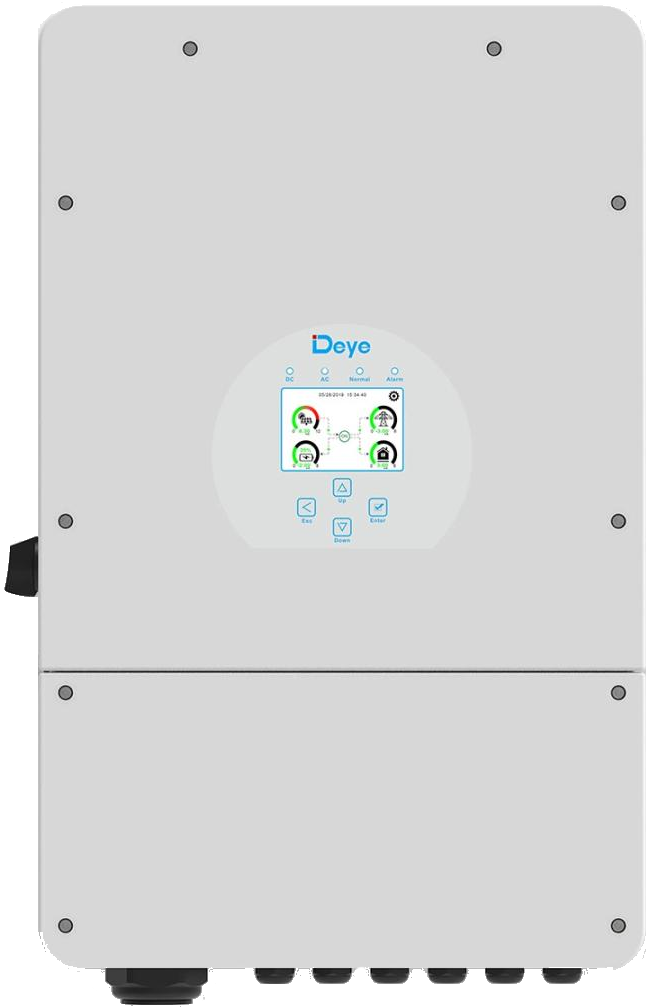
The DEYE-SUN-10K-SG02LP1-EU-AM3 is a high-performance solar charge controller designed to manage the output of solar panels and regulate battery charging. It ensures optimal energy utilization while protecting and prolonging the life of connected batteries. This component is ideal for residential and commercial solar energy systems, offering advanced features for efficient energy management.
Explore Projects Built with DEYE-SUN-10K
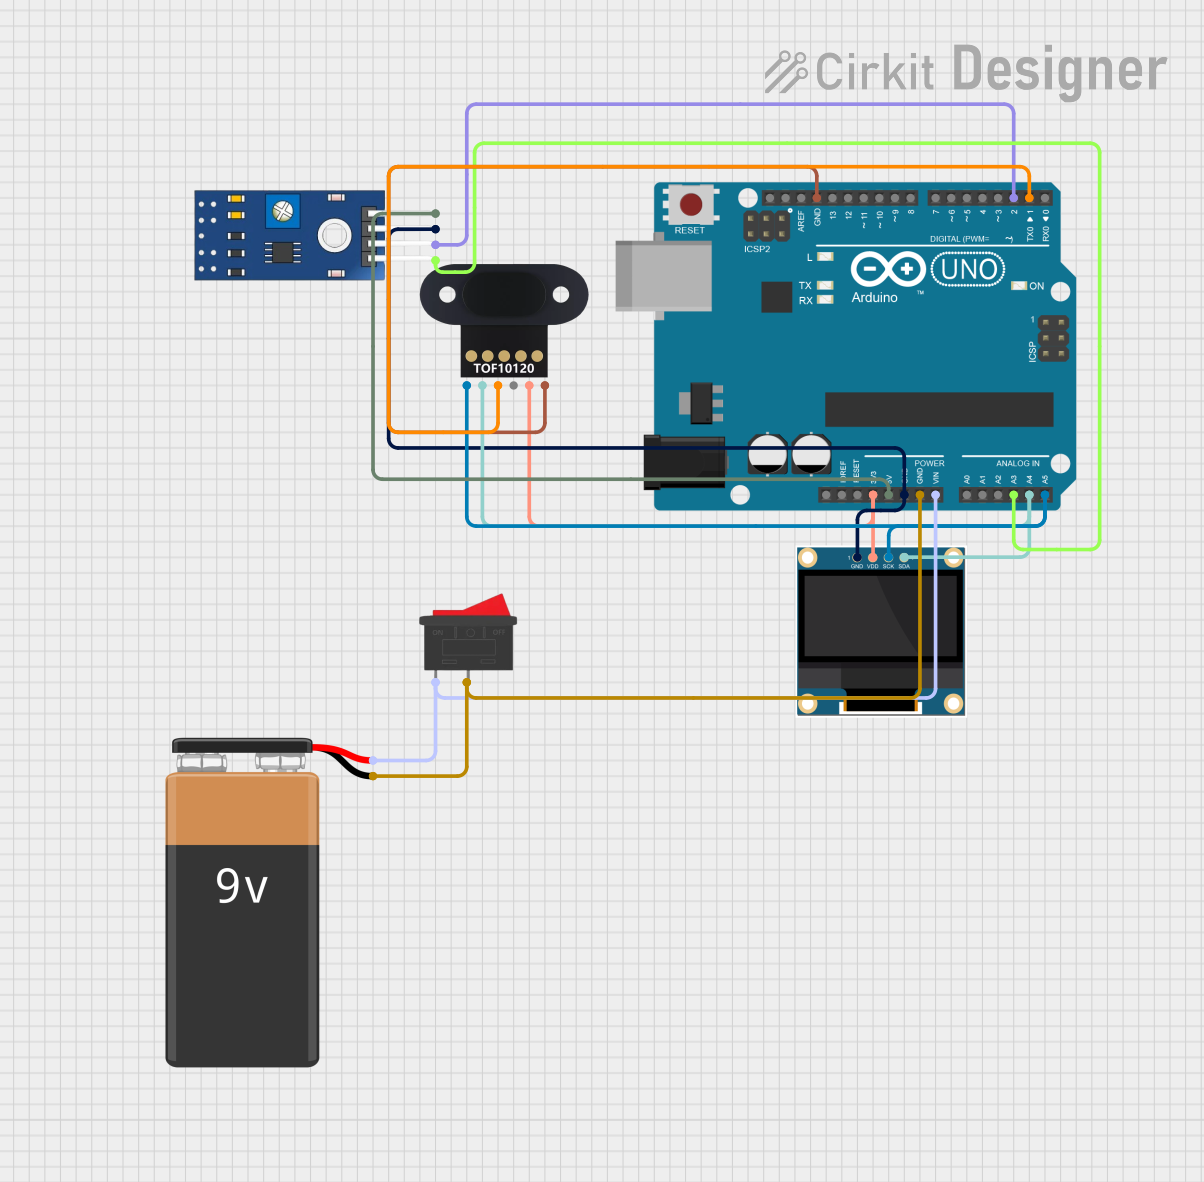
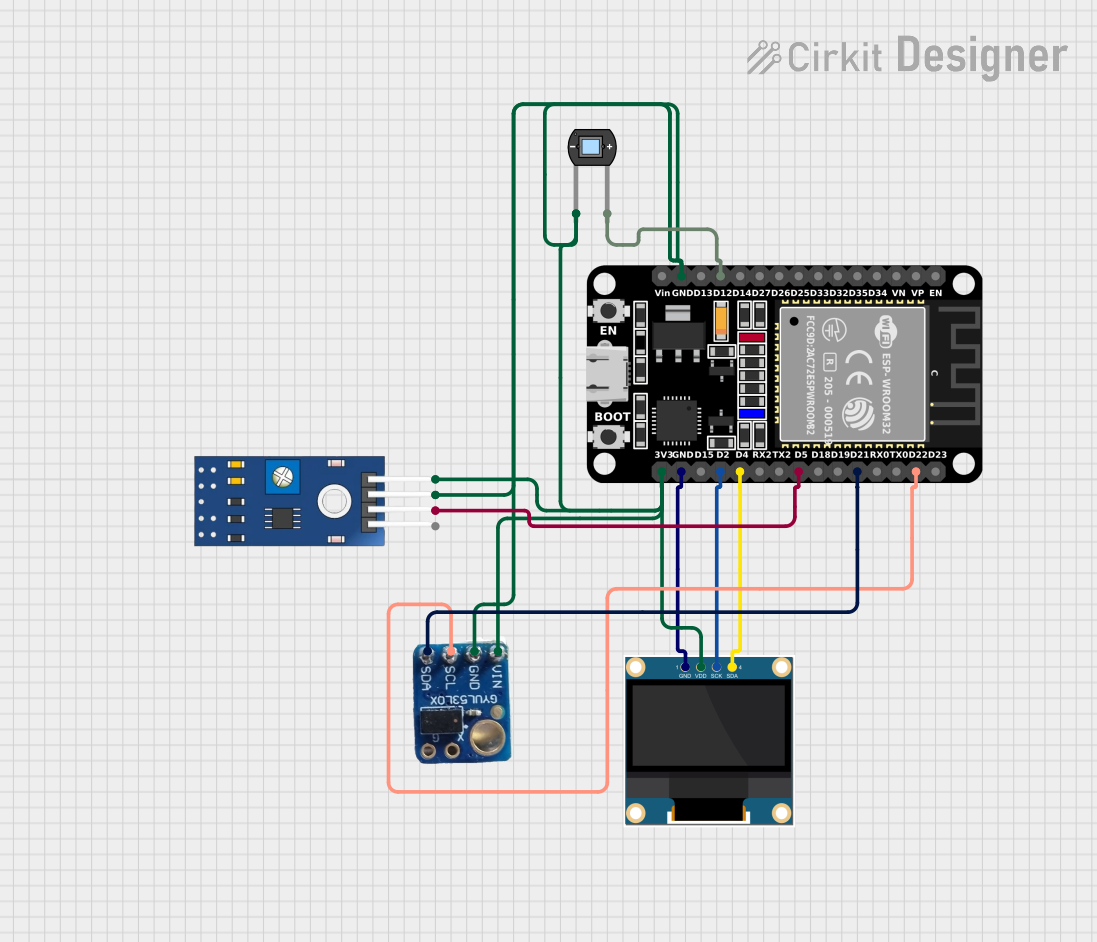
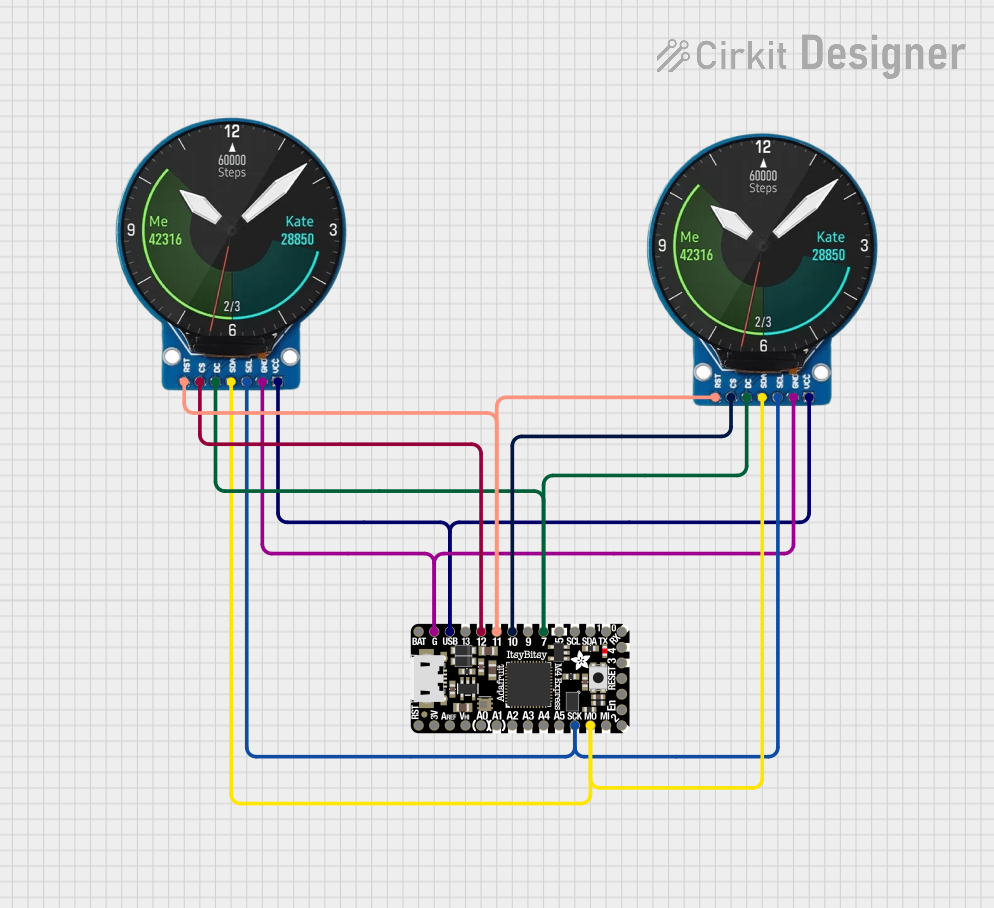
Explore Projects Built with DEYE-SUN-10K
Common Applications and Use Cases
- Residential solar power systems
- Commercial solar installations
- Off-grid and hybrid solar setups
- Battery energy storage systems
- Renewable energy projects requiring efficient charge regulation
Technical Specifications
The DEYE-SUN-10K is engineered to handle high power and provide reliable performance in demanding environments. Below are its key technical details:
Key Technical Details
| Parameter | Specification |
|---|---|
| Manufacturer | DEYE |
| Part ID | SUN-10K-SG02LP1-EU-AM3 |
| Maximum PV Input Voltage | 580 V |
| Rated Output Power | 10 kW |
| Battery Voltage Range | 48 V |
| Maximum Charging Current | 200 A |
| Efficiency | ≥ 97.6% |
| Communication Interfaces | RS485, CAN, Wi-Fi |
| Operating Temperature Range | -25°C to 60°C |
| Protection Features | Overvoltage, Overcurrent, Short Circuit |
Pin Configuration and Descriptions
The DEYE-SUN-10K features multiple input and output terminals for connecting solar panels, batteries, and communication interfaces. Below is the pin configuration:
Power Terminals
| Pin Name | Description |
|---|---|
| PV+ | Positive terminal for solar panel input |
| PV- | Negative terminal for solar panel input |
| BAT+ | Positive terminal for battery connection |
| BAT- | Negative terminal for battery connection |
| LOAD+ | Positive terminal for load output |
| LOAD- | Negative terminal for load output |
Communication Ports
| Port Name | Description |
|---|---|
| RS485 | Communication interface for monitoring and control |
| CAN | CAN bus for advanced communication |
| Wi-Fi | Wireless communication for remote monitoring |
Usage Instructions
How to Use the Component in a Circuit
Connect the Solar Panels:
- Attach the positive and negative terminals of the solar panels to the PV+ and PV- inputs, respectively.
- Ensure the total voltage of the solar array does not exceed the maximum PV input voltage (580 V).
Connect the Battery:
- Connect the battery's positive terminal to BAT+ and the negative terminal to BAT-.
- Verify that the battery voltage is within the supported range (48 V).
Connect the Load:
- Attach the load's positive and negative terminals to LOAD+ and LOAD-.
Enable Communication:
- Use the RS485 or CAN interface for wired communication with a monitoring system.
- Alternatively, configure the Wi-Fi module for wireless monitoring.
Power On:
- Once all connections are secure, power on the system and monitor the charge controller's status via the display or connected monitoring system.
Important Considerations and Best Practices
- Safety First: Always disconnect the power source before making or modifying connections.
- Voltage Matching: Ensure the solar panel and battery voltages are compatible with the charge controller's specifications.
- Proper Ventilation: Install the charge controller in a well-ventilated area to prevent overheating.
- Firmware Updates: Regularly check for firmware updates to ensure optimal performance and access to new features.
Arduino UNO Integration Example
While the DEYE-SUN-10K is not typically used with an Arduino UNO, it can be monitored using the RS485 interface. Below is an example code snippet for reading data from the charge controller using an RS485 module:
#include <SoftwareSerial.h>

// Define RS485 pins
#define RX_PIN 10  // Arduino pin connected to RS485 module's RO (Receive Out)
#define TX_PIN 11  // Arduino pin connected to RS485 module's DI (Data In)
#define DE_PIN 3   // Arduino pin connected to RS485 module's DE (Driver Enable)
#define RE_PIN 2   // Arduino pin connected to RS485 module's RE (Receiver Enable)

SoftwareSerial rs485Serial(RX_PIN, TX_PIN);

void setup() {
  pinMode(DE_PIN, OUTPUT);
  pinMode(RE_PIN, OUTPUT);

  // Initialize RS485 communication
  digitalWrite(DE_PIN, LOW);  // Disable driver
  digitalWrite(RE_PIN, LOW);  // Enable receiver
  rs485Serial.begin(9600);   // Set baud rate to 9600

  Serial.begin(9600);         // Initialize Serial Monitor
  Serial.println("RS485 Communication Initialized");
}

void loop() {
  // Enable receiver mode
  digitalWrite(DE_PIN, LOW);
  digitalWrite(RE_PIN, LOW);

  if (rs485Serial.available()) {
    String data = "";
    while (rs485Serial.available()) {
      char c = rs485Serial.read();
      data += c;
    }
    Serial.println("Received Data: " + data);
  }

  delay(1000);  // Wait for 1 second before next read
}
Notes:
- Use a compatible RS485 module to interface with the DEYE-SUN-10K.
- Refer to the charge controller's communication protocol for specific data formats.
Troubleshooting and FAQs
Common Issues and Solutions
| Issue | Possible Cause | Solution |
|---|---|---|
| No power output | Incorrect wiring or loose connections | Verify all connections and ensure proper wiring. |
| Overvoltage error | Solar panel voltage exceeds limit | Check the solar panel array voltage and adjust if necessary. |
| Communication failure | Incorrect RS485 or CAN configuration | Verify communication settings and wiring. |
| Overheating | Poor ventilation or high ambient temperature | Install in a cooler, well-ventilated location. |
FAQs
Can I use this charge controller with a 24 V battery?
No, the DEYE-SUN-10K is designed for 48 V battery systems only.How do I update the firmware?
Firmware updates can be performed via the Wi-Fi interface using the manufacturer's mobile app or software.What is the maximum solar panel array size supported?
The total voltage of the solar array must not exceed 580 V, and the total power should not exceed 10 kW.Can I monitor the system remotely?
Yes, the charge controller supports remote monitoring via Wi-Fi or a connected RS485/CAN interface.
By following this documentation, users can effectively integrate and operate the DEYE-SUN-10K in their solar energy systems.