How to Use Coin cell battery: Examples, Pinouts, and Specs
Introduction
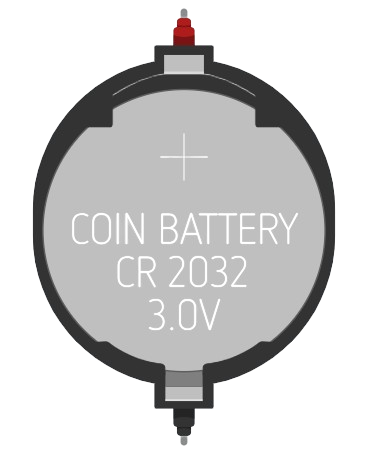
A coin cell battery is a small, round, and compact power source commonly used in low-power electronic devices. These batteries are lightweight and provide a reliable energy supply for devices such as watches, calculators, remote controls, hearing aids, and small IoT devices. Their compact size and long shelf life make them ideal for applications where space is limited and frequent battery replacement is impractical.
Explore Projects Built with Coin cell battery
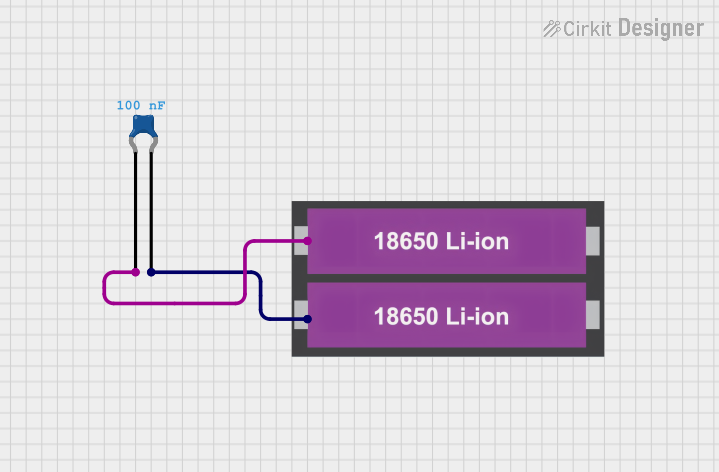
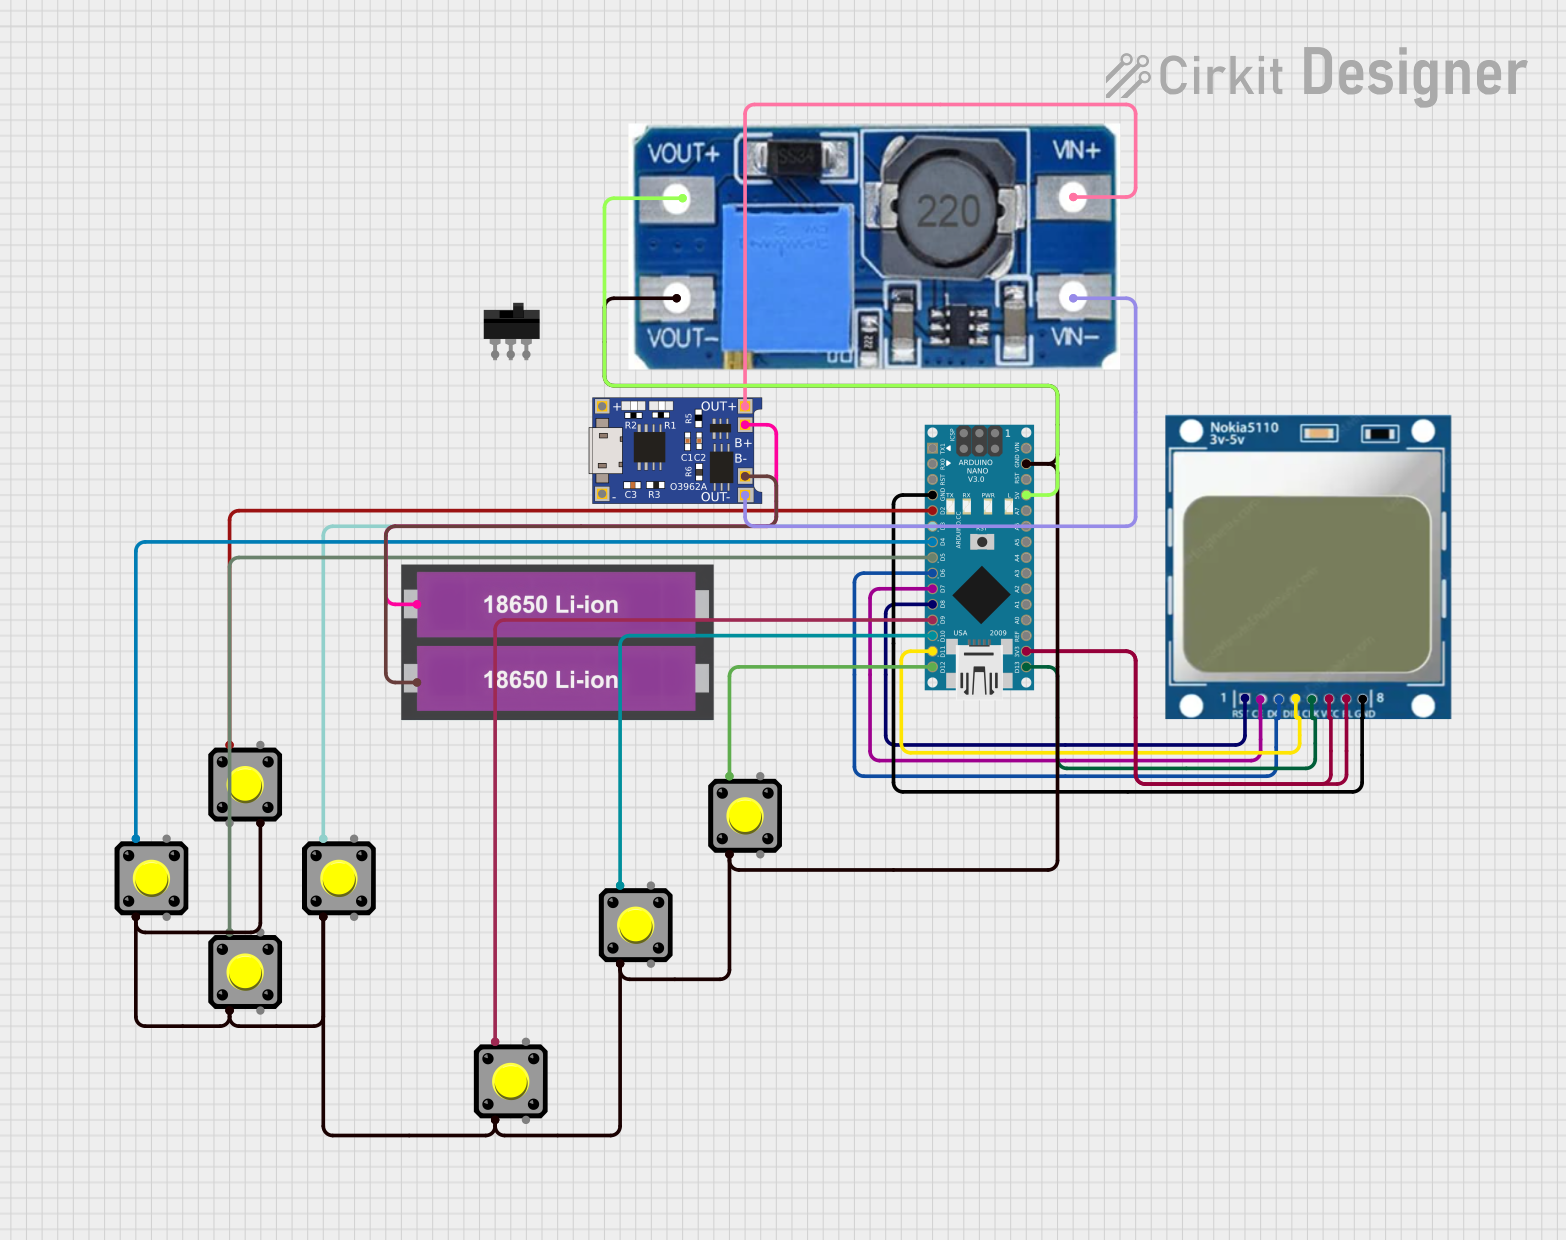

Explore Projects Built with Coin cell battery
Technical Specifications
Below are the general technical specifications for a typical coin cell battery (e.g., CR2032). Note that specific values may vary depending on the model and manufacturer.
| Parameter | Specification |
|---|---|
| Battery Type | Lithium Manganese Dioxide (LiMnO2) |
| Nominal Voltage | 3.0 V |
| Capacity | ~220 mAh (varies by model) |
| Diameter | 20 mm (CR2032 example) |
| Thickness | 3.2 mm (CR2032 example) |
| Operating Temperature | -20°C to +60°C |
| Shelf Life | ~10 years |
Pin Configuration and Descriptions
Coin cell batteries have two terminals: the positive terminal (anode) and the negative terminal (cathode). These terminals are typically marked on the battery casing.
| Terminal | Description |
|---|---|
| Positive (+) | The flat side of the battery, marked with a "+" symbol. |
| Negative (-) | The rounded side of the battery, typically unmarked. |
Usage Instructions
How to Use the Coin Cell Battery in a Circuit
- Identify the Terminals: Ensure you correctly identify the positive (+) and negative (-) terminals of the battery.
- Insert into a Battery Holder: Use a compatible coin cell battery holder to securely connect the battery to your circuit. This prevents accidental short circuits and ensures proper contact.
- Connect to the Circuit: Wire the battery holder's positive and negative terminals to the corresponding points in your circuit.
- Check Voltage Requirements: Ensure the device or circuit operates within the 3.0 V range provided by the coin cell battery.
Important Considerations and Best Practices
- Avoid Short Circuits: Never connect the positive and negative terminals directly, as this can cause overheating or damage to the battery.
- Current Limitations: Coin cell batteries are designed for low-power applications. Avoid using them in circuits that require high current, as this can deplete the battery quickly or cause it to overheat.
- Proper Disposal: Dispose of used coin cell batteries responsibly, as they contain chemicals that can harm the environment.
- Storage: Store batteries in a cool, dry place to maximize their shelf life.
Example: Using a Coin Cell Battery with an Arduino UNO
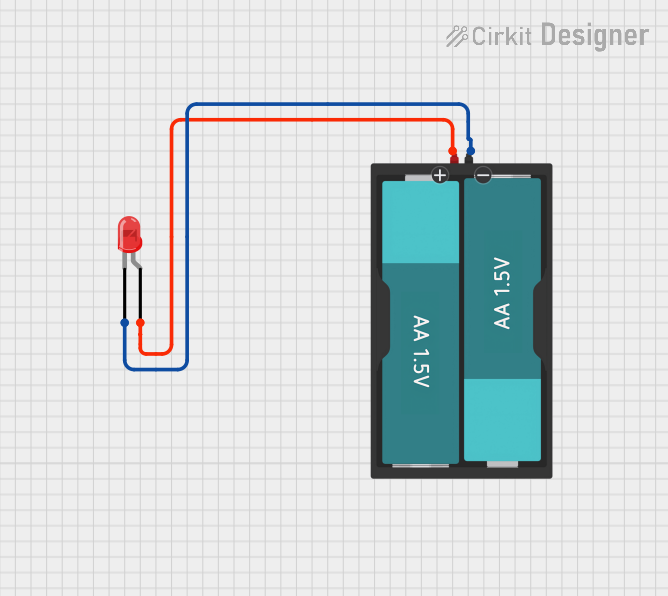
While coin cell batteries are not typically used to power an Arduino UNO directly (due to current limitations), they can be used to power low-power sensors or modules connected to the Arduino. Below is an example of using a coin cell battery to power an LED.
Circuit Setup
- Connect the positive terminal of the coin cell battery to a 220-ohm resistor.
- Connect the other end of the resistor to the anode (long leg) of the LED.
- Connect the cathode (short leg) of the LED to the negative terminal of the battery.
Arduino Code (for reference, if using an external power source for the Arduino):
// This code demonstrates how to blink an LED connected to an Arduino UNO.
// Note: The LED in this example is powered by the Arduino, not the coin cell.

const int ledPin = 13; // Pin connected to the onboard LED

void setup() {
  pinMode(ledPin, OUTPUT); // Set the LED pin as an output
}

void loop() {
  digitalWrite(ledPin, HIGH); // Turn the LED on
  delay(1000);                // Wait for 1 second
  digitalWrite(ledPin, LOW);  // Turn the LED off
  delay(1000);                // Wait for 1 second
}
Troubleshooting and FAQs
Common Issues
Battery Drains Quickly
- Cause: The circuit may be drawing too much current.
- Solution: Ensure the circuit's current requirements are within the battery's capacity. Use low-power components where possible.
Device Does Not Power On
- Cause: Incorrect battery orientation or poor contact in the holder.
- Solution: Verify the battery is inserted correctly with the positive and negative terminals aligned properly. Check for secure connections.
Battery Overheats
- Cause: A short circuit or excessive current draw.
- Solution: Inspect the circuit for short circuits and ensure the load is appropriate for the battery.
FAQs
Q: Can I recharge a coin cell battery?
A: Most coin cell batteries, such as the CR2032, are not rechargeable. Attempting to recharge them can be dangerous. Use rechargeable coin cells (e.g., LIR2032) if recharging is required.
Q: How do I know when the battery is depleted?
A: Measure the battery's voltage with a multimeter. If the voltage drops significantly below 3.0 V (e.g., below 2.5 V), the battery is nearing depletion.
Q: Can I use multiple coin cell batteries in series?
A: Yes, you can connect coin cell batteries in series to increase the voltage. For example, two CR2032 batteries in series will provide 6.0 V. Ensure your circuit can handle the increased voltage.