
How to Use LilyPad LED: Examples, Pinouts, and Specs

 Design with LilyPad LED in Cirkit Designer
Introduction
The LilyPad LED (Manufacturer Part ID: DEV-10081) is a sewable light-emitting diode (LED) designed by SparkFun Electronics for use in e-textiles and wearable electronics. This component is part of the LilyPad ecosystem, which is specifically tailored for integration into fabric-based projects. The LilyPad LED is lightweight, flexible, and features large sewable pads, making it easy to connect with conductive thread.
Explore Projects Built with LilyPad LED
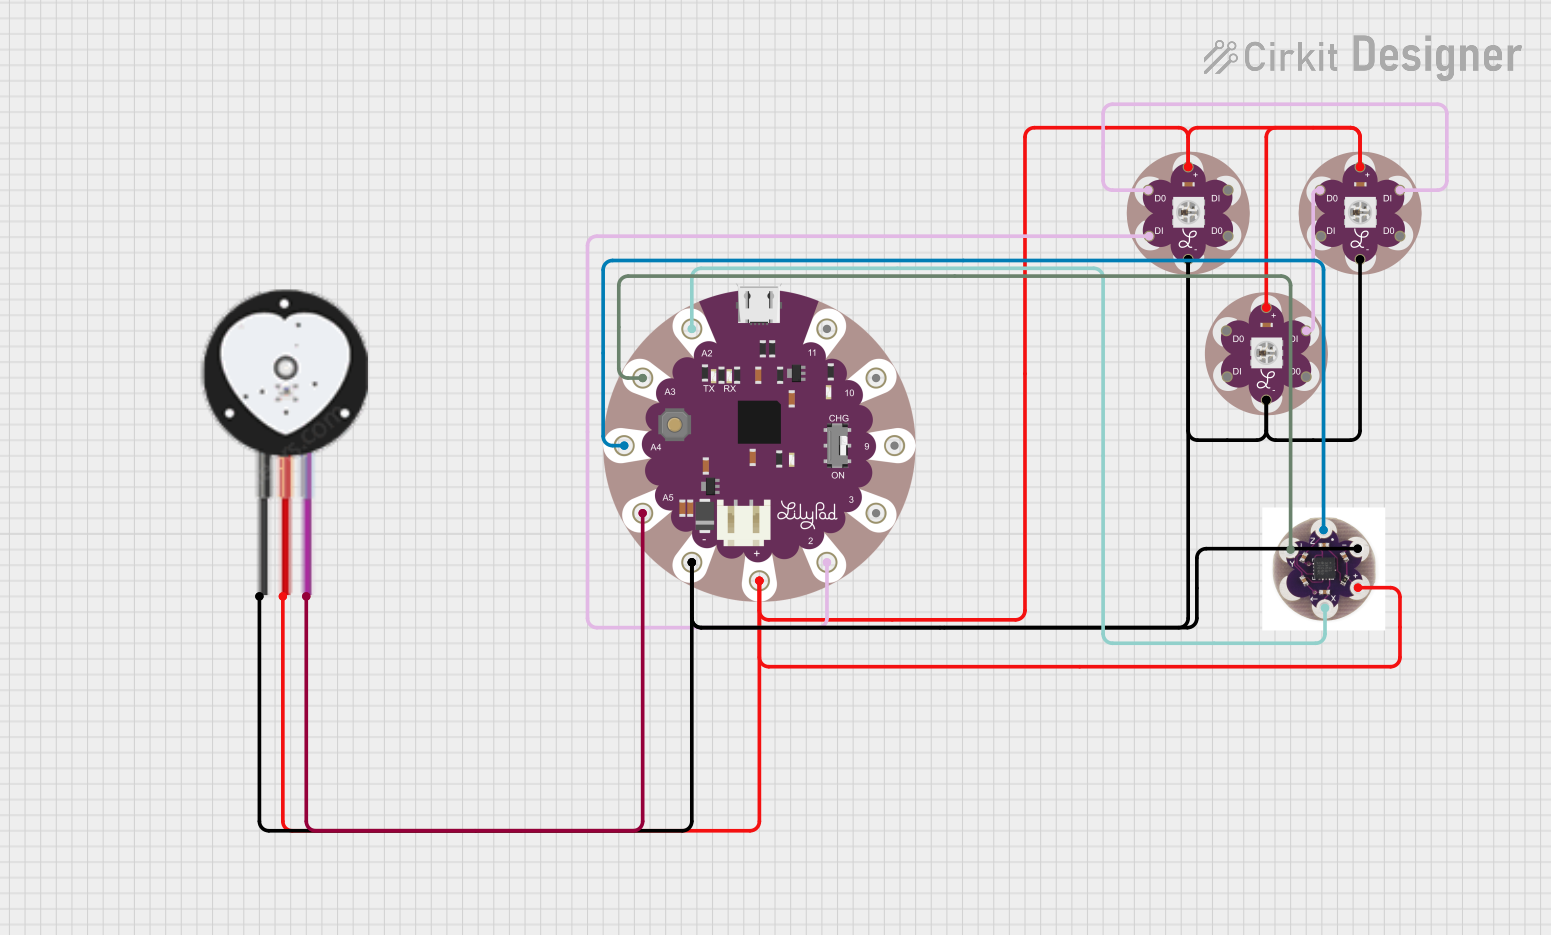 Open Project in Cirkit Designer
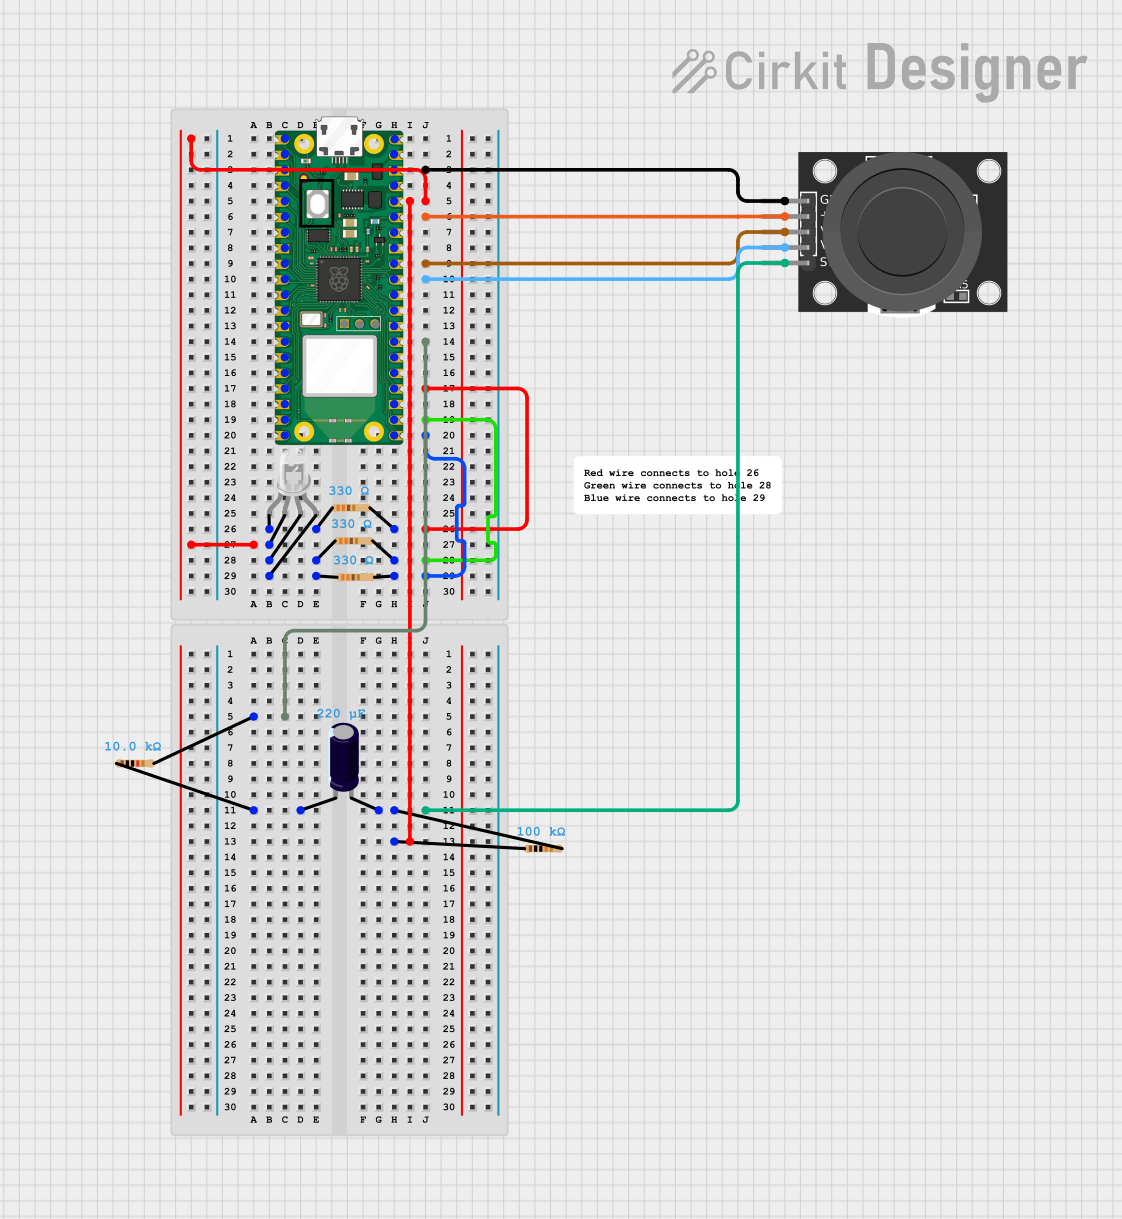 Open Project in Cirkit Designer
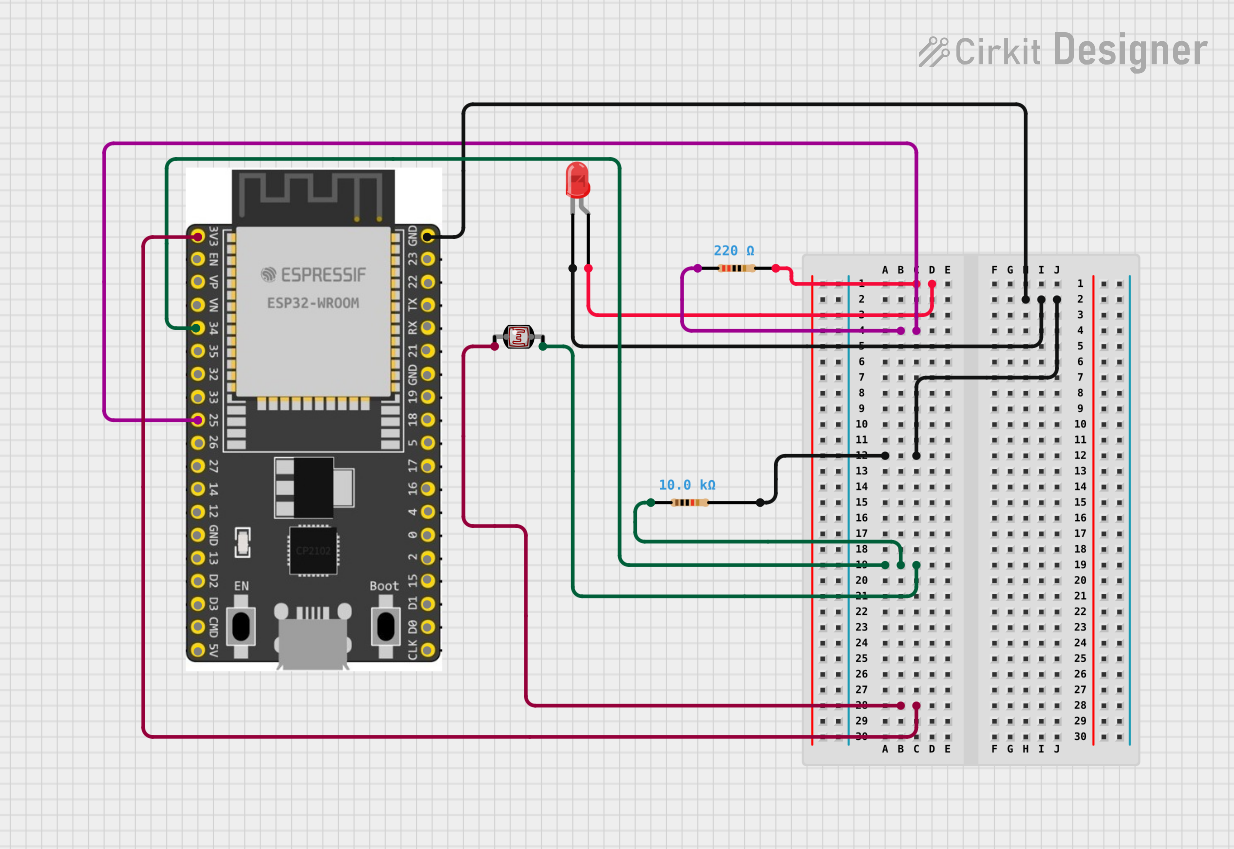 Open Project in Cirkit Designer
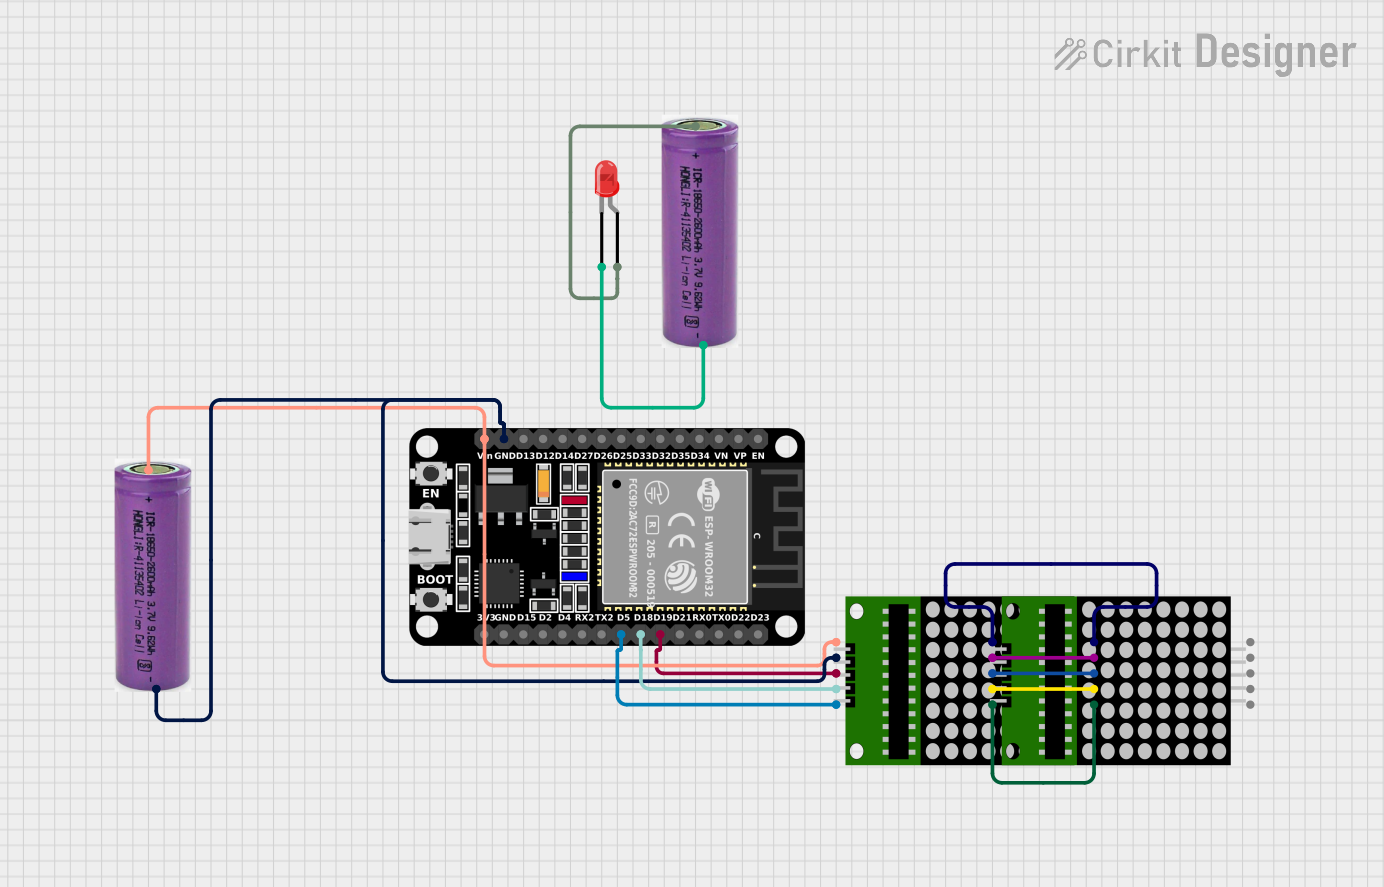 Open Project in Cirkit Designer
Explore Projects Built with LilyPad LED
Open Project in Cirkit DesignerOpen Project in Cirkit DesignerOpen Project in Cirkit DesignerOpen Project in Cirkit DesignerCommon Applications and Use Cases
- Wearable electronics and fashion technology
- Interactive clothing and accessories
- Light-up costumes and cosplay
- Textile-based art installations
- Educational projects for learning about circuits and e-textiles
Technical Specifications
The LilyPad LED is a simple yet versatile component. Below are its key technical details:
| Parameter | Value |
|---|---|
| Operating Voltage | 2.0V - 5.5V |
| Typical Forward Voltage | 2.0V (Red), 3.2V (Blue/White/Green) |
| Maximum Current | 20mA |
| LED Color Options | Red, Blue, Green, White, etc. |
| Dimensions | 11mm diameter |
| Mounting Style | Sewable with conductive thread |
Pin Configuration and Descriptions
The LilyPad LED has two sewable pads for electrical connections:
| Pad Name | Description |
|---|---|
| Positive (+) | Connect to the positive terminal of the power source or microcontroller output. |
| Negative (-) | Connect to the ground (GND) of the circuit. |
Usage Instructions
The LilyPad LED is straightforward to use in e-textile projects. Follow the steps below to integrate it into your design:
Step 1: Prepare Your Materials
- Gather the LilyPad LED, conductive thread, a needle, and fabric.
- Ensure you have a power source (e.g., a LilyPad Power Supply or a coin cell battery holder).
Step 2: Sew the Circuit
- Use conductive thread to sew the Positive (+) pad of the LilyPad LED to the positive terminal of your power source or microcontroller.
- Sew the Negative (-) pad to the ground (GND) terminal.
- Ensure the thread connections are tight and do not cross to avoid short circuits.
Step 3: Power the Circuit
- Connect the power source to the circuit. The LED will light up when powered correctly.
Important Considerations and Best Practices
- Current Limiting Resistor: If connecting the LilyPad LED to a microcontroller (e.g., Arduino UNO), use a current-limiting resistor (typically 220Ω to 330Ω) in series with the LED to prevent damage.
- Conductive Thread Care: Avoid fraying or overlapping conductive threads, as this can cause short circuits.
- Power Supply: Ensure the voltage supplied matches the LED's operating voltage range.
Example: Connecting to an Arduino UNO
The LilyPad LED can be controlled using an Arduino UNO. Below is an example code to blink the LED:
// Example code to blink a LilyPad LED using Arduino UNO
// Connect the Positive (+) pad of the LilyPad LED to pin 9
// Connect the Negative (-) pad to GND

const int ledPin = 9; // Pin connected to the LilyPad LED

void setup() {
  pinMode(ledPin, OUTPUT); // Set pin 9 as an output
}

void loop() {
  digitalWrite(ledPin, HIGH); // Turn the LED on
  delay(1000);               // Wait for 1 second
  digitalWrite(ledPin, LOW);  // Turn the LED off
  delay(1000);               // Wait for 1 second
}
Troubleshooting and FAQs
Common Issues
The LED does not light up.
- Solution: Check the connections to ensure the Positive (+) and Negative (-) pads are correctly sewn to the power source. Verify that the power supply voltage is within the operating range of the LED.
The LED is dim or flickering.
- Solution: Ensure the conductive thread connections are tight and not frayed. Check for loose connections or insufficient power supply.
The LED gets hot.
- Solution: Use a current-limiting resistor (220Ω to 330Ω) in series with the LED to prevent excessive current flow.
Short circuits in the fabric.
- Solution: Inspect the conductive thread for overlaps or fraying. Use insulating fabric or tape to separate crossing threads.
FAQs
Q: Can I use multiple LilyPad LEDs in the same circuit?
A: Yes, you can sew multiple LilyPad LEDs in parallel or series, depending on your design. Ensure the power supply can handle the total current draw.
Q: Is the LilyPad LED washable?
A: The LilyPad LED is washable, but you must ensure all connections are secure and use washable conductive thread. Hand washing is recommended.
Q: Can I control the brightness of the LilyPad LED?
A: Yes, you can control the brightness using pulse-width modulation (PWM) if connected to a microcontroller like the Arduino UNO.
By following this documentation, you can effectively integrate the LilyPad LED into your e-textile projects and troubleshoot common issues.