
How to Use MyoWare Cable Shield: Examples, Pinouts, and Specs
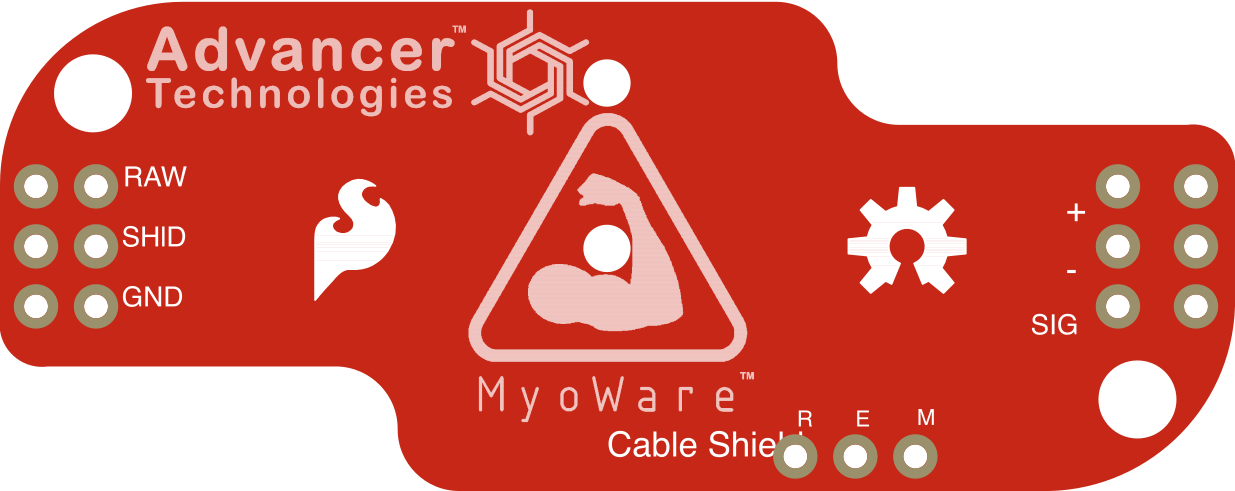
 Design with MyoWare Cable Shield in Cirkit Designer
Introduction
The MyoWare Cable Shield by Advancer Technologies is a protective add-on designed to enhance the durability and usability of the MyoWare Muscle Sensor. This shield provides secure connections for electrode cables, reducing strain on the MyoWare sensor and preventing potential damage during operation. It is an essential accessory for applications requiring frequent cable connections or extended use in dynamic environments.
Explore Projects Built with MyoWare Cable Shield
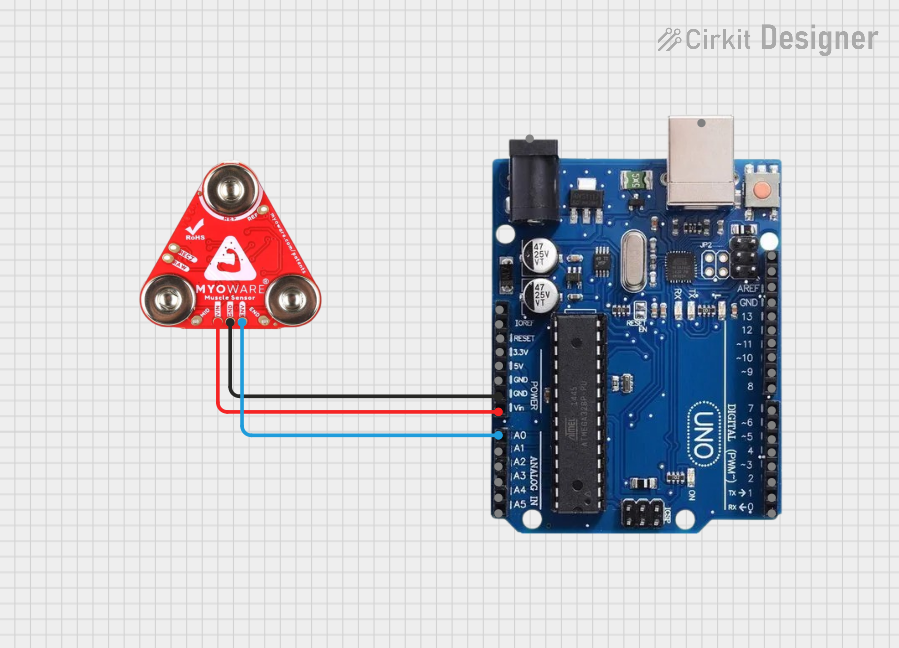 Open Project in Cirkit Designer
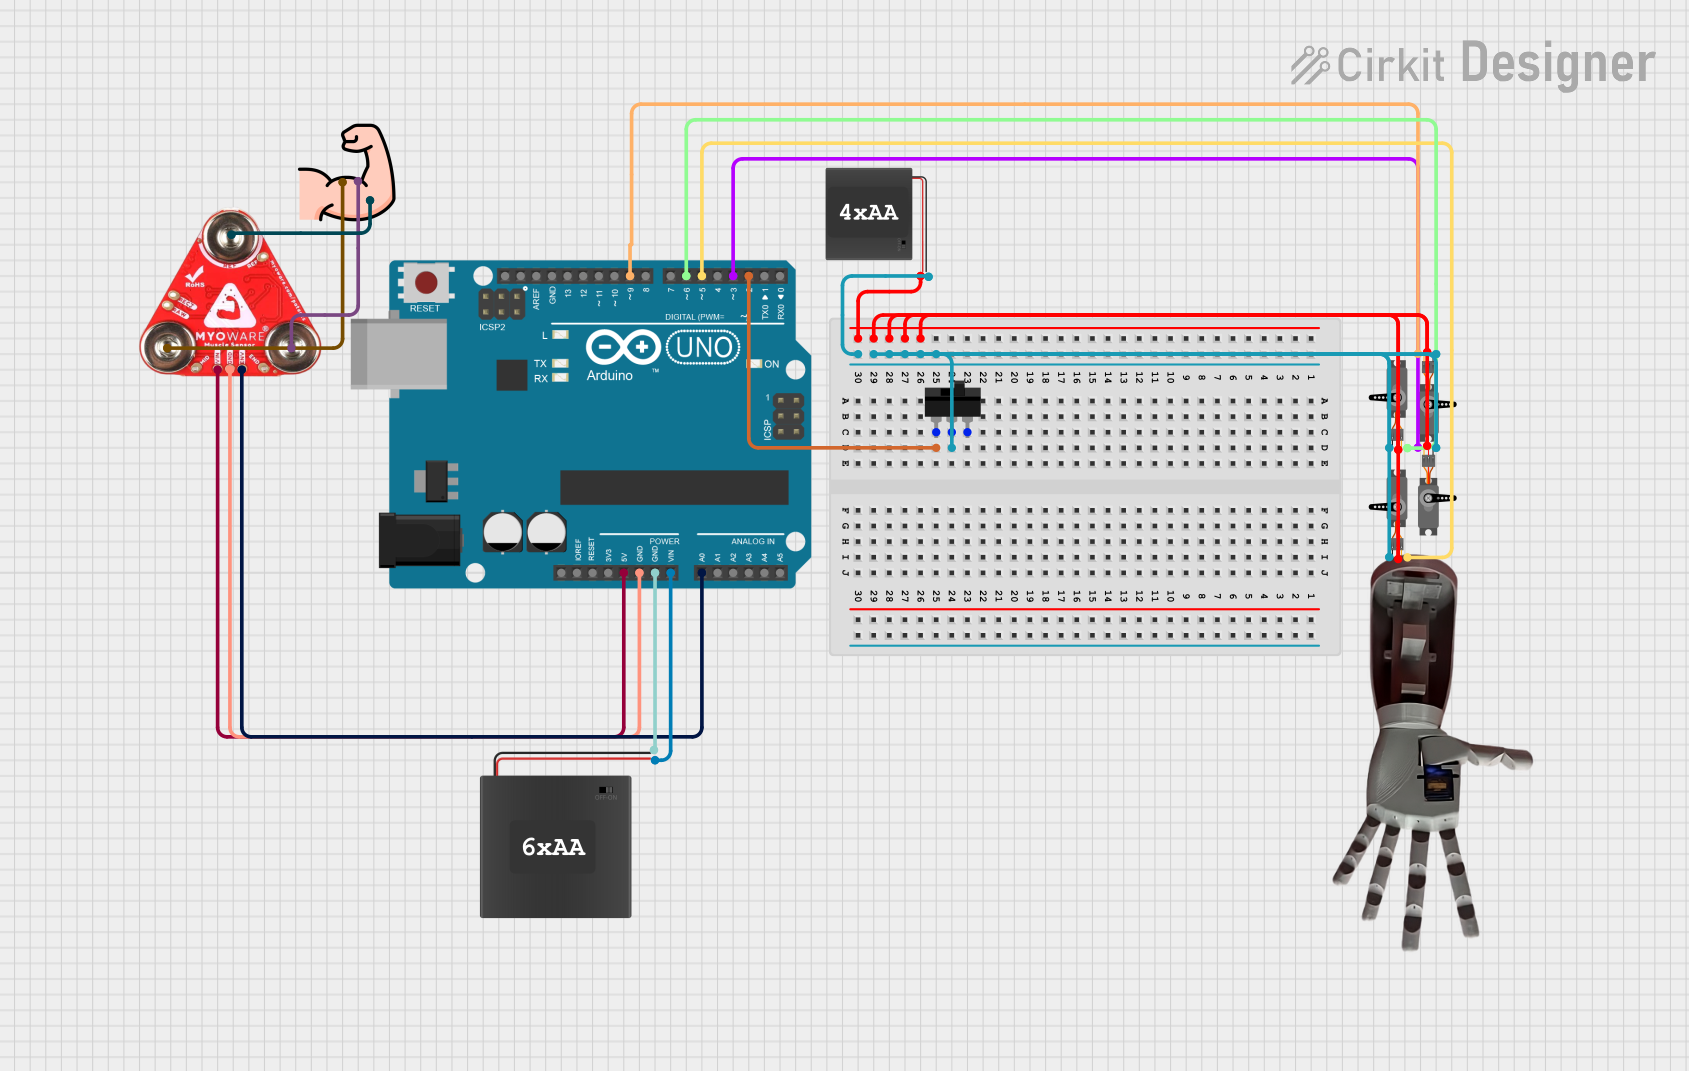 Open Project in Cirkit Designer
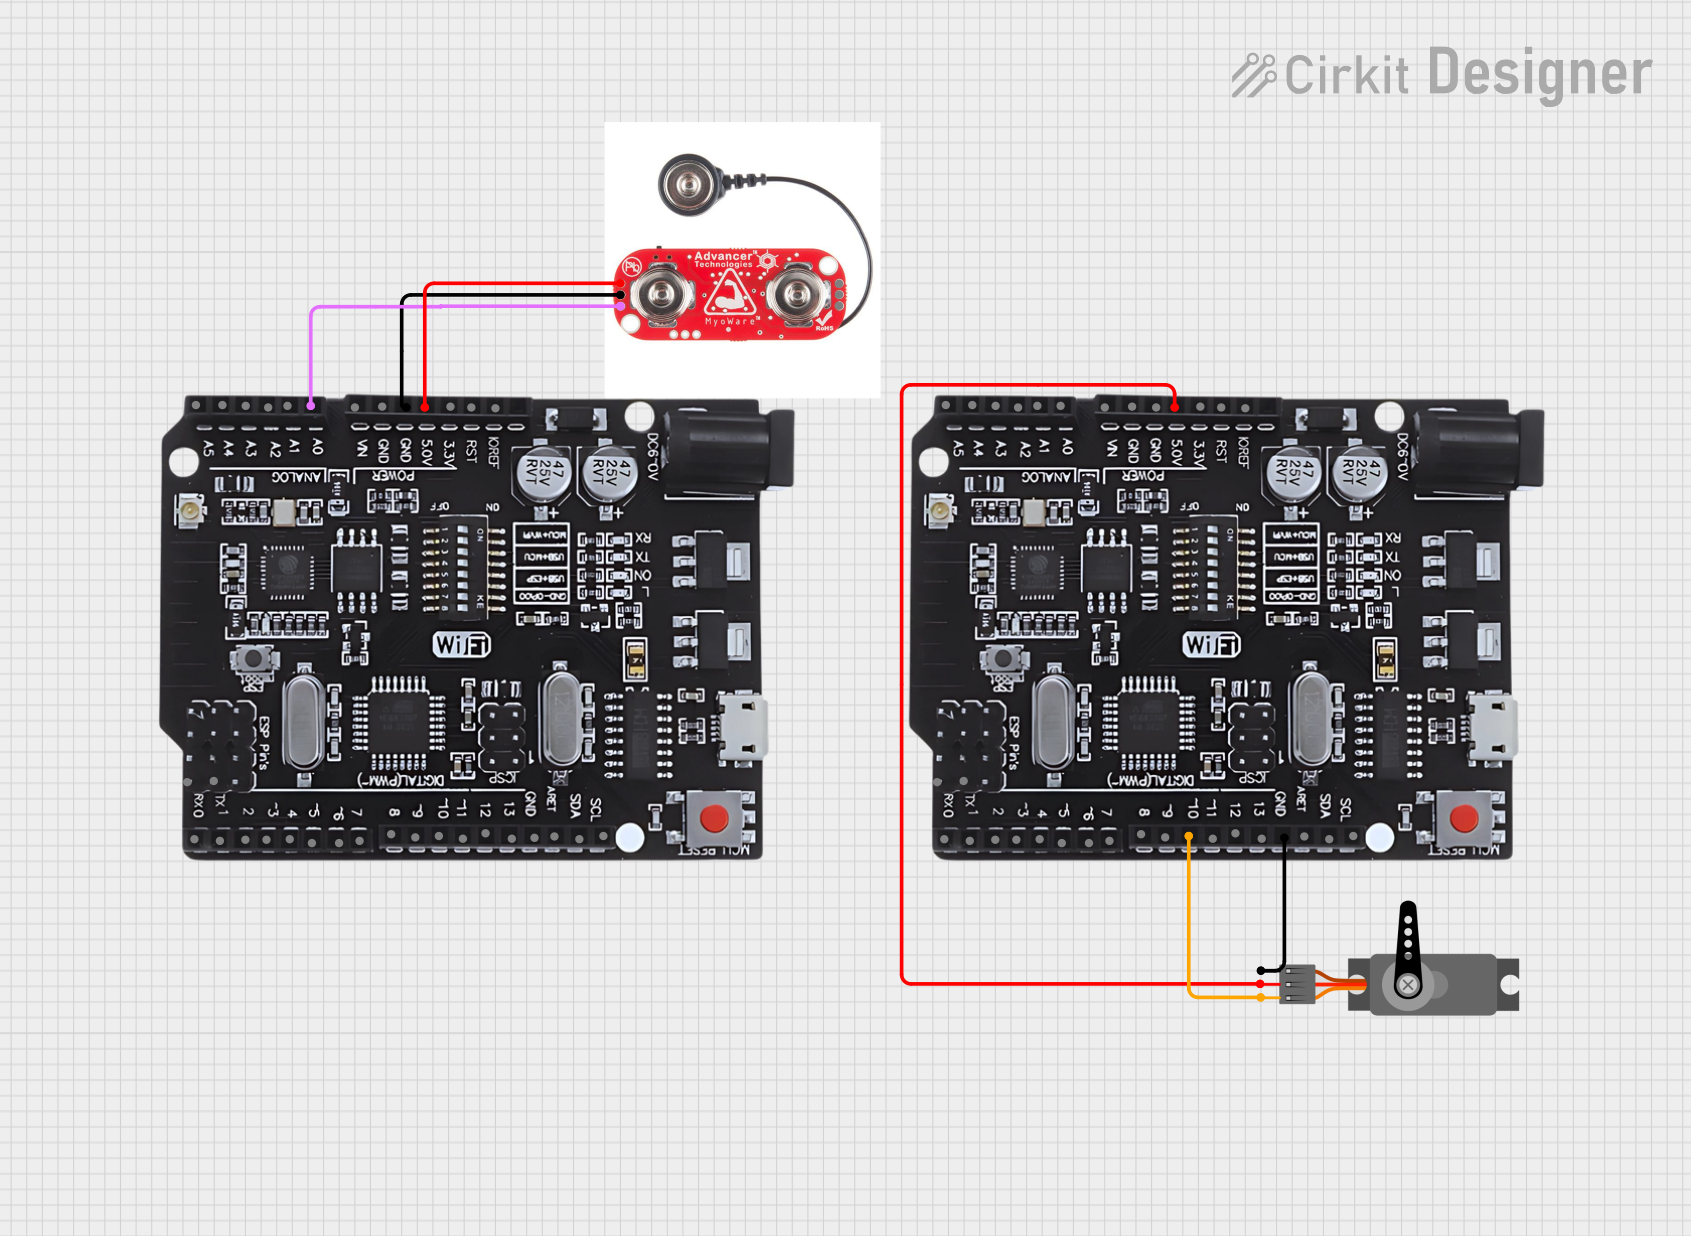 Open Project in Cirkit Designer
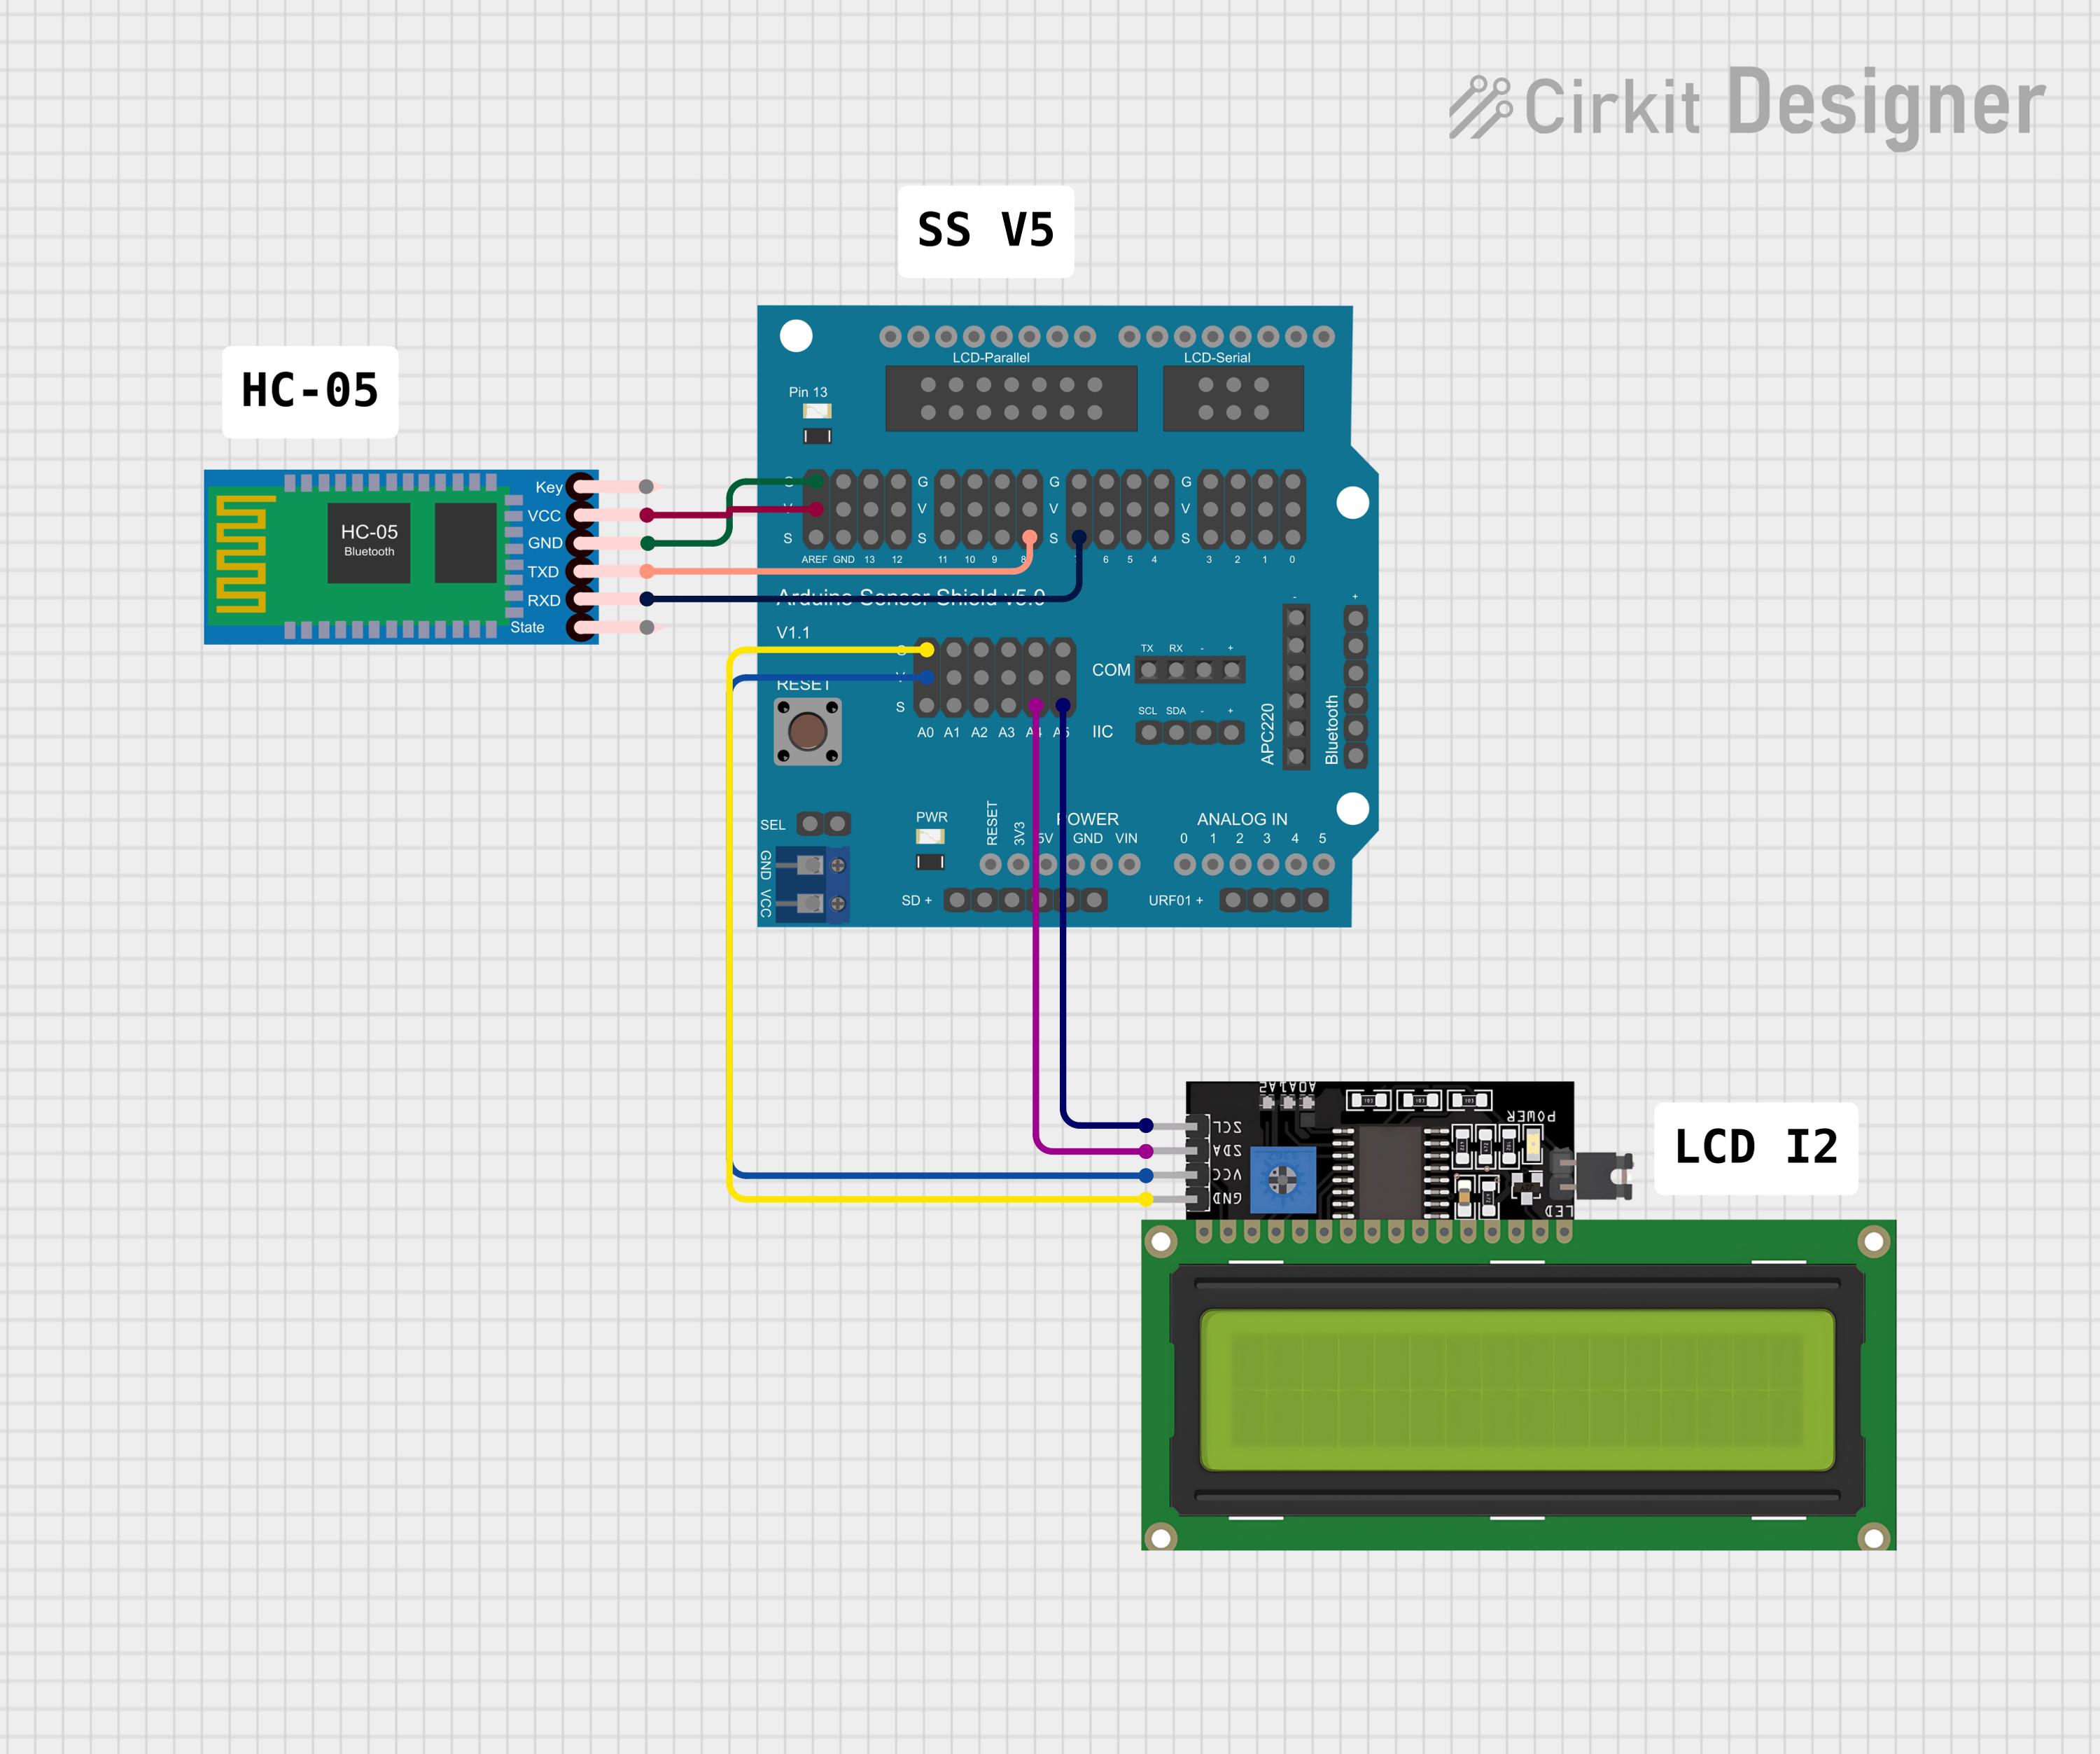 Open Project in Cirkit Designer
Explore Projects Built with MyoWare Cable Shield
Open Project in Cirkit DesignerOpen Project in Cirkit DesignerOpen Project in Cirkit DesignerOpen Project in Cirkit DesignerCommon Applications and Use Cases
- Biomedical and muscle signal (EMG) sensing projects
- Robotics and prosthetics control systems
- Wearable technology and fitness monitoring devices
- Educational and research purposes in bioelectronics
Technical Specifications
The MyoWare Cable Shield is designed to seamlessly integrate with the MyoWare Muscle Sensor. Below are its key technical details:
General Specifications
| Parameter | Value |
|---|---|
| Manufacturer | Advancer Technologies |
| Compatibility | MyoWare Muscle Sensor |
| Dimensions | 1.0" x 1.0" (25.4mm x 25.4mm) |
| Weight | ~2g |
| Connector Type | 3.5mm TRS (Tip-Ring-Sleeve) jack for cables |
| Operating Temperature | -40°C to 85°C |
Pin Configuration and Descriptions
The MyoWare Cable Shield does not have traditional pins but instead features a 3.5mm TRS jack for connecting electrode cables. Below is a description of the connections:
| Pin/Connection | Description |
|---|---|
| Tip (T) | Signal input from the positive electrode |
| Ring (R) | Signal input from the negative electrode |
| Sleeve (S) | Ground connection for the electrode system |
Usage Instructions
The MyoWare Cable Shield is straightforward to use and provides a robust interface for connecting electrode cables to the MyoWare Muscle Sensor. Follow the steps below to integrate it into your project:
Step-by-Step Instructions
Attach the Shield to the MyoWare Muscle Sensor
- Align the MyoWare Cable Shield with the MyoWare Muscle Sensor's header pins.
- Gently press the shield onto the sensor until it is securely connected.
Connect Electrode Cables
- Insert the 3.5mm TRS jack of the electrode cable into the shield's connector.
- Ensure the jack is fully seated to avoid loose connections.
Place Electrodes on the Skin
- Attach the electrode pads to the desired muscle group.
- Connect the electrode cables to the pads, ensuring proper placement for accurate signal acquisition.
Integrate with Your Circuit
- Connect the MyoWare Muscle Sensor (with the shield attached) to your microcontroller or data acquisition system.
- Follow the MyoWare Muscle Sensor's documentation for signal processing and interfacing.
Important Considerations and Best Practices
- Cable Strain Relief: The shield helps reduce strain on the MyoWare Muscle Sensor, but avoid excessive pulling or bending of the cables to prolong the lifespan of the shield and sensor.
- Secure Connections: Ensure all connections are tight and stable to prevent signal loss or noise.
- Electrode Placement: Proper electrode placement is critical for accurate EMG signal acquisition. Refer to the MyoWare Muscle Sensor documentation for guidance.
- Power Supply: Use a stable power source for the MyoWare Muscle Sensor to avoid introducing noise into the signal.
Example Arduino Code
The MyoWare Cable Shield itself does not require programming, but it works in conjunction with the MyoWare Muscle Sensor. Below is an example Arduino sketch to read EMG signals from the MyoWare Muscle Sensor:
// Example Arduino code to read EMG signals from the MyoWare Muscle Sensor
// connected via the MyoWare Cable Shield.

// Define the analog pin connected to the MyoWare Muscle Sensor
const int emgPin = A0;

void setup() {
  // Initialize serial communication for debugging
  Serial.begin(9600);
  Serial.println("MyoWare Muscle Sensor EMG Signal Reading");
}

void loop() {
  // Read the analog value from the MyoWare Muscle Sensor
  int emgValue = analogRead(emgPin);

  // Print the EMG value to the Serial Monitor
  Serial.print("EMG Signal: ");
  Serial.println(emgValue);

  // Add a small delay to stabilize readings
  delay(10);
}
Troubleshooting and FAQs
Common Issues and Solutions
Loose Connections
- Issue: The electrode cables or shield are not securely connected, leading to intermittent signals.
- Solution: Ensure the 3.5mm TRS jack is fully inserted into the shield and that the shield is properly attached to the MyoWare Muscle Sensor.
No Signal or Weak Signal
- Issue: The EMG signal is not being detected or is too weak.
- Solution: Verify that the electrode pads are properly placed on the muscle and that the skin is clean and dry. Check the power supply to the MyoWare Muscle Sensor.
Excessive Noise in Signal
- Issue: The EMG signal is noisy or unstable.
- Solution: Ensure proper grounding of the system and minimize movement of the cables during operation. Use shielded cables if necessary.
FAQs
Q: Can the MyoWare Cable Shield be used with other sensors?
A: The shield is specifically designed for the MyoWare Muscle Sensor and may not be compatible with other sensors.
Q: How do I clean the shield?
A: Use a dry or slightly damp cloth to clean the shield. Avoid using harsh chemicals or submerging it in water.
Q: Does the shield affect the signal quality?
A: No, the shield is designed to provide a secure connection without altering the signal quality from the MyoWare Muscle Sensor.
Q: Can I use the shield with wireless systems?
A: Yes, the shield can be used with wireless systems as long as the MyoWare Muscle Sensor is properly integrated into the setup.
By following this documentation, you can effectively use the MyoWare Cable Shield to enhance the durability and performance of your MyoWare Muscle Sensor in various applications.