How to Use finger print: Examples, Pinouts, and Specs
Introduction
A fingerprint sensor is a biometric device that captures and analyzes the unique patterns of ridges and valleys on a person's fingertip for identification and authentication purposes. These sensors are widely used in security systems, access control, and personal devices such as smartphones and laptops. By leveraging the uniqueness of fingerprints, they provide a reliable and efficient method for verifying identity.
Explore Projects Built with finger print

Explore Projects Built with finger print
Common Applications and Use Cases
- Biometric authentication in smartphones and laptops
- Access control systems for secure areas
- Time and attendance tracking systems
- Smart locks and home automation
- Banking and financial systems for secure transactions
Technical Specifications
Below are the general technical specifications for a typical fingerprint sensor module (e.g., the R307 or similar models):
| Parameter | Specification |
|---|---|
| Operating Voltage | 3.6V - 6.0V |
| Operating Current | 50mA (typical), 120mA (peak) |
| Interface | UART (TTL) |
| Baud Rate | Configurable (default: 57600 bps) |
| Fingerprint Capacity | 1000 templates |
| Image Resolution | 500 DPI |
| Scanning Area | 14mm x 18mm |
| Working Temperature | -20°C to +50°C |
| Storage Temperature | -40°C to +85°C |
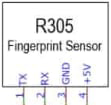
Pin Configuration and Descriptions
The fingerprint sensor module typically has a 4-pin interface. Below is the pinout description:
| Pin | Name | Description |
|---|---|---|
| 1 | VCC | Power supply (3.6V - 6.0V) |
| 2 | GND | Ground |
| 3 | TX | UART Transmit (data output) |
| 4 | RX | UART Receive (data input) |
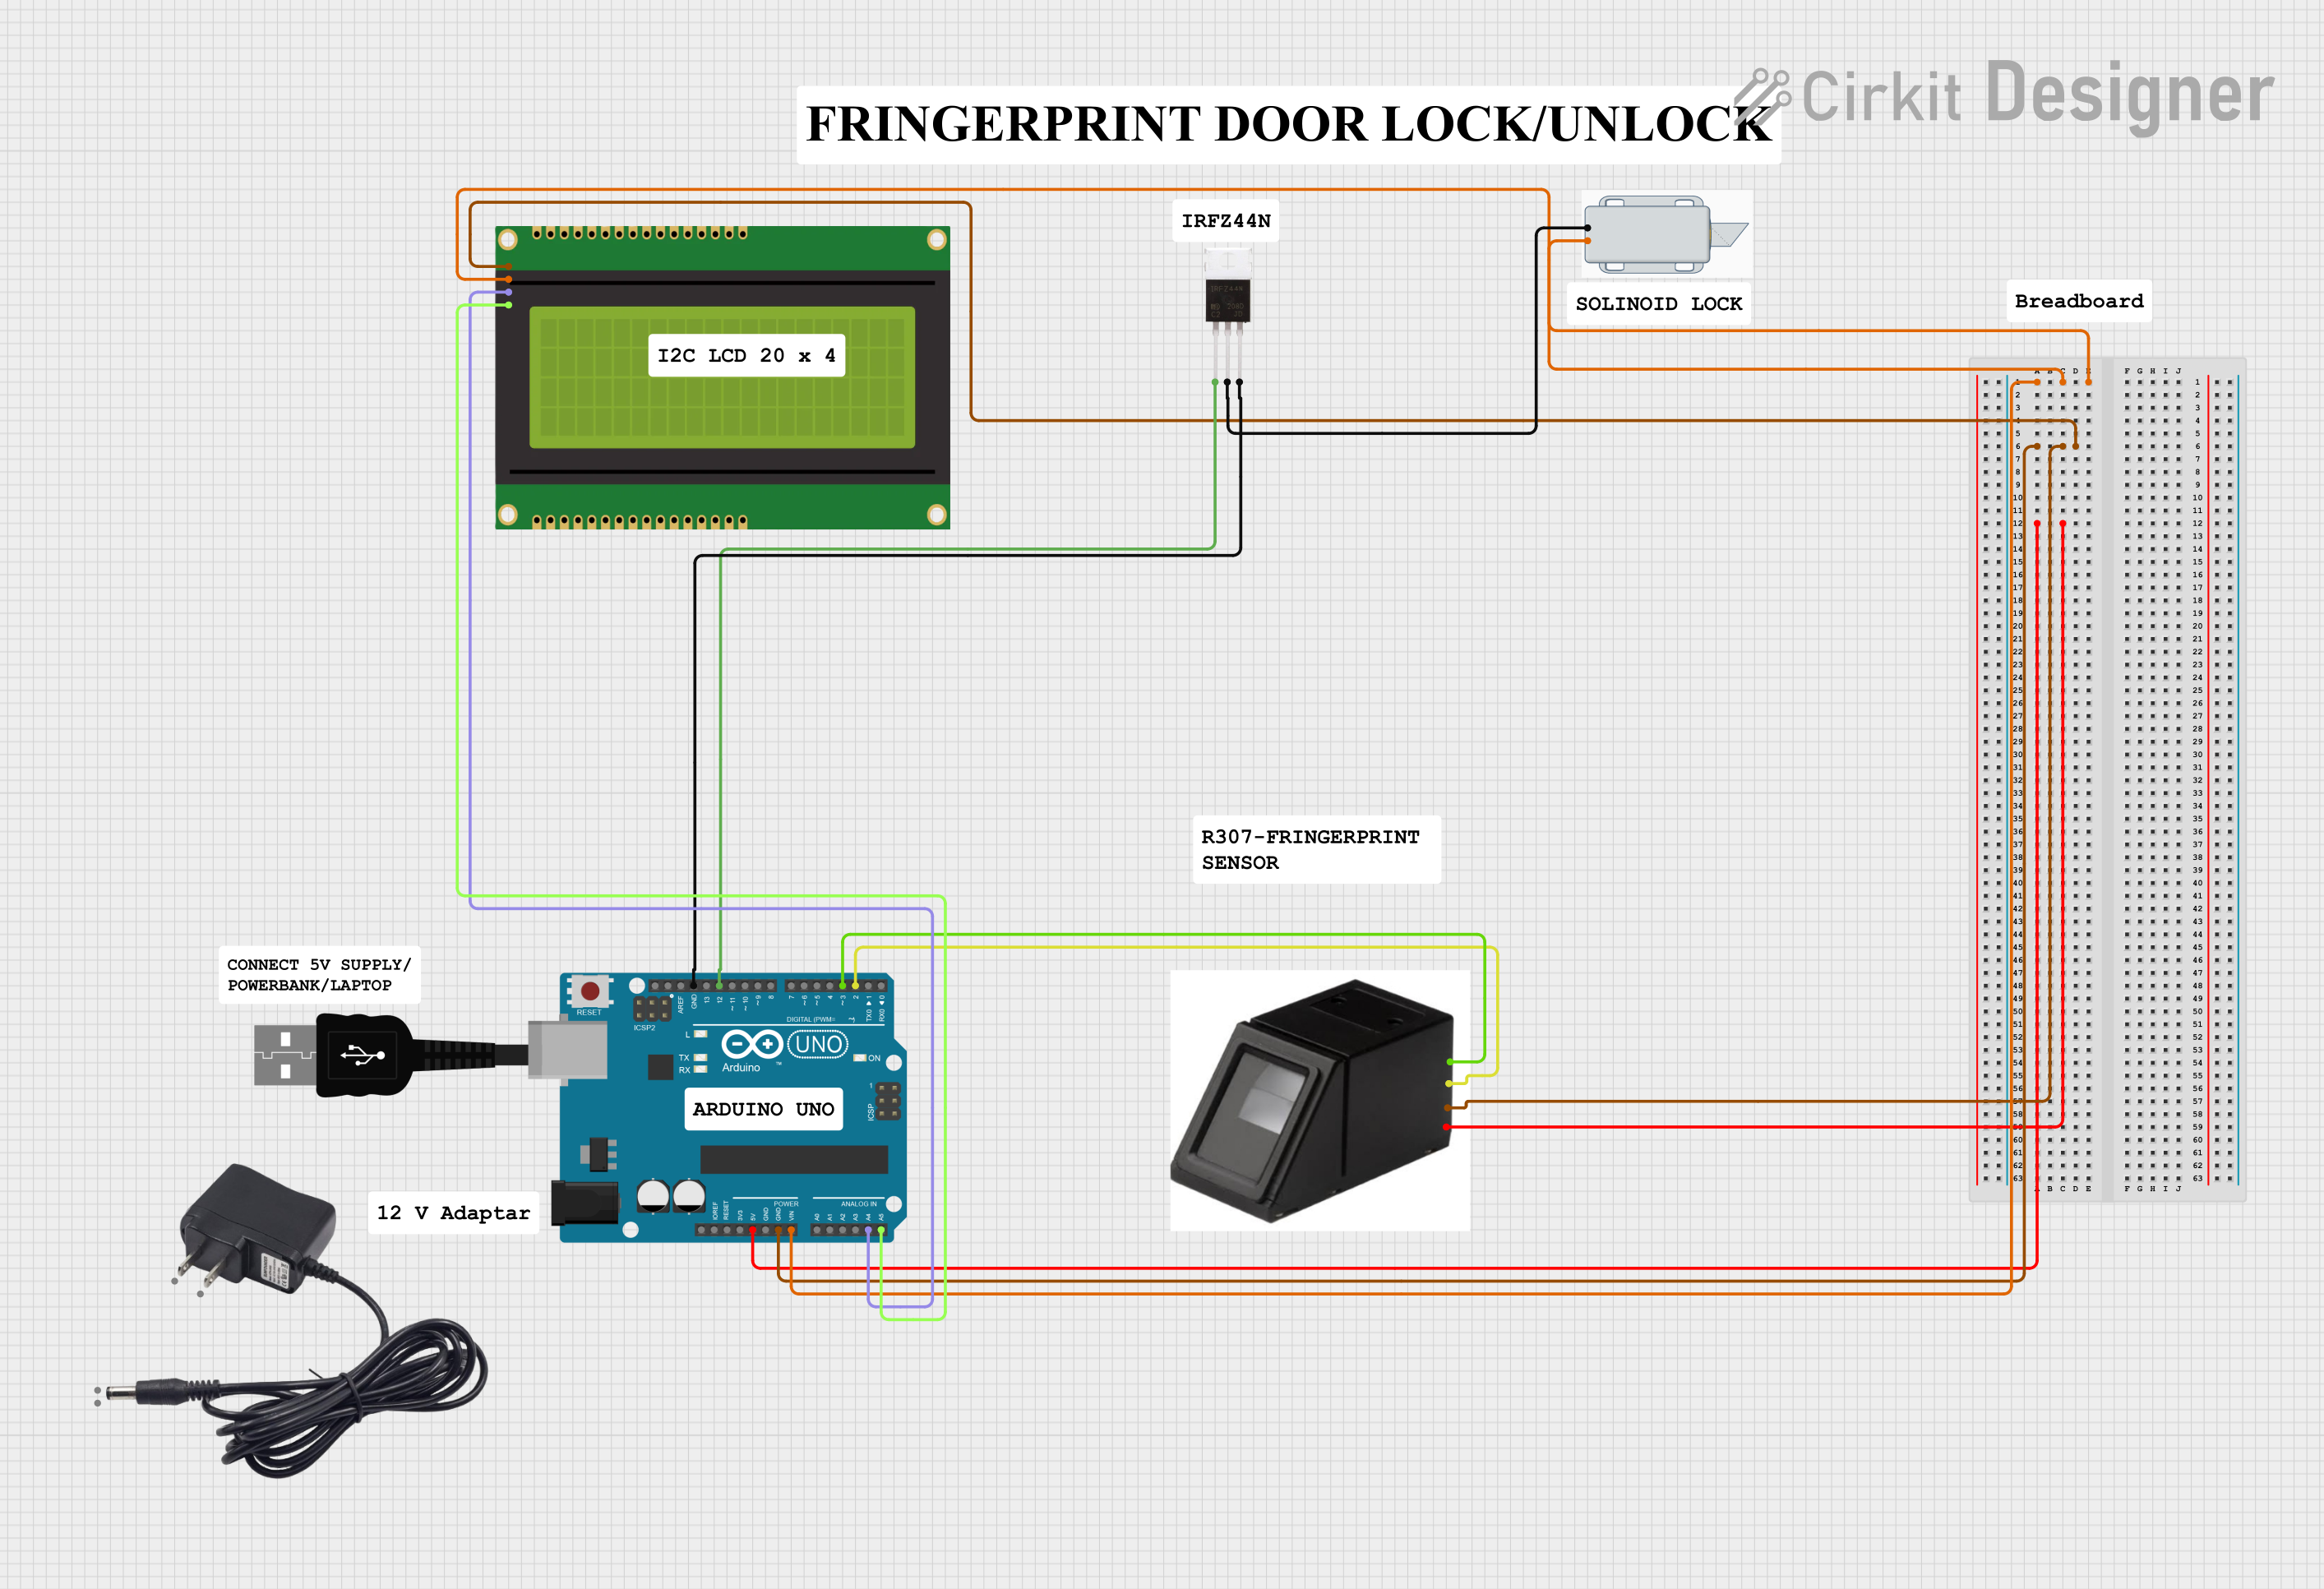
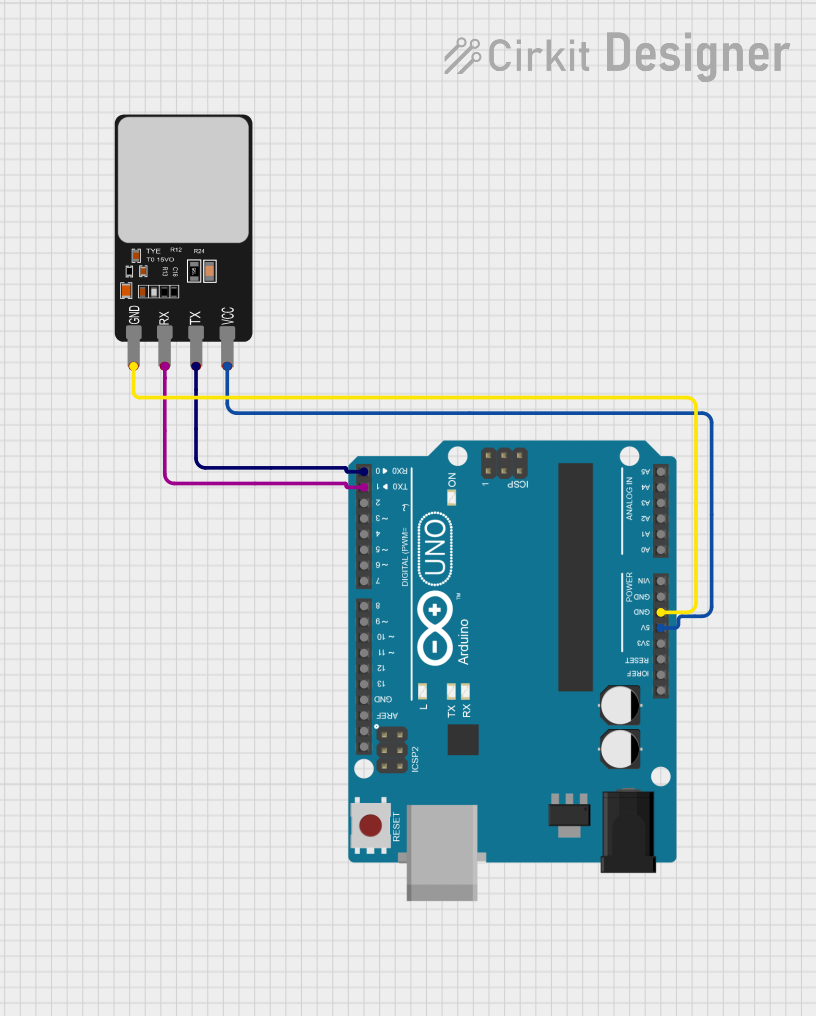
Usage Instructions
How to Use the Component in a Circuit
- Power the Sensor: Connect the
VCCpin to a 5V power source and theGNDpin to ground. - Connect UART Pins:
- Connect the
TXpin of the sensor to theRXpin of the microcontroller (e.g., Arduino UNO). - Connect the
RXpin of the sensor to theTXpin of the microcontroller.
- Connect the
- Install Libraries: If using an Arduino, install the
Adafruit Fingerprint Sensor Libraryfrom the Arduino Library Manager. - Upload Code: Use the example code provided below to enroll and verify fingerprints.
Important Considerations and Best Practices
- Ensure the sensor is powered within its specified voltage range to avoid damage.
- Avoid exposing the sensor to direct sunlight or dusty environments, as this may affect its performance.
- Clean the sensor surface regularly to maintain accuracy.
- Use a stable power supply to prevent communication errors.
Example Code for Arduino UNO
Below is an example code snippet to enroll and verify fingerprints using an Arduino UNO:
#include <Adafruit_Fingerprint.h>
#include <SoftwareSerial.h>

// Define the RX and TX pins for the fingerprint sensor
SoftwareSerial mySerial(2, 3); // RX, TX

Adafruit_Fingerprint finger(&mySerial);

void setup() {
  Serial.begin(9600); // Initialize serial communication with the PC
  while (!Serial);    // Wait for the serial monitor to open
  delay(100);

  Serial.println("Initializing fingerprint sensor...");
  mySerial.begin(57600); // Initialize communication with the sensor
  if (finger.begin()) {
    Serial.println("Fingerprint sensor detected!");
  } else {
    Serial.println("Fingerprint sensor not found. Check connections.");
    while (1); // Halt the program if the sensor is not detected
  }

  Serial.println("Place your finger on the sensor to enroll.");
}

void loop() {
  int id = 1; // ID for the fingerprint template
  Serial.println("Waiting for valid finger...");
  if (finger.getImage() == FINGERPRINT_OK) {
    Serial.println("Finger detected!");
    if (finger.image2Tz(1) == FINGERPRINT_OK) {
      Serial.println("Fingerprint template created.");
      if (finger.createModel() == FINGERPRINT_OK) {
        if (finger.storeModel(id) == FINGERPRINT_OK) {
          Serial.println("Fingerprint enrolled successfully!");
        } else {
          Serial.println("Error storing fingerprint.");
        }
      } else {
        Serial.println("Error creating fingerprint model.");
      }
    } else {
      Serial.println("Error converting image.");
    }
  } else {
    Serial.println("No valid finger detected.");
  }
  delay(2000); // Wait before the next scan
}
Notes:
- Replace
2and3inSoftwareSerial mySerial(2, 3)with the pins you are using forRXandTXon your Arduino. - Ensure the
Adafruit Fingerprint Sensor Libraryis installed in your Arduino IDE.
Troubleshooting and FAQs
Common Issues and Solutions
Fingerprint Sensor Not Detected
- Cause: Incorrect wiring or loose connections.
- Solution: Double-check the connections, especially the
TXandRXpins. Ensure the sensor is powered correctly.
Fingerprint Enrollment Fails
- Cause: Poor finger placement or dirty sensor surface.
- Solution: Place your finger flat on the sensor and ensure the surface is clean.
Communication Errors
- Cause: Incorrect baud rate or software serial configuration.
- Solution: Verify the baud rate matches the sensor's default (57600 bps). Check the
SoftwareSerialpin assignments.
Low Accuracy in Fingerprint Matching
- Cause: Poor-quality fingerprint images or environmental factors.
- Solution: Clean the sensor, ensure proper lighting, and avoid excessive moisture or dirt on fingers.
FAQs
Q1: Can I use the fingerprint sensor with a Raspberry Pi?
Yes, the fingerprint sensor can be used with a Raspberry Pi. Use the GPIO pins for UART communication and install the appropriate Python libraries (e.g., pyserial).
Q2: How many fingerprints can the sensor store?
Most fingerprint sensors, such as the R307, can store up to 1000 fingerprint templates.
Q3: Can the sensor work outdoors?
While the sensor can operate in a wide temperature range, it is recommended to protect it from direct sunlight, rain, and dust for optimal performance.
Q4: What happens if two fingerprints are very similar?
The sensor uses advanced algorithms to differentiate between fingerprints, even if they are similar. However, the accuracy depends on the quality of the fingerprint image and the sensor's resolution.
By following this documentation, you can effectively integrate and troubleshoot a fingerprint sensor in your projects.