
How to Use MQ-2: Examples, Pinouts, and Specs
 Design with MQ-2 in Cirkit Designer
Introduction
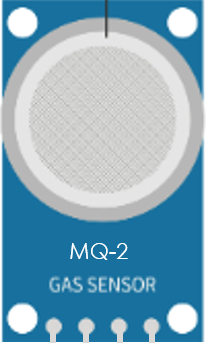
The MQ-2 is a versatile gas sensor designed to detect a variety of gases, including LPG, propane, methane, and smoke. Manufactured by Arduino, this sensor operates on the principle of resistive change when exposed to target gases. It is widely used in gas leak detection systems, air quality monitoring, and safety applications. The MQ-2 is a cost-effective and reliable solution for detecting combustible gases and smoke in residential, industrial, and commercial environments.
Explore Projects Built with MQ-2
 Open Project in Cirkit Designer
 Open Project in Cirkit Designer
 Open Project in Cirkit Designer
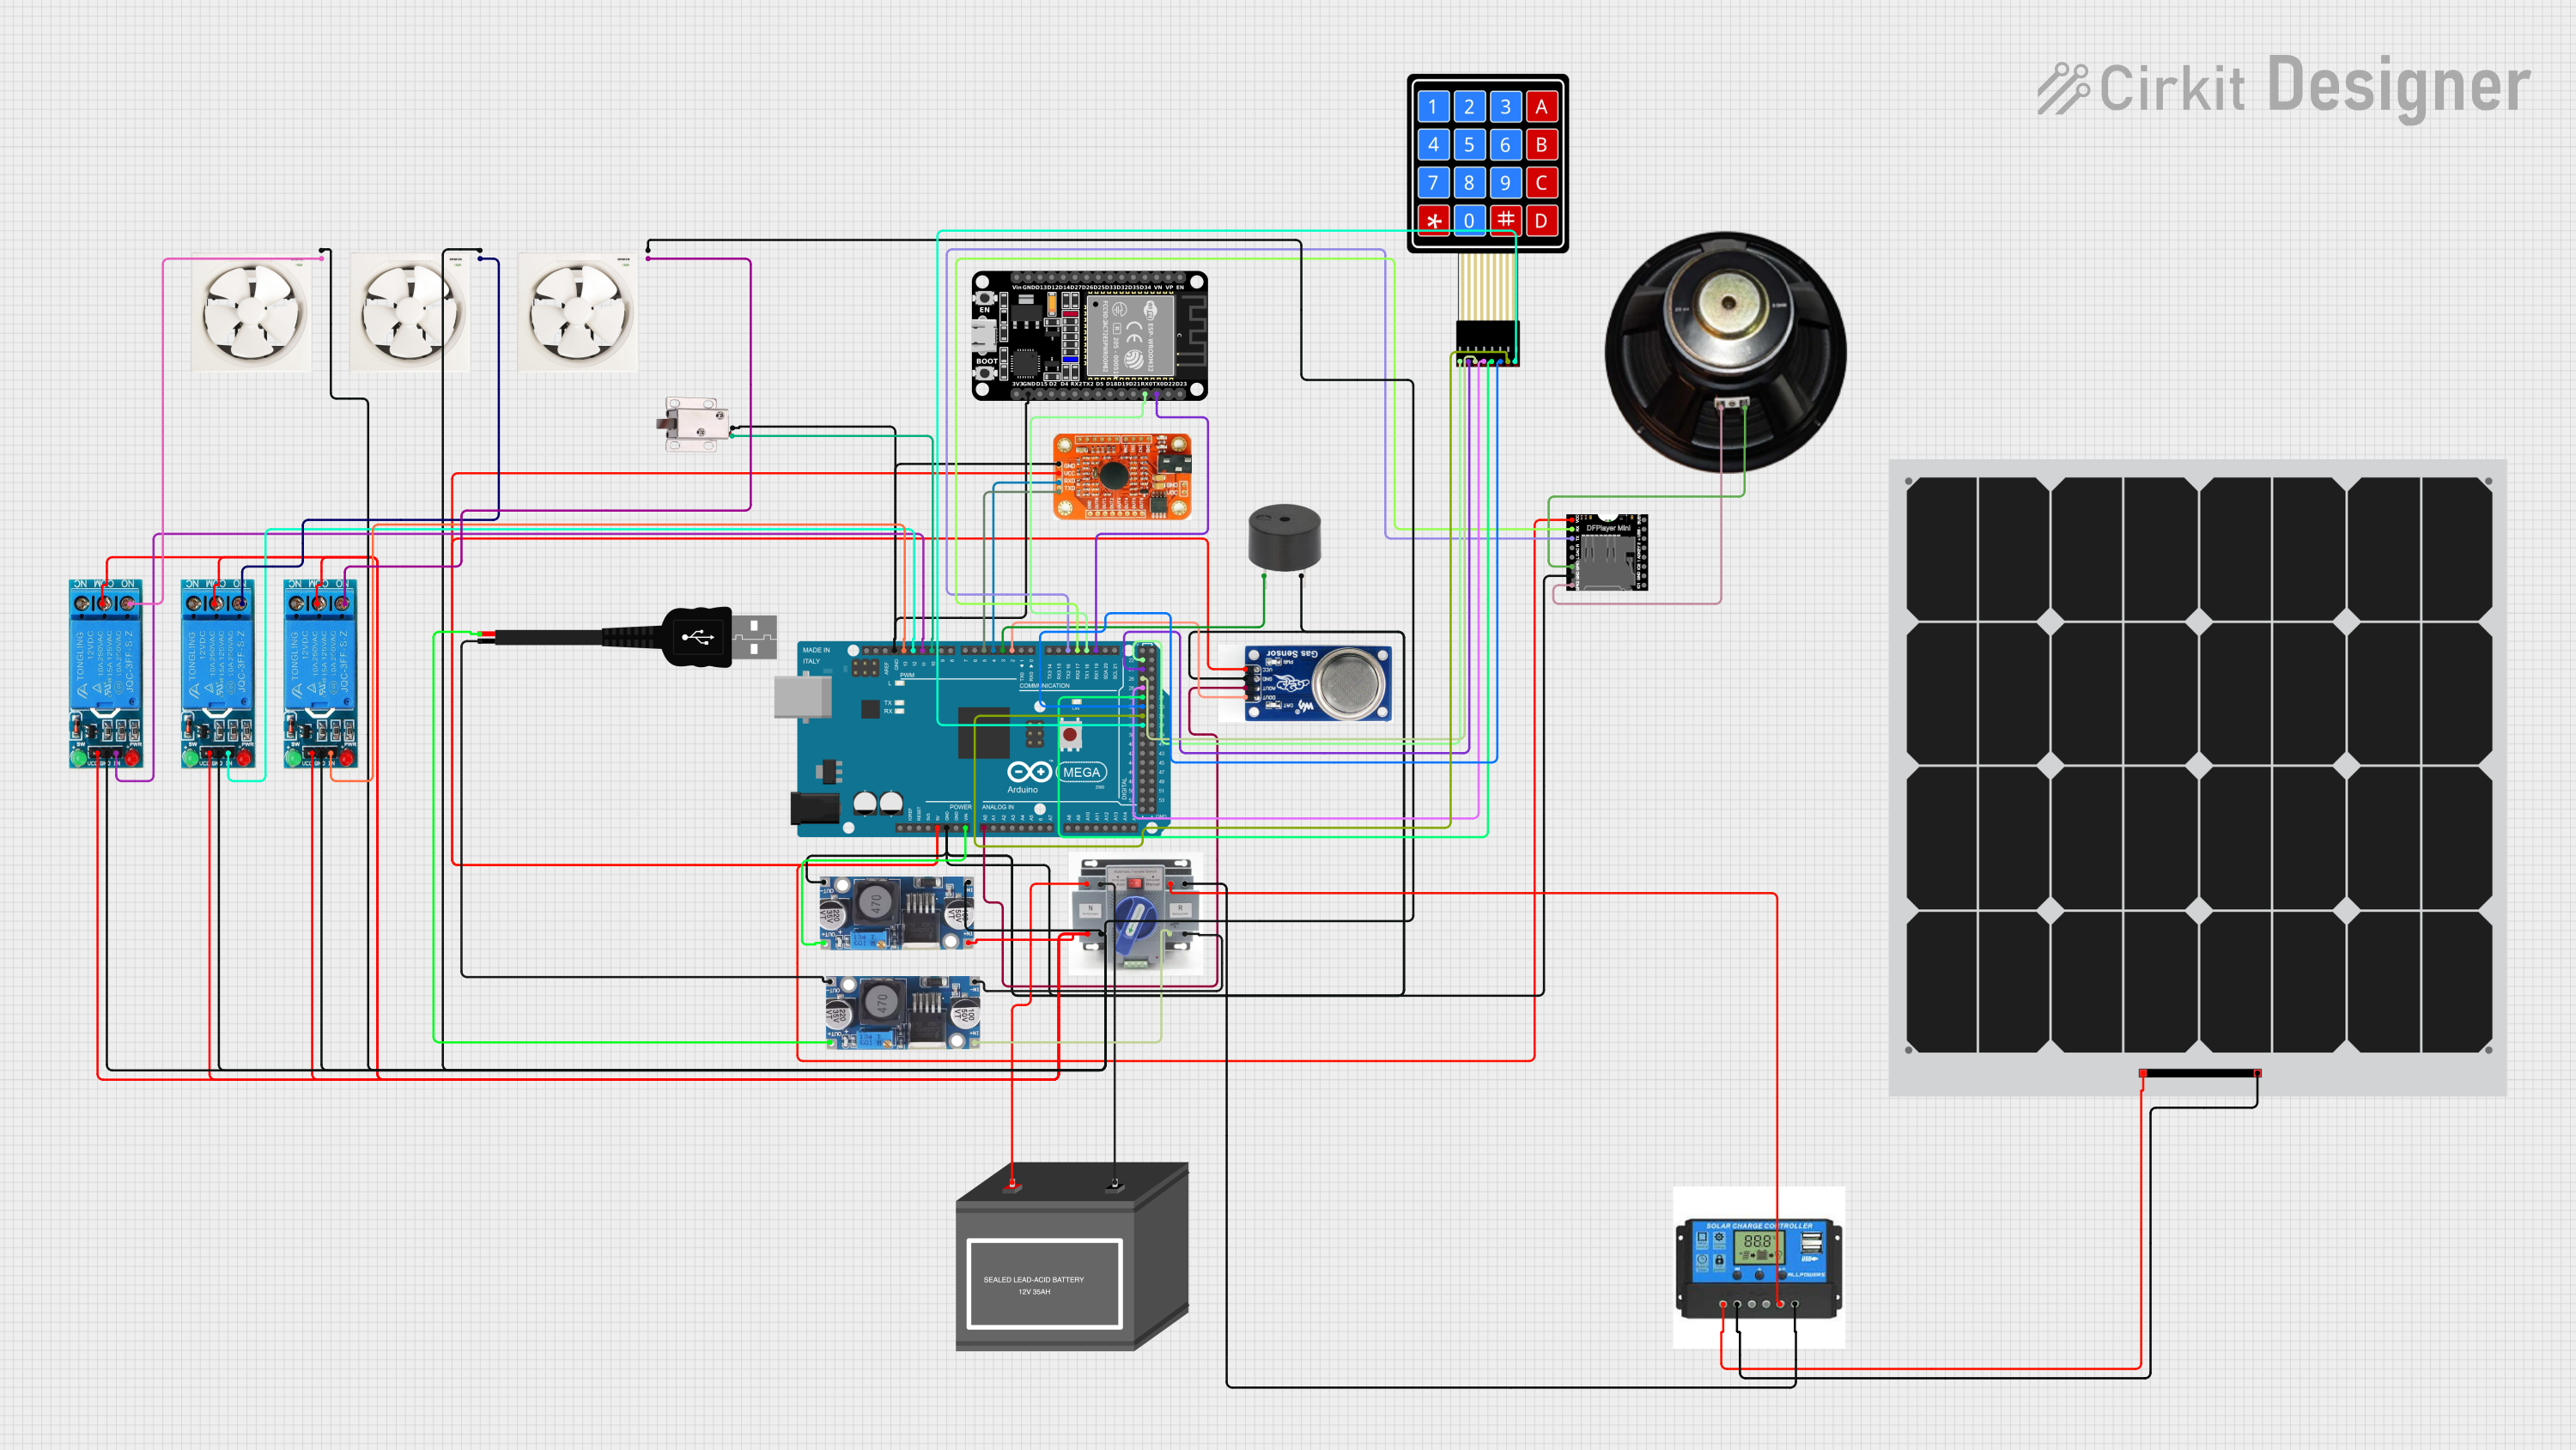
 Open Project in Cirkit Designer
Explore Projects Built with MQ-2

 Open Project in Cirkit Designer
 Open Project in Cirkit Designer
 Open Project in Cirkit Designer
 Open Project in Cirkit Designer
Common Applications
- Gas leak detection in homes and industries
- Smoke detection in fire alarm systems
- Air quality monitoring systems
- IoT-based environmental monitoring projects
- Safety systems for detecting hazardous gas levels
Technical Specifications
The MQ-2 sensor is designed for ease of use and integration into various electronic systems. Below are its key technical details:
Key Technical Details
| Parameter | Value |
|---|---|
| Manufacturer | Arduino |
| Manufacturer Part ID | MQ-2 |
| Operating Voltage | 5V DC |
| Power Consumption | ≤ 800 mW |
| Detection Range | 200 ppm – 10,000 ppm |
| Preheat Time | 20 seconds |
| Sensitivity | Adjustable via onboard potentiometer |
| Output Signal | Analog (0-5V) and Digital (0/1) |
| Operating Temperature | -20°C to 50°C |
| Dimensions | 32mm x 20mm x 22mm |
Pin Configuration and Descriptions
The MQ-2 sensor module typically has four pins. The table below describes each pin:
| Pin Name | Description |
|---|---|
| VCC | Power supply pin. Connect to a 5V DC source. |
| GND | Ground pin. Connect to the ground of the circuit. |
| DO | Digital output pin. Outputs HIGH (1) or LOW (0) based on gas concentration. |
| AO | Analog output pin. Provides a voltage proportional to gas concentration. |
Usage Instructions
The MQ-2 sensor is straightforward to use in a circuit. Follow the steps below to integrate it into your project:
Connecting the MQ-2 to an Arduino UNO
- Power the Sensor: Connect the
VCCpin to the 5V pin on the Arduino UNO and theGNDpin to the Arduino's ground. - Read Analog Output: Connect the
AOpin to an analog input pin on the Arduino (e.g., A0). - Read Digital Output: Optionally, connect the
DOpin to a digital input pin on the Arduino (e.g., D2) if you want to use the digital threshold feature. - Adjust Sensitivity: Use the onboard potentiometer to set the desired sensitivity level for the digital output.
Sample Arduino Code
The following code demonstrates how to read both the analog and digital outputs of the MQ-2 sensor using an Arduino UNO:
// MQ-2 Gas Sensor Example Code
// Reads analog and digital outputs from the MQ-2 sensor and prints the values
// to the Serial Monitor.

const int analogPin = A0; // Analog output pin connected to A0
const int digitalPin = 2; // Digital output pin connected to D2

void setup() {
  Serial.begin(9600); // Initialize serial communication at 9600 baud
  pinMode(digitalPin, INPUT); // Set digital pin as input
}

void loop() {
  int analogValue = analogRead(analogPin); // Read analog value from sensor
  int digitalValue = digitalRead(digitalPin); // Read digital value from sensor

  // Print the values to the Serial Monitor
  Serial.print("Analog Value: ");
  Serial.print(analogValue); // Print analog value
  Serial.print(" | Digital Value: ");
  Serial.println(digitalValue); // Print digital value

  delay(1000); // Wait for 1 second before the next reading
}
Important Considerations
- Preheat Time: Allow the sensor to preheat for at least 20 seconds before taking readings to ensure accuracy.
- Ventilation: Ensure proper ventilation around the sensor to avoid false readings due to stagnant air.
- Calibration: For precise measurements, calibrate the sensor in a controlled environment with known gas concentrations.
- Power Supply: Use a stable 5V power source to avoid fluctuations in sensor readings.
Troubleshooting and FAQs
Common Issues and Solutions
| Issue | Possible Cause | Solution |
|---|---|---|
| No output from the sensor | Incorrect wiring or loose connections | Verify all connections and ensure proper wiring. |
| Analog readings are unstable | Insufficient preheat time | Allow the sensor to preheat for at least 20 seconds before taking readings. |
| Digital output always HIGH or LOW | Sensitivity not adjusted properly | Adjust the potentiometer to set the desired threshold. |
| Sensor not detecting gas | Low gas concentration or sensor damage | Test with a higher gas concentration or replace the sensor if damaged. |
FAQs
Can the MQ-2 detect multiple gases simultaneously?
- Yes, the MQ-2 can detect multiple gases, but it cannot differentiate between them. It provides a combined reading of all detected gases.
How do I calibrate the MQ-2 sensor?
- To calibrate, expose the sensor to a known concentration of gas and adjust the potentiometer or use software to map the analog output to the gas concentration.
What is the lifespan of the MQ-2 sensor?
- The MQ-2 sensor typically lasts for 2-3 years under normal operating conditions.
Can the MQ-2 be used outdoors?
- While the MQ-2 can be used outdoors, it should be protected from extreme weather conditions and moisture to ensure accurate readings.
By following this documentation, you can effectively integrate and use the MQ-2 gas sensor in your projects.