How to Use Vevor DC to DC charger: Examples, Pinouts, and Specs
Introduction
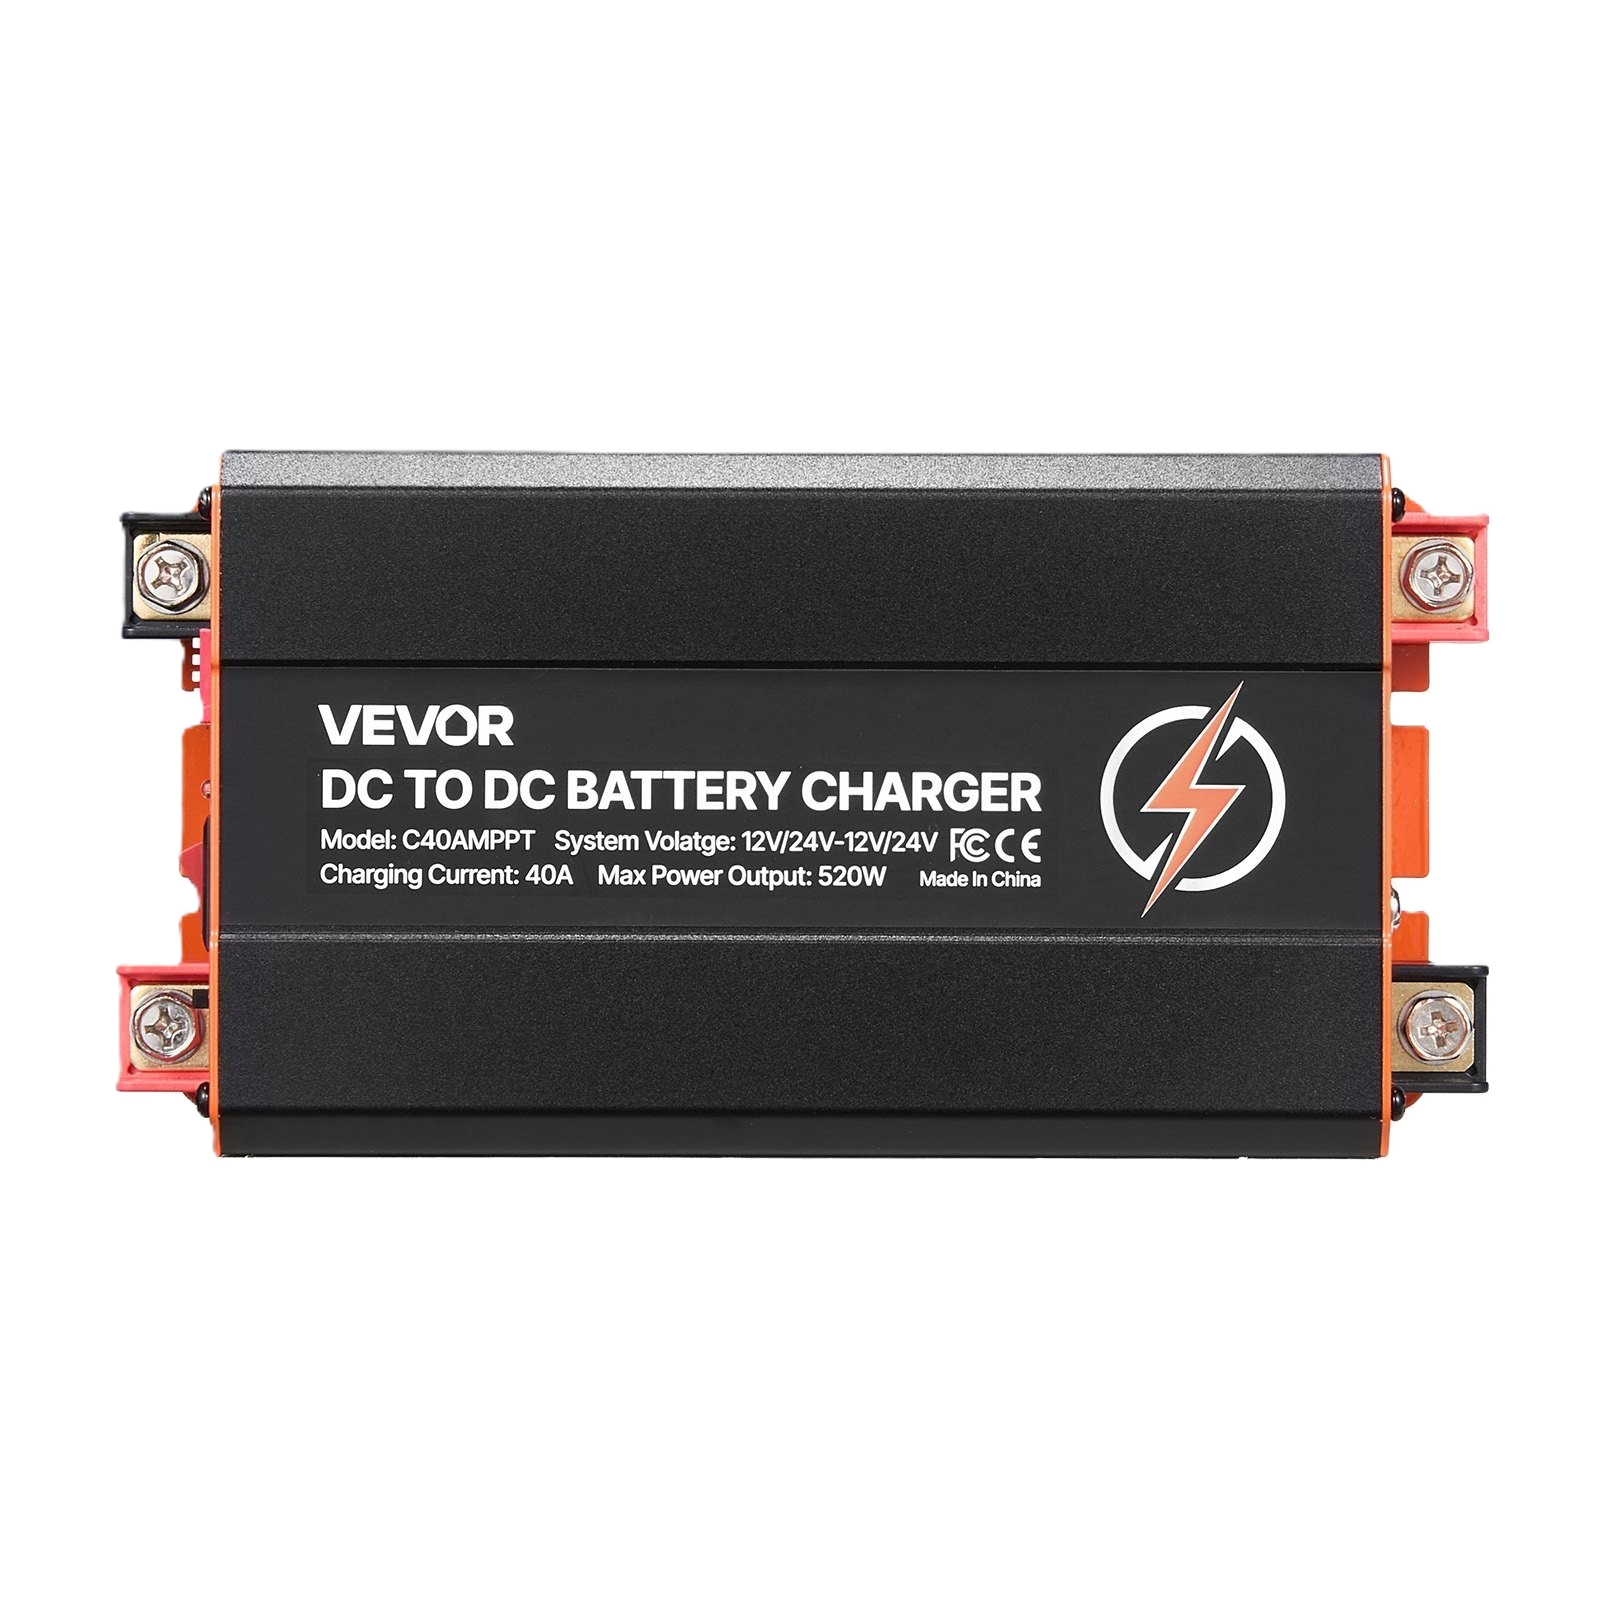
The Vevor DC to DC Charger is a versatile electronic device designed to convert direct current (DC) from one voltage level to another. This functionality is essential for efficiently charging batteries or powering devices that require a different DC voltage than the source provides. The charger is widely used in automotive, marine, and off-grid solar applications, where it ensures stable and reliable power delivery.
Explore Projects Built with Vevor DC to DC charger


Explore Projects Built with Vevor DC to DC charger
Common Applications and Use Cases
- Charging auxiliary batteries in vehicles (e.g., RVs, boats, and trucks)
- Powering devices from a DC source with a different voltage
- Integrating with solar power systems for battery charging
- Providing stable voltage for sensitive electronics in off-grid setups
Technical Specifications
The Vevor DC to DC Charger is designed to meet the needs of a wide range of applications. Below are its key technical specifications:
| Specification | Details |
|---|---|
| Input Voltage Range | 12V DC or 24V DC |
| Output Voltage Range | 12V DC or 24V DC (configurable) |
| Maximum Output Current | 20A |
| Efficiency | Up to 95% |
| Operating Temperature | -20°C to 60°C |
| Protection Features | Overvoltage, undervoltage, overcurrent, short circuit, and thermal protection |
| Dimensions | 6.5 x 4.3 x 2.2 inches (approx.) |
| Weight | 1.5 lbs (approx.) |
Pin Configuration and Descriptions
The Vevor DC to DC Charger typically includes the following input and output terminals:
| Pin/Terminal | Label | Description |
|---|---|---|
| Input (+) | VIN+ | Positive input terminal for the DC source (e.g., vehicle battery or solar panel) |
| Input (-) | VIN- | Negative input terminal for the DC source |
| Output (+) | VOUT+ | Positive output terminal for the connected load or battery |
| Output (-) | VOUT- | Negative output terminal for the connected load or battery |
| Remote Control | REM | Optional terminal for enabling/disabling the charger remotely |
| Ground | GND | Ground connection for the remote control terminal |
Usage Instructions
How to Use the Component in a Circuit
Determine Input and Output Voltage Requirements:
- Verify the input voltage from your DC source (e.g., 12V or 24V battery).
- Configure the output voltage of the charger to match the requirements of your load or battery.
Connect the Input Terminals:
- Connect the positive terminal of your DC source to the
VIN+terminal. - Connect the negative terminal of your DC source to the
VIN-terminal.
- Connect the positive terminal of your DC source to the
Connect the Output Terminals:
- Connect the positive terminal of your load or battery to the
VOUT+terminal. - Connect the negative terminal of your load or battery to the
VOUT-terminal.
- Connect the positive terminal of your load or battery to the
Optional Remote Control:
- If you wish to enable or disable the charger remotely, connect a switch or control circuit to the
REMterminal.
- If you wish to enable or disable the charger remotely, connect a switch or control circuit to the
Power On:
- Turn on the DC source and verify that the charger is operating correctly. Check the output voltage with a multimeter to ensure proper configuration.
Important Considerations and Best Practices
- Voltage Compatibility: Ensure that the input voltage is within the specified range to avoid damage to the charger.
- Heat Dissipation: Install the charger in a well-ventilated area to prevent overheating. Use additional cooling if necessary.
- Wiring: Use appropriately rated wires for the input and output connections to handle the maximum current without overheating.
- Polarity: Double-check the polarity of all connections before powering on the device to prevent damage.
- Protection Features: Take advantage of the built-in protection features, but avoid intentionally overloading the charger.
Example: Using the Charger with an Arduino UNO
If you are using the Vevor DC to DC Charger to power an Arduino UNO from a 24V battery, follow these steps:
- Set the output voltage of the charger to 12V.
- Connect the
VOUT+andVOUT-terminals to the Arduino's VIN and GND pins, respectively. - Ensure the input voltage (24V) is connected to the
VIN+andVIN-terminals.
Here is an example Arduino code to blink an LED while powered by the charger:
// Simple LED Blink Example
// This code blinks an LED connected to pin 13 of the Arduino UNO.
// Ensure the Arduino is powered by the Vevor DC to DC Charger.

void setup() {
  pinMode(13, OUTPUT); // Set pin 13 as an output
}

void loop() {
  digitalWrite(13, HIGH); // Turn the LED on
  delay(1000);            // Wait for 1 second
  digitalWrite(13, LOW);  // Turn the LED off
  delay(1000);            // Wait for 1 second
}
Troubleshooting and FAQs
Common Issues Users Might Face
No Output Voltage:
- Cause: Incorrect input connections or insufficient input voltage.
- Solution: Verify the input voltage and ensure proper polarity.
Overheating:
- Cause: Poor ventilation or excessive load.
- Solution: Install the charger in a well-ventilated area and reduce the load if necessary.
Charger Not Turning On:
- Cause: Remote control terminal not connected or enabled.
- Solution: Check the
REMterminal and ensure it is properly configured.
Output Voltage Fluctuations:
- Cause: Unstable input voltage or excessive load.
- Solution: Stabilize the input voltage and ensure the load is within the charger's capacity.
Solutions and Tips for Troubleshooting
- Use a multimeter to check the input and output voltages.
- Inspect all connections for loose wires or incorrect polarity.
- Refer to the user manual for detailed configuration instructions.
- If the charger continues to malfunction, contact Vevor customer support for assistance.
By following this documentation, you can effectively use the Vevor DC to DC Charger in your projects and ensure reliable performance.