
How to Use ph electrode: Examples, Pinouts, and Specs

 Design with ph electrode in Cirkit Designer
Introduction
The pH Electrode (DFRobot SEN0169) is a high-quality sensor designed to measure the acidity or alkalinity of a solution by detecting the concentration of hydrogen ions. It is widely used in applications such as water quality monitoring, aquariums, hydroponics, and laboratory experiments. This electrode provides accurate and reliable pH readings, making it an essential tool for both hobbyists and professionals.
Explore Projects Built with ph electrode
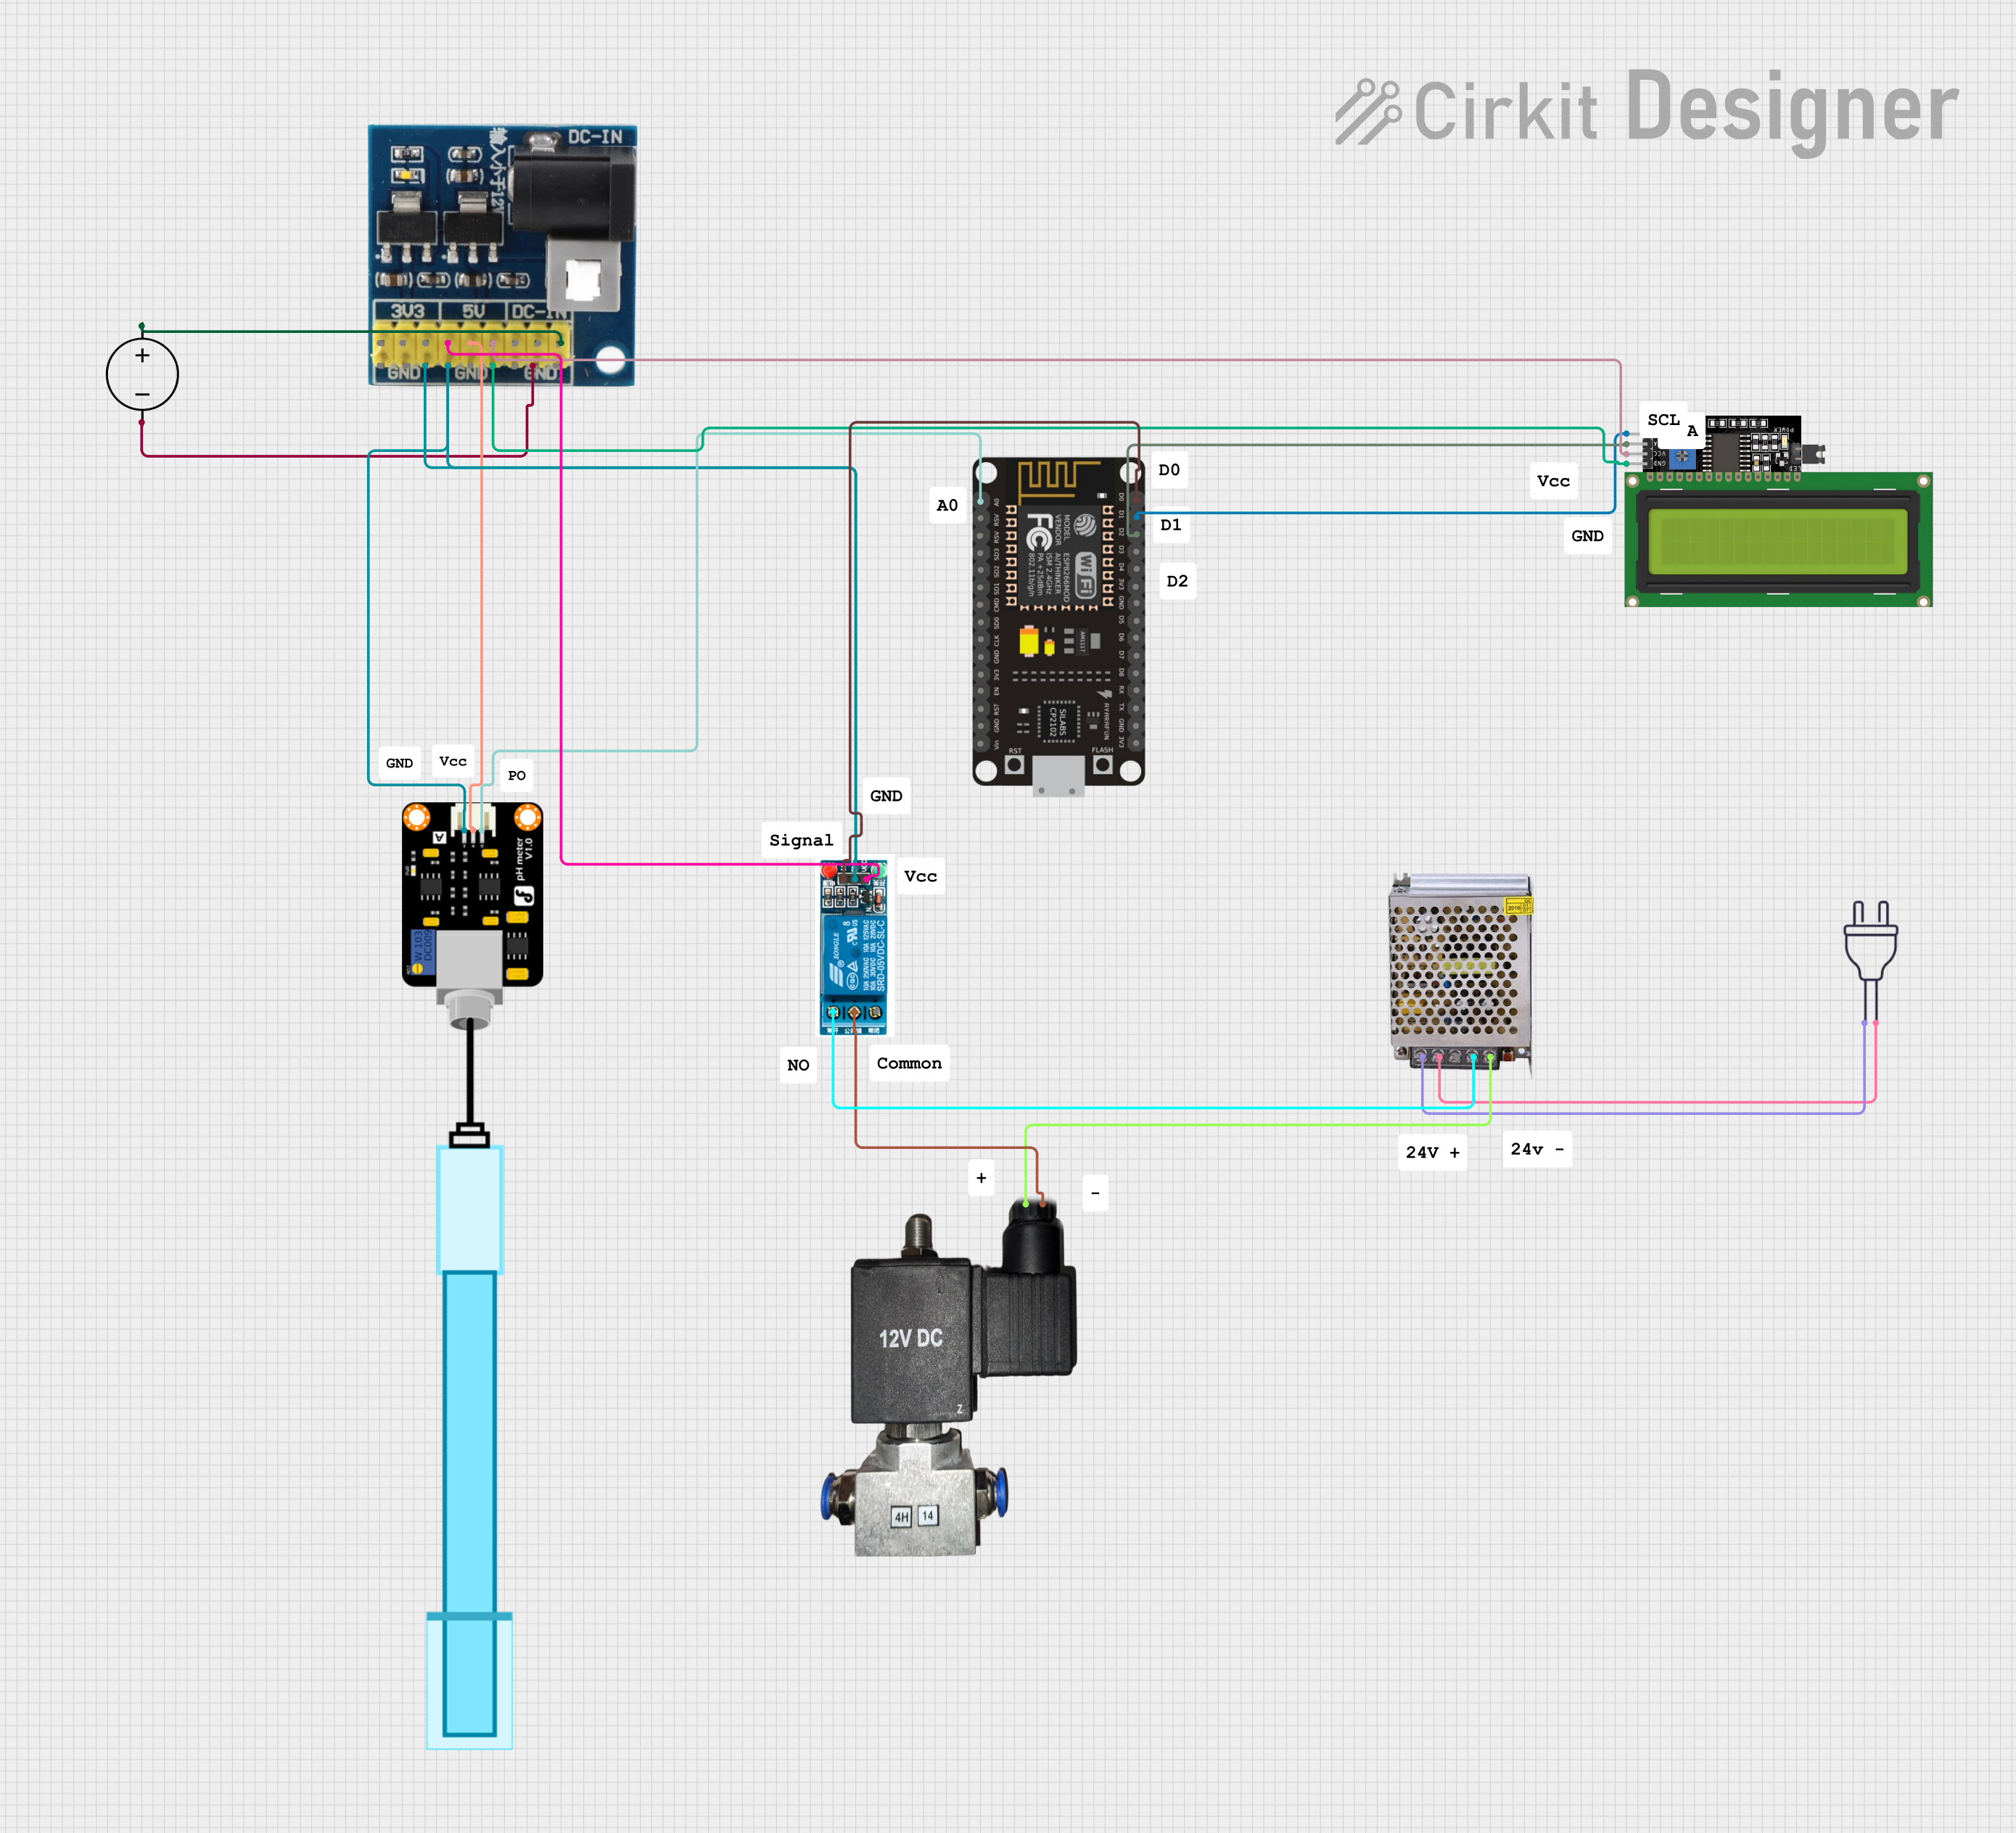 Open Project in Cirkit Designer
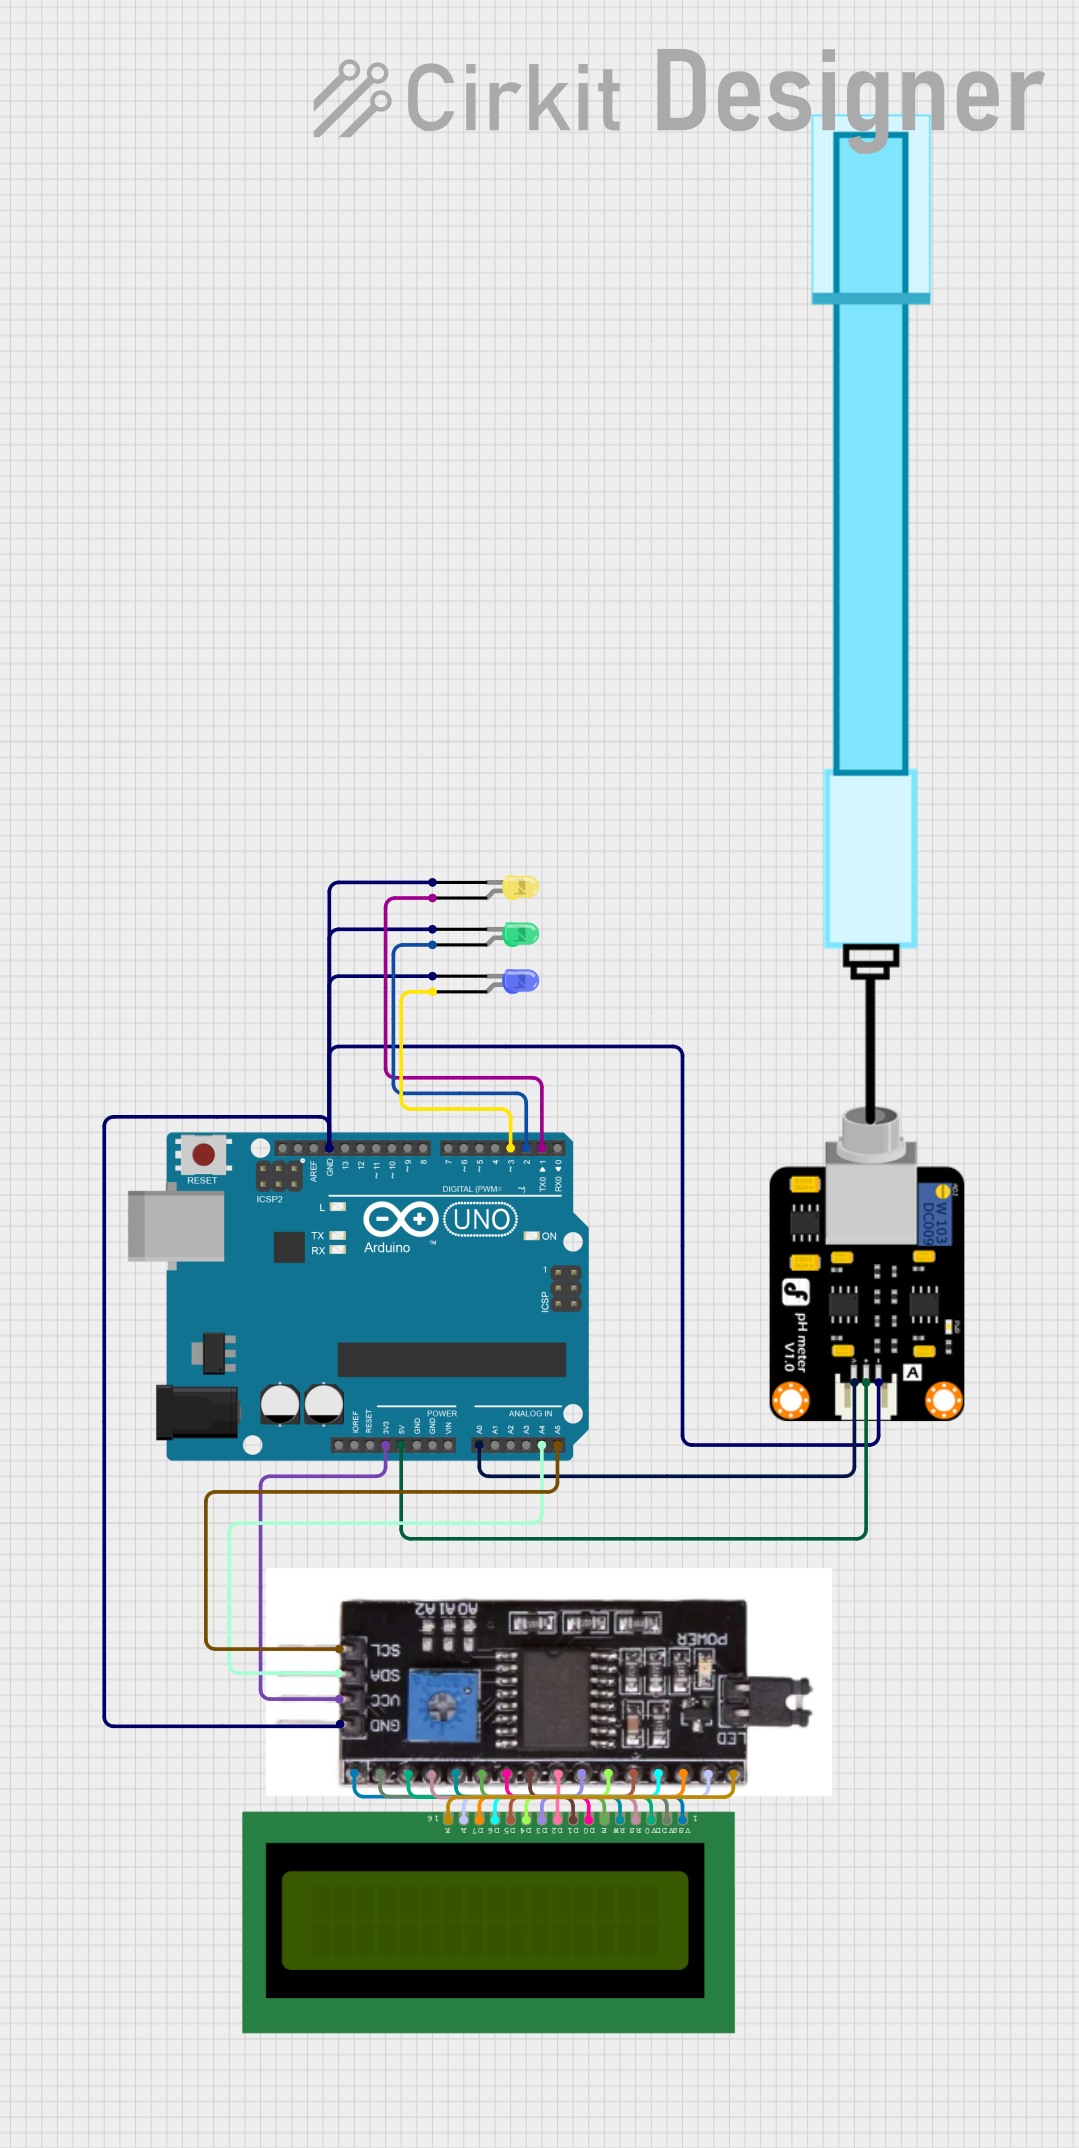 Open Project in Cirkit Designer
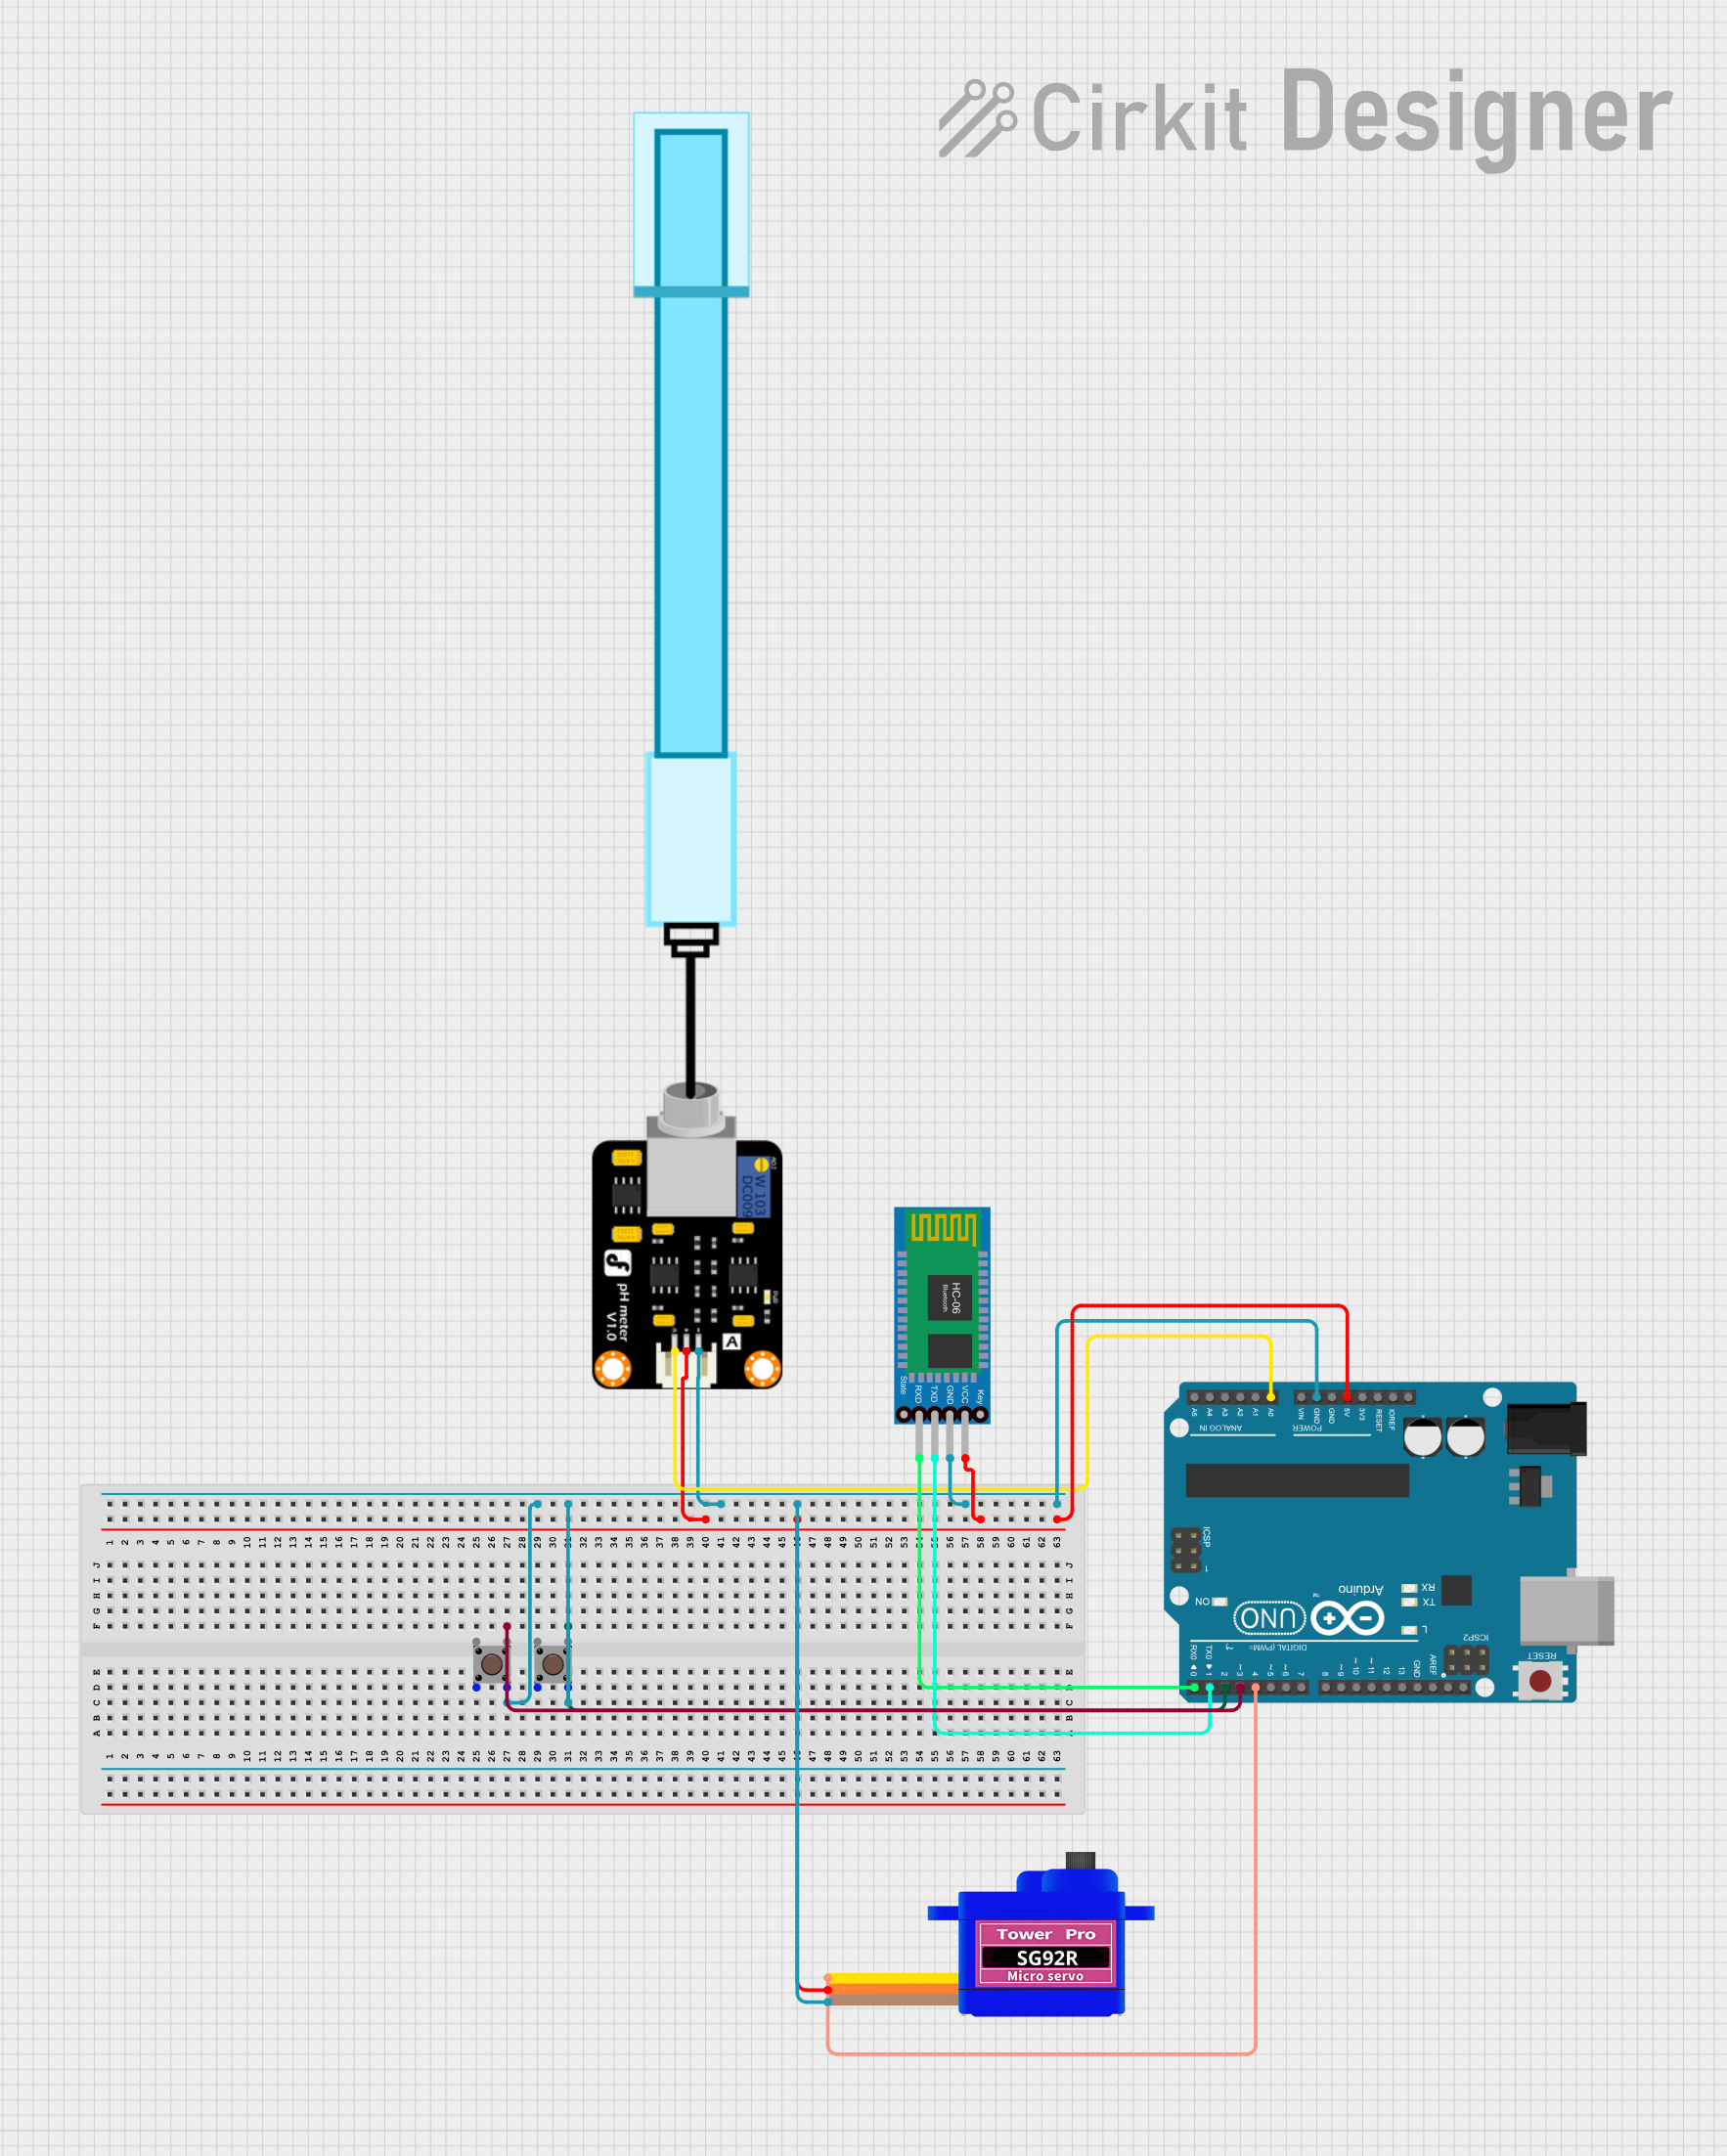 Open Project in Cirkit Designer
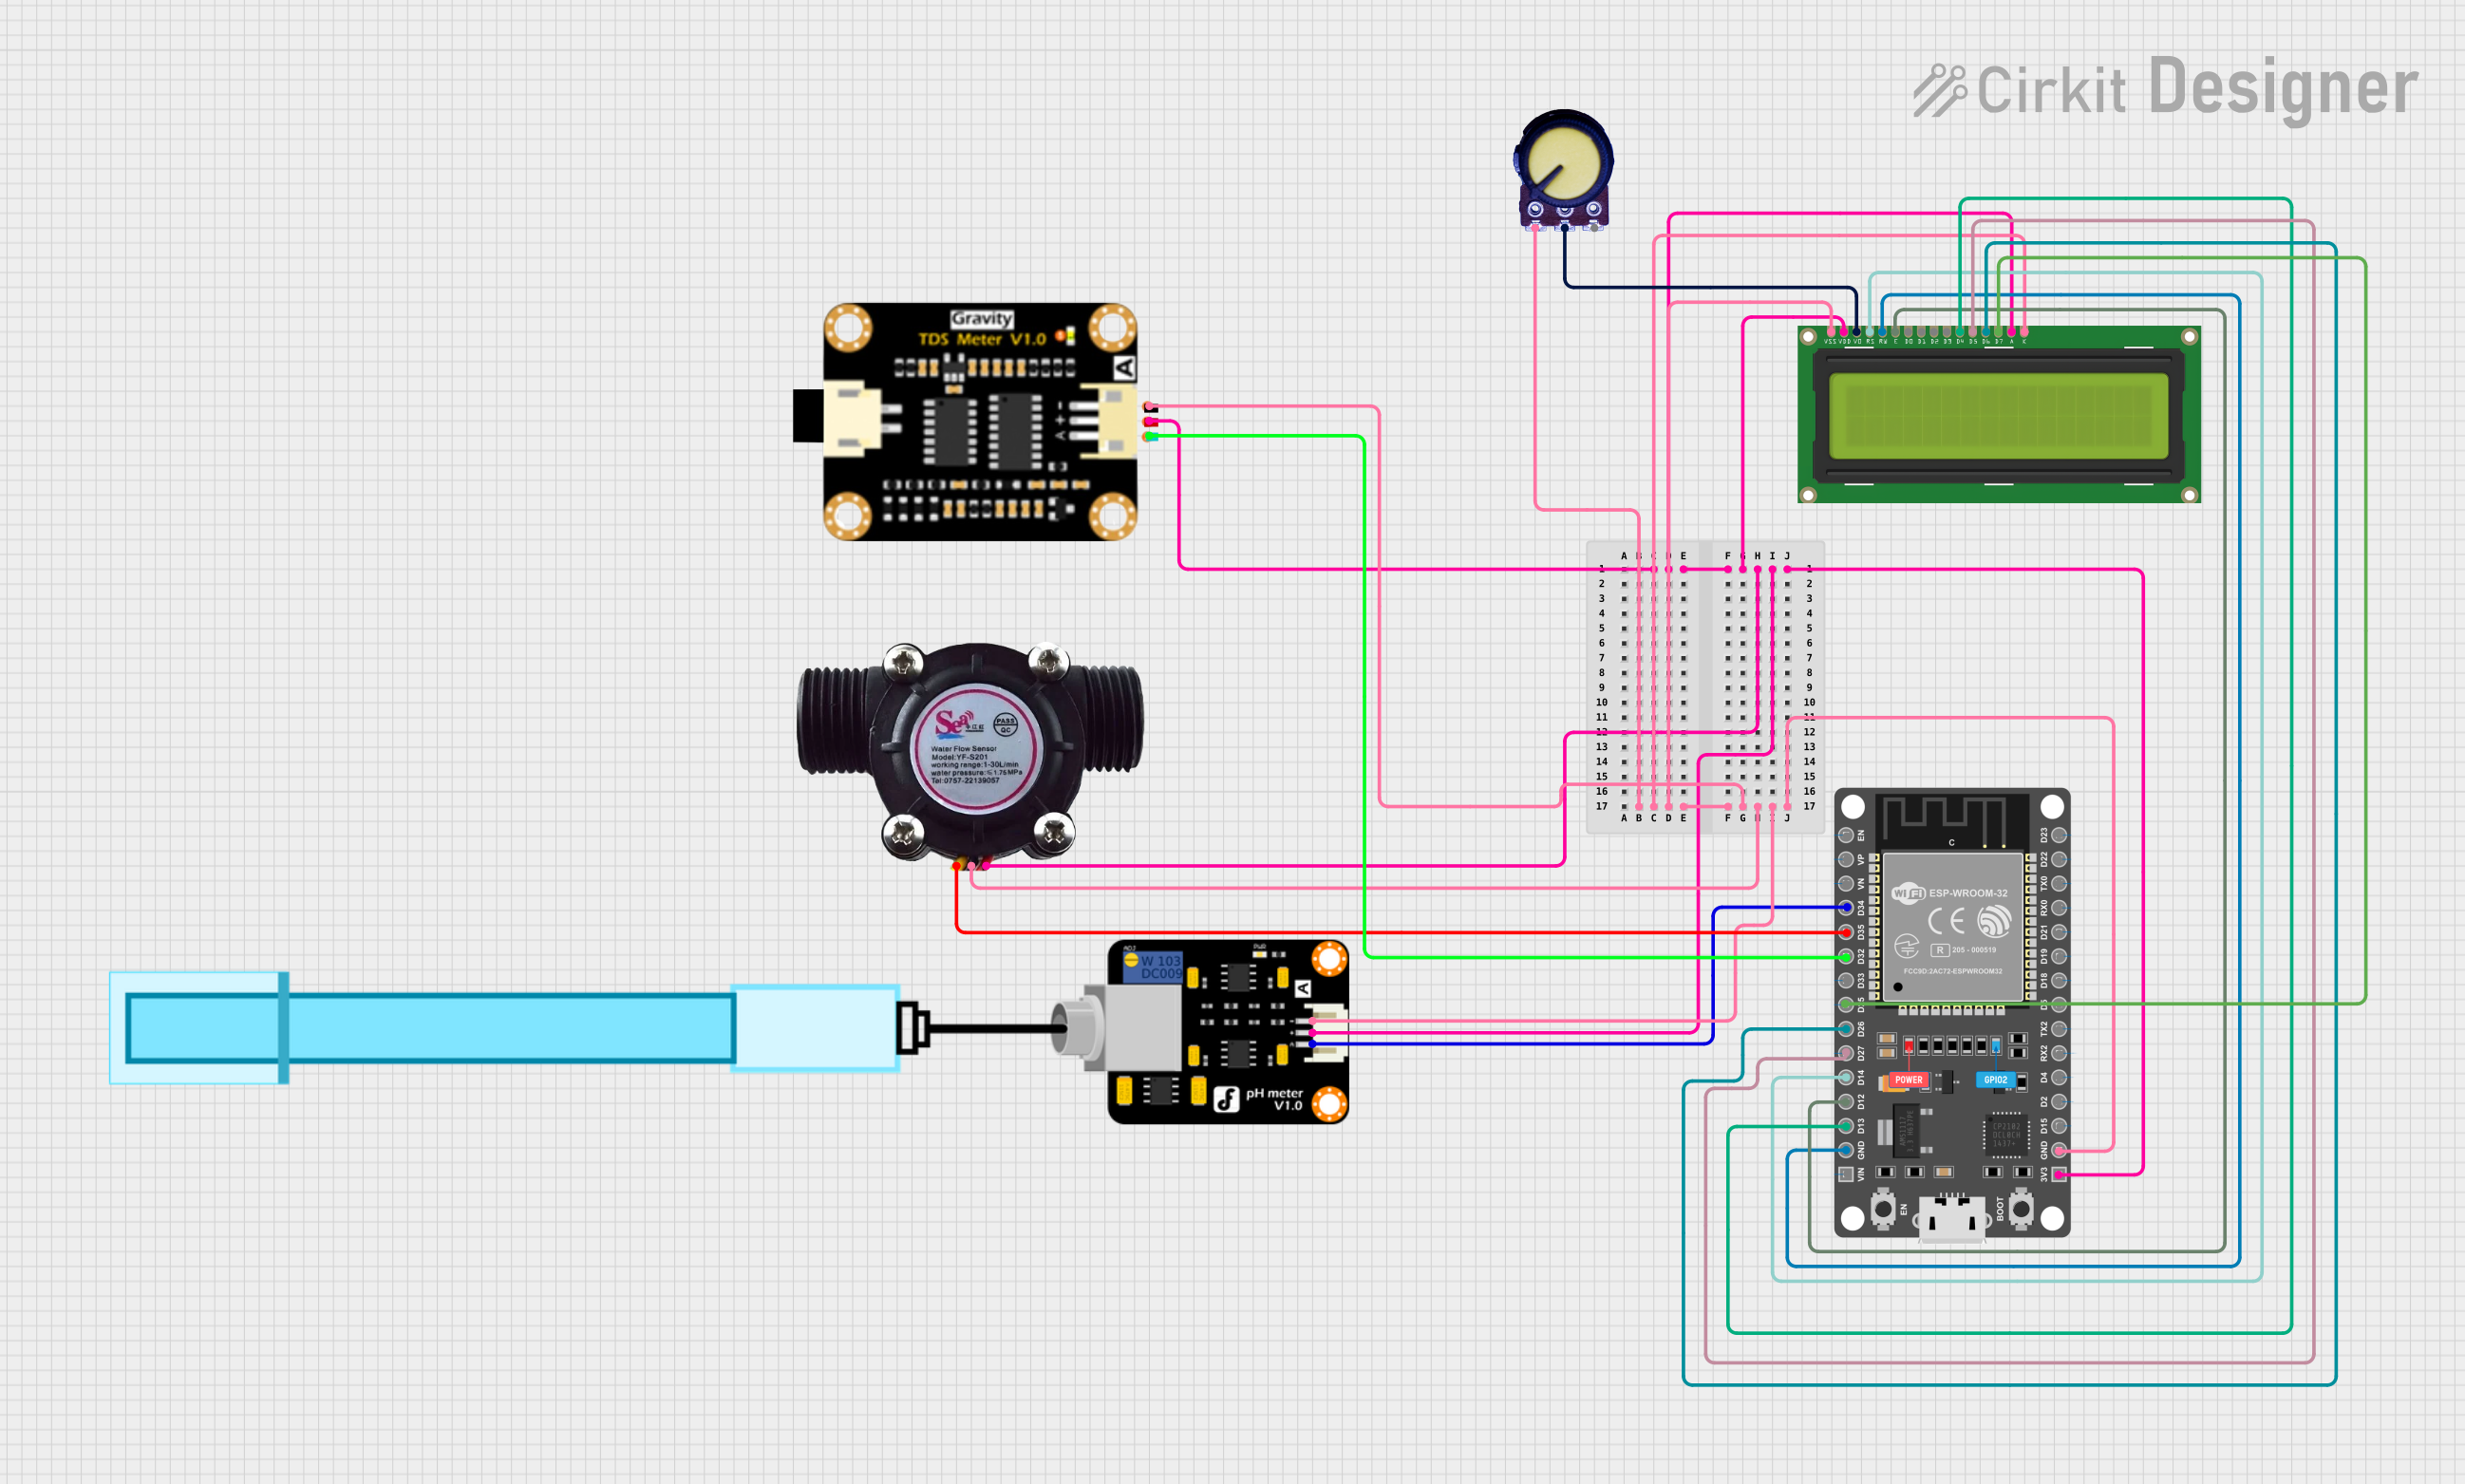 Open Project in Cirkit Designer
Explore Projects Built with ph electrode
Open Project in Cirkit DesignerOpen Project in Cirkit DesignerOpen Project in Cirkit DesignerOpen Project in Cirkit DesignerCommon Applications
- Water quality testing in aquariums and pools
- Hydroponic systems for plant growth
- Environmental monitoring
- Laboratory experiments and chemical analysis
- Food and beverage production
Technical Specifications
Below are the key technical details for the DFRobot SEN0169 pH Electrode:
| Parameter | Specification |
|---|---|
| Manufacturer | DFRobot |
| Part ID | SEN0169 |
| Measurement Range | 0 to 14 pH |
| Operating Temperature | 0°C to 60°C |
| Accuracy | ±0.1 pH (at 25°C) |
| Response Time | ≤1 minute |
| Output Voltage Range | 0 to 3.0V |
| Cable Length | 1 meter |
| Connector Type | BNC |
| Power Supply (for board) | 5V (when used with signal adapter) |
Pin Configuration (Signal Adapter Board)
The SEN0169 is often used with a signal adapter board to interface with microcontrollers like Arduino. Below is the pin configuration for the adapter board:
| Pin | Label | Description |
|---|---|---|
| 1 | VCC | Power supply (5V) |
| 2 | GND | Ground |
| 3 | DO | Digital output (not used for pH) |
| 4 | AO | Analog output (pH signal, 0-3.0V range) |
Usage Instructions
Connecting the pH Electrode
Hardware Setup:
- Connect the pH electrode's BNC connector to the signal adapter board.
- Connect the adapter board to your microcontroller (e.g., Arduino UNO) as follows:
- VCC to 5V on the Arduino.
- GND to GND on the Arduino.
- AO to an analog input pin (e.g., A0) on the Arduino.
Calibration:
- Before using the pH electrode, calibrate it with standard buffer solutions (e.g., pH 4.0, pH 7.0, and pH 10.0).
- Immerse the electrode in the buffer solution and adjust the potentiometer on the signal adapter board until the output matches the expected pH value.
Measuring pH:
- Immerse the electrode in the solution to be tested.
- Read the analog voltage output from the AO pin and convert it to a pH value using the formula provided in the code below.
Important Considerations
- Always rinse the electrode with distilled water before and after use to prevent contamination.
- Store the electrode in a pH storage solution when not in use to maintain accuracy and prolong its lifespan.
- Avoid using the electrode in solutions with high temperatures or strong acids/bases beyond its specified range.
Sample Arduino Code
Below is an example of how to use the SEN0169 pH electrode with an Arduino UNO:
// Include necessary libraries (if any)

// Define the analog pin connected to the pH sensor
const int pH_pin = A0;

// Calibration values (adjust based on your calibration process)
const float voltage_offset = 0.0; // Adjust this based on calibration
const float slope = 3.5;          // Typical slope value for pH sensors

void setup() {
  Serial.begin(9600); // Initialize serial communication
  Serial.println("pH Sensor Test");
}

void loop() {
  // Read the analog voltage from the pH sensor
  int sensorValue = analogRead(pH_pin);
  float voltage = sensorValue * (5.0 / 1023.0); // Convert ADC value to voltage

  // Convert voltage to pH value
  float pH = slope * voltage + voltage_offset;

  // Print the pH value to the Serial Monitor
  Serial.print("pH Value: ");
  Serial.println(pH);

  delay(1000); // Wait 1 second before the next reading
}
Notes on the Code
- The
voltage_offsetandslopevalues should be adjusted based on your calibration results. - Ensure the Arduino is powered via USB or an external power source during operation.
Troubleshooting and FAQs
Common Issues
Inaccurate Readings:
- Cause: The electrode is not calibrated properly.
- Solution: Recalibrate the electrode using standard buffer solutions.
No Output or Fluctuating Values:
- Cause: Loose connections or damaged electrode.
- Solution: Check all connections and ensure the electrode is not physically damaged.
Slow Response Time:
- Cause: The electrode is dirty or clogged.
- Solution: Clean the electrode with a soft brush and rinse with distilled water.
Output Voltage Stuck at 0V:
- Cause: The signal adapter board is not powered.
- Solution: Verify the VCC and GND connections to the adapter board.
FAQs
Q1: How often should I calibrate the pH electrode?
A1: It is recommended to calibrate the electrode before each use for the most accurate results.
Q2: Can I use the pH electrode in seawater?
A2: Yes, the electrode can be used in seawater, but ensure it is rinsed thoroughly after use to prevent salt buildup.
Q3: How should I store the pH electrode?
A3: Store the electrode in a pH storage solution to maintain its accuracy and extend its lifespan. Avoid storing it in distilled or deionized water.
Q4: What is the lifespan of the pH electrode?
A4: The typical lifespan is 1-2 years, depending on usage and maintenance. Proper care can extend its life.
By following this documentation, users can effectively utilize the DFRobot SEN0169 pH Electrode for accurate and reliable pH measurements.