Cirkit Designer Logo
Cirkit Designer
Your all-in-one circuit design IDE
Home / 
Component Documentation

How to Use PixelStomp: Examples, Pinouts, and Specs

Image of PixelStomp
Cirkit Designer LogoDesign with PixelStomp in Cirkit Designer

Introduction

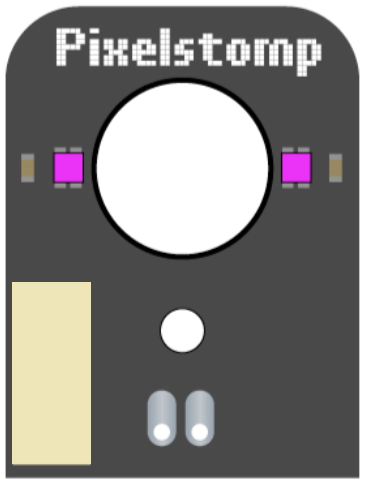
PixelStomp, manufactured by ROXXXTAR.com, is a versatile digital audio effect processor designed for sound manipulation. It enables users to apply a wide range of effects, including distortion, filtering, modulation, and more. This component is widely used in music production, live performances, and audio experimentation, offering musicians and sound engineers a powerful tool to shape and enhance audio signals.

Explore Projects Built with PixelStomp

Use Cirkit Designer to design, explore, and prototype these projects online. Some projects support real-time simulation. Click "Open Project" to start designing instantly!
Battery-Powered Raspberry Pi Zero with OLED Display and EmStat Pico for Portable Data Acquisition
Image of RPI Zero Prototype: A project utilizing PixelStomp in a practical application
This circuit is a portable system powered by a 3.7V LiPo battery, which is boosted to 5V using an Adafruit PowerBoost 1000C to power a Raspberry Pi Zero and an EmStat Pico. The Raspberry Pi Zero interfaces with an OLED display via I2C and a tactile switch for user input, while the EmStat Pico communicates with the Raspberry Pi over UART for data acquisition or control purposes.
Cirkit Designer LogoOpen Project in Cirkit Designer
LilyPad Arduino and Accelerometer-Based Wearable Fitness Tracker with Heart Rate Monitoring
Image of proj2: A project utilizing PixelStomp in a practical application
This circuit is designed for wearable applications, featuring a LilyPad Arduino USB microcontroller that controls a chain of LED Pixel Boards and reads data from a Heart Pulse Sensor and a three-axis Accelerometer. It is capable of interactive LED displays synchronized with motion and heart rate data, suitable for dynamic wearable projects.
Cirkit Designer LogoOpen Project in Cirkit Designer
Arduino Nano Controlled TFT Display with Multiple Pushbuttons
Image of rey: A project utilizing PixelStomp in a practical application
This circuit features an Arduino Nano microcontroller connected to a ST7735 128x128 1.44 TFT I2C Color display and multiple pushbuttons. The display is interfaced with the Arduino via digital pins for control signals and SPI pins for data transfer. The pushbuttons are connected to various digital and analog input pins on the Arduino, likely intended for user input to control the display or other functions within the code.
Cirkit Designer LogoOpen Project in Cirkit Designer
Battery-Powered Arduino UNO Smart Light with NeoPixel and ADXL345
Image of Cubagick: A project utilizing PixelStomp in a practical application
This circuit is a battery-powered system featuring an Arduino UNO that controls an Adafruit NeoPixel Stick and interfaces with an ADXL345 accelerometer and an ILI9341 TFT display. The TP4056 module charges a 18650 battery, which powers the system through a DC-DC converter. The Arduino code drives the NeoPixel Stick to display a red light sequence.
Cirkit Designer LogoOpen Project in Cirkit Designer

Explore Projects Built with PixelStomp

Use Cirkit Designer to design, explore, and prototype these projects online. Some projects support real-time simulation. Click "Open Project" to start designing instantly!
Image of RPI Zero Prototype: A project utilizing PixelStomp in a practical application
Battery-Powered Raspberry Pi Zero with OLED Display and EmStat Pico for Portable Data Acquisition
This circuit is a portable system powered by a 3.7V LiPo battery, which is boosted to 5V using an Adafruit PowerBoost 1000C to power a Raspberry Pi Zero and an EmStat Pico. The Raspberry Pi Zero interfaces with an OLED display via I2C and a tactile switch for user input, while the EmStat Pico communicates with the Raspberry Pi over UART for data acquisition or control purposes.
Cirkit Designer LogoOpen Project in Cirkit Designer
Image of proj2: A project utilizing PixelStomp in a practical application
LilyPad Arduino and Accelerometer-Based Wearable Fitness Tracker with Heart Rate Monitoring
This circuit is designed for wearable applications, featuring a LilyPad Arduino USB microcontroller that controls a chain of LED Pixel Boards and reads data from a Heart Pulse Sensor and a three-axis Accelerometer. It is capable of interactive LED displays synchronized with motion and heart rate data, suitable for dynamic wearable projects.
Cirkit Designer LogoOpen Project in Cirkit Designer
Image of rey: A project utilizing PixelStomp in a practical application
Arduino Nano Controlled TFT Display with Multiple Pushbuttons
This circuit features an Arduino Nano microcontroller connected to a ST7735 128x128 1.44 TFT I2C Color display and multiple pushbuttons. The display is interfaced with the Arduino via digital pins for control signals and SPI pins for data transfer. The pushbuttons are connected to various digital and analog input pins on the Arduino, likely intended for user input to control the display or other functions within the code.
Cirkit Designer LogoOpen Project in Cirkit Designer
Image of Cubagick: A project utilizing PixelStomp in a practical application
Battery-Powered Arduino UNO Smart Light with NeoPixel and ADXL345
This circuit is a battery-powered system featuring an Arduino UNO that controls an Adafruit NeoPixel Stick and interfaces with an ADXL345 accelerometer and an ILI9341 TFT display. The TP4056 module charges a 18650 battery, which powers the system through a DC-DC converter. The Arduino code drives the NeoPixel Stick to display a red light sequence.
Cirkit Designer LogoOpen Project in Cirkit Designer

Common Applications

  • Music production for creating unique sound textures
  • Live performances to add real-time audio effects
  • Audio experimentation and sound design
  • Integration into modular synthesizers or audio processing chains

Technical Specifications

Key Technical Details

  • Input Voltage: 5V DC (via USB or external power supply)
  • Current Consumption: 250mA (typical)
  • Audio Input/Output: Stereo 3.5mm TRS jacks
  • Supported Effects: Distortion, filtering, modulation, delay, reverb, and more
  • Control Interface: 4 rotary encoders, 6 tactile buttons
  • Digital Signal Processing (DSP): 32-bit floating-point processing
  • Sampling Rate: 48kHz
  • Bit Depth: 24-bit
  • Communication Protocol: MIDI over USB (optional for effect control)
  • Dimensions: 100mm x 60mm x 25mm

Pin Configuration and Descriptions

The PixelStomp has a USB-C port for power and MIDI communication, as well as stereo input/output jacks. Below is the pin configuration for the audio and control connections:

Pin/Port Description
USB-C Port Power input (5V DC) and optional MIDI over USB communication
Stereo Input (IN) 3.5mm TRS jack for stereo audio input
Stereo Output (OUT) 3.5mm TRS jack for stereo audio output
Rotary Encoders 4 rotary encoders for adjusting effect parameters
Tactile Buttons 6 buttons for effect selection and preset management

Usage Instructions

How to Use PixelStomp in a Circuit

  1. Powering the Device: Connect the PixelStomp to a 5V DC power source using the USB-C port. This can be a USB power adapter, a computer, or a power bank.
  2. Audio Connections:
    • Plug the audio source (e.g., a synthesizer, guitar, or audio interface) into the stereo input jack.
    • Connect the stereo output jack to your amplifier, headphones, or recording device.
  3. Effect Control:
    • Use the rotary encoders to adjust effect parameters such as intensity, frequency, or modulation depth.
    • Use the tactile buttons to select effects or switch between presets.
  4. MIDI Integration (Optional):
    • Connect the PixelStomp to a computer via USB to control effects using MIDI software or a DAW (Digital Audio Workstation).

Important Considerations and Best Practices

  • Audio Levels: Ensure the input audio signal is within the acceptable range to avoid distortion or clipping.
  • Power Supply: Use a stable 5V power source to prevent noise or interruptions in audio processing.
  • Firmware Updates: Check ROXXXTAR.com for firmware updates to access new features and effects.
  • Heat Management: Avoid placing the PixelStomp in enclosed spaces during extended use to prevent overheating.

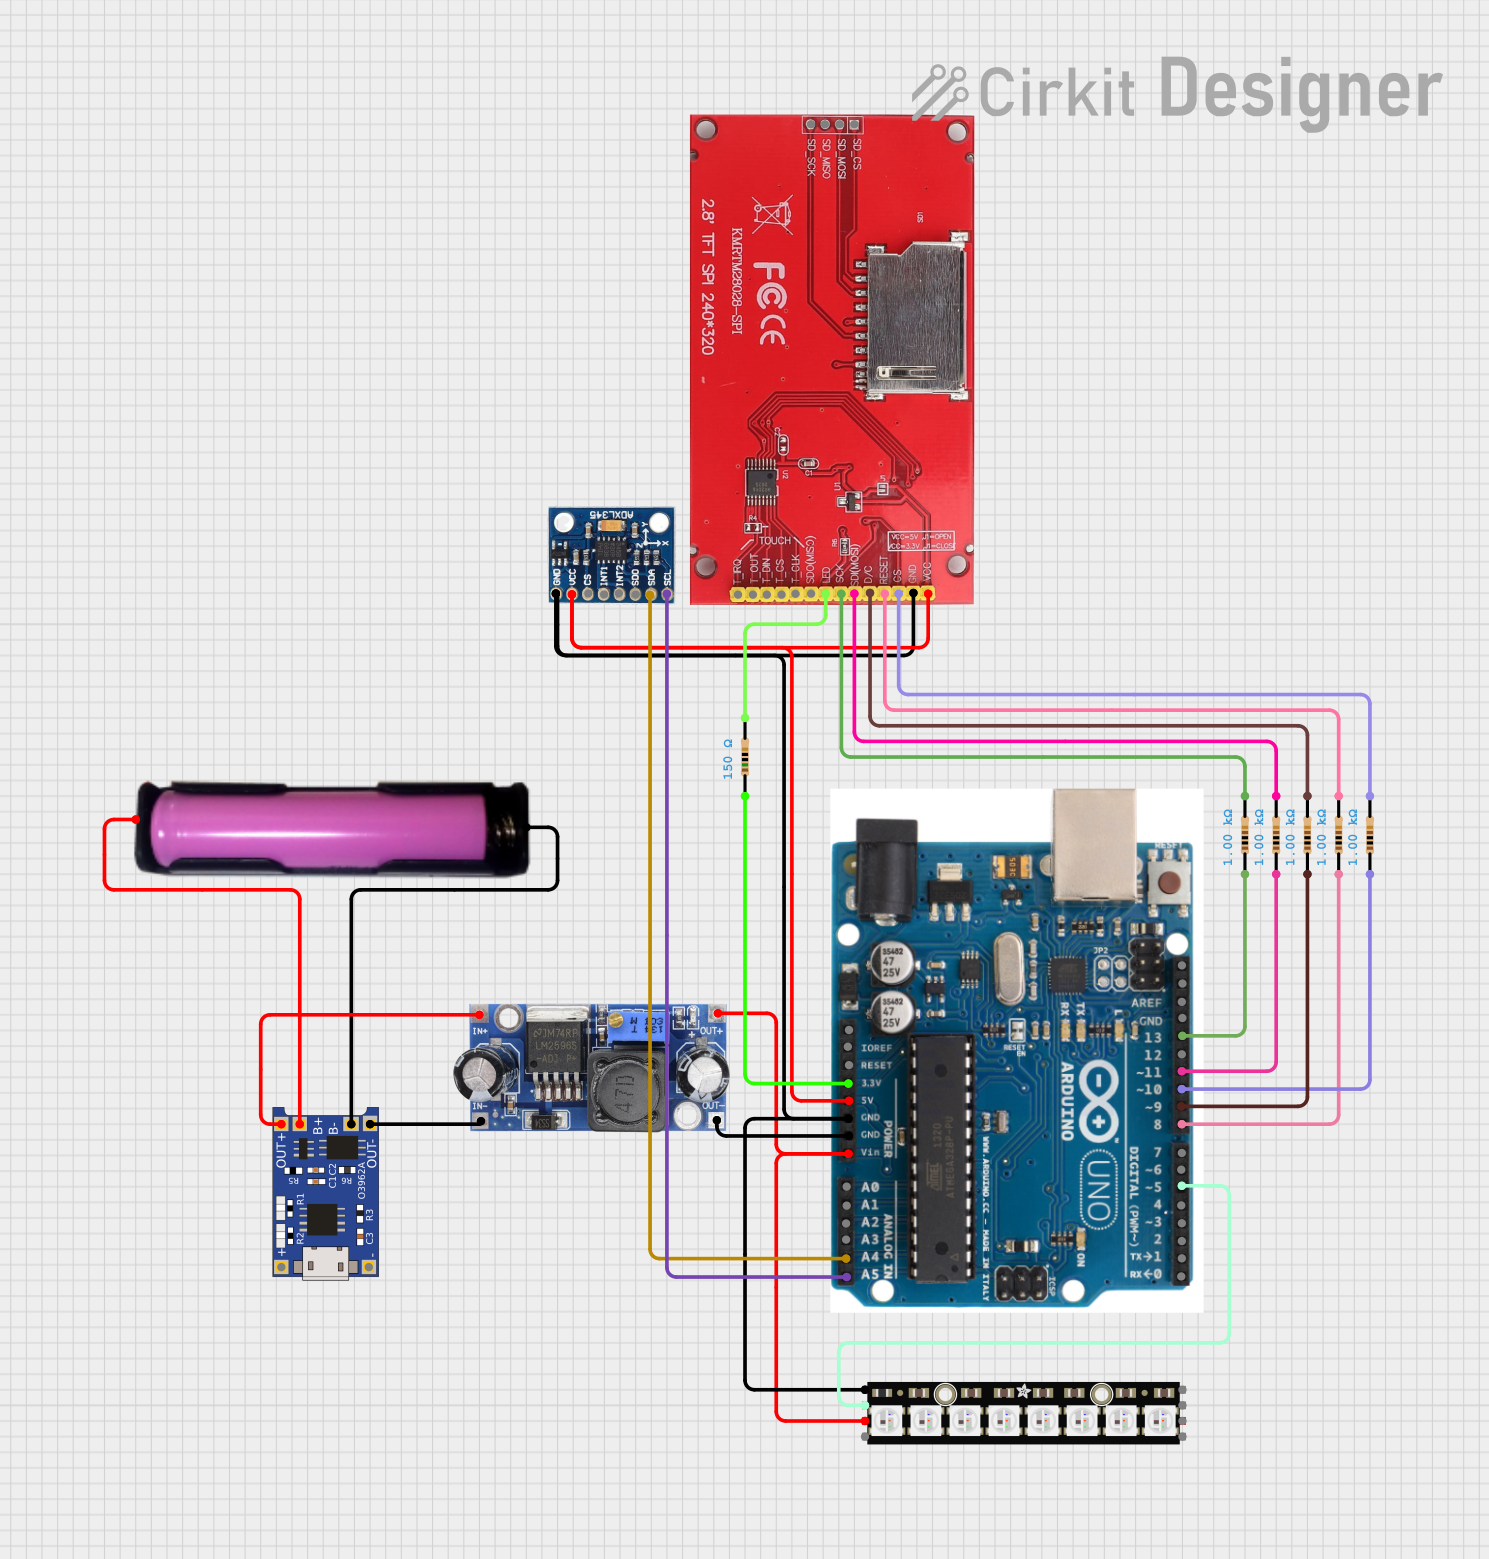
Example: Using PixelStomp with Arduino UNO

PixelStomp can be controlled via MIDI messages sent from an Arduino UNO. Below is an example code snippet to send a MIDI control change (CC) message to adjust an effect parameter:

#include <MIDI.h>

// Create a MIDI object
MIDI_CREATE_DEFAULT_INSTANCE();

void setup() {
  // Initialize MIDI communication at 31250 baud rate
  MIDI.begin(MIDI_CHANNEL_OMNI);
}

void loop() {
  // Send a MIDI Control Change (CC) message
  // CC number 10 adjusts the effect intensity, value range: 0-127
  MIDI.sendControlChange(10, 64, 1); // Channel 1, value 64 (midpoint)
  delay(500); // Wait for 500ms before sending the next message
}

Note: Ensure the Arduino UNO is connected to the PixelStomp via a USB-MIDI adapter or a compatible MIDI shield.

Troubleshooting and FAQs

Common Issues and Solutions

  1. No Audio Output:

    • Verify that the input and output cables are securely connected.
    • Check the power supply and ensure the PixelStomp is powered on.
    • Ensure the input audio signal is not muted or too low.
  2. Distorted or Clipped Audio:

    • Reduce the input audio signal level to avoid overloading the processor.
    • Check the effect settings and adjust parameters to reduce distortion.
  3. MIDI Control Not Working:

    • Ensure the USB cable is properly connected to the computer or MIDI device.
    • Verify that the MIDI channel and control change numbers match the PixelStomp's configuration.
  4. Device Overheating:

    • Place the PixelStomp in a well-ventilated area.
    • Avoid prolonged use in high-temperature environments.

FAQs

  • Q: Can I use PixelStomp with a battery-powered setup?
    A: Yes, you can power the PixelStomp using a USB power bank for portable use.

  • Q: Does PixelStomp support mono audio input?
    A: Yes, you can use a mono-to-stereo adapter to connect mono audio sources.

  • Q: How do I reset the PixelStomp to factory settings?
    A: Hold down the first and last tactile buttons while powering on the device to reset it.

  • Q: Can I create custom effects?
    A: Currently, custom effects are not supported, but firmware updates may add this feature in the future.

For additional support, visit ROXXXTAR.com.