How to Use Temperature Sensor (LM35): Examples, Pinouts, and Specs
Introduction
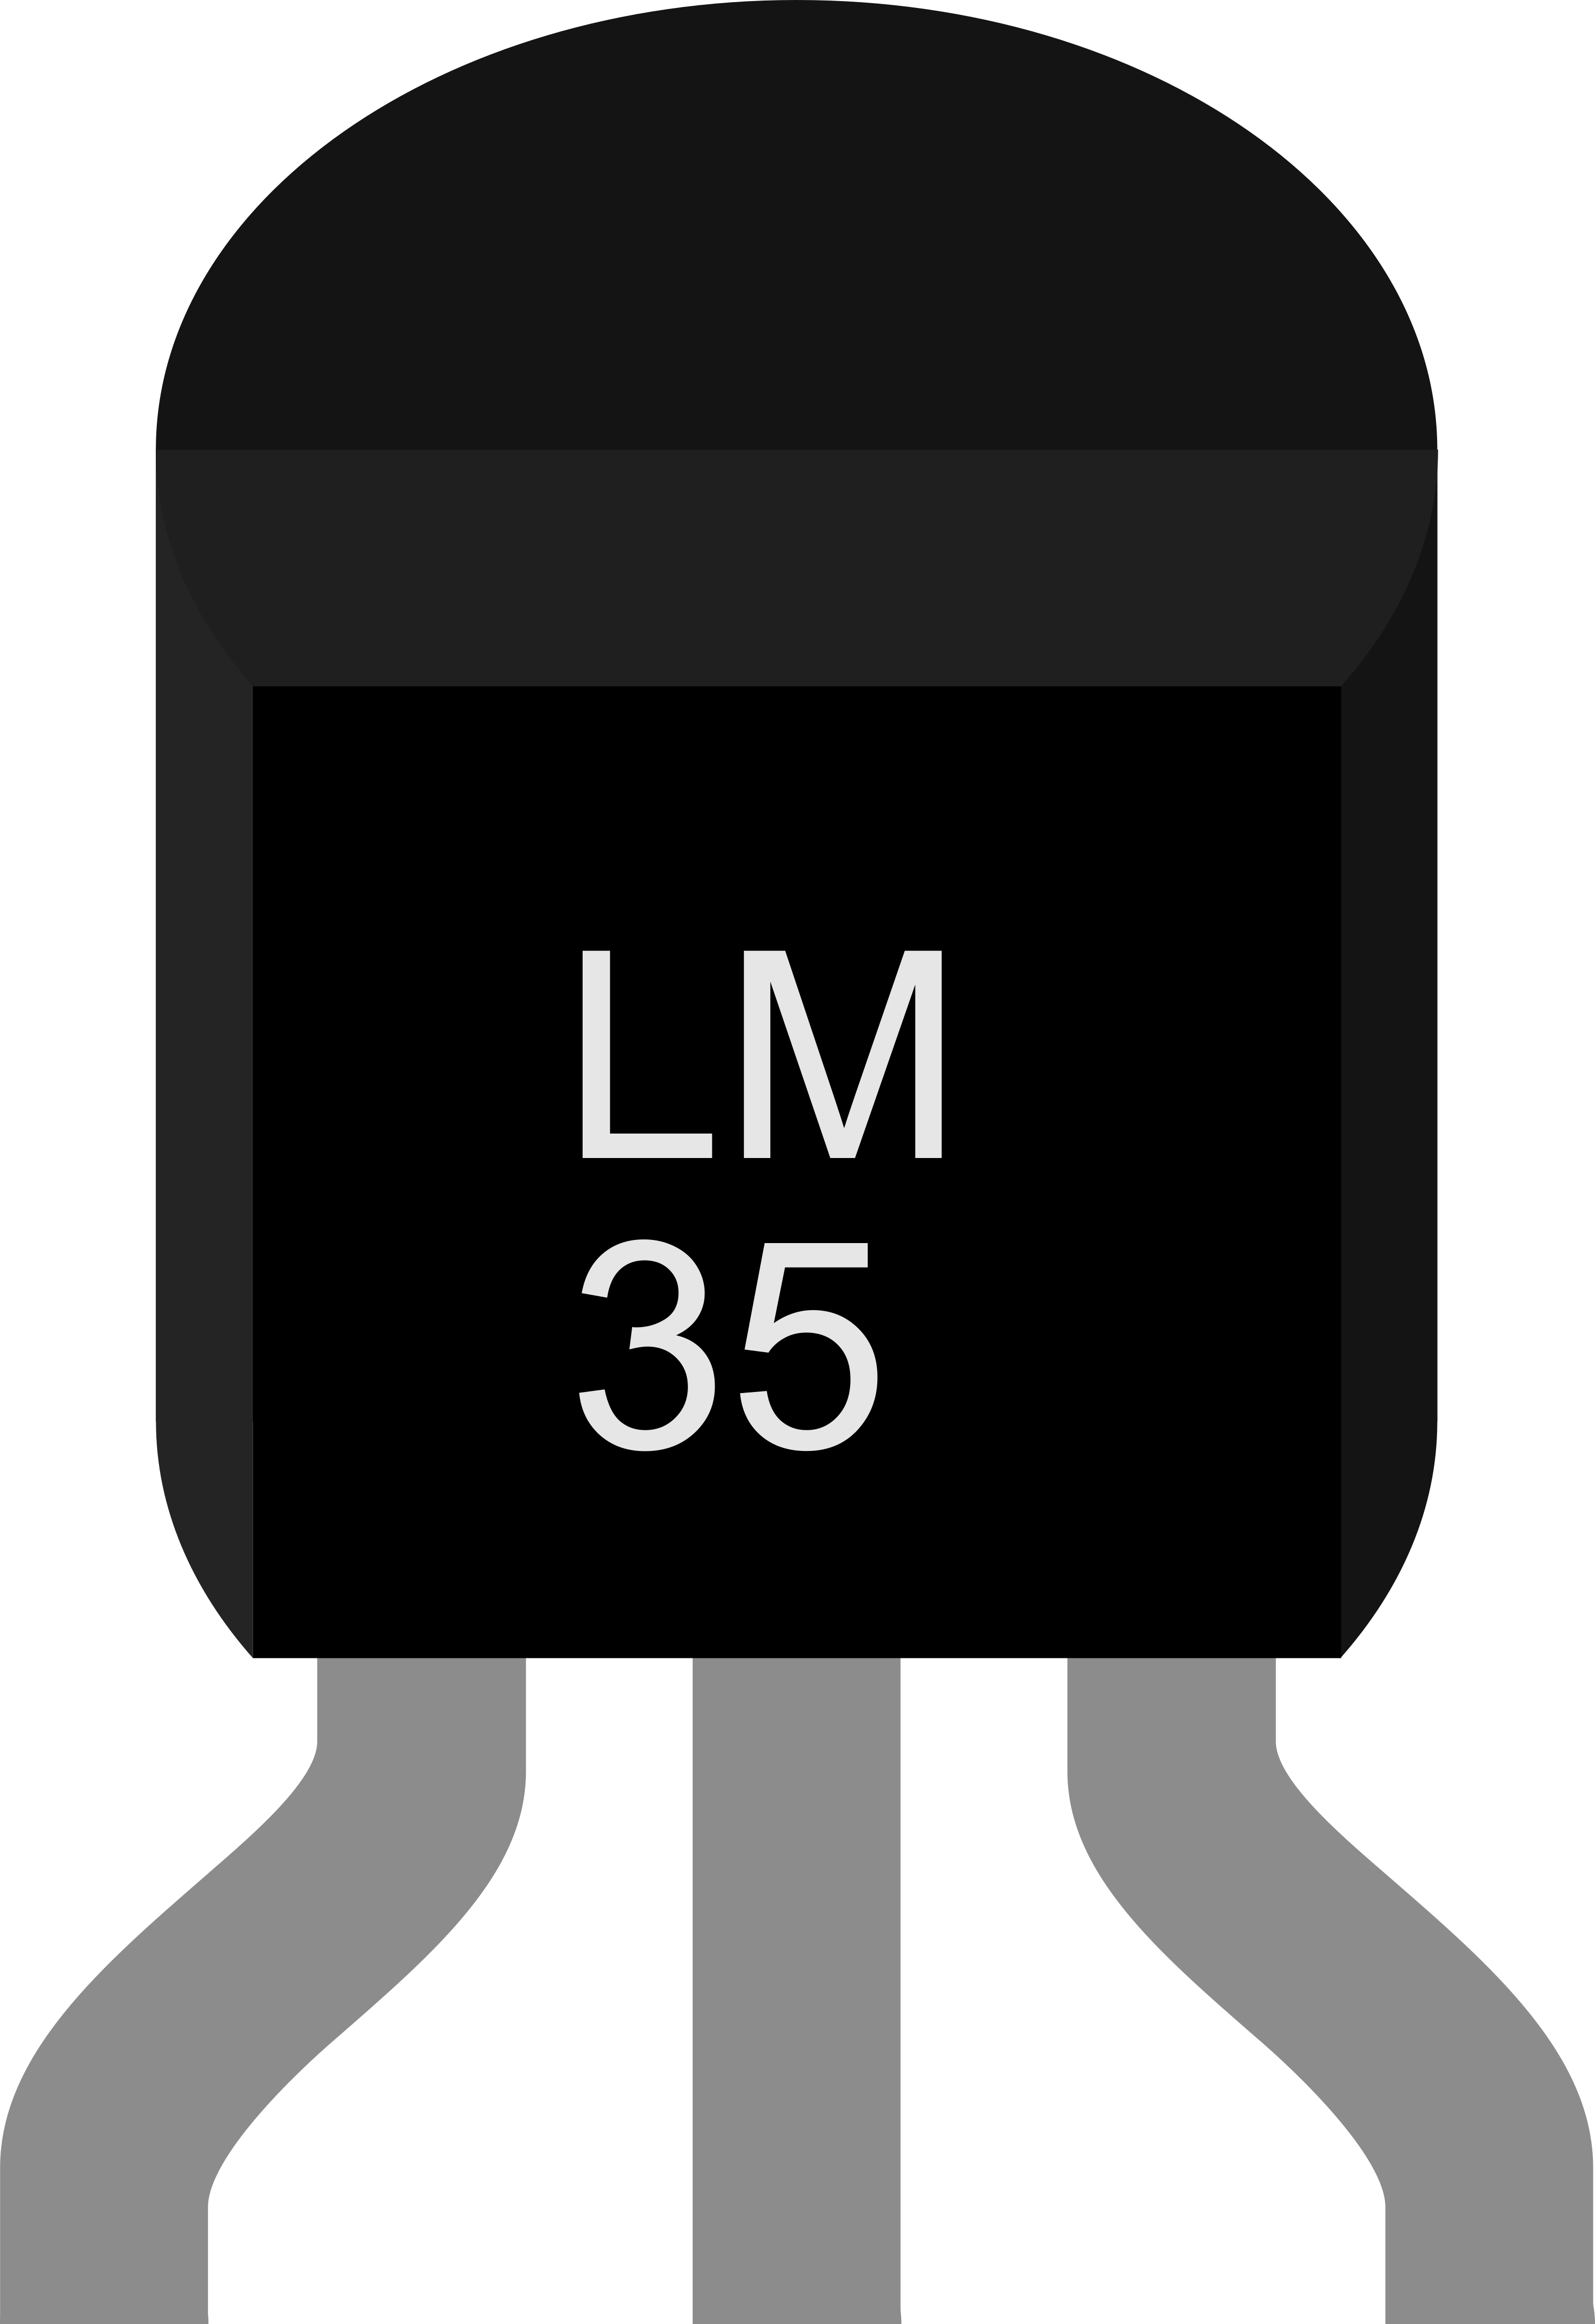
The LM35 is a precision temperature sensor that provides an output voltage proportional to the temperature in Celsius. Unlike thermistors, the LM35 does not require any external calibration or trimming, making it highly accurate and easy to use. It offers a linear output of 10 mV per degree Celsius, ensuring straightforward temperature-to-voltage conversion. The LM35 operates over a wide temperature range, making it suitable for various applications.
Explore Projects Built with Temperature Sensor (LM35)
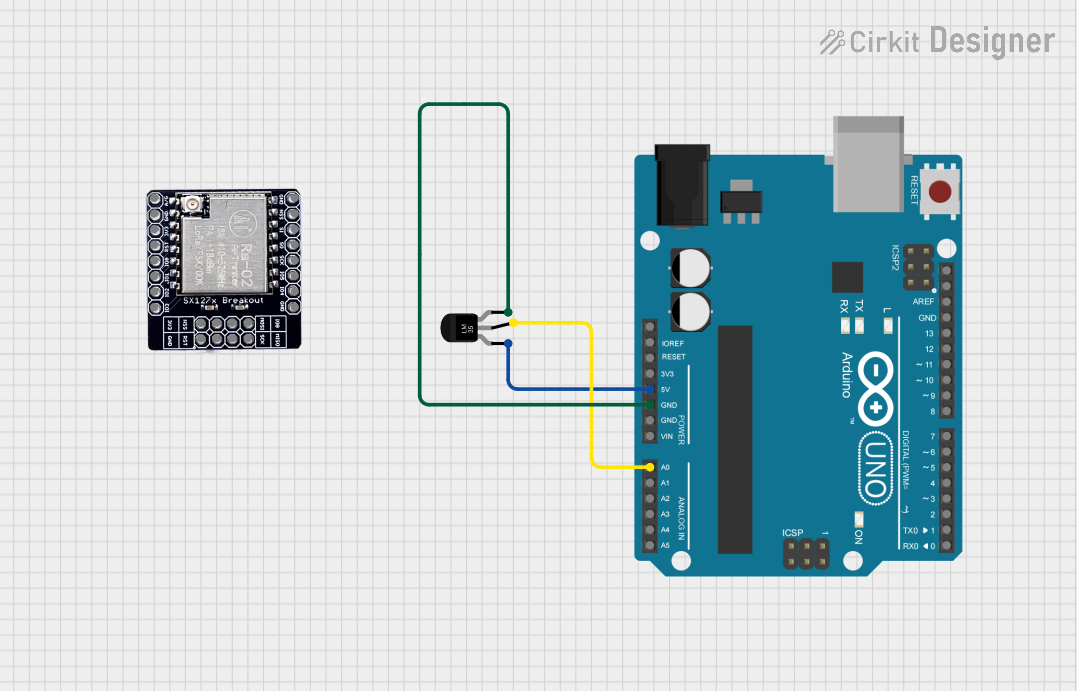
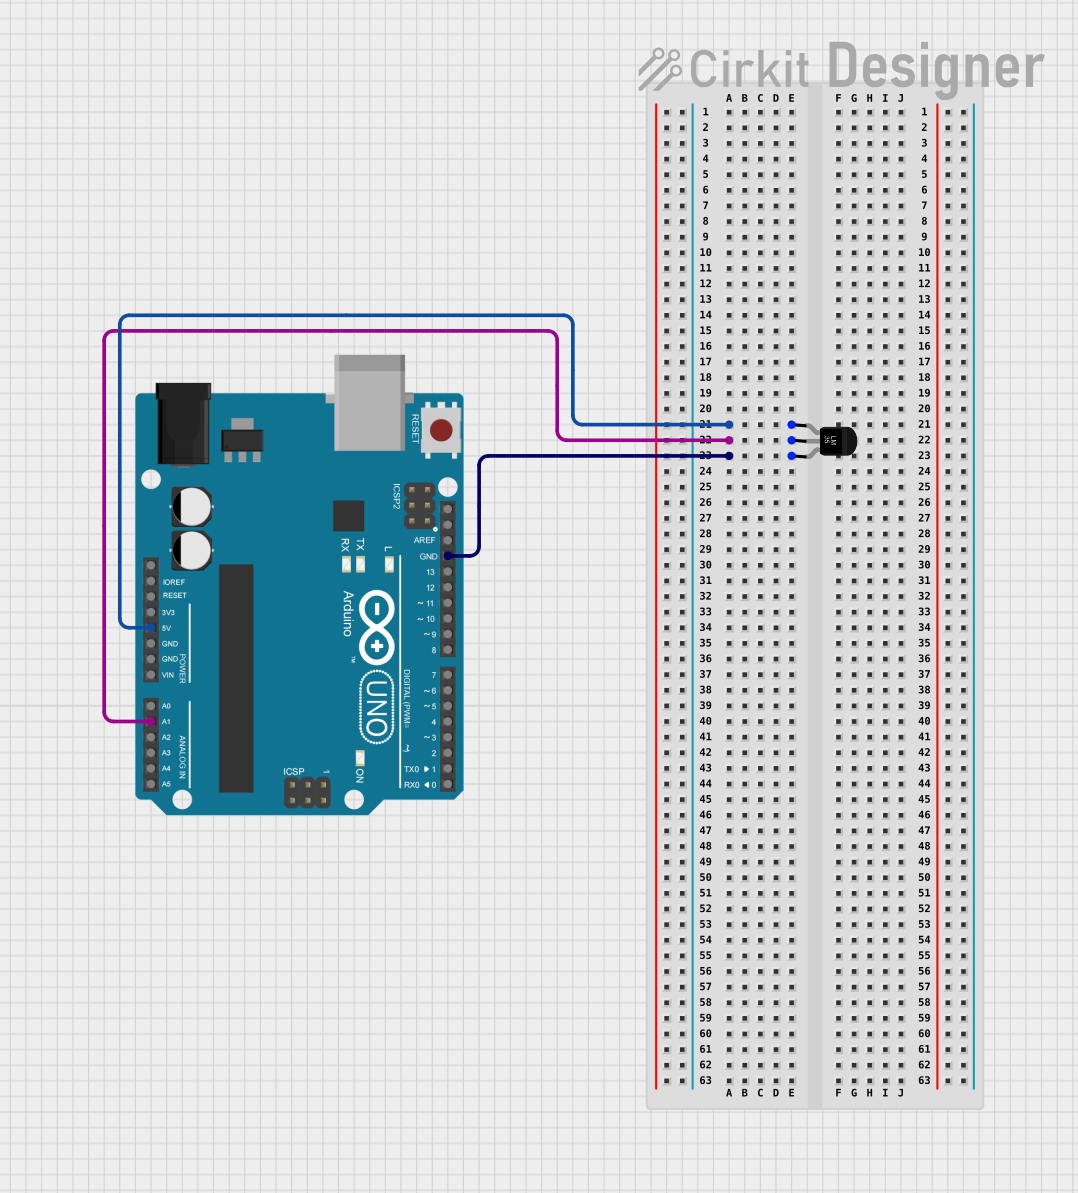
Explore Projects Built with Temperature Sensor (LM35)
Common Applications and Use Cases
- HVAC systems for temperature monitoring and control
- Industrial process control
- Weather monitoring stations
- Home automation systems
- Medical devices for temperature measurement
- Battery management systems
Technical Specifications
The LM35 is designed for precision and ease of use. Below are its key technical details:
| Parameter | Value |
|---|---|
| Supply Voltage (Vcc) | 4V to 30V |
| Output Voltage Range | 0V to +1.5V (for 0°C to 150°C) |
| Temperature Range | -55°C to +150°C |
| Accuracy | ±0.5°C (at 25°C) |
| Output Sensitivity | 10 mV/°C |
| Current Consumption | 60 µA (typical) |
| Load Impedance | Greater than 10 kΩ |
Pin Configuration and Descriptions
The LM35 is typically available in a 3-pin TO-92 package. Below is the pinout:
| Pin Number | Pin Name | Description |
|---|---|---|
| 1 | Vcc | Positive power supply (4V to 30V) |
| 2 | Vout | Analog output voltage proportional to temperature |
| 3 | GND | Ground (0V reference) |
Usage Instructions
The LM35 is simple to use in a circuit. Follow the steps below to integrate it into your project:
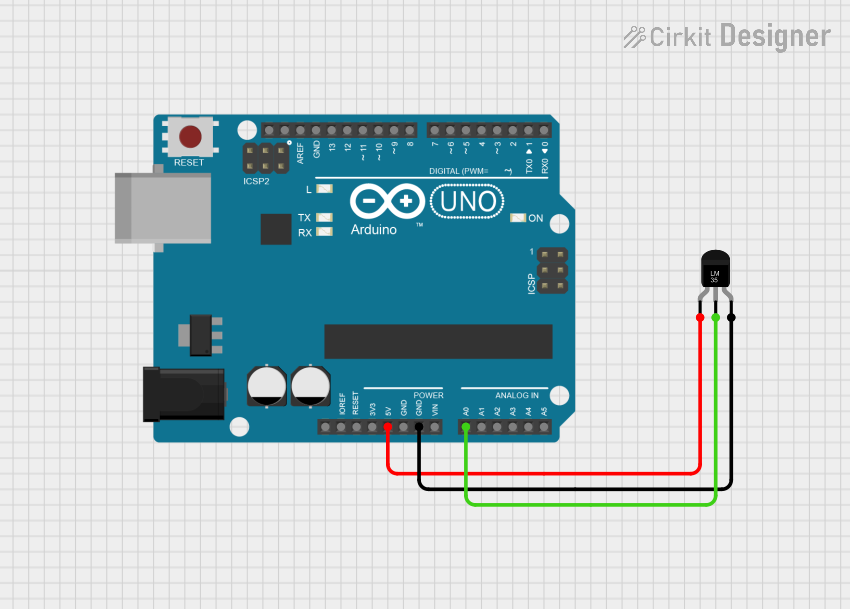
Basic Circuit Connection
- Power Supply: Connect the Vcc pin to a DC voltage source (4V to 30V). For most microcontroller applications, 5V is commonly used.
- Ground: Connect the GND pin to the ground of your circuit.
- Output: Connect the Vout pin to an analog input pin of your microcontroller or to a voltmeter for direct voltage measurement.
Important Considerations
- Decoupling Capacitor: Place a 0.1 µF capacitor between Vcc and GND to reduce noise and improve stability.
- Load Impedance: Ensure the load impedance on the Vout pin is greater than 10 kΩ to maintain accuracy.
- Temperature Range: Avoid exposing the LM35 to temperatures beyond its specified range (-55°C to +150°C) to prevent damage.
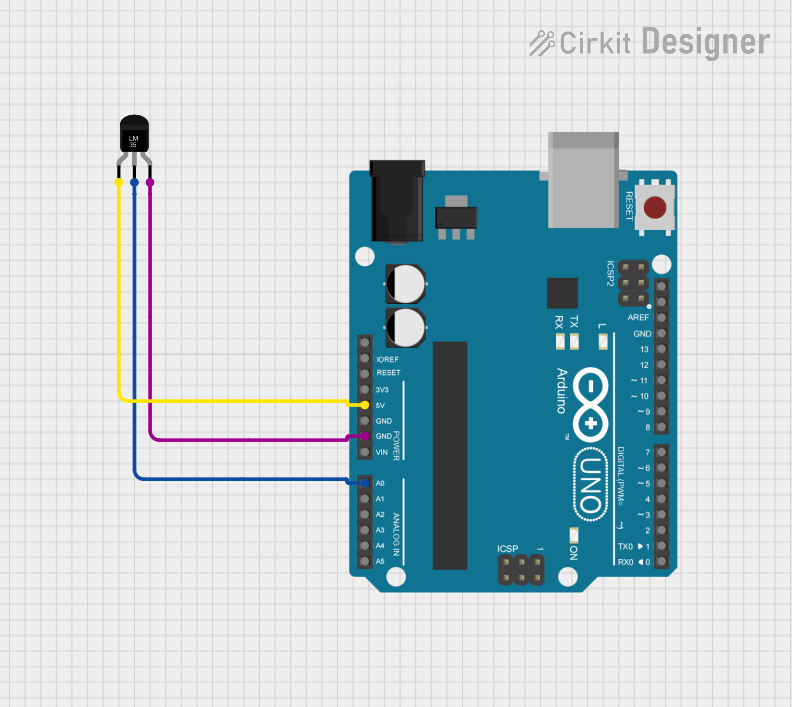
Example: Using LM35 with Arduino UNO
Below is an example of how to read temperature data from the LM35 using an Arduino UNO:
// Define the analog pin connected to the LM35's Vout pin
const int sensorPin = A0;

void setup() {
  Serial.begin(9600); // Initialize serial communication at 9600 baud
}

void loop() {
  int sensorValue = analogRead(sensorPin); // Read the analog value from LM35
  float voltage = sensorValue * (5.0 / 1023.0); // Convert ADC value to voltage
  float temperature = voltage * 100.0; // Convert voltage to temperature in Celsius

  // Print the temperature to the Serial Monitor
  Serial.print("Temperature: ");
  Serial.print(temperature);
  Serial.println(" °C");

  delay(1000); // Wait for 1 second before the next reading
}
Notes:
- The Arduino's ADC resolution is 10 bits, resulting in values from 0 to 1023.
- The
5.0 / 1023.0factor converts the ADC value to a voltage (assuming a 5V reference). - The
voltage * 100.0factor converts the voltage to temperature in Celsius, as the LM35 outputs 10 mV/°C.
Troubleshooting and FAQs
Common Issues and Solutions
No Output Voltage:
- Ensure the Vcc and GND pins are correctly connected.
- Verify that the supply voltage is within the specified range (4V to 30V).
Inaccurate Temperature Readings:
- Check for noise in the power supply; add a decoupling capacitor (0.1 µF) between Vcc and GND.
- Ensure the load impedance on the Vout pin is greater than 10 kΩ.
- Verify that the sensor is not exposed to temperatures outside its operating range.
Fluctuating Readings:
- Use shielded cables for long connections to reduce interference.
- Place the sensor away from heat sources or airflow that could cause rapid temperature changes.
FAQs
Q: Can the LM35 measure negative temperatures?
A: Yes, the LM35 can measure temperatures below 0°C, but the output voltage will be negative. To read negative temperatures, you need a dual power supply or additional circuitry to shift the voltage.
Q: Can I use the LM35 with a 3.3V microcontroller?
A: Yes, the LM35 can operate with a supply voltage as low as 4V. However, for 3.3V systems, consider using a level shifter or ensure the output voltage does not exceed the ADC input range of the microcontroller.
Q: How do I extend the sensor's cable length?
A: Use shielded cables to minimize noise and interference. Additionally, place a capacitor (e.g., 1 µF) close to the sensor to stabilize the output.
By following this documentation, you can effectively integrate the LM35 temperature sensor into your projects and troubleshoot common issues with ease.