
How to Use BUCK: Examples, Pinouts, and Specs
 Design with BUCK in Cirkit Designer
Introduction
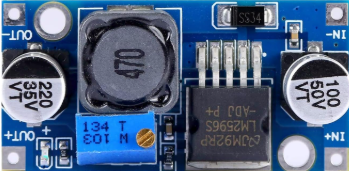
The BUCK DC/DC converter, manufactured by HUAREW, is a highly efficient step-down voltage regulator designed for DC-DC power conversion. It reduces a higher input voltage to a lower output voltage while increasing the current, making it ideal for applications requiring efficient power delivery. This component is widely used in battery-powered devices, embedded systems, and power supply circuits for microcontrollers and other sensitive electronics.
Explore Projects Built with BUCK
 Open Project in Cirkit Designer
 Open Project in Cirkit Designer
 Open Project in Cirkit Designer
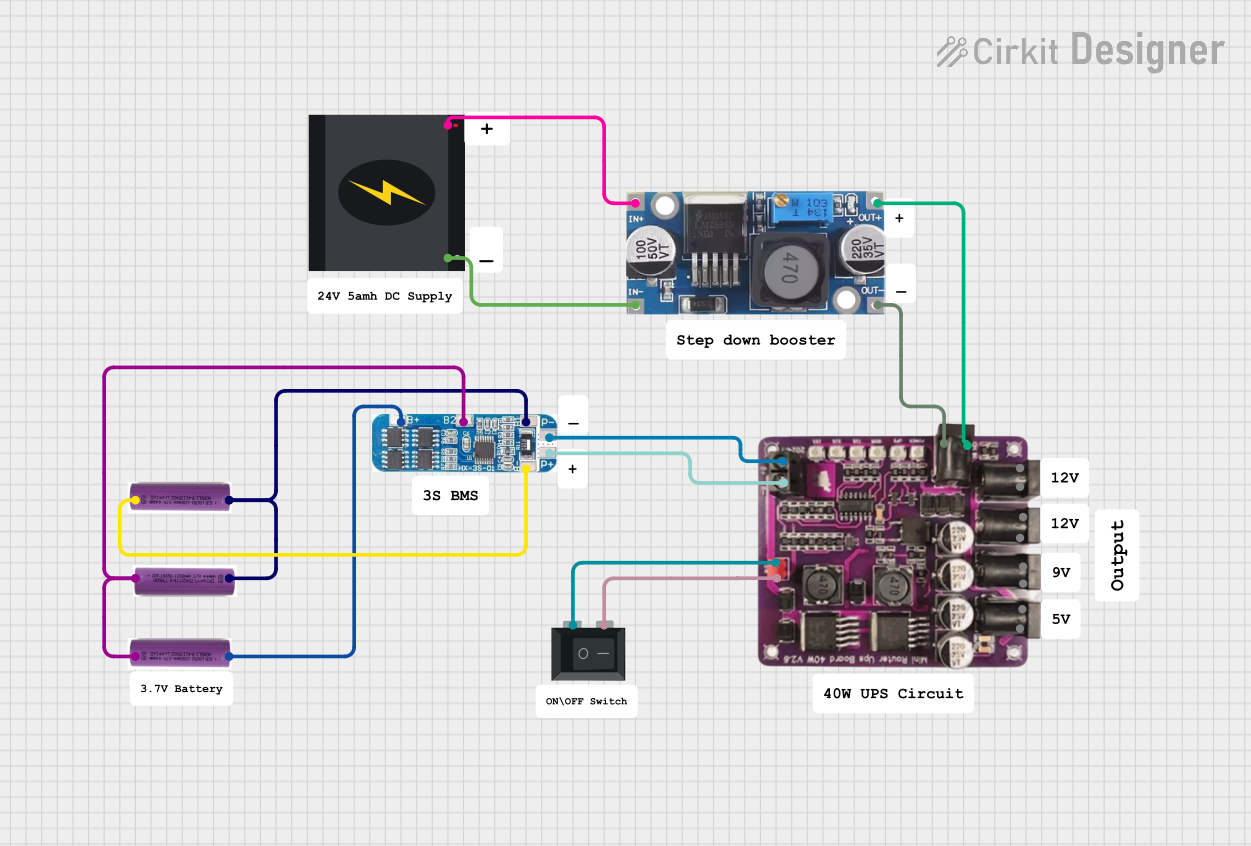 Open Project in Cirkit Designer
Explore Projects Built with BUCK
Open Project in Cirkit DesignerOpen Project in Cirkit DesignerOpen Project in Cirkit DesignerOpen Project in Cirkit DesignerCommon Applications and Use Cases
- Powering microcontrollers and sensors in embedded systems
- Voltage regulation in battery-powered devices
- Efficient power delivery in portable electronics
- Step-down voltage conversion for LED drivers
- Powering communication modules and IoT devices
Technical Specifications
The following table outlines the key technical specifications of the HUAREW BUCK DC/DC converter:
| Parameter | Value |
|---|---|
| Input Voltage Range | 4.5V to 40V |
| Output Voltage Range | 1.25V to 37V |
| Maximum Output Current | 3A |
| Efficiency | Up to 92% |
| Switching Frequency | 150 kHz |
| Operating Temperature | -40°C to +85°C |
| Package Type | TO-220 or DIP |
Pin Configuration and Descriptions
The BUCK DC/DC converter typically has the following pin configuration:
| Pin Number | Pin Name | Description |
|---|---|---|
| 1 | VIN | Input voltage pin. Connect to the DC input source. |
| 2 | GND | Ground pin. Connect to the circuit ground. |
| 3 | VOUT | Output voltage pin. Provides the regulated output. |
| 4 | FB | Feedback pin. Used to set the output voltage. |
| 5 | EN | Enable pin. Used to turn the converter on or off. |
Usage Instructions
How to Use the BUCK DC/DC Converter in a Circuit
Connect the Input Voltage (VIN):
Attach the input voltage source (e.g., a battery or DC power supply) to the VIN pin. Ensure the input voltage is within the specified range (4.5V to 40V).Set the Output Voltage (VOUT):
Use a resistor divider network connected to the FB pin to set the desired output voltage. The formula for calculating the output voltage is:
[ V_{OUT} = V_{REF} \times \left(1 + \frac{R1}{R2}\right) ]
Where ( V_{REF} ) is typically 1.25V, and ( R1 ) and ( R2 ) are the resistors in the divider.Connect the Load:
Attach the load to the VOUT pin. Ensure the load does not exceed the maximum output current (3A).Enable the Converter:
If the EN pin is available, connect it to a logic HIGH signal to enable the converter. Pulling it LOW will disable the output.Add External Components:
- Place an input capacitor (e.g., 10µF) near the VIN pin to stabilize the input voltage.
- Add an output capacitor (e.g., 22µF) near the VOUT pin to reduce output voltage ripple.
- Use an inductor with appropriate current ratings to ensure smooth operation.
Important Considerations and Best Practices
- Thermal Management: Ensure proper heat dissipation by using a heatsink or adequate ventilation, especially when operating at high currents.
- Input Voltage Range: Always verify that the input voltage is within the specified range to avoid damage to the component.
- Output Voltage Adjustment: Use precision resistors for the feedback network to achieve accurate output voltage regulation.
- Decoupling Capacitors: Use low-ESR capacitors for better performance and reduced noise.
- Inductor Selection: Choose an inductor with a current rating higher than the maximum output current to prevent saturation.
Example: Using BUCK DC/DC with Arduino UNO
The BUCK DC/DC converter can be used to power an Arduino UNO by stepping down a 12V input to 5V. Below is an example circuit and Arduino code:
Circuit Connections
- Connect the 12V input to the VIN pin of the BUCK converter.
- Set the output voltage to 5V using the feedback resistor network.
- Connect the VOUT pin to the 5V pin of the Arduino UNO.
- Connect the GND pin of the BUCK converter to the Arduino GND.
Arduino Code Example
// Example code to blink an LED using Arduino UNO powered by BUCK DC/DC converter

const int ledPin = 13; // Pin connected to the onboard LED

void setup() {
  pinMode(ledPin, OUTPUT); // Set the LED pin as an output
}

void loop() {
  digitalWrite(ledPin, HIGH); // Turn the LED on
  delay(1000);               // Wait for 1 second
  digitalWrite(ledPin, LOW);  // Turn the LED off
  delay(1000);               // Wait for 1 second
}
Troubleshooting and FAQs
Common Issues and Solutions
No Output Voltage:
- Cause: The EN pin is not connected or is pulled LOW.
Solution: Ensure the EN pin is connected to a logic HIGH signal or left floating (if internally pulled up). - Cause: Input voltage is outside the specified range.
Solution: Verify the input voltage and ensure it is between 4.5V and 40V.
- Cause: The EN pin is not connected or is pulled LOW.
Excessive Heat Generation:
- Cause: Overloading the converter beyond its maximum current rating.
Solution: Reduce the load current or use a heatsink for better thermal management. - Cause: Insufficient ventilation.
Solution: Improve airflow around the component.
- Cause: Overloading the converter beyond its maximum current rating.
Output Voltage Instability:
- Cause: Incorrect feedback resistor values.
Solution: Recalculate and use precise resistor values for the feedback network. - Cause: Missing or insufficient decoupling capacitors.
Solution: Add low-ESR capacitors to the input and output.
- Cause: Incorrect feedback resistor values.
High Output Ripple:
- Cause: Poor inductor selection.
Solution: Use an inductor with a higher current rating and lower DC resistance.
- Cause: Poor inductor selection.
FAQs
Q1: Can the BUCK DC/DC converter be used with a 24V input?
A1: Yes, the converter supports input voltages up to 40V, so 24V is within the acceptable range.
Q2: How do I calculate the required inductor value?
A2: The inductor value depends on the input voltage, output voltage, switching frequency, and load current. Use the formula provided in the datasheet or an online calculator for precise calculations.
Q3: Can I use the BUCK DC/DC converter to power a Raspberry Pi?
A3: Yes, as long as the output voltage is set to 5V and the current requirement (typically 2.5A for Raspberry Pi 4) is within the converter's maximum output current.
Q4: What happens if the input voltage drops below 4.5V?
A4: The converter may stop regulating properly, leading to unstable or no output voltage. Ensure the input voltage remains within the specified range.