How to Use Speaker 36mm, 2.5w, 8 Ohm: Examples, Pinouts, and Specs

Introduction
The Speaker 36mm, 2.5W, 8 Ohm is a compact, high-quality audio output device designed for use in a variety of electronic projects. Its small size and efficient power handling make it ideal for portable audio systems, DIY electronics, and embedded applications. This speaker is capable of delivering clear sound output with minimal distortion, making it suitable for voice, music, and alert tones.
Explore Projects Built with Speaker 36mm, 2.5w, 8 Ohm


Explore Projects Built with Speaker 36mm, 2.5w, 8 Ohm
Common Applications and Use Cases
- Portable audio devices
- DIY electronics projects
- Embedded systems with audio output
- Alarm systems and notification devices
- Educational projects involving sound generation
Technical Specifications
The following table outlines the key technical details of the Speaker 36mm, 2.5W, 8 Ohm:
| Parameter | Value |
|---|---|
| Diameter | 36 mm |
| Impedance | 8 Ohms |
| Power Rating | 2.5 W (max) |
| Frequency Response | 200 Hz – 20 kHz |
| Sensitivity | 88 dB ± 3 dB |
| Magnet Type | Neodymium |
| Mounting Type | Surface mount |
| Weight | ~15 g |
Pin Configuration and Descriptions
The speaker has two terminals for connection:
| Terminal | Description |
|---|---|
| Positive (+) | Connect to the positive output of the amplifier or audio source. |
| Negative (-) | Connect to the ground or negative output of the amplifier. |
Usage Instructions
How to Use the Speaker in a Circuit
- Connect to an Amplifier: The speaker requires an audio amplifier to drive it effectively. Ensure the amplifier's output power does not exceed the speaker's maximum power rating of 2.5W.
- Polarity Matters: Connect the positive terminal of the speaker to the positive output of the amplifier and the negative terminal to the ground or negative output.
- Mounting: Secure the speaker in place using screws or adhesive, ensuring the diaphragm is not obstructed for optimal sound quality.
- Power Supply: Use a power source that matches the amplifier's requirements. Avoid overdriving the speaker to prevent damage.
Important Considerations and Best Practices
- Impedance Matching: Ensure the amplifier's output impedance matches the speaker's impedance (8 Ohms) for efficient power transfer.
- Volume Control: Avoid setting the volume too high to prevent distortion or damage to the speaker.
- Environmental Factors: Protect the speaker from moisture, dust, and extreme temperatures to maintain performance and longevity.
- Testing: Use a low volume setting when testing the speaker for the first time to ensure proper connections.
Example: Connecting to an Arduino UNO
The Speaker 36mm, 2.5W, 8 Ohm can be used with an Arduino UNO for simple sound generation. However, since the Arduino cannot directly drive the speaker, you will need a transistor or an audio amplifier circuit. Below is an example of how to connect the speaker using a transistor:
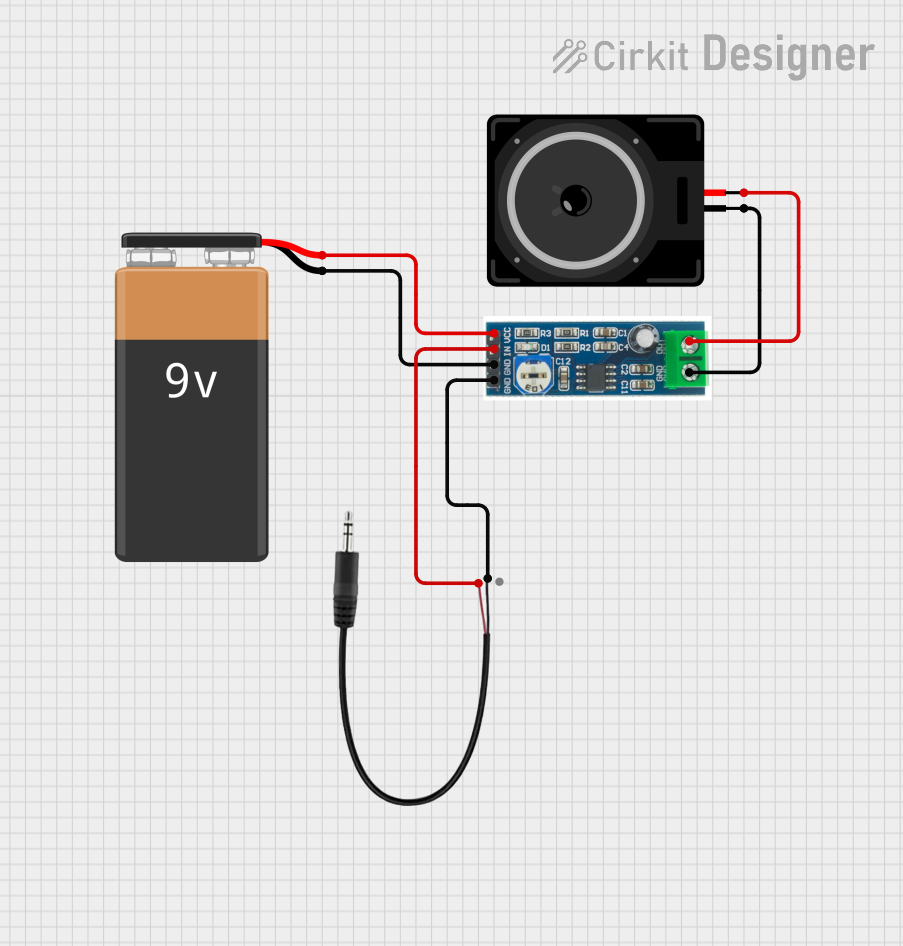
Circuit Diagram
- Connect the speaker's positive terminal to the collector of an NPN transistor (e.g., 2N2222).
- Connect the speaker's negative terminal to the ground.
- Connect the emitter of the transistor to the ground.
- Connect a 1 kΩ resistor between the Arduino's digital pin (e.g., pin 9) and the base of the transistor.
- Use an external power supply for the speaker if required.
Arduino Code Example
// Simple Arduino code to generate a tone on the speaker
// Ensure the speaker is connected via a transistor or amplifier circuit

int speakerPin = 9; // Pin connected to the transistor base via a resistor

void setup() {
  pinMode(speakerPin, OUTPUT); // Set the pin as an output
}

void loop() {
  tone(speakerPin, 1000); // Generate a 1 kHz tone
  delay(500);             // Play the tone for 500 ms
  noTone(speakerPin);     // Stop the tone
  delay(500);             // Wait for 500 ms before repeating
}
Troubleshooting and FAQs
Common Issues and Solutions
No Sound Output
- Cause: Incorrect wiring or loose connections.
- Solution: Double-check the connections, ensuring proper polarity and secure wiring.
Distorted Sound
- Cause: Overdriving the speaker or using an incompatible amplifier.
- Solution: Reduce the volume or use an amplifier that matches the speaker's power and impedance ratings.
Speaker Not Working
- Cause: Damaged speaker or amplifier.
- Solution: Test the speaker with a different amplifier or multimeter to check for continuity.
Low Volume
- Cause: Insufficient amplifier power.
- Solution: Use an amplifier with a higher output power, but do not exceed 2.5W.
FAQs
Q: Can I connect the speaker directly to an Arduino?
A: No, the Arduino cannot provide sufficient current to drive the speaker. Use a transistor or an amplifier circuit.
Q: What happens if I exceed the power rating?
A: Exceeding the 2.5W power rating can damage the speaker, causing permanent distortion or failure.
Q: Can I use this speaker for stereo sound?
A: Yes, but you will need two speakers and a stereo amplifier to achieve stereo sound.
Q: Is this speaker waterproof?
A: No, this speaker is not waterproof. Avoid exposing it to moisture or water.