
How to Use Orin Nano: Examples, Pinouts, and Specs
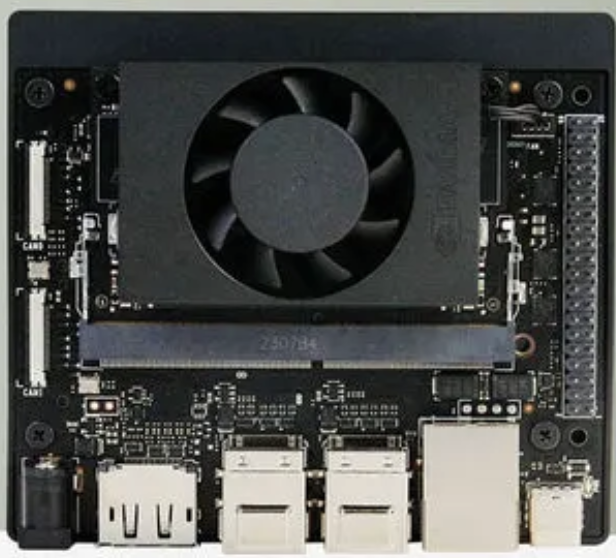
 Design with Orin Nano in Cirkit Designer
Introduction
The NVIDIA Orin Nano is a compact, high-performance computing platform designed for artificial intelligence (AI) and robotics applications. It is powered by NVIDIA's Orin system-on-chip (SoC), which integrates advanced GPU capabilities, deep learning acceleration, and efficient power management. The Orin Nano is ideal for developers and engineers looking to deploy AI-powered solutions in edge devices, robotics, autonomous machines, and IoT systems.
Explore Projects Built with Orin Nano
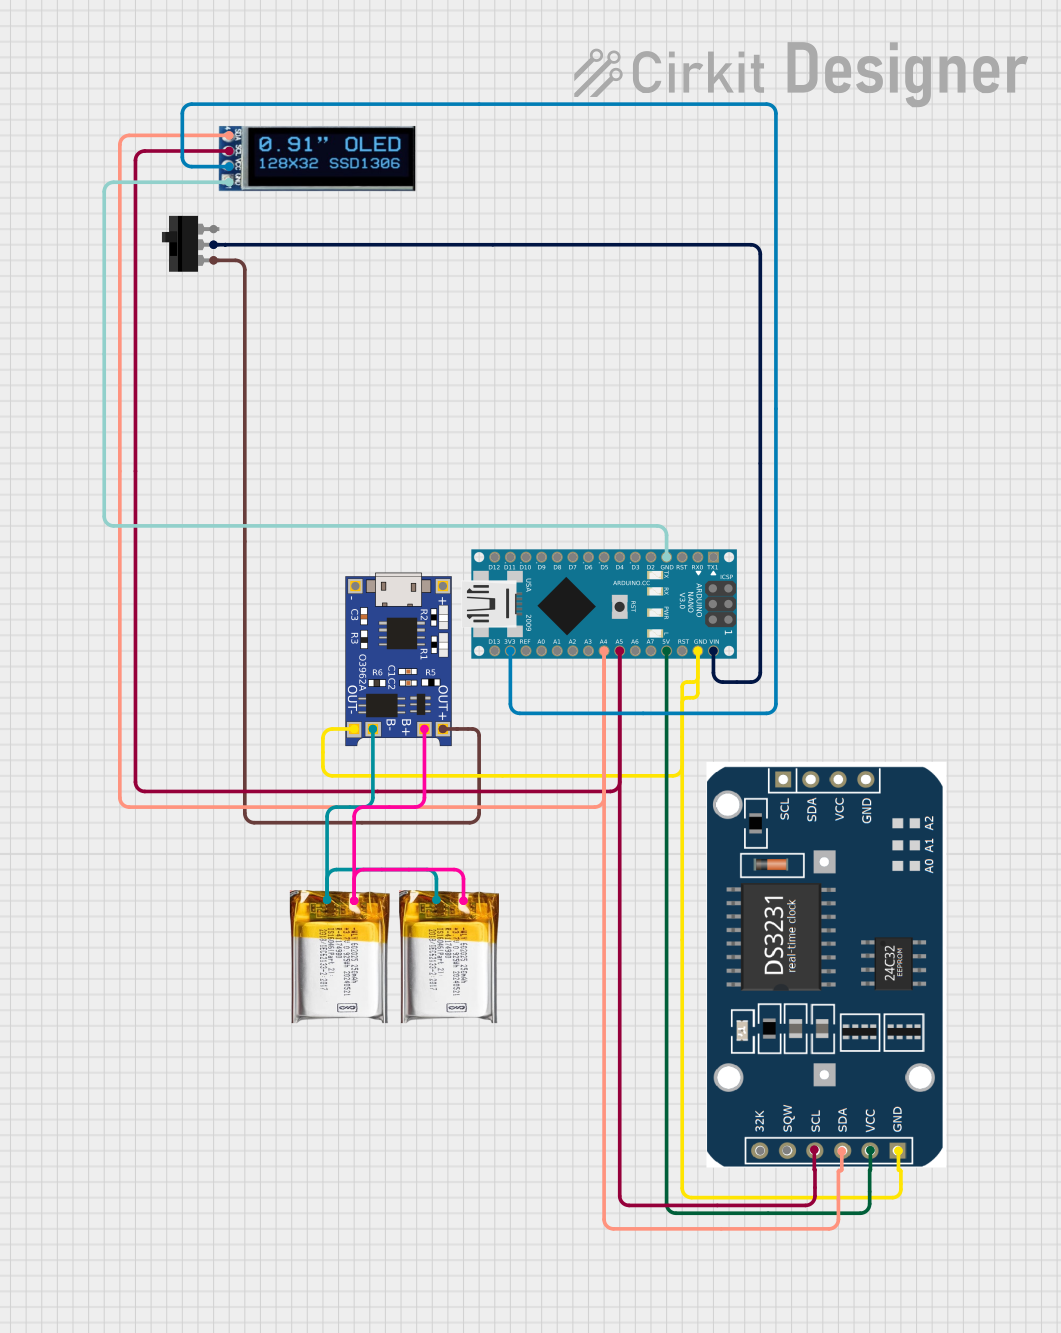 Open Project in Cirkit Designer
 Open Project in Cirkit Designer
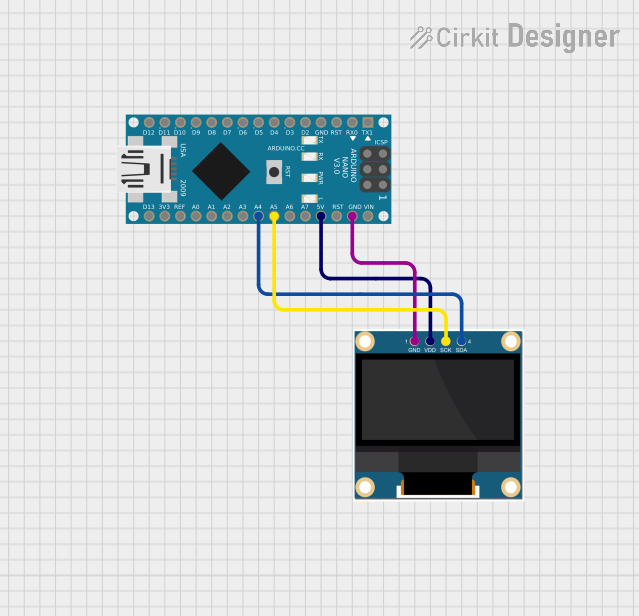 Open Project in Cirkit Designer
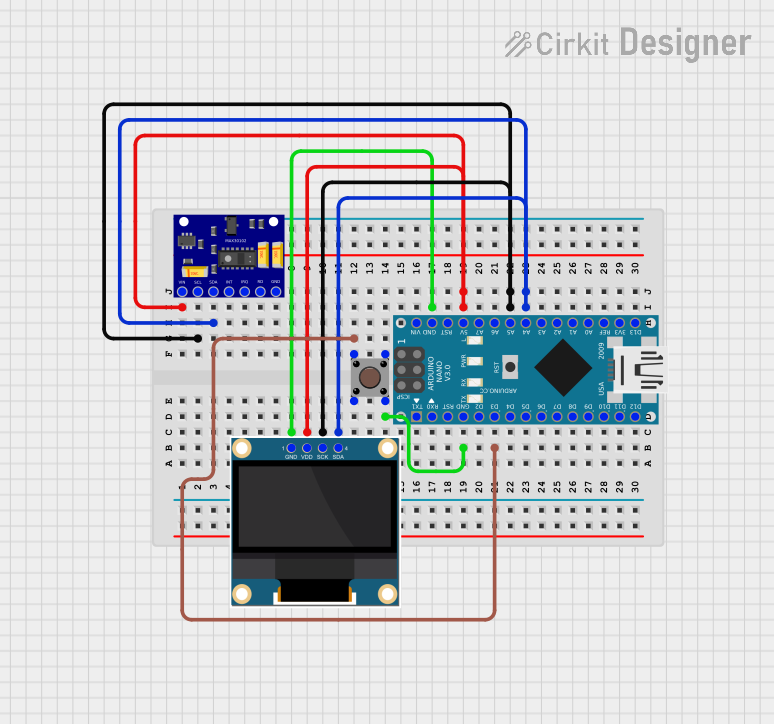 Open Project in Cirkit Designer
Explore Projects Built with Orin Nano
Open Project in Cirkit DesignerOpen Project in Cirkit DesignerOpen Project in Cirkit DesignerOpen Project in Cirkit DesignerCommon Applications and Use Cases
- AI-powered robotics and automation
- Edge computing for real-time data processing
- Computer vision and image recognition
- Natural language processing (NLP) and speech recognition
- Autonomous vehicles and drones
- Smart surveillance and security systems
Technical Specifications
Key Technical Details
| Specification | Value |
|---|---|
| Processor | NVIDIA Orin SoC with ARM Cortex-A78AE CPU |
| GPU | NVIDIA Ampere architecture GPU with 1024 CUDA cores |
| Deep Learning Accelerator | 32 Tensor Cores |
| Memory | 4GB or 8GB LPDDR5 (depending on model) |
| Storage | MicroSD card slot, eMMC (optional) |
| Power Consumption | 7W to 15W (configurable) |
| Connectivity | 1x Gigabit Ethernet, USB 3.2, PCIe Gen 3 |
| Operating System Support | Ubuntu-based NVIDIA JetPack SDK |
| Dimensions | 69.6mm x 45mm |
Pin Configuration and Descriptions
The Orin Nano features a 260-pin SO-DIMM connector for interfacing with carrier boards. Below is a summary of key pin groups:
| Pin Group | Description |
|---|---|
| GPIO | General-purpose input/output pins for custom I/O |
| I2C | Inter-Integrated Circuit for communication with peripherals |
| SPI | Serial Peripheral Interface for high-speed data transfer |
| UART | Universal Asynchronous Receiver-Transmitter for serial communication |
| USB | USB 3.2 interface for peripherals and data transfer |
| PCIe | PCI Express interface for high-speed expansion |
| Power Pins | Input power supply pins (5V or 12V, depending on configuration) |
Refer to the official NVIDIA Orin Nano datasheet for a complete pinout diagram.
Usage Instructions
How to Use the Orin Nano in a Circuit
- Prepare the Carrier Board: The Orin Nano requires a compatible carrier board for power, connectivity, and interfacing with peripherals. NVIDIA provides a developer kit with a pre-configured carrier board.
- Power Supply: Ensure a stable power supply of 5V or 12V, depending on the configuration. Use a power adapter that meets the required wattage (7W to 15W).
- Install the Operating System: Download and flash the NVIDIA JetPack SDK onto a microSD card or eMMC storage. Insert the storage into the Orin Nano.
- Connect Peripherals: Attach peripherals such as a monitor (via HDMI), keyboard, mouse, and Ethernet cable for network access.
- Boot the System: Power on the Orin Nano and follow the on-screen instructions to complete the setup.
Important Considerations and Best Practices
- Thermal Management: The Orin Nano can generate significant heat during operation. Use a heatsink and/or fan to maintain optimal temperatures.
- Power Budgeting: Configure the power mode (7W, 10W, or 15W) based on your application requirements using the JetPack SDK.
- Peripheral Compatibility: Ensure that connected peripherals (e.g., cameras, sensors) are compatible with the Orin Nano and supported by the JetPack SDK.
- Software Development: Use NVIDIA's CUDA, TensorRT, and DeepStream SDKs for AI and deep learning development.
Example: Connecting the Orin Nano to an Arduino UNO
The Orin Nano can communicate with an Arduino UNO via UART or I2C. Below is an example of using UART for communication:
Arduino Code
// Arduino code to send data to the Orin Nano via UART
void setup() {
  Serial.begin(9600); // Initialize UART communication at 9600 baud
}

void loop() {
  Serial.println("Hello from Arduino!"); // Send a message to the Orin Nano
  delay(1000); // Wait for 1 second
}
Python Code for Orin Nano
Python code to receive data from Arduino on the Orin Nano
import serial
Initialize UART communication (adjust port and baud rate as needed)
arduino = serial.Serial('/dev/ttyUSB0', 9600, timeout=1)
while True: data = arduino.readline().decode('utf-8').strip() # Read and decode data if data: print(f"Received from Arduino: {data}") # Print received message
Troubleshooting and FAQs
Common Issues and Solutions
Issue: The Orin Nano does not boot.
- Solution: Check the power supply and ensure the microSD card or eMMC storage is properly inserted with a valid JetPack image.
Issue: Overheating during operation.
- Solution: Install a heatsink and fan. Ensure proper airflow around the device.
Issue: Peripherals are not recognized.
- Solution: Verify that the peripherals are compatible with the Orin Nano and supported by the JetPack SDK. Check connections and drivers.
Issue: UART communication with Arduino is not working.
- Solution: Ensure the correct UART port and baud rate are configured on both the Orin Nano and Arduino. Use a level shifter if voltage levels are incompatible.
FAQs
Q: Can the Orin Nano run without a carrier board?
A: No, the Orin Nano requires a carrier board for power and connectivity.Q: What is the maximum power consumption of the Orin Nano?
A: The maximum power consumption is 15W in high-performance mode.Q: Is the Orin Nano compatible with Raspberry Pi HATs?
A: No, the Orin Nano uses a different pinout and form factor.Q: Can I use the Orin Nano for real-time applications?
A: Yes, the Orin Nano is suitable for real-time AI and robotics applications, but ensure proper software and hardware configurations.