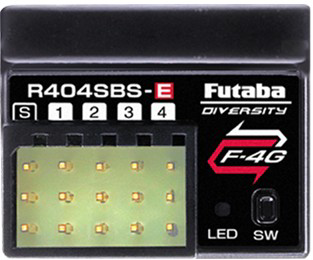
The Futaba R404SBS-E is a 4-channel 2.4GHz receiver designed for use in remote control (RC) applications. It is part of Futaba's advanced telemetry-enabled receiver lineup, offering reliable signal reception and seamless compatibility with Futaba's T-FHSS SR (Super Response) protocol transmitters. This receiver is ideal for RC cars, boats, and other applications requiring precise and low-latency control.
Explore Projects Built with Futaba R404SBS-E
Use Cirkit Designer to design, explore, and prototype these projects online. Some projects support real-time simulation. Click "Open Project" to start designing instantly!
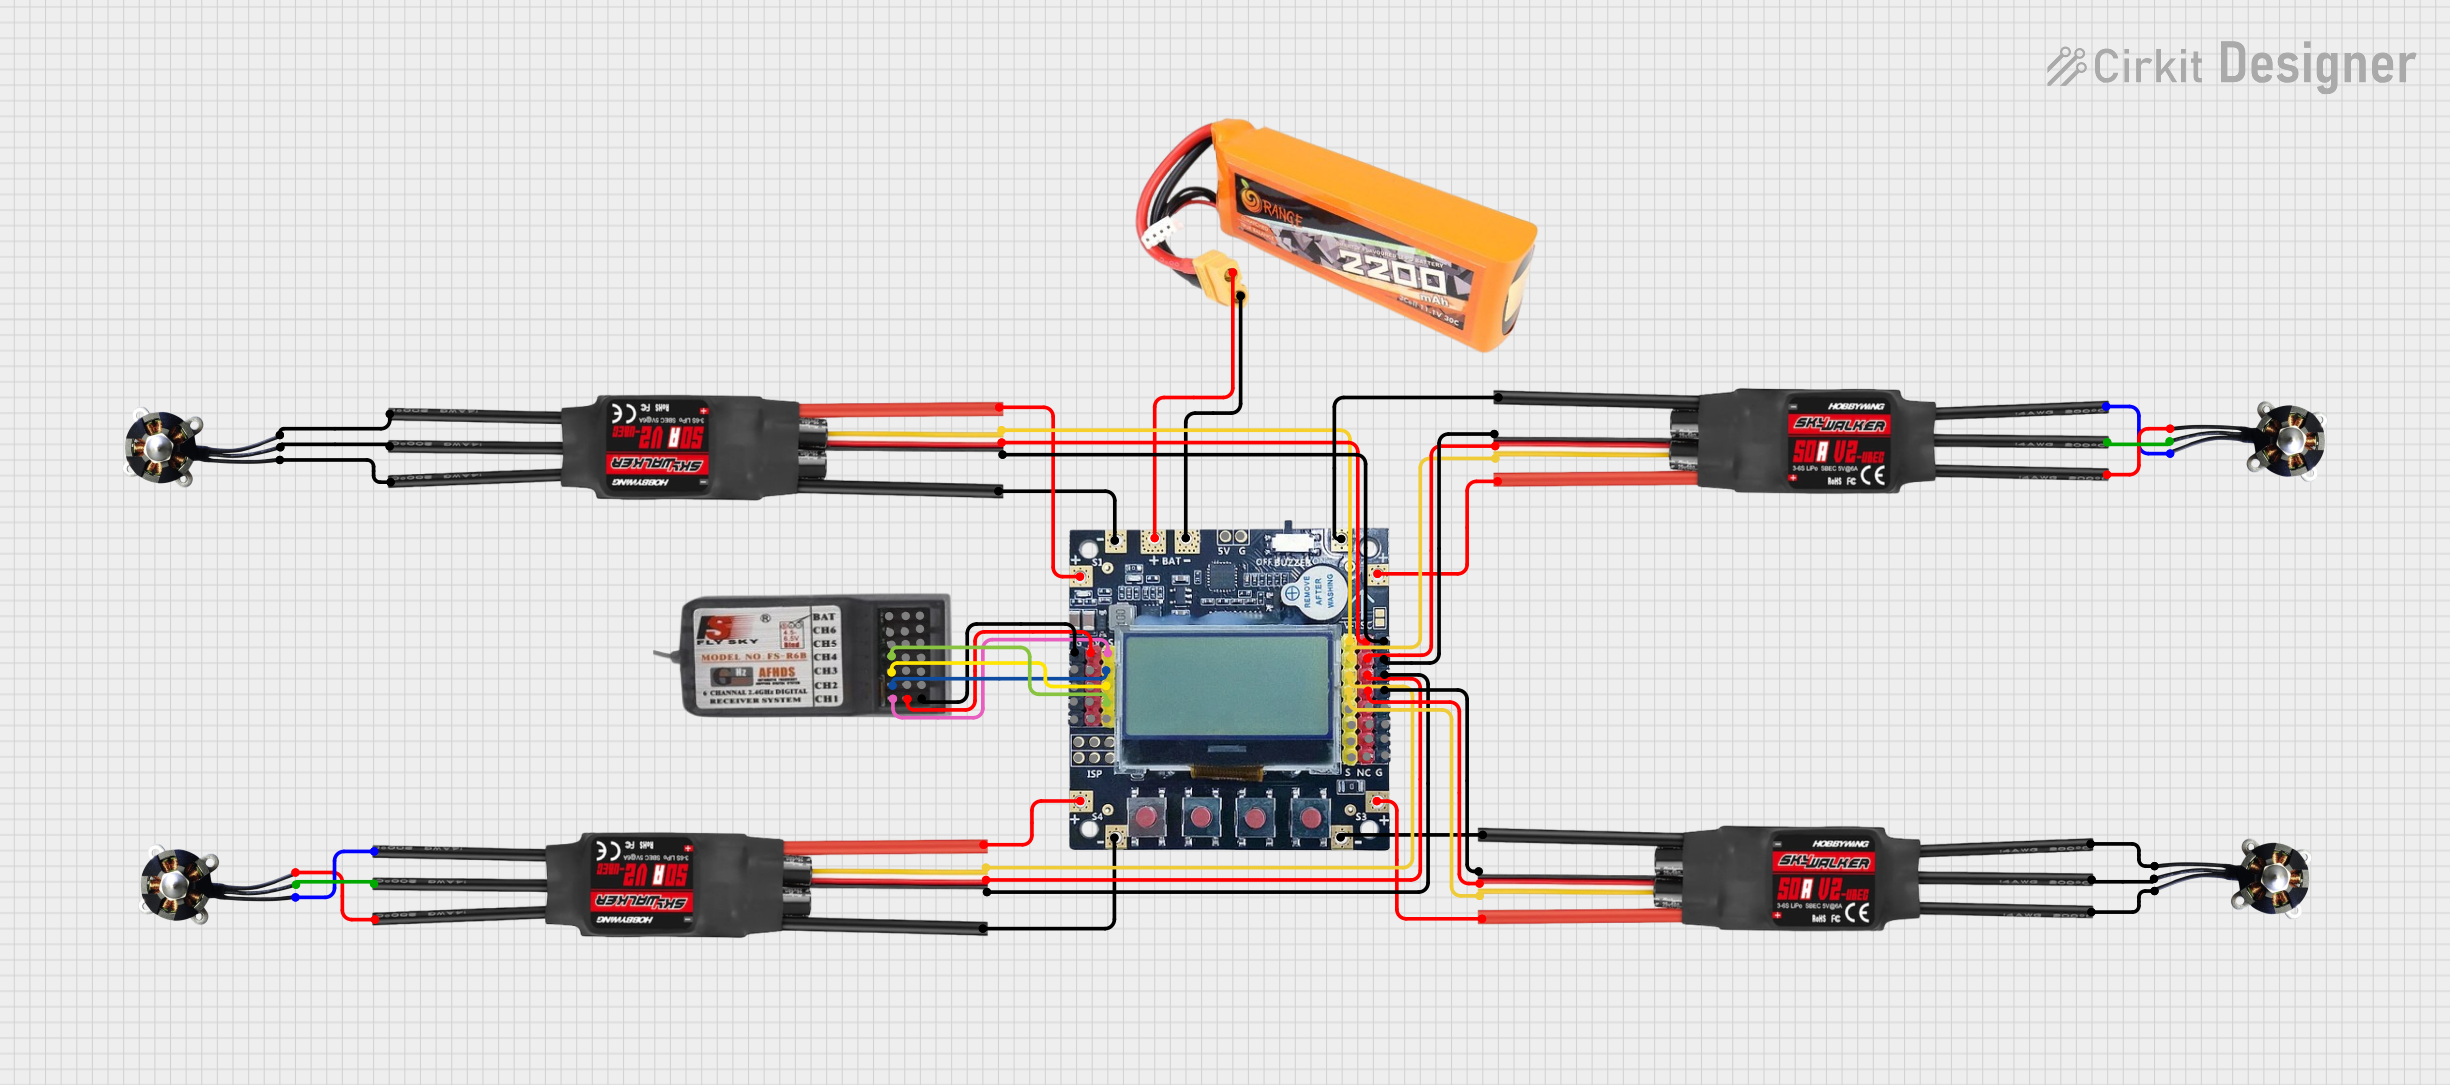
This circuit is a quadcopter control system that includes a LiPo battery, four BLDC motors, four ESCs, a KK2.1.5 flight controller, and an FS-R6B receiver. The KK2.1.5 flight controller manages the ESCs and motors based on input signals from the receiver, which is powered by the LiPo battery.
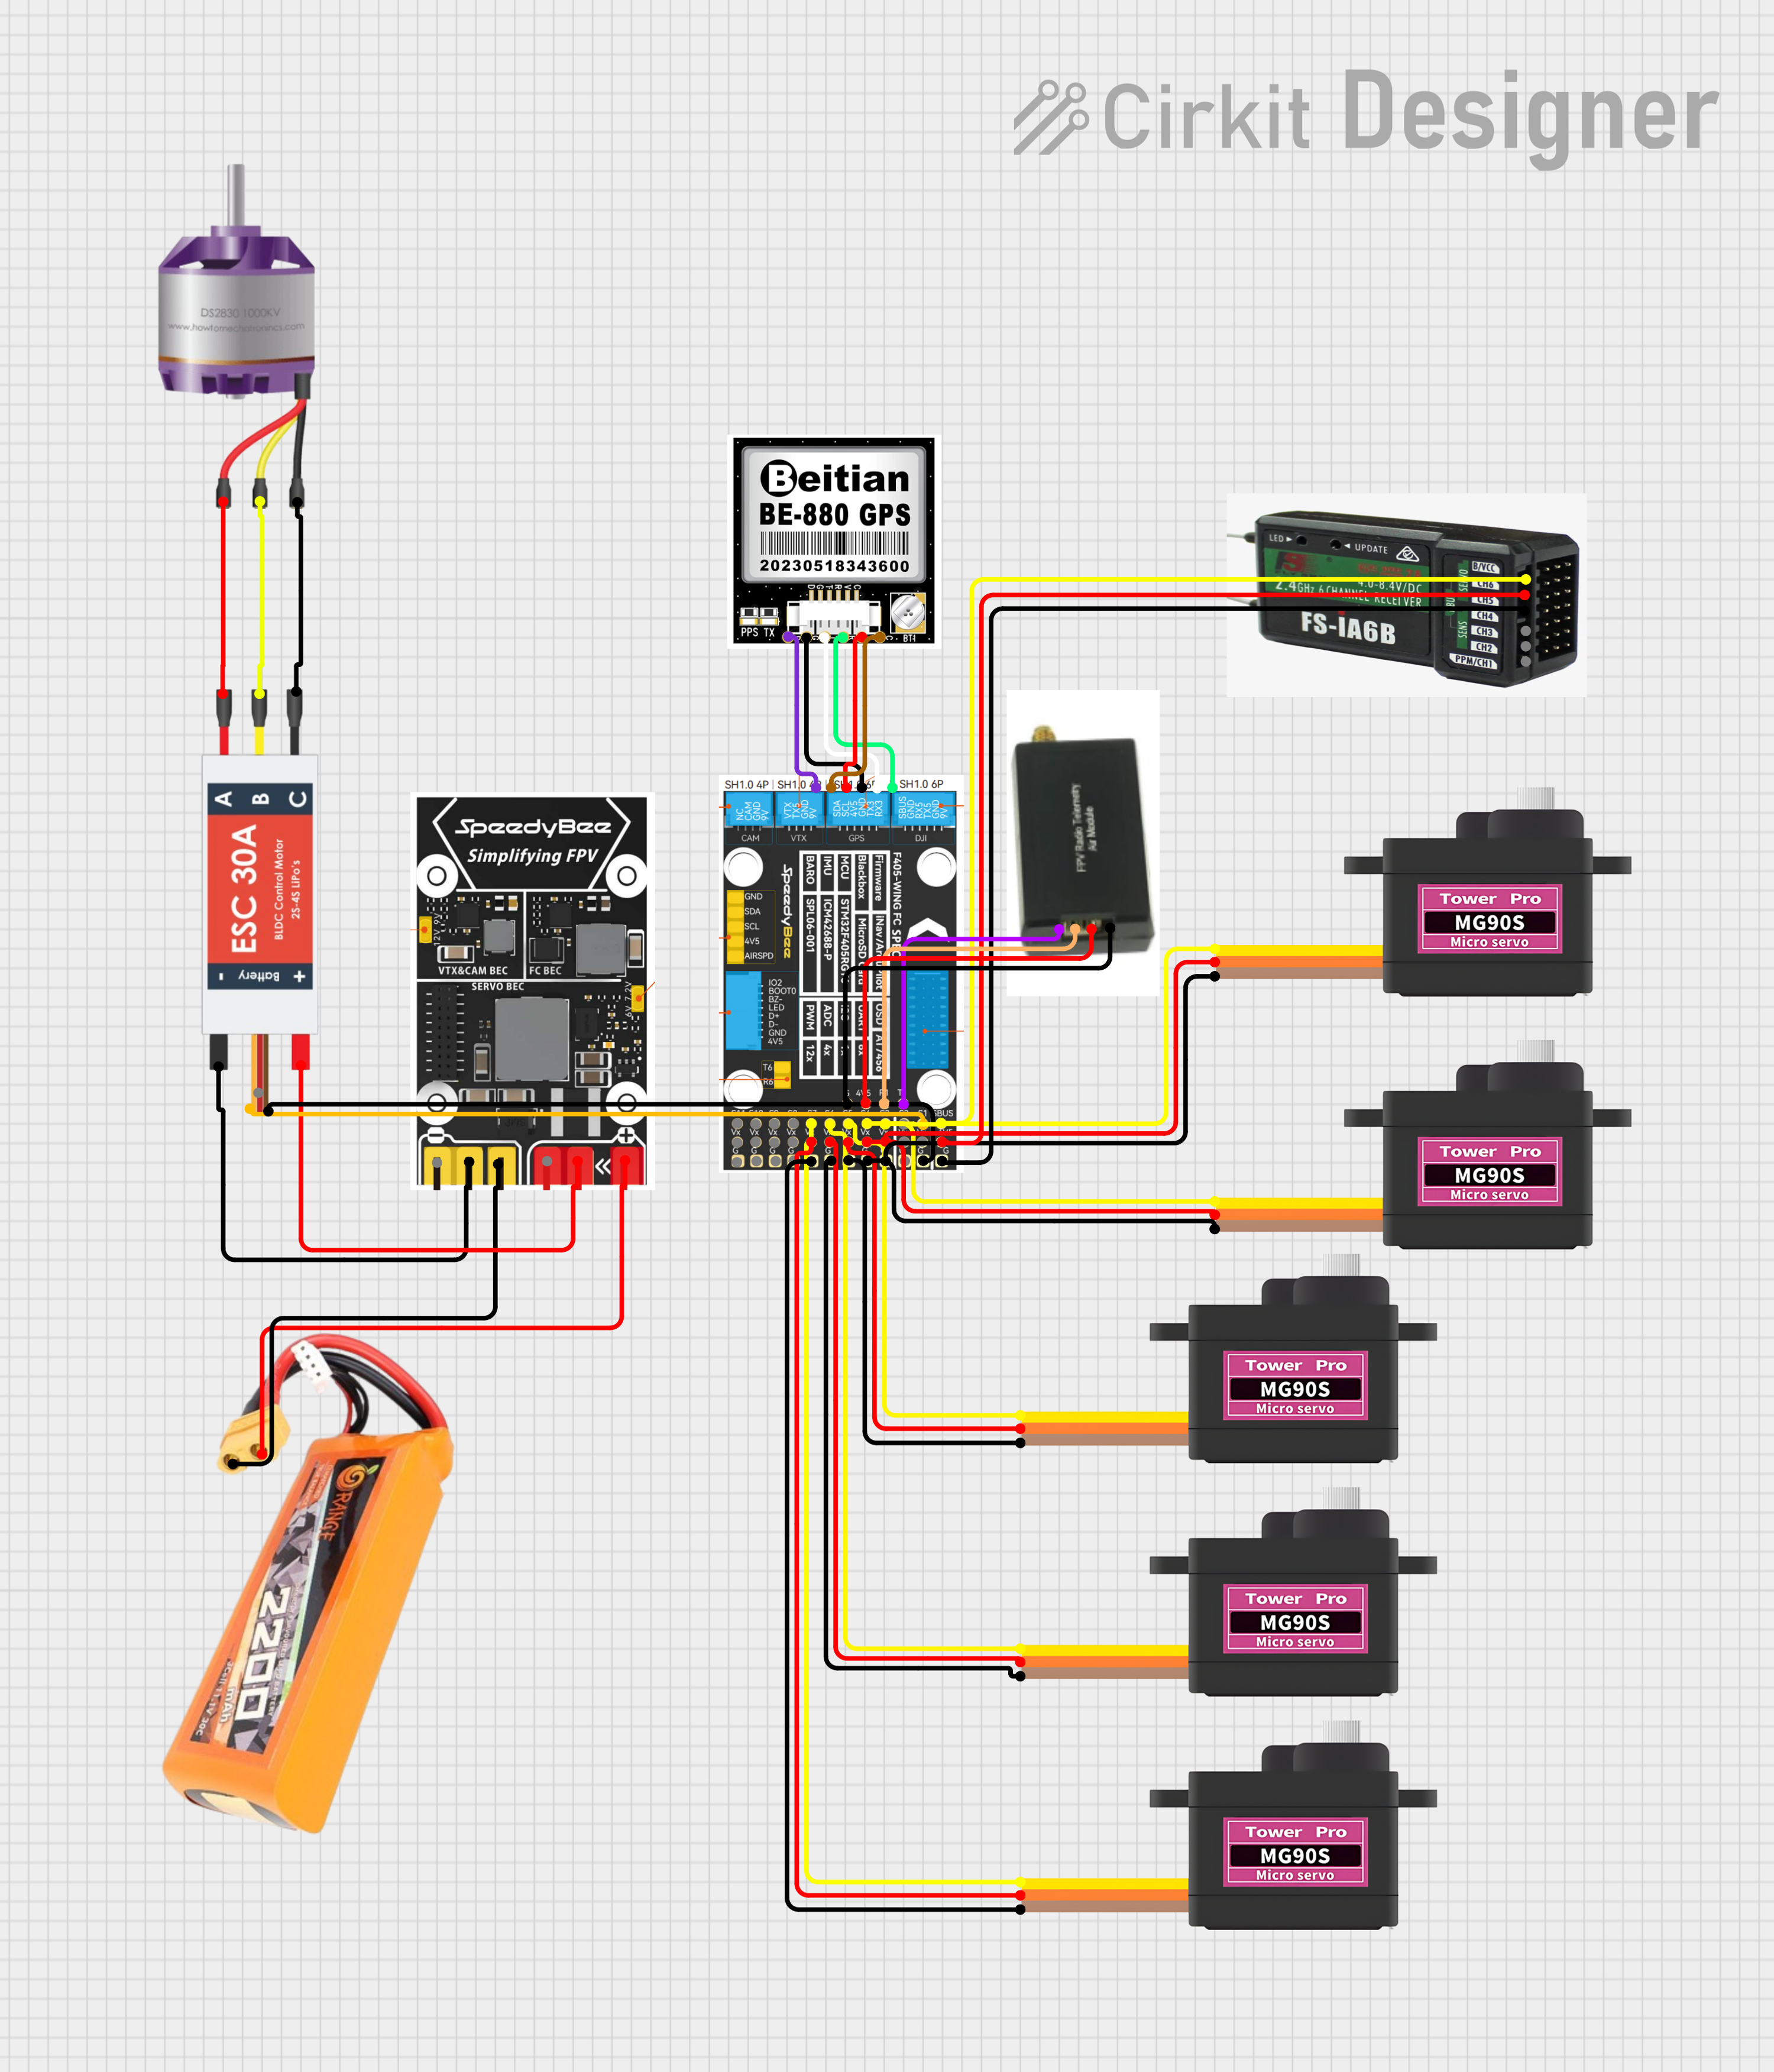
This circuit is designed for a remote-controlled vehicle or drone, featuring a flight controller that manages a brushless motor, servomotors for actuation, telemetry for data communication, and a GPS module for positioning. It is powered by a lipo battery and includes a receiver for remote control inputs.
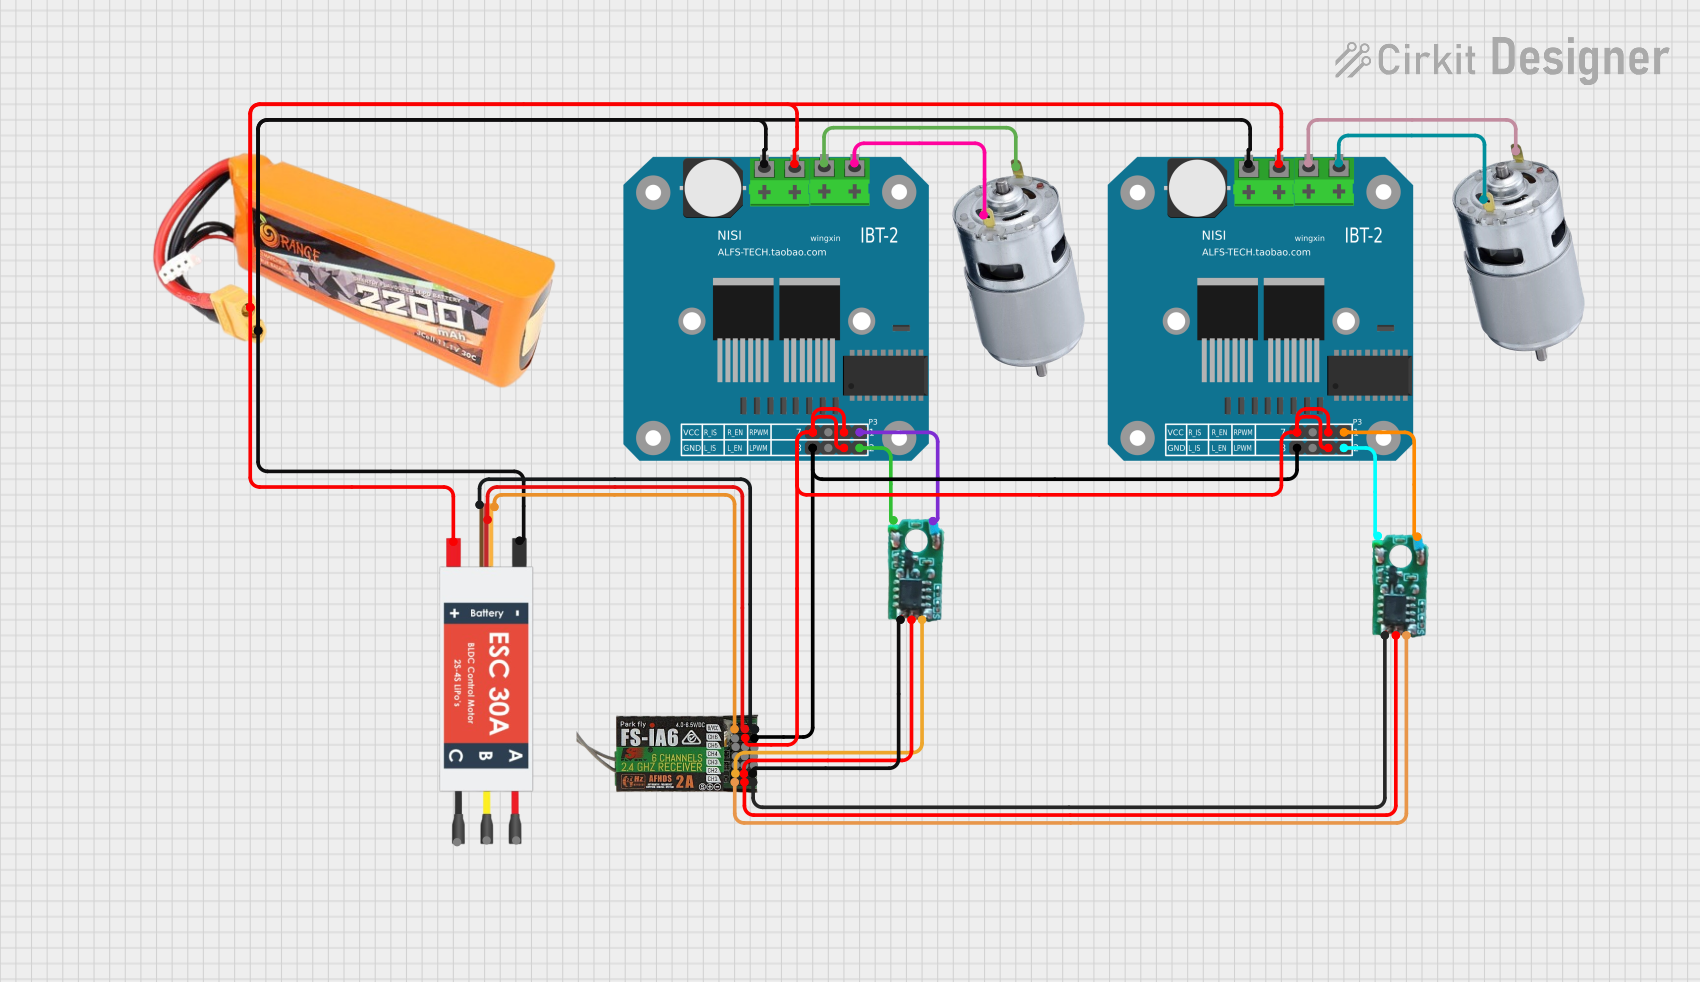
This circuit is designed to control two 775 motors using BTS7960 motor drivers, an electronic speed controller (ESC), and a Fly Sky receiver. The Fly Sky receiver receives control signals and distributes them to the motor drivers and servo internal circuits, which in turn control the motors. Power is supplied by a 2200mAh LiPo battery.
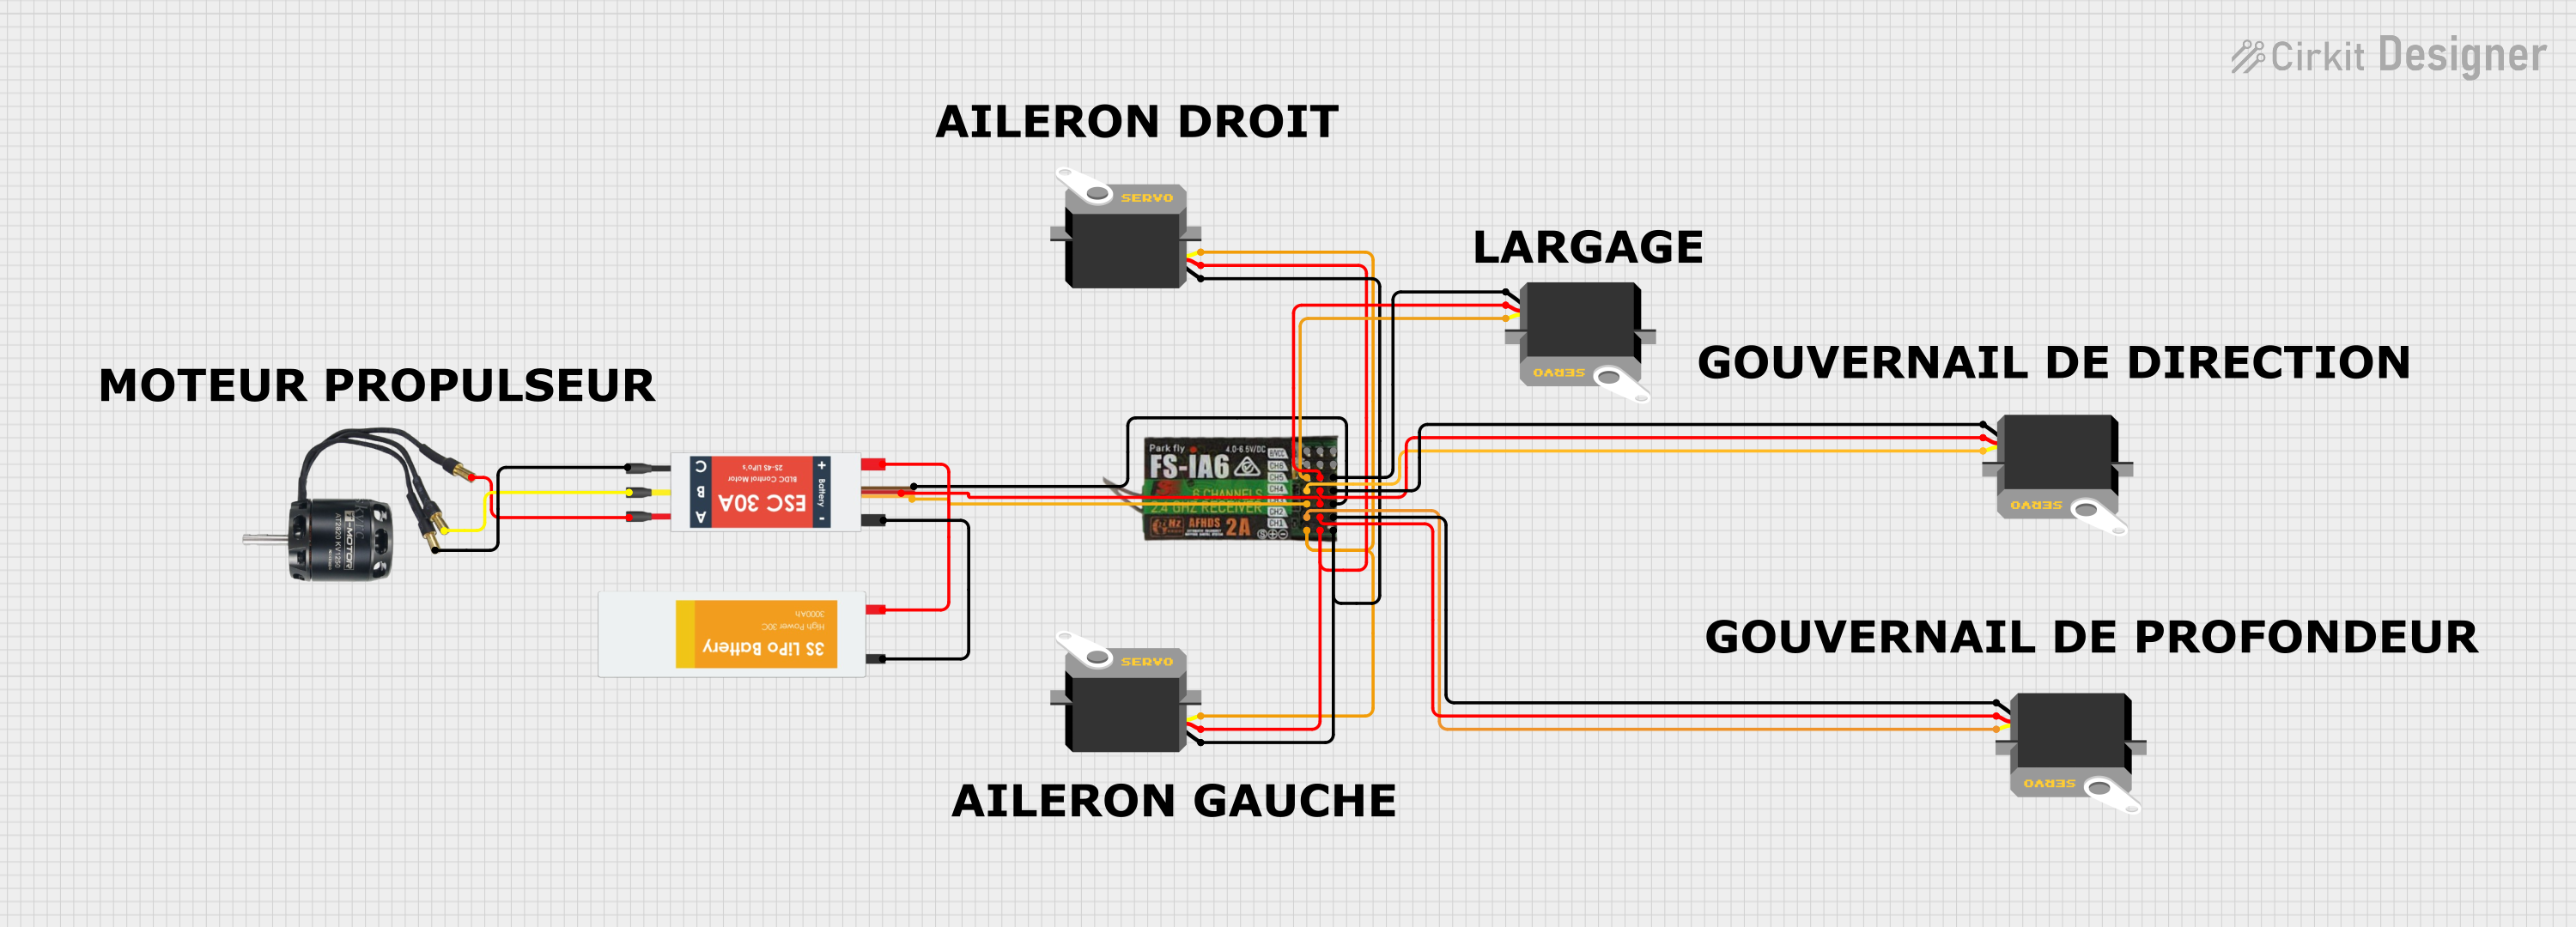
This circuit is designed to control a BLDC motor and multiple servos using a FLYSKY FS-IA6 receiver. The Electronic Speed Controller (ESC) is powered by a LiPo battery and drives the BLDC motor, while the servos are powered and controlled by the receiver channels.
Robotics projects requiring low-latency wireless communication
Any application requiring a compact, high-speed, and reliable receiver
Technical Specifications
The following table outlines the key technical details of the Futaba R404SBS-E receiver:
Specification
Details
Frequency Band
2.4GHz
Protocol
T-FHSS SR (Super Response)
Channels
4
Voltage Range
3.7V to 7.4V
Dimensions
25.2mm x 18.5mm x 9.3mm
Weight
4.8g
Telemetry Support
Yes
Failsafe Functionality
Yes
Pin Configuration and Descriptions
The Futaba R404SBS-E features a compact design with clearly labeled ports for easy connection. Below is the pin configuration:
Pin
Label
Description
1
CH1
Channel 1 output for servo or ESC connection
2
CH2
Channel 2 output for servo or ESC connection
3
CH3
Channel 3 output for servo or ESC connection
4
CH4
Channel 4 output for servo or ESC connection
5
S.BUS2
S.BUS2 port for telemetry sensors or additional channel expansion
6
BAT
Power input (3.7V to 7.4V) for the receiver
Usage Instructions
How to Use the Futaba R404SBS-E in a Circuit
Power Connection: Connect a power source (3.7V to 7.4V) to the BAT pin. Ensure the power supply is stable and within the specified voltage range.
Servo/ESC Connections: Connect servos or electronic speed controllers (ESCs) to the CH1, CH2, CH3, and CH4 pins as required by your application.
Binding the Receiver:
Turn on your Futaba transmitter and set it to binding mode.
Power on the R404SBS-E receiver while holding the binding button (if applicable).
Wait for the receiver's LED to indicate a successful bind (refer to the transmitter's manual for LED behavior details).
Telemetry Setup (Optional): If using telemetry sensors, connect them to the S.BUS2 port. Configure the sensors via the transmitter as needed.
Failsafe Configuration: Set up failsafe positions for each channel using your Futaba transmitter to ensure safe operation in case of signal loss.
Important Considerations and Best Practices
Antenna Placement: Ensure the receiver's antenna is positioned away from metal parts or other sources of interference for optimal signal reception.
Voltage Range: Do not exceed the specified voltage range (3.7V to 7.4V) to avoid damaging the receiver.
Compatibility: Use only Futaba T-FHSS SR-compatible transmitters to ensure proper operation.
Environment: Avoid exposing the receiver to water, dust, or extreme temperatures unless it is housed in a protective enclosure.
Example Code for Arduino UNO (Telemetry Integration)
If you are using the R404SBS-E with an Arduino UNO for telemetry data processing via the S.BUS2 port, the following example demonstrates how to read data:
#include <SoftwareSerial.h>

// Define the S.BUS2 pin for telemetry data
#define SBUS2_PIN 2

// Initialize SoftwareSerial for S.BUS2 communication
SoftwareSerial sbus2Serial(SBUS2_PIN, -1); // RX only, no TX needed

void setup() {
  Serial.begin(9600); // Start serial monitor for debugging
  sbus2Serial.begin(100000); // S.BUS2 operates at 100kbps
  Serial.println("Futaba R404SBS-E Telemetry Example");
}

void loop() {
  if (sbus2Serial.available()) {
    // Read telemetry data from S.BUS2
    uint8_t data = sbus2Serial.read();
    Serial.print("Telemetry Data: ");
    Serial.println(data, HEX); // Print data in hexadecimal format
  }
}
Note: Ensure you have the appropriate S.BUS2 decoding library or protocol documentation for advanced telemetry data parsing.
Troubleshooting and FAQs
Common Issues and Solutions
Receiver Not Binding to Transmitter:
Ensure the transmitter is set to T-FHSS SR mode.
Verify that the receiver is powered correctly and the binding button is pressed during power-up.
Check for firmware compatibility between the transmitter and receiver.
No Signal or Intermittent Control:
Check the antenna placement and ensure it is not obstructed or damaged.
Verify that the receiver is within the transmitter's range.
Ensure there is no interference from other 2.4GHz devices in the area.
Telemetry Data Not Displaying:
Confirm that the telemetry sensors are properly connected to the S.BUS2 port.
Verify that telemetry is enabled on the transmitter and configured correctly.
FAQs
Q: Can I use the R404SBS-E with non-Futaba transmitters?
A: No, the R404SBS-E is designed specifically for Futaba T-FHSS SR-compatible transmitters.
Q: What is the maximum range of the R404SBS-E?
A: The range depends on the transmitter and environmental conditions but typically exceeds 100 meters in open areas.
Q: Is the receiver waterproof?
A: No, the R404SBS-E is not waterproof. Use a protective enclosure if operating in wet conditions.
Q: Can I expand the number of channels?
A: Yes, additional channels can be accessed via the S.BUS2 port with compatible devices.
This concludes the documentation for the Futaba R404SBS-E. For further assistance, refer to the official Futaba user manual or contact their support team.

 Open Project in Cirkit Designer