
How to Use Bluetooth SMD Module: Examples, Pinouts, and Specs
 Design with Bluetooth SMD Module in Cirkit Designer
Introduction
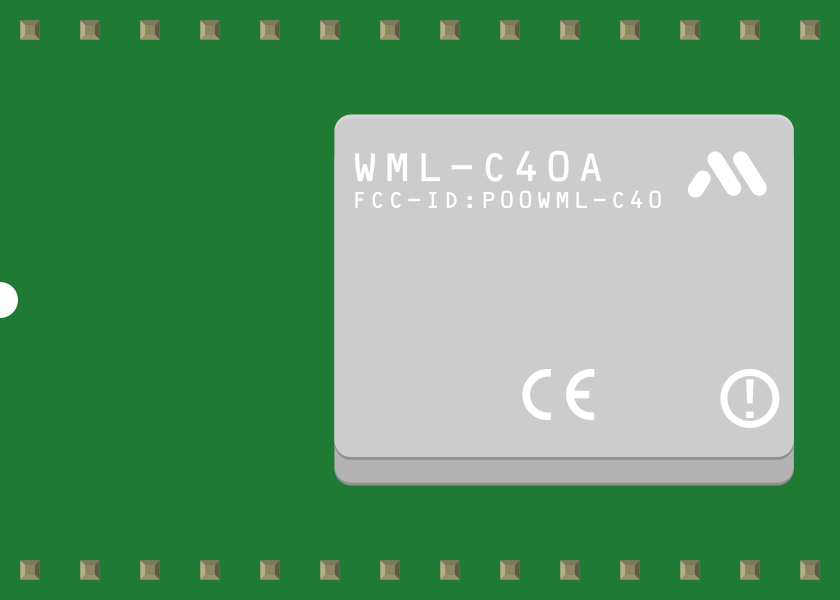
The Bluetooth SMD (Surface-Mount Device) Module is a compact electronic component designed to enable wireless communication over Bluetooth. It allows devices to connect and exchange data without the need for physical cables, making it ideal for applications requiring short-range wireless connectivity. Its small size and surface-mount design make it suitable for integration into compact and portable devices.
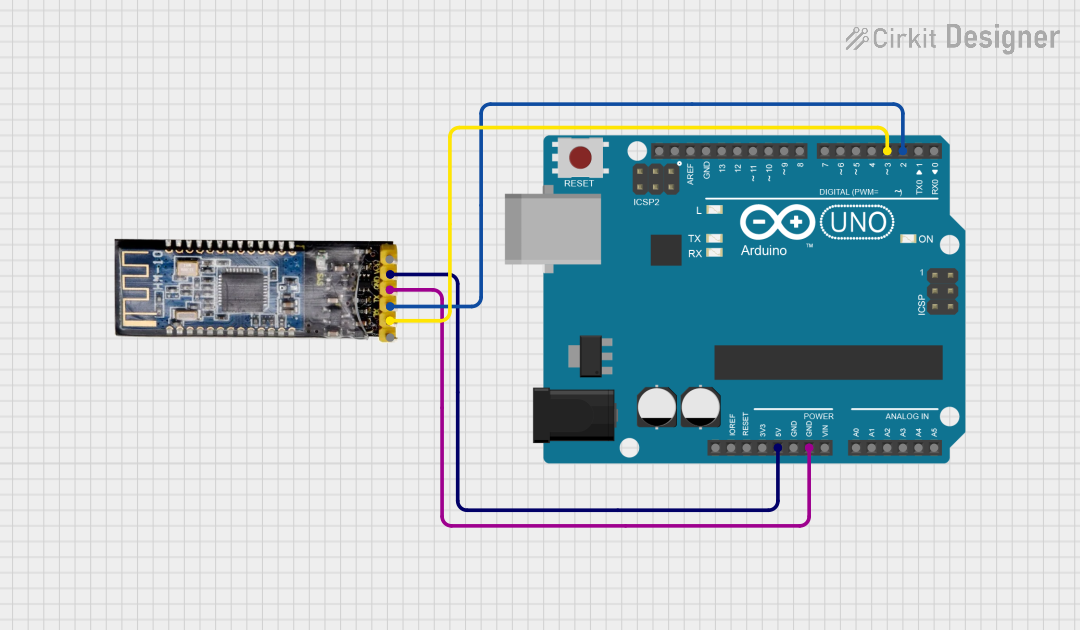
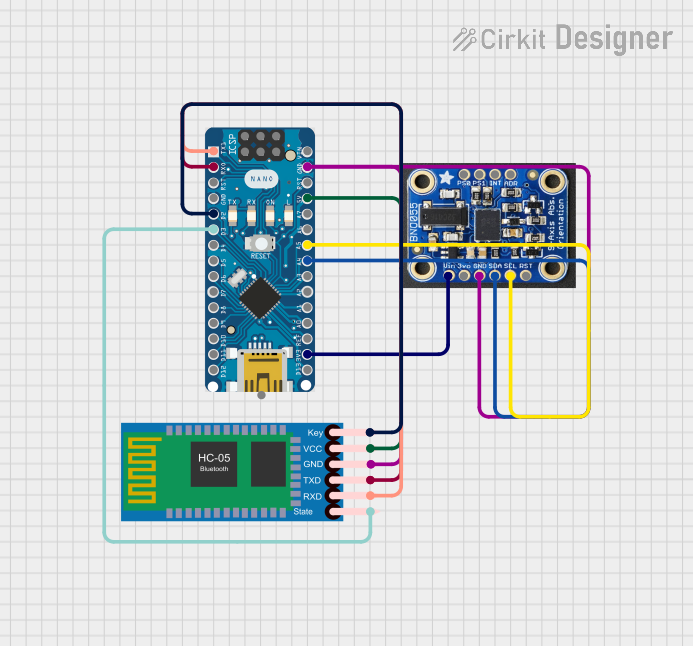
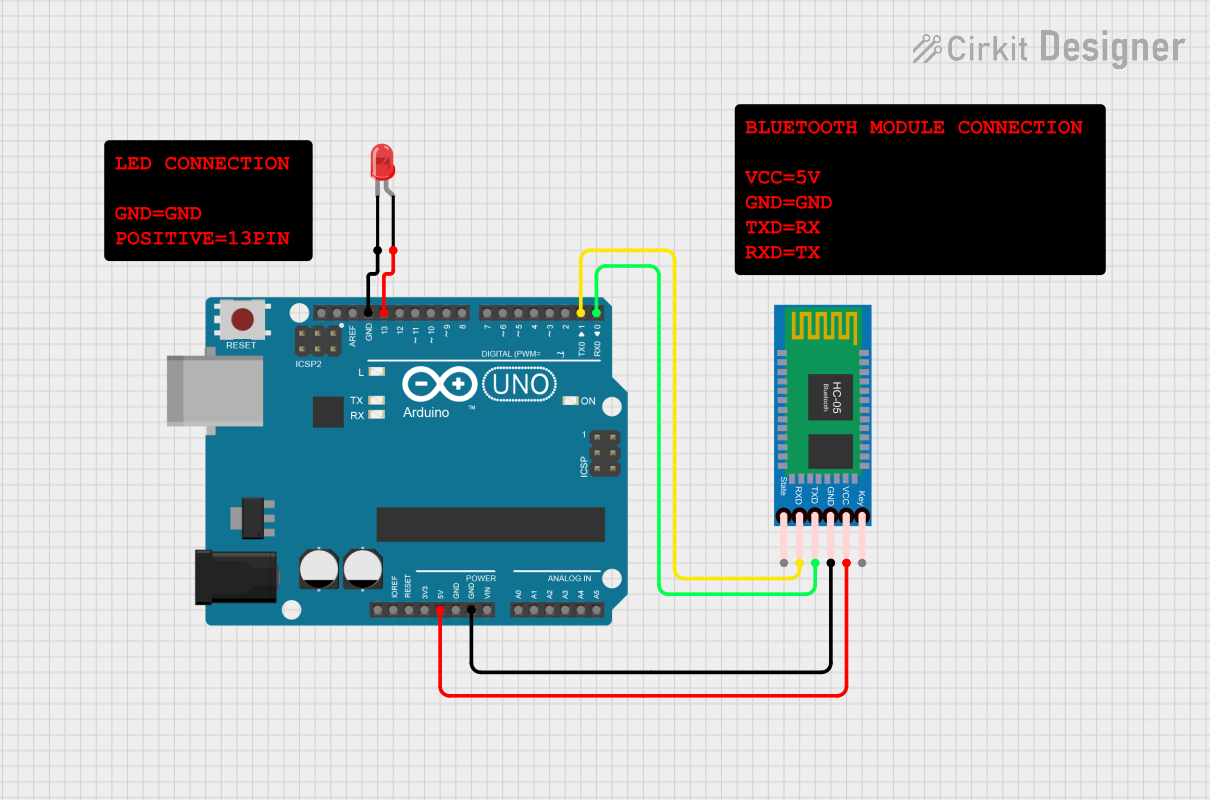
Explore Projects Built with Bluetooth SMD Module
 Open Project in Cirkit Designer
 Open Project in Cirkit Designer
 Open Project in Cirkit Designer
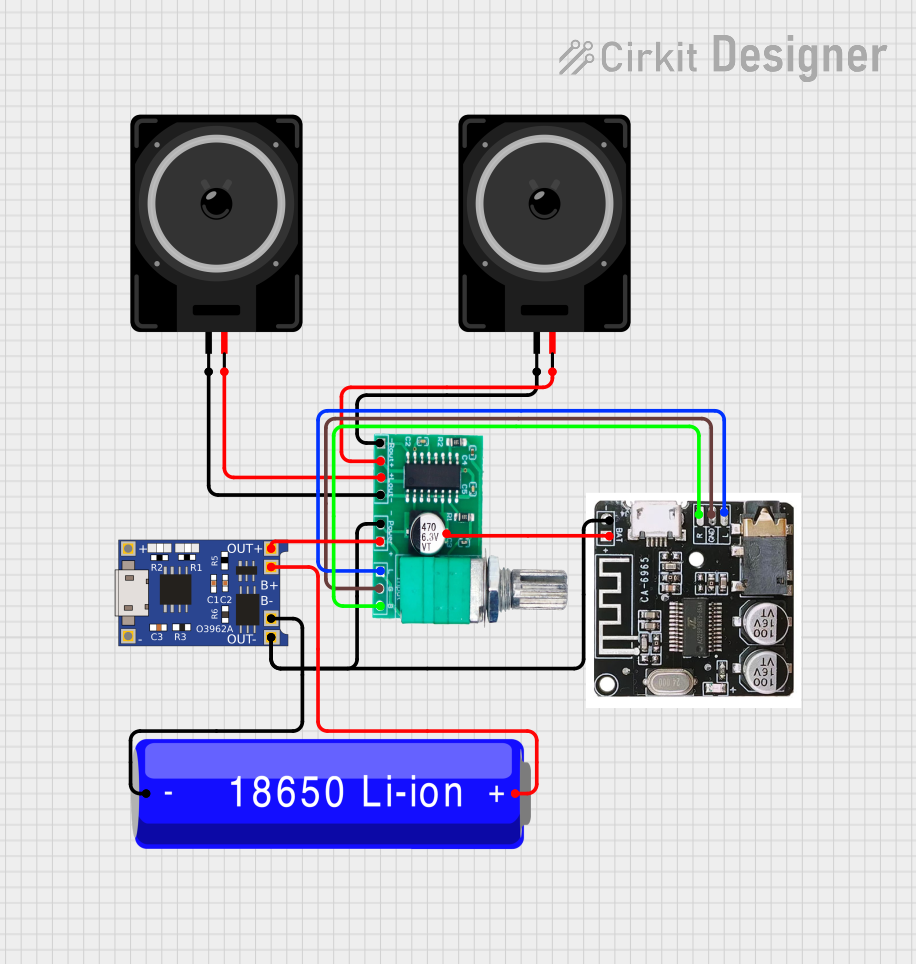 Open Project in Cirkit Designer
Explore Projects Built with Bluetooth SMD Module
Open Project in Cirkit DesignerOpen Project in Cirkit DesignerOpen Project in Cirkit DesignerOpen Project in Cirkit DesignerCommon Applications and Use Cases
- Wireless data transmission between devices
- IoT (Internet of Things) applications
- Remote control systems
- Wearable technology
- Home automation
- Wireless audio streaming
Technical Specifications
Below are the key technical details of the Bluetooth SMD Module:
| Parameter | Value |
|---|---|
| Bluetooth Version | 4.0/4.2/5.0 (varies by model) |
| Operating Voltage | 3.3V to 5V |
| Operating Current | 8mA (active), <1mA (idle) |
| Communication Protocol | UART (Universal Asynchronous Receiver-Transmitter) |
| Transmission Range | Up to 10 meters (line of sight) |
| Data Rate | Up to 3 Mbps |
| Operating Temperature | -40°C to +85°C |
| Dimensions | Typically 15mm x 10mm x 2mm |
Pin Configuration and Descriptions
The Bluetooth SMD Module typically has the following pin configuration:
| Pin Number | Pin Name | Description |
|---|---|---|
| 1 | VCC | Power supply input (3.3V to 5V) |
| 2 | GND | Ground connection |
| 3 | TXD | UART Transmit pin (sends data to the host device) |
| 4 | RXD | UART Receive pin (receives data from the host device) |
| 5 | EN/KEY | Enable pin (used to enable or configure the module) |
| 6 | STATE | Status indicator pin (high when connected) |
Note: Pin configurations may vary slightly depending on the specific module model. Always refer to the manufacturer's datasheet for precise details.
Usage Instructions
How to Use the Bluetooth SMD Module in a Circuit
- Power Supply: Connect the
VCCpin to a 3.3V or 5V power source and theGNDpin to ground. - UART Communication: Connect the
TXDpin of the module to theRXpin of the microcontroller and theRXDpin of the module to theTXpin of the microcontroller. - Enable Pin: If required, connect the
EN/KEYpin to a GPIO pin of the microcontroller to enable or configure the module. - Status Monitoring: Optionally, connect the
STATEpin to an LED or GPIO pin to monitor the connection status.
Important Considerations and Best Practices
- Use a level shifter if your microcontroller operates at 5V logic levels, as the module typically uses 3.3V logic.
- Ensure proper decoupling capacitors are placed near the power pins to reduce noise.
- Avoid placing the module near high-frequency components or metal enclosures to minimize interference.
- Use appropriate antennas or ensure the module's onboard antenna has a clear path for optimal signal strength.
Example: Connecting to an Arduino UNO
Below is an example of how to connect and use the Bluetooth SMD Module with an Arduino UNO:
Circuit Connections
VCC→ 5V on ArduinoGND→ GND on ArduinoTXD→ Pin 10 on Arduino (SoftwareSerial RX)RXD→ Pin 11 on Arduino (SoftwareSerial TX)EN/KEY→ Leave unconnected (default enabled)
Arduino Code Example
#include <SoftwareSerial.h>

// Define RX and TX pins for SoftwareSerial
SoftwareSerial bluetooth(10, 11); // RX = Pin 10, TX = Pin 11

void setup() {
  // Initialize serial communication
  Serial.begin(9600); // For communication with the PC
  bluetooth.begin(9600); // For communication with the Bluetooth module

  Serial.println("Bluetooth SMD Module Test");
  Serial.println("Send data via Serial Monitor to transmit over Bluetooth.");
}

void loop() {
  // Check if data is available from the Bluetooth module
  if (bluetooth.available()) {
    char data = bluetooth.read(); // Read data from Bluetooth
    Serial.print("Received: ");
    Serial.println(data); // Print received data to Serial Monitor
  }

  // Check if data is available from the Serial Monitor
  if (Serial.available()) {
    char data = Serial.read(); // Read data from Serial Monitor
    bluetooth.write(data); // Send data to Bluetooth module
    Serial.print("Sent: ");
    Serial.println(data); // Print sent data to Serial Monitor
  }
}
Note: Ensure the baud rate of the Bluetooth module matches the
bluetooth.begin()value in the code (default is 9600).
Troubleshooting and FAQs
Common Issues and Solutions
Module Not Powering On
- Cause: Incorrect power supply or loose connections.
- Solution: Verify that the
VCCandGNDpins are properly connected and the voltage is within the specified range.
No Data Transmission
- Cause: Incorrect UART connections or mismatched baud rates.
- Solution: Double-check the
TXDandRXDconnections. Ensure the baud rate in the code matches the module's default baud rate.
Bluetooth Device Not Discoverable
- Cause: Module not enabled or in the wrong mode.
- Solution: Ensure the
EN/KEYpin is properly configured. Reset the module if necessary.
Intermittent Connection Drops
- Cause: Signal interference or poor antenna placement.
- Solution: Relocate the module to reduce interference and ensure a clear path for the antenna.
FAQs
Q: Can the module operate at 5V logic levels?
A: Most modules operate at 3.3V logic. Use a level shifter if your microcontroller uses 5V logic.Q: How do I change the module's name or baud rate?
A: Use AT commands via UART to configure the module. Refer to the module's datasheet for specific AT command instructions.Q: Can I use this module for audio streaming?
A: Basic Bluetooth SMD modules are typically designed for data transmission. For audio streaming, use a module specifically designed for audio applications (e.g., Bluetooth A2DP modules).
By following this documentation, you can effectively integrate and troubleshoot the Bluetooth SMD Module in your projects.