
How to Use Intel Edison Arduino Expansion Board: Examples, Pinouts, and Specs
 Design with Intel Edison Arduino Expansion Board in Cirkit Designer
Introduction
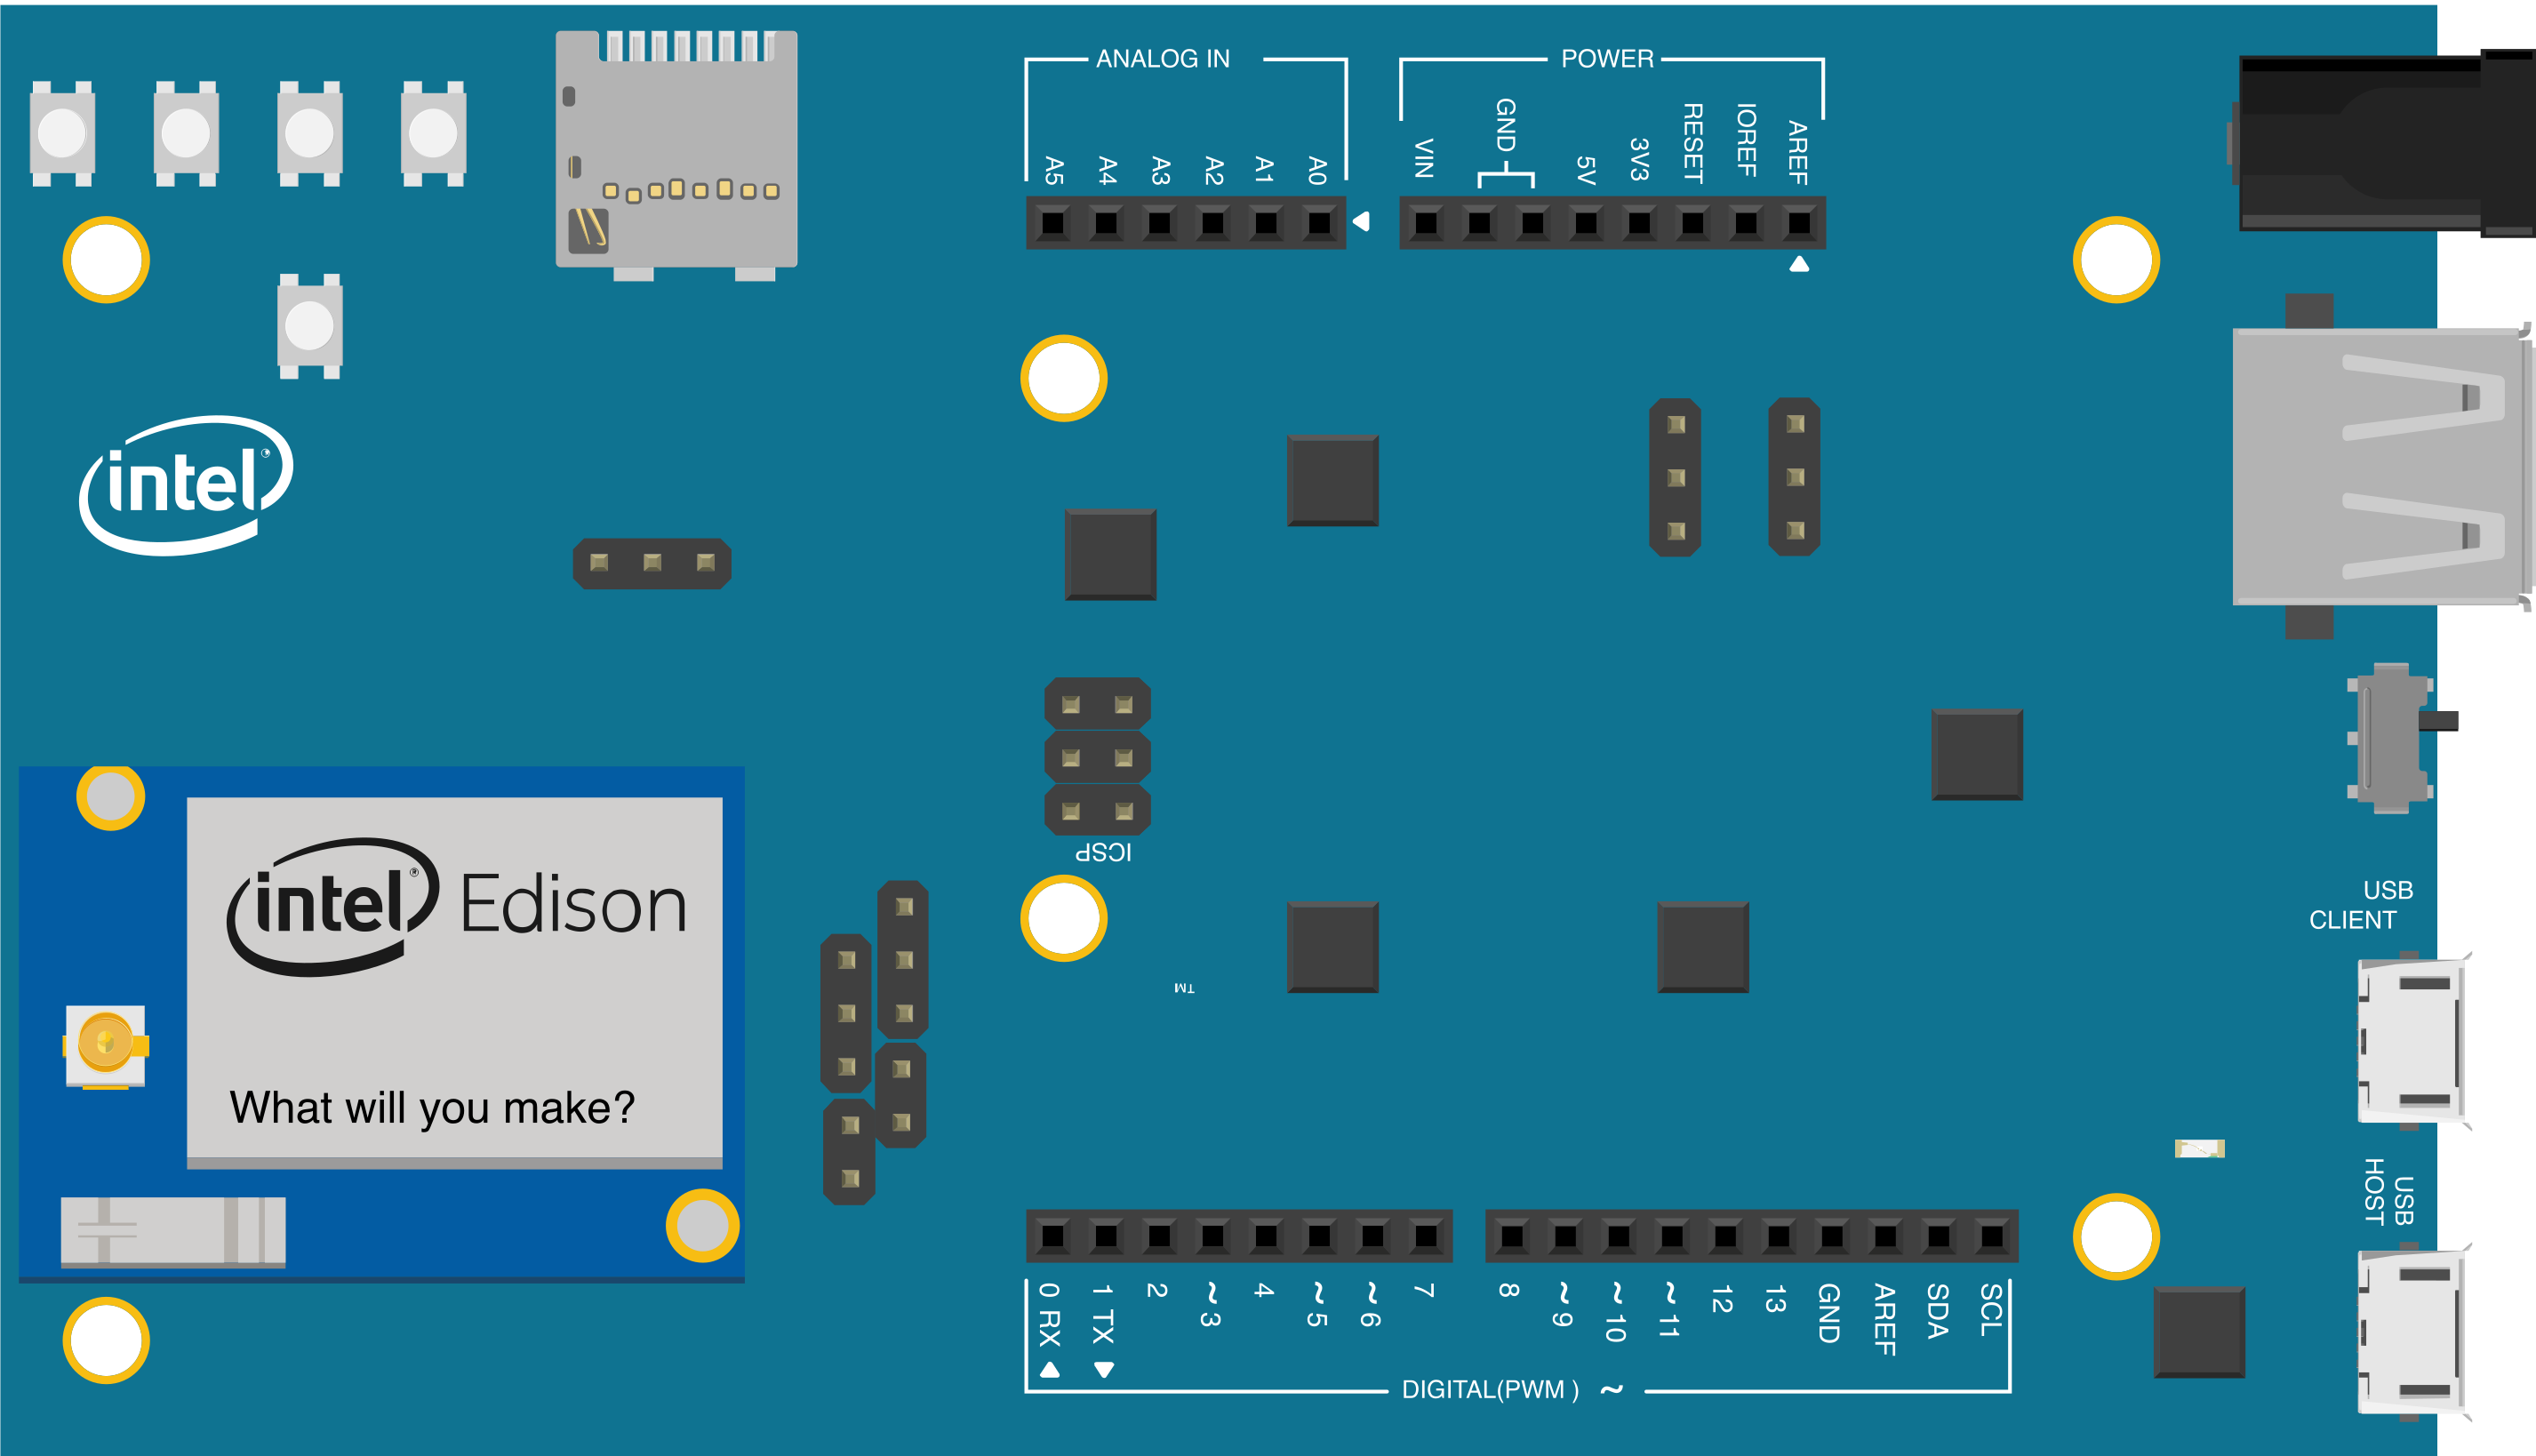
The Intel Edison Arduino Expansion Board is a development platform designed to extend the functionality of the Intel Edison module. It provides Arduino-compatible headers, making it easy to integrate with a wide range of sensors, actuators, and shields. This board is ideal for rapid prototyping, Internet of Things (IoT) applications, and projects requiring Arduino compatibility.
Explore Projects Built with Intel Edison Arduino Expansion Board
 Open Project in Cirkit Designer
 Open Project in Cirkit Designer
 Open Project in Cirkit Designer
 Open Project in Cirkit Designer
Explore Projects Built with Intel Edison Arduino Expansion Board
Open Project in Cirkit DesignerOpen Project in Cirkit DesignerOpen Project in Cirkit DesignerOpen Project in Cirkit DesignerCommon Applications and Use Cases
- IoT device prototyping
- Robotics and automation
- Environmental monitoring systems
- Wearable technology development
- Smart home applications
- Educational projects and workshops
Technical Specifications
The Intel Edison Arduino Expansion Board is designed to interface seamlessly with the Intel Edison module, offering a variety of features to support development.
Key Technical Details
- Power Supply: 7V–15V DC input via barrel jack or USB
- Operating Voltage: 5V (Arduino headers)
- Digital I/O Pins: 14 (6 PWM outputs)
- Analog Input Pins: 6 (10-bit resolution)
- Communication Interfaces: UART, I2C, SPI
- USB Ports: 1 micro-USB (device), 1 standard USB (host)
- Dimensions: 101.6mm x 68.6mm (Arduino Uno form factor)
- Weight: ~50g (without Intel Edison module)
Pin Configuration and Descriptions
The Arduino-compatible headers on the expansion board follow the standard Arduino Uno pinout. Below is a detailed description of the pins:
Digital Pins
| Pin Number | Function | Description |
|---|---|---|
| D0 | RX (UART) | Serial communication receive pin |
| D1 | TX (UART) | Serial communication transmit pin |
| D2–D13 | Digital I/O | General-purpose digital input/output |
| D3, D5, D6, D9, D10, D11 | PWM | Pulse-width modulation capable pins |
Analog Pins
| Pin Number | Function | Description |
|---|---|---|
| A0–A5 | Analog Input | 10-bit ADC for reading analog signals |
Power Pins
| Pin Name | Voltage | Description |
|---|---|---|
| VIN | 7V–15V | Input voltage from external power source |
| 5V | 5V | Regulated 5V output |
| 3.3V | 3.3V | Regulated 3.3V output |
| GND | 0V | Ground connection |
Communication Interfaces
| Interface | Pins | Description |
|---|---|---|
| UART | D0 (RX), D1 (TX) | Serial communication |
| I2C | A4 (SDA), A5 (SCL) | Inter-integrated circuit communication |
| SPI | D10 (SS), D11 (MOSI), D12 (MISO), D13 (SCK) | Serial Peripheral Interface |
Usage Instructions
How to Use the Intel Edison Arduino Expansion Board
- Attach the Intel Edison Module: Securely connect the Intel Edison module to the expansion board using the designated connectors.
- Power the Board:
- Use a 7V–15V DC adapter via the barrel jack, or
- Connect the micro-USB port to a computer for power and programming.
- Connect Sensors and Actuators: Use the Arduino-compatible headers to attach sensors, actuators, or shields.
- Program the Board:
- Install the Intel Edison drivers and tools on your computer.
- Use the Arduino IDE or Intel XDK to write and upload code to the Edison module.
- Monitor and Debug: Use the serial monitor in the Arduino IDE or a terminal program to debug your application.
Important Considerations and Best Practices
- Power Supply: Ensure the power supply voltage is within the specified range (7V–15V). Exceeding this range may damage the board.
- Pin Voltage Levels: The digital I/O pins operate at 5V. Ensure connected devices are compatible with this voltage level.
- Heat Management: The Intel Edison module may generate heat during operation. Ensure proper ventilation to avoid overheating.
- Firmware Updates: Regularly update the Intel Edison firmware to ensure compatibility with the latest tools and libraries.
Example Code for Arduino IDE
Below is an example of how to blink an LED connected to pin D13:
// Blink an LED connected to pin D13 on the Intel Edison Arduino Expansion Board

void setup() {
  pinMode(13, OUTPUT); // Set pin D13 as an output
}

void loop() {
  digitalWrite(13, HIGH); // Turn the LED on
  delay(1000);            // Wait for 1 second
  digitalWrite(13, LOW);  // Turn the LED off
  delay(1000);            // Wait for 1 second
}
Troubleshooting and FAQs
Common Issues and Solutions
- The board does not power on:
- Ensure the power supply is connected and within the specified voltage range.
- Check the micro-USB cable and port for proper connection.
- Unable to upload code:
- Verify that the Intel Edison drivers are installed on your computer.
- Ensure the correct COM port is selected in the Arduino IDE.
- Reset the board by pressing the reset button and try uploading again.
- Sensors or actuators not working:
- Double-check the wiring and connections to the Arduino headers.
- Ensure the components are compatible with the 5V logic level.
- Serial communication not working:
- Confirm that the correct baud rate is set in the serial monitor.
- Ensure no other application is using the same COM port.
FAQs
Q: Can I use standard Arduino shields with this board?
A: Yes, the Intel Edison Arduino Expansion Board is designed to be compatible with most Arduino Uno shields.
Q: Does the board support Wi-Fi or Bluetooth?
A: The Intel Edison module includes built-in Wi-Fi and Bluetooth capabilities. These features can be accessed through the appropriate libraries and tools.
Q: How do I update the Intel Edison firmware?
A: Use the Intel Edison Setup Tool or follow the instructions on Intel's official website to update the firmware.
Q: Can I power the board using only USB?
A: Yes, the board can be powered via the micro-USB port, but ensure the connected USB port can supply sufficient current for your application.
Q: What is the maximum current output of the 5V and 3.3V pins?
A: The maximum current output depends on the power source and the Intel Edison module's power consumption. Refer to the Intel Edison datasheet for detailed power specifications.