
How to Use wt32-eth01: Examples, Pinouts, and Specs
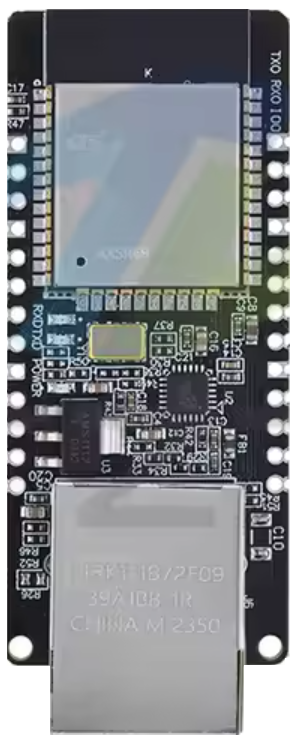
 Design with wt32-eth01 in Cirkit Designer
Introduction
The WT32-ETH01 is a versatile Wi-Fi and Ethernet module that integrates the powerful ESP32 microcontroller with Ethernet capabilities. This module is designed to provide flexible connectivity options, supporting both wireless (Wi-Fi) and wired (Ethernet) networking. Its compact design and robust features make it ideal for Internet of Things (IoT) applications, industrial automation, smart home systems, and other networking scenarios where reliable communication is essential.
Explore Projects Built with wt32-eth01
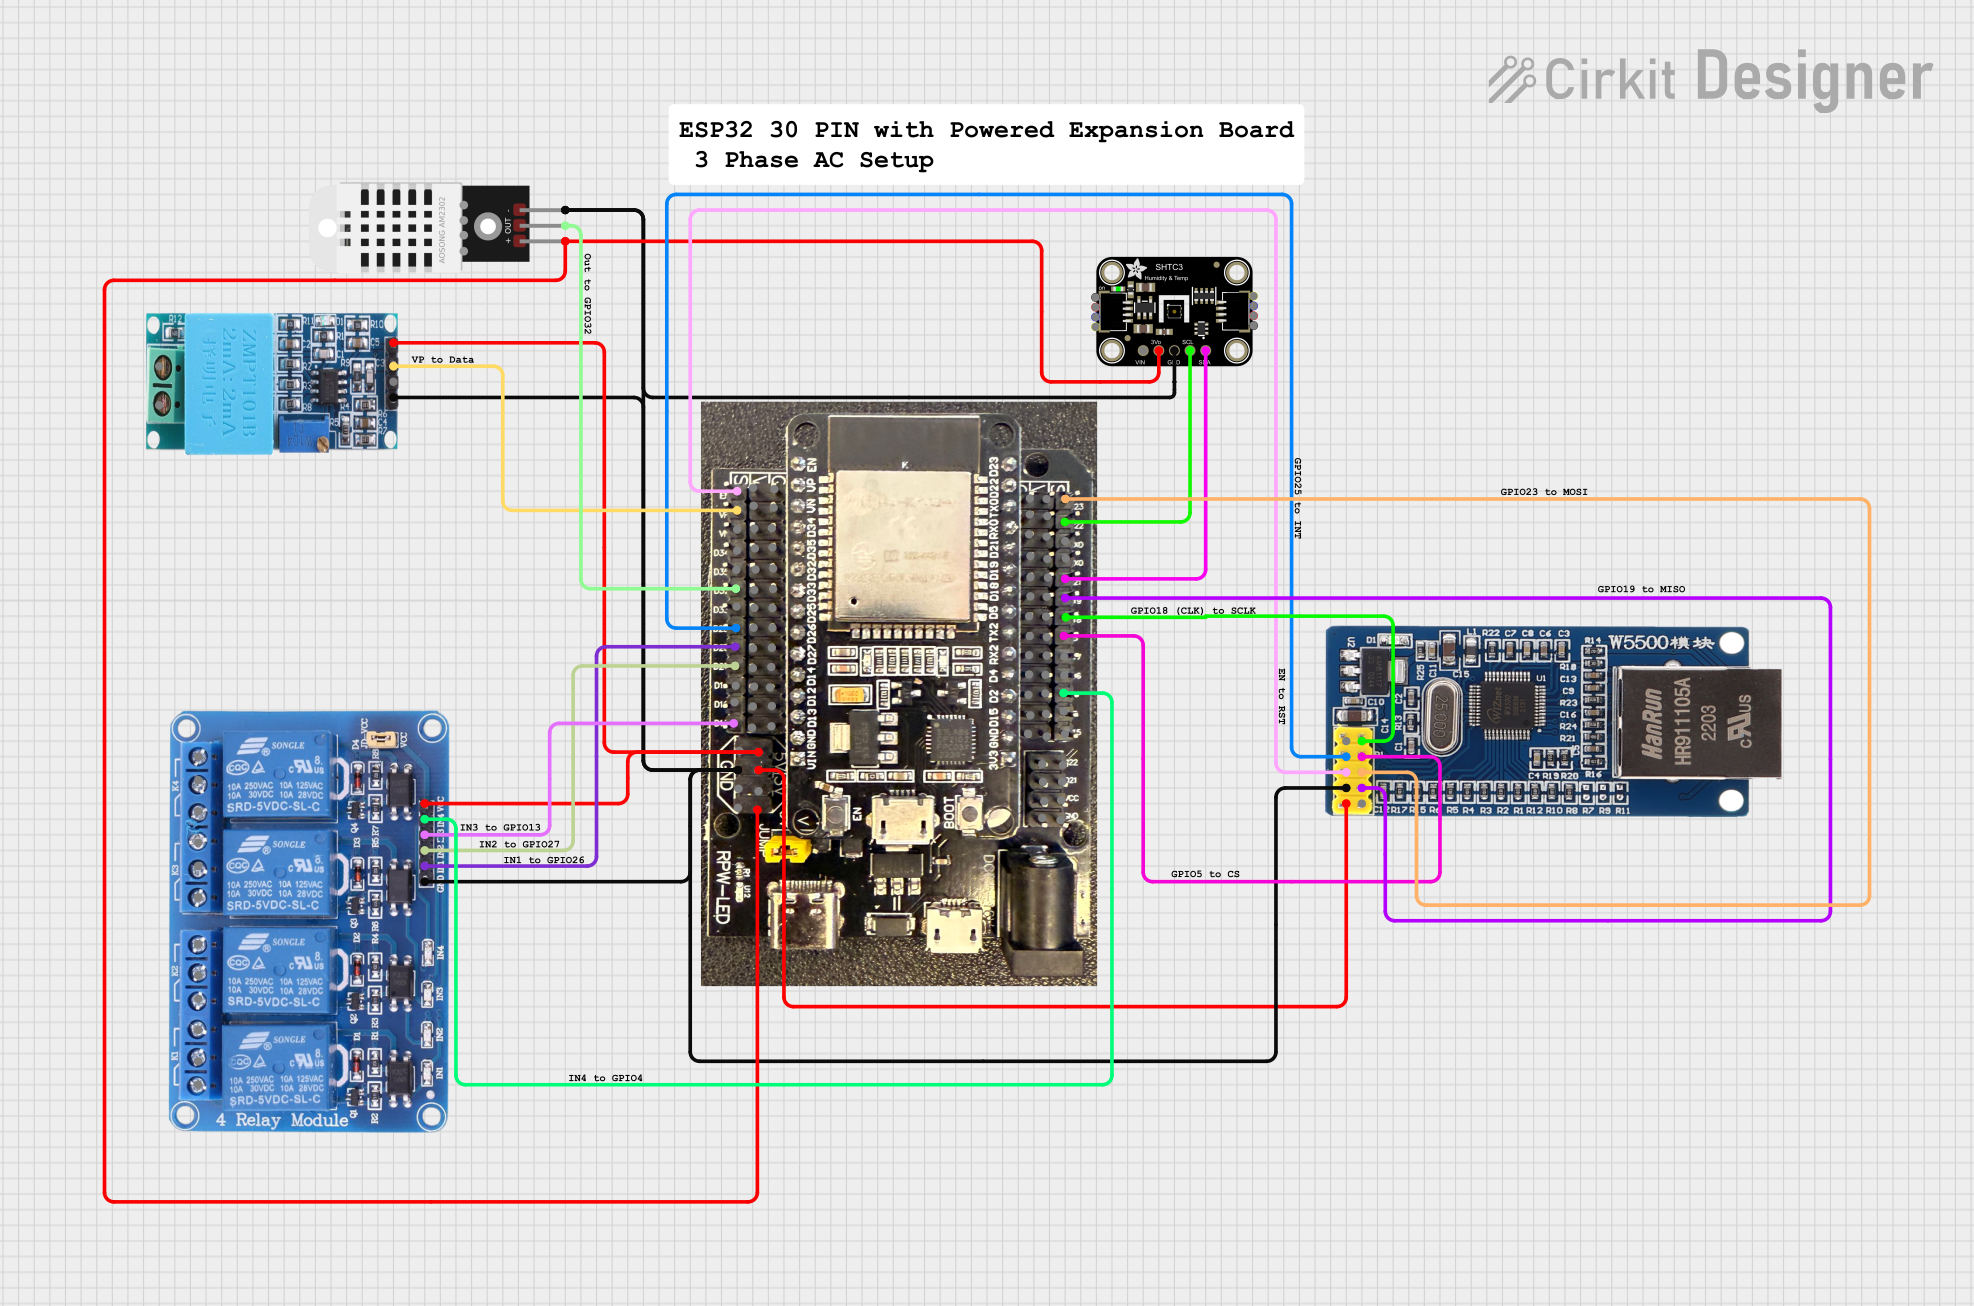 Open Project in Cirkit Designer
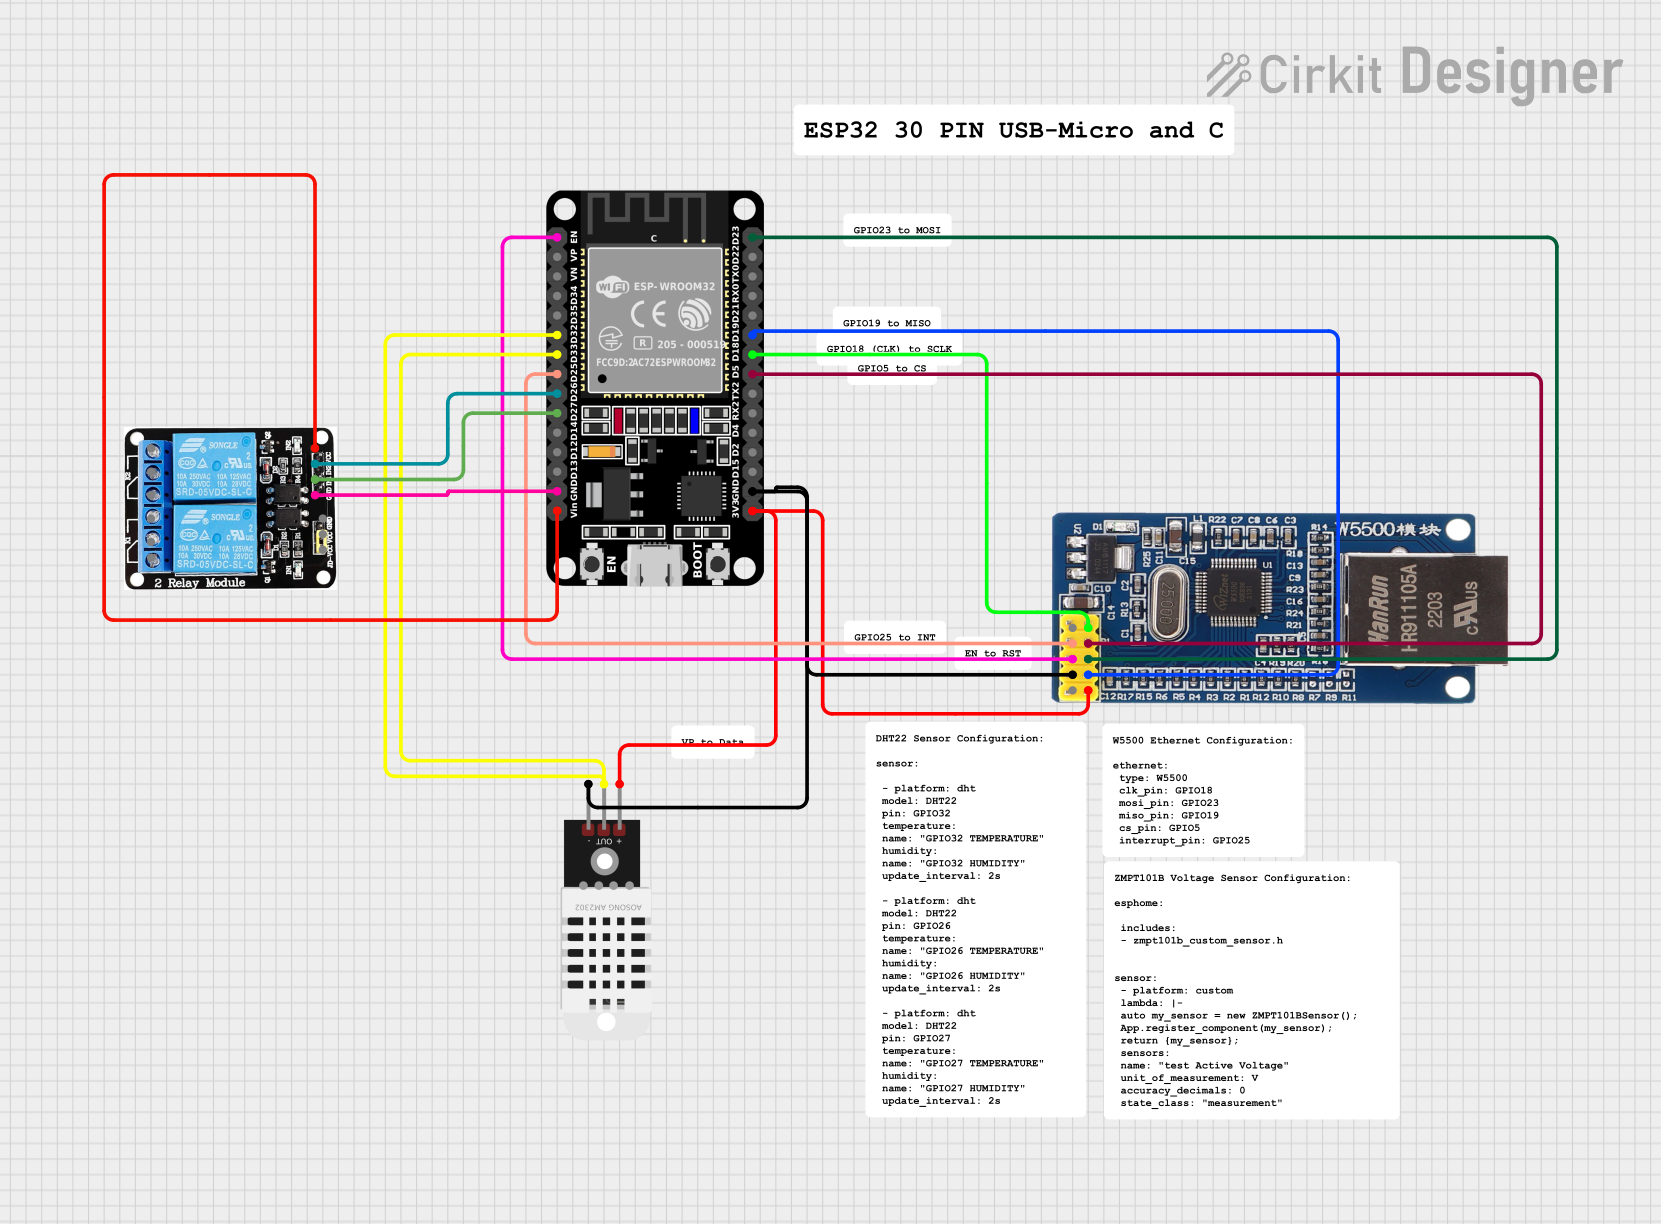 Open Project in Cirkit Designer
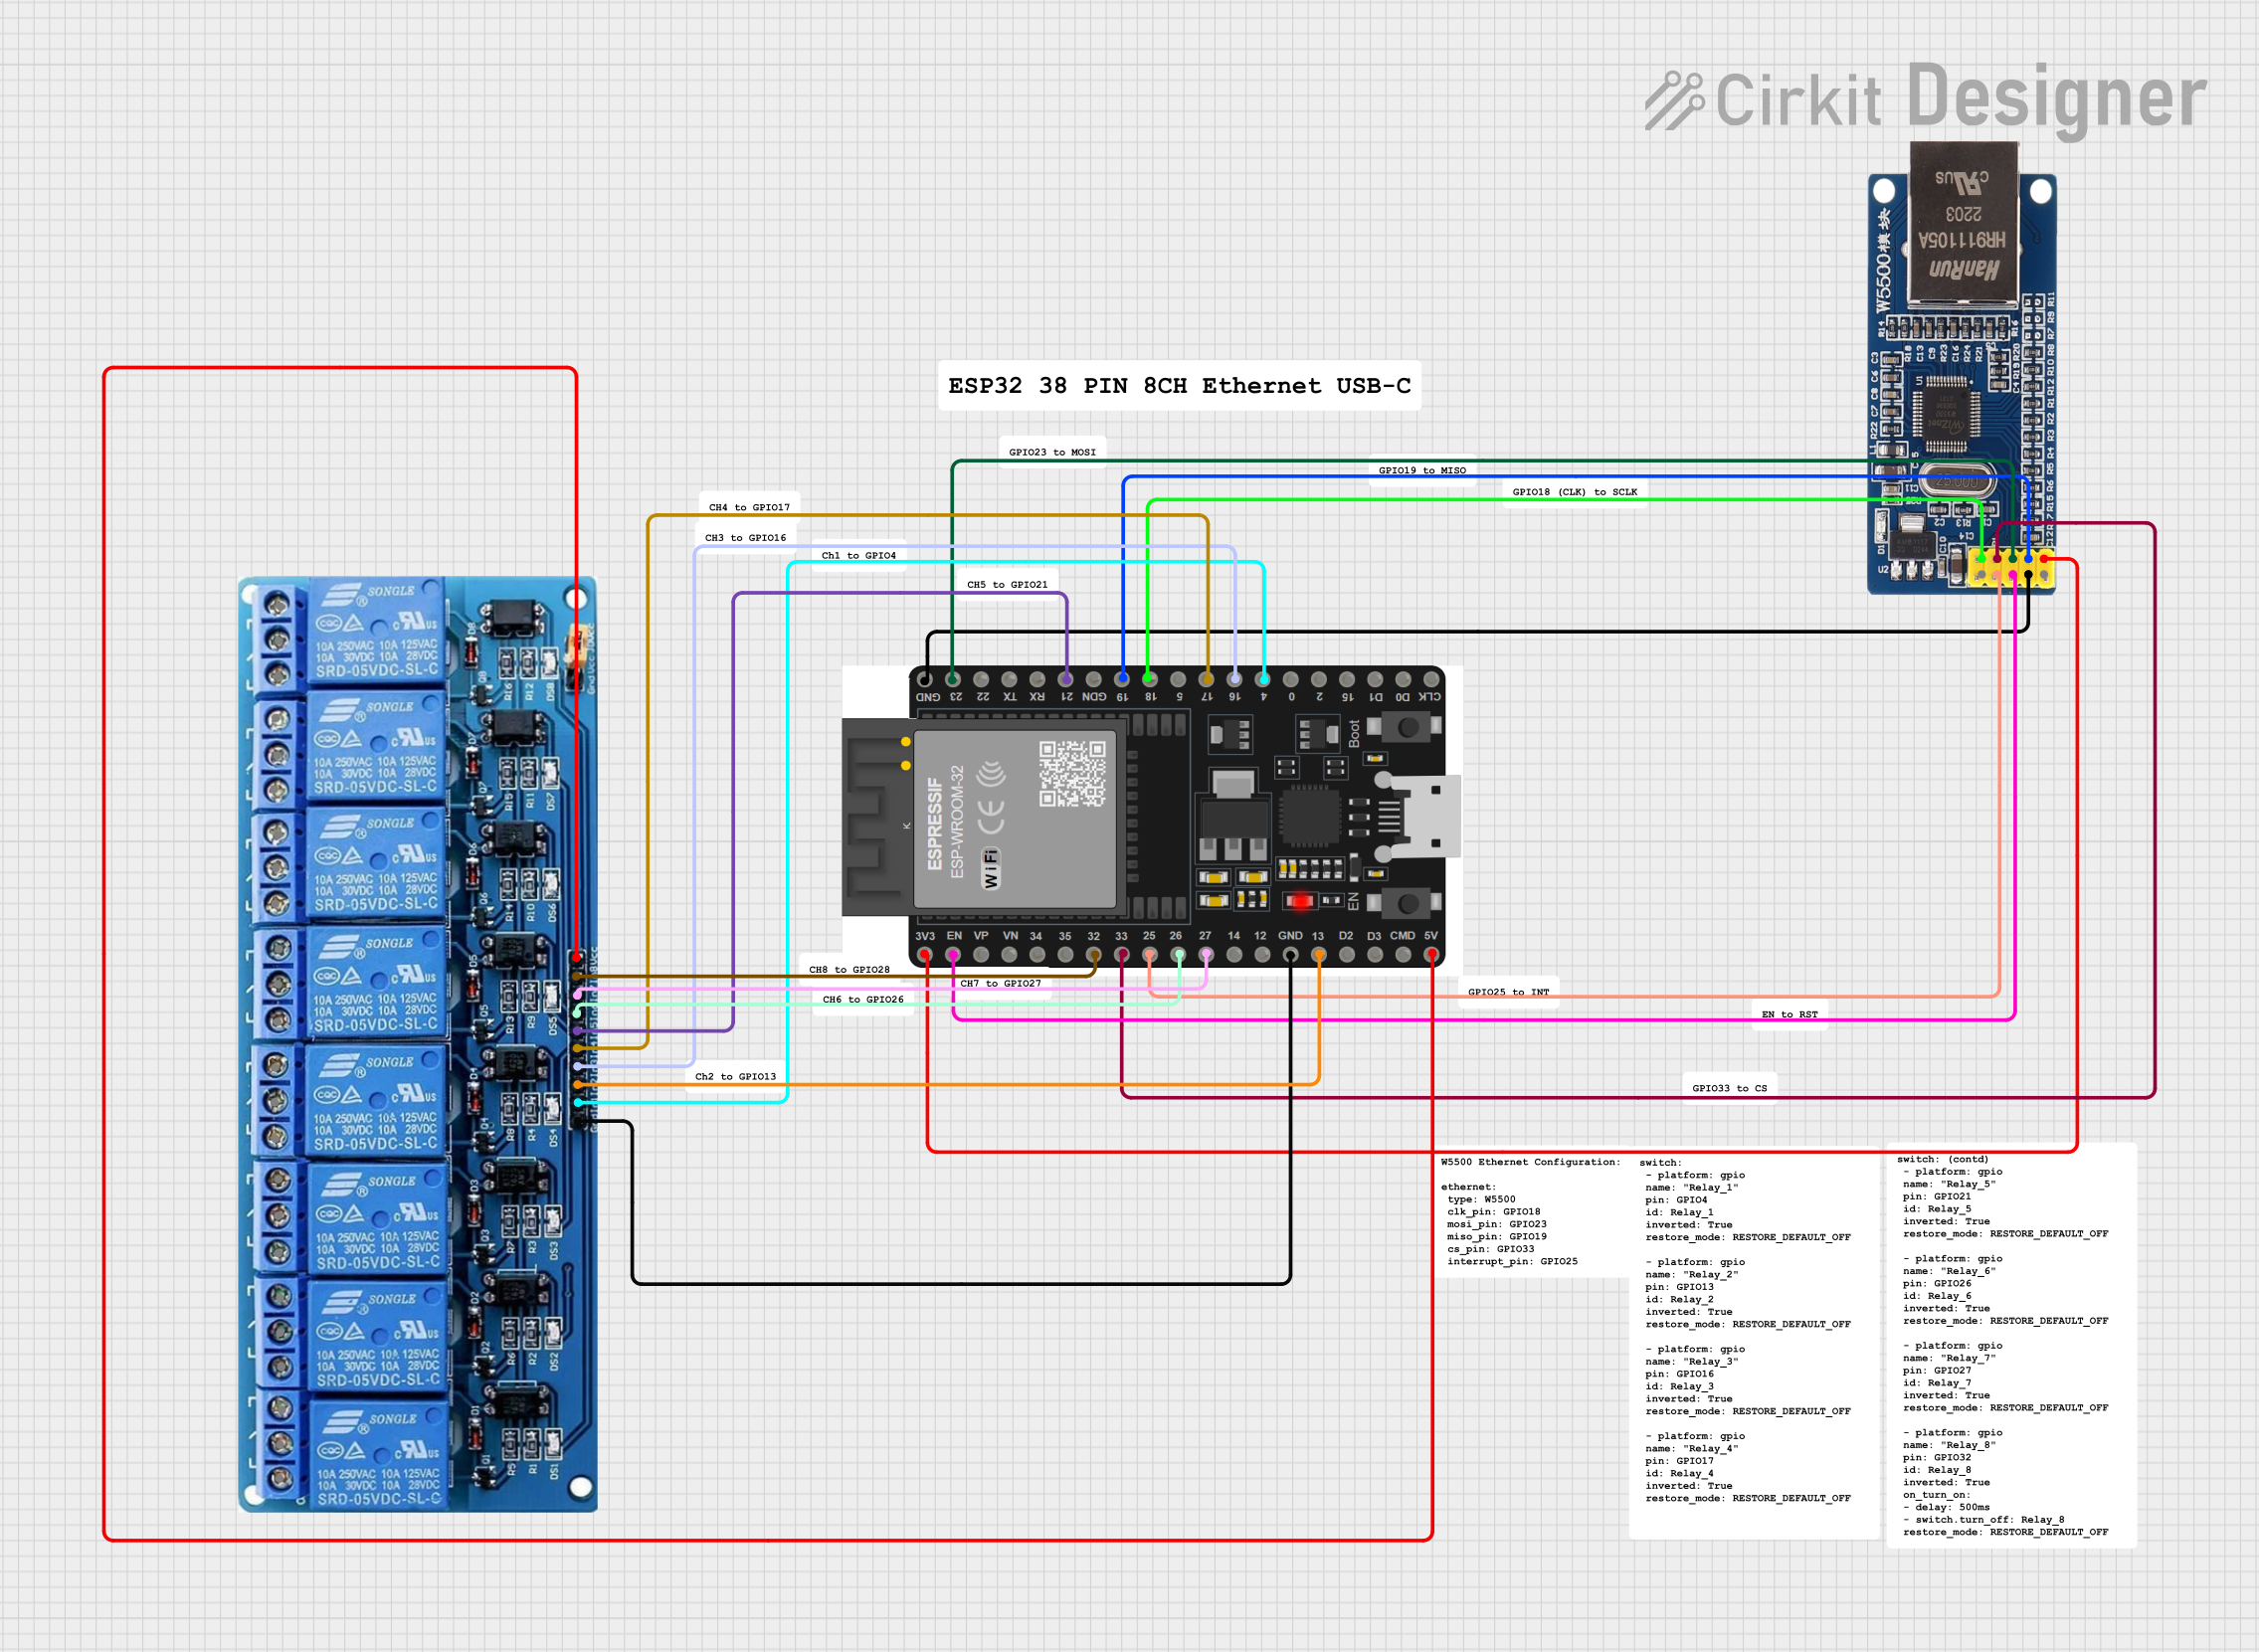 Open Project in Cirkit Designer
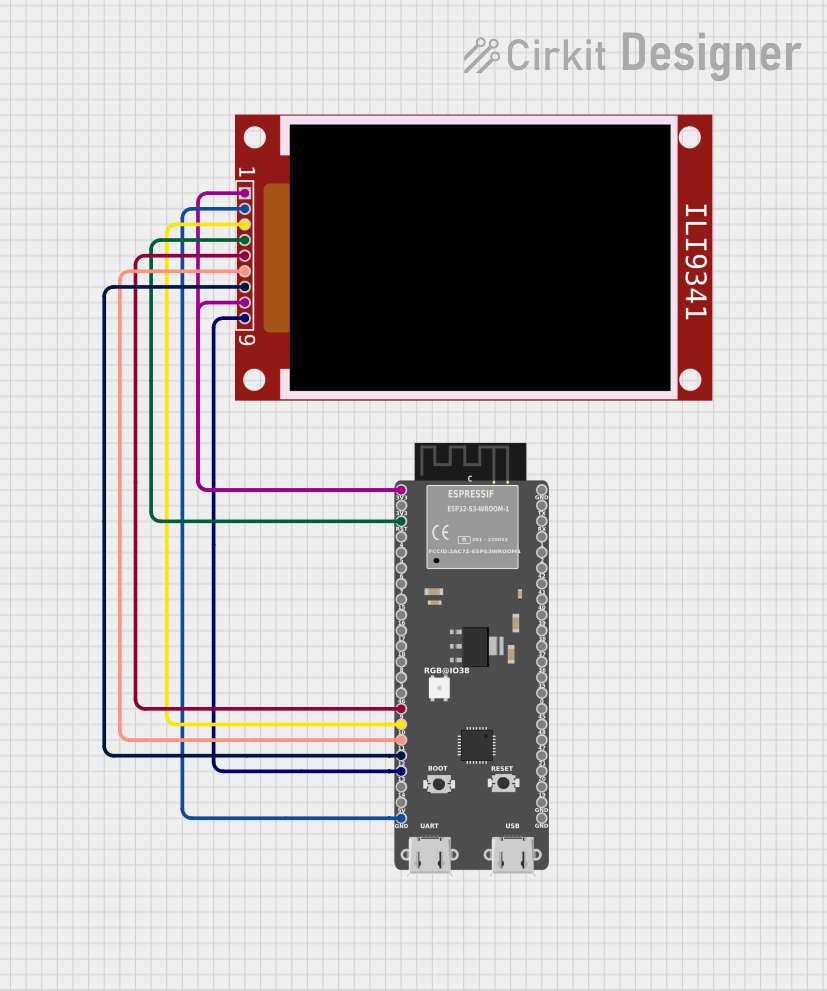 Open Project in Cirkit Designer
Explore Projects Built with wt32-eth01
Open Project in Cirkit DesignerOpen Project in Cirkit DesignerOpen Project in Cirkit DesignerOpen Project in Cirkit DesignerCommon Applications and Use Cases
- IoT devices requiring dual connectivity (Wi-Fi and Ethernet)
- Industrial automation and monitoring systems
- Smart home hubs and controllers
- Networked sensors and actuators
- Remote data logging and telemetry
- Prototyping and development of connected devices
Technical Specifications
Key Technical Details
| Parameter | Specification |
|---|---|
| Microcontroller | ESP32 (dual-core, 32-bit processor) |
| Wi-Fi Standard | IEEE 802.11 b/g/n |
| Ethernet Standard | IEEE 802.3 (10/100 Mbps) |
| Operating Voltage | 3.3V |
| Power Supply Voltage | 5V (via external power source) |
| GPIO Pins | 9 available GPIOs |
| Flash Memory | 4MB |
| Operating Temperature | -40°C to +85°C |
| Dimensions | 50mm x 25mm |
Pin Configuration and Descriptions
The WT32-ETH01 module has a total of 12 pins. Below is the pinout and description:
| Pin Number | Pin Name | Description |
|---|---|---|
| 1 | 3V3 | 3.3V power output |
| 2 | GND | Ground connection |
| 3 | TXD | UART Transmit (TX) for serial communication |
| 4 | RXD | UART Receive (RX) for serial communication |
| 5 | IO0 | GPIO0, can be used for general-purpose input/output or boot mode selection |
| 6 | IO2 | GPIO2, general-purpose input/output |
| 7 | IO4 | GPIO4, general-purpose input/output |
| 8 | IO5 | GPIO5, general-purpose input/output |
| 9 | IO12 | GPIO12, general-purpose input/output |
| 10 | IO13 | GPIO13, general-purpose input/output |
| 11 | EN | Enable pin, used to reset or enable the module |
| 12 | 5V | 5V power input |
Usage Instructions
How to Use the WT32-ETH01 in a Circuit
Powering the Module:
- Connect the
5Vpin to a 5V power source and theGNDpin to ground. - The module internally regulates the voltage to 3.3V for its operation.
- Connect the
Connecting to Ethernet:
- Use the onboard RJ45 Ethernet port to connect the module to a wired network.
- Ensure the Ethernet cable is securely connected to the port.
Using Wi-Fi:
- Configure the ESP32's Wi-Fi settings in your firmware to connect to a wireless network.
- The module supports both Access Point (AP) and Station (STA) modes.
Programming the Module:
- Use the UART pins (
TXDandRXD) to upload firmware via a USB-to-serial adapter. - Ensure the
IO0pin is pulled low during programming to enter boot mode.
- Use the UART pins (
GPIO Usage:
- The available GPIO pins can be used for interfacing with sensors, actuators, or other peripherals.
- Refer to the pin configuration table for specific pin functions.
Important Considerations and Best Practices
- Always use a stable 5V power supply to avoid voltage fluctuations that may affect performance.
- When programming the module, ensure proper grounding between the WT32-ETH01 and the USB-to-serial adapter.
- Avoid using GPIO pins that are reserved for internal functions (e.g.,
IO0during boot mode). - Use appropriate pull-up or pull-down resistors for GPIO pins as needed in your circuit design.
Example: Connecting WT32-ETH01 to an Arduino UNO
The WT32-ETH01 can be used with an Arduino UNO for prototyping. Below is an example of how to connect and program the module to send data over Wi-Fi:
Wiring Diagram
| WT32-ETH01 Pin | Arduino UNO Pin |
|---|---|
| TXD | RX (Pin 0) |
| RXD | TX (Pin 1) |
| GND | GND |
| 5V | 5V |
Example Code
#include <WiFi.h>

// Replace with your network credentials
const char* ssid = "Your_SSID";
const char* password = "Your_PASSWORD";

void setup() {
  Serial.begin(115200); // Initialize serial communication
  WiFi.begin(ssid, password); // Connect to Wi-Fi network

  Serial.print("Connecting to Wi-Fi");
  while (WiFi.status() != WL_CONNECTED) {
    delay(500);
    Serial.print(".");
  }
  Serial.println("\nConnected to Wi-Fi");
  Serial.print("IP Address: ");
  Serial.println(WiFi.localIP()); // Print the module's IP address
}

void loop() {
  // Add your main code here
}
Troubleshooting and FAQs
Common Issues and Solutions
Module Not Powering On:
- Ensure the
5Vpin is connected to a stable 5V power source. - Check for loose connections or damaged wires.
- Ensure the
Unable to Upload Firmware:
- Verify that the
IO0pin is pulled low during programming. - Ensure the correct COM port and baud rate are selected in your programming environment.
- Verify that the
Wi-Fi Connection Fails:
- Double-check the SSID and password in your code.
- Ensure the Wi-Fi network is within range and not restricted by MAC filtering.
Ethernet Not Working:
- Confirm that the Ethernet cable is securely connected.
- Check the router or switch for proper configuration and connectivity.
FAQs
Q: Can the WT32-ETH01 operate on 3.3V directly?
A: No, the module requires a 5V input for proper operation. It internally regulates the voltage to 3.3V.
Q: How many devices can connect to the WT32-ETH01 in AP mode?
A: The module can support up to 10 devices in Access Point mode.
Q: Is the WT32-ETH01 compatible with Arduino IDE?
A: Yes, the module can be programmed using the Arduino IDE with the ESP32 board package installed.
Q: Can I use both Wi-Fi and Ethernet simultaneously?
A: Yes, the WT32-ETH01 supports simultaneous use of Wi-Fi and Ethernet for versatile networking applications.