
How to Use Electret Microphone Amplifier - MAX4466 with Adjustable Gain: Examples, Pinouts, and Specs
 Design with Electret Microphone Amplifier - MAX4466 with Adjustable Gain in Cirkit Designer
Introduction
The Electret Microphone Amplifier - MAX4466 with Adjustable Gain is a low-noise microphone amplifier designed for high-quality audio applications. It features a built-in electret microphone and an adjustable gain control, making it versatile for a wide range of projects. This component is ideal for capturing audio signals in applications such as voice recognition, audio recording, sound level detection, and DIY electronics projects.
Common applications include:
- Audio recording devices
- Voice-controlled systems
- Sound level meters
- DIY audio projects and experiments
Explore Projects Built with Electret Microphone Amplifier - MAX4466 with Adjustable Gain
 Open Project in Cirkit Designer
 Open Project in Cirkit Designer
 Open Project in Cirkit Designer
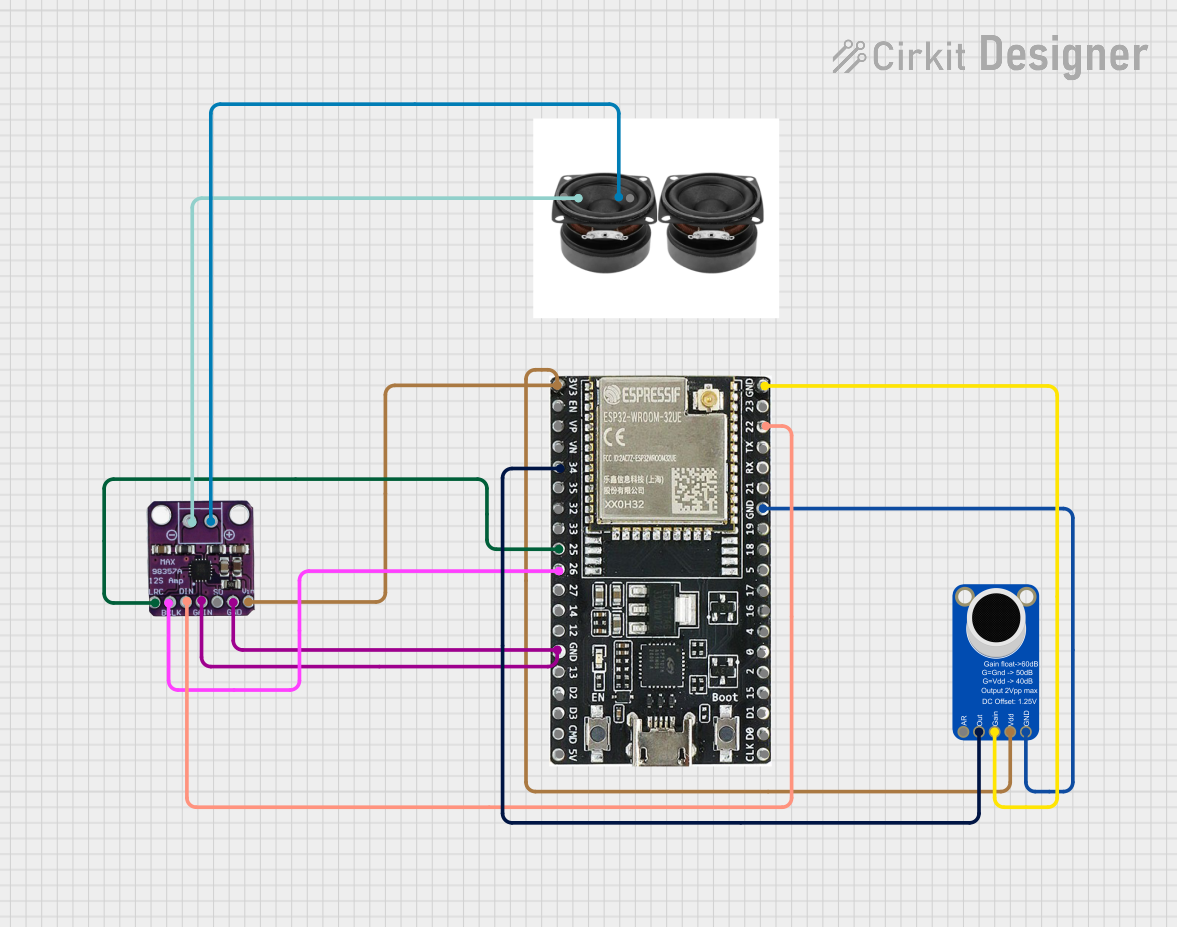 Open Project in Cirkit Designer
Explore Projects Built with Electret Microphone Amplifier - MAX4466 with Adjustable Gain
Open Project in Cirkit DesignerOpen Project in Cirkit DesignerOpen Project in Cirkit DesignerOpen Project in Cirkit DesignerTechnical Specifications
The following are the key technical details of the Electret Microphone Amplifier - MAX4466:
| Parameter | Value |
|---|---|
| Operating Voltage | 2.4V to 5.5V |
| Current Consumption | 0.85mA (typical) |
| Gain Range | 25x to 125x (adjustable via potentiometer) |
| Output Voltage Range | 0V to Vcc |
| Signal-to-Noise Ratio | 115dB |
| Frequency Response | 20Hz to 20kHz |
| Dimensions | 20mm x 14mm |
Pin Configuration and Descriptions
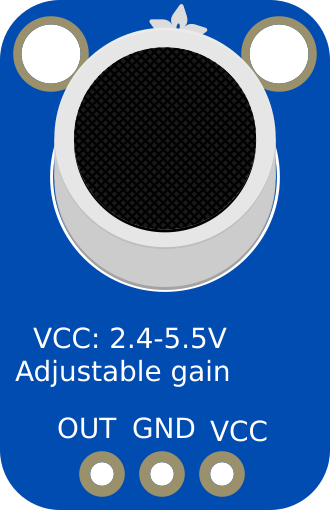
The Electret Microphone Amplifier - MAX4466 has three pins:
| Pin | Name | Description |
|---|---|---|
| 1 | VCC | Power supply input (2.4V to 5.5V). |
| 2 | GND | Ground connection. |
| 3 | OUT | Audio signal output. Connect to an ADC or input. |
Usage Instructions
How to Use the Component in a Circuit
- Power the Amplifier: Connect the
VCCpin to a power source (2.4V to 5.5V) and theGNDpin to the ground of your circuit. - Connect the Output: The
OUTpin provides the amplified audio signal. Connect this pin to an analog input of a microcontroller (e.g., Arduino) or an audio processing circuit. - Adjust the Gain: Use the onboard potentiometer to adjust the gain. Turning the potentiometer clockwise increases the gain, while turning it counterclockwise decreases the gain. Start with a low gain setting to avoid distortion.
Important Considerations and Best Practices
- Power Supply Noise: Ensure the power supply is clean and stable to avoid introducing noise into the audio signal.
- Avoid Overloading: Do not set the gain too high, as it may cause clipping or distortion in the output signal.
- Placement: Place the microphone away from noisy components or sources of interference to ensure clear audio capture.
- Decoupling Capacitor: Add a decoupling capacitor (e.g., 0.1µF) between
VCCandGNDto reduce power supply noise.
Example: Connecting to an Arduino UNO
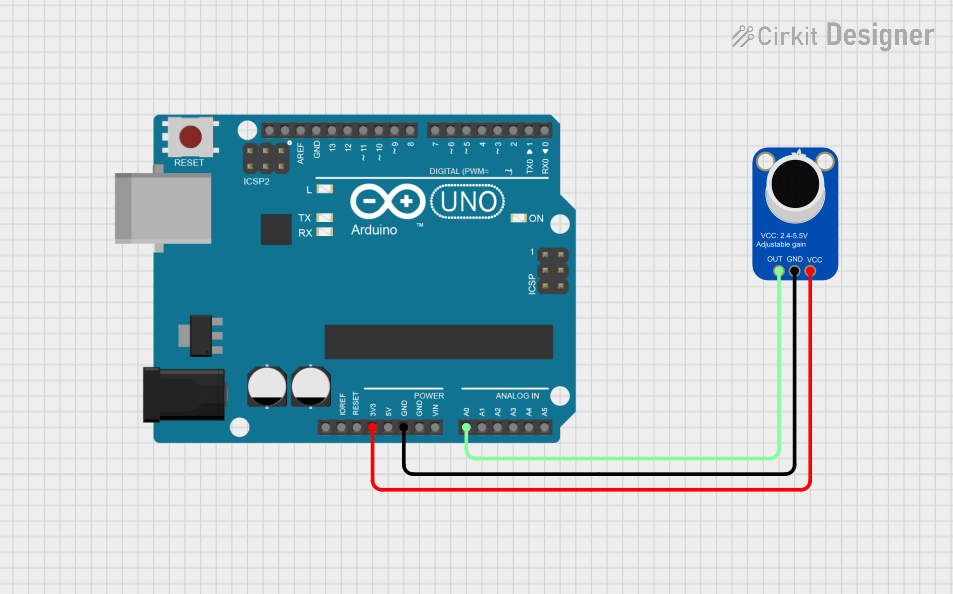
Below is an example of how to connect the Electret Microphone Amplifier - MAX4466 to an Arduino UNO and read the audio signal:
Circuit Connections:
VCC→ 5V on ArduinoGND→ GND on ArduinoOUT→ A0 (Analog Pin 0) on Arduino
Arduino Code:
// Electret Microphone Amplifier - MAX4466 Example Code
// Reads the audio signal from the microphone and prints the analog value.

const int micPin = A0; // Microphone output connected to analog pin A0

void setup() {
  Serial.begin(9600); // Initialize serial communication at 9600 baud
}

void loop() {
  int micValue = analogRead(micPin); // Read the analog value from the mic
  Serial.println(micValue);         // Print the value to the Serial Monitor
  delay(10);                        // Small delay for stability
}
Notes:
- The
micValuewill vary depending on the sound intensity captured by the microphone. - For advanced applications, you can process the signal further, such as calculating the RMS value or performing FFT analysis.
Troubleshooting and FAQs
Common Issues and Solutions
No Output Signal:
- Cause: Incorrect wiring or no power supply.
- Solution: Double-check all connections and ensure the power supply is within the specified range.
Distorted Audio Output:
- Cause: Gain set too high or interference from nearby components.
- Solution: Reduce the gain using the potentiometer and move the microphone away from noise sources.
Low Signal Levels:
- Cause: Gain set too low or weak sound source.
- Solution: Increase the gain using the potentiometer or move the microphone closer to the sound source.
Noise in the Output:
- Cause: Power supply noise or poor grounding.
- Solution: Use a decoupling capacitor and ensure proper grounding.
FAQs
Q: Can I use this amplifier with a 3.3V microcontroller?
A: Yes, the amplifier operates within a voltage range of 2.4V to 5.5V, making it compatible with 3.3V systems.
Q: How do I know if the gain is set correctly?
A: Start with a low gain setting and gradually increase it while monitoring the output signal. Avoid settings that cause clipping or distortion.
Q: Can this amplifier capture frequencies outside the human hearing range?
A: The amplifier has a frequency response of 20Hz to 20kHz, which covers the typical human hearing range but may not capture frequencies beyond this range effectively.
Q: Is this amplifier suitable for outdoor use?
A: While the amplifier can be used outdoors, it is not weatherproof. Protect it from moisture and extreme temperatures for reliable operation.