Cirkit Designer Logo
Cirkit Designer
Your all-in-one circuit design IDE
Home / 
Component Documentation

How to Use Raspberry Pi 4B: Examples, Pinouts, and Specs

Image of Raspberry Pi 4B
Cirkit Designer LogoDesign with Raspberry Pi 4B in Cirkit Designer

Introduction

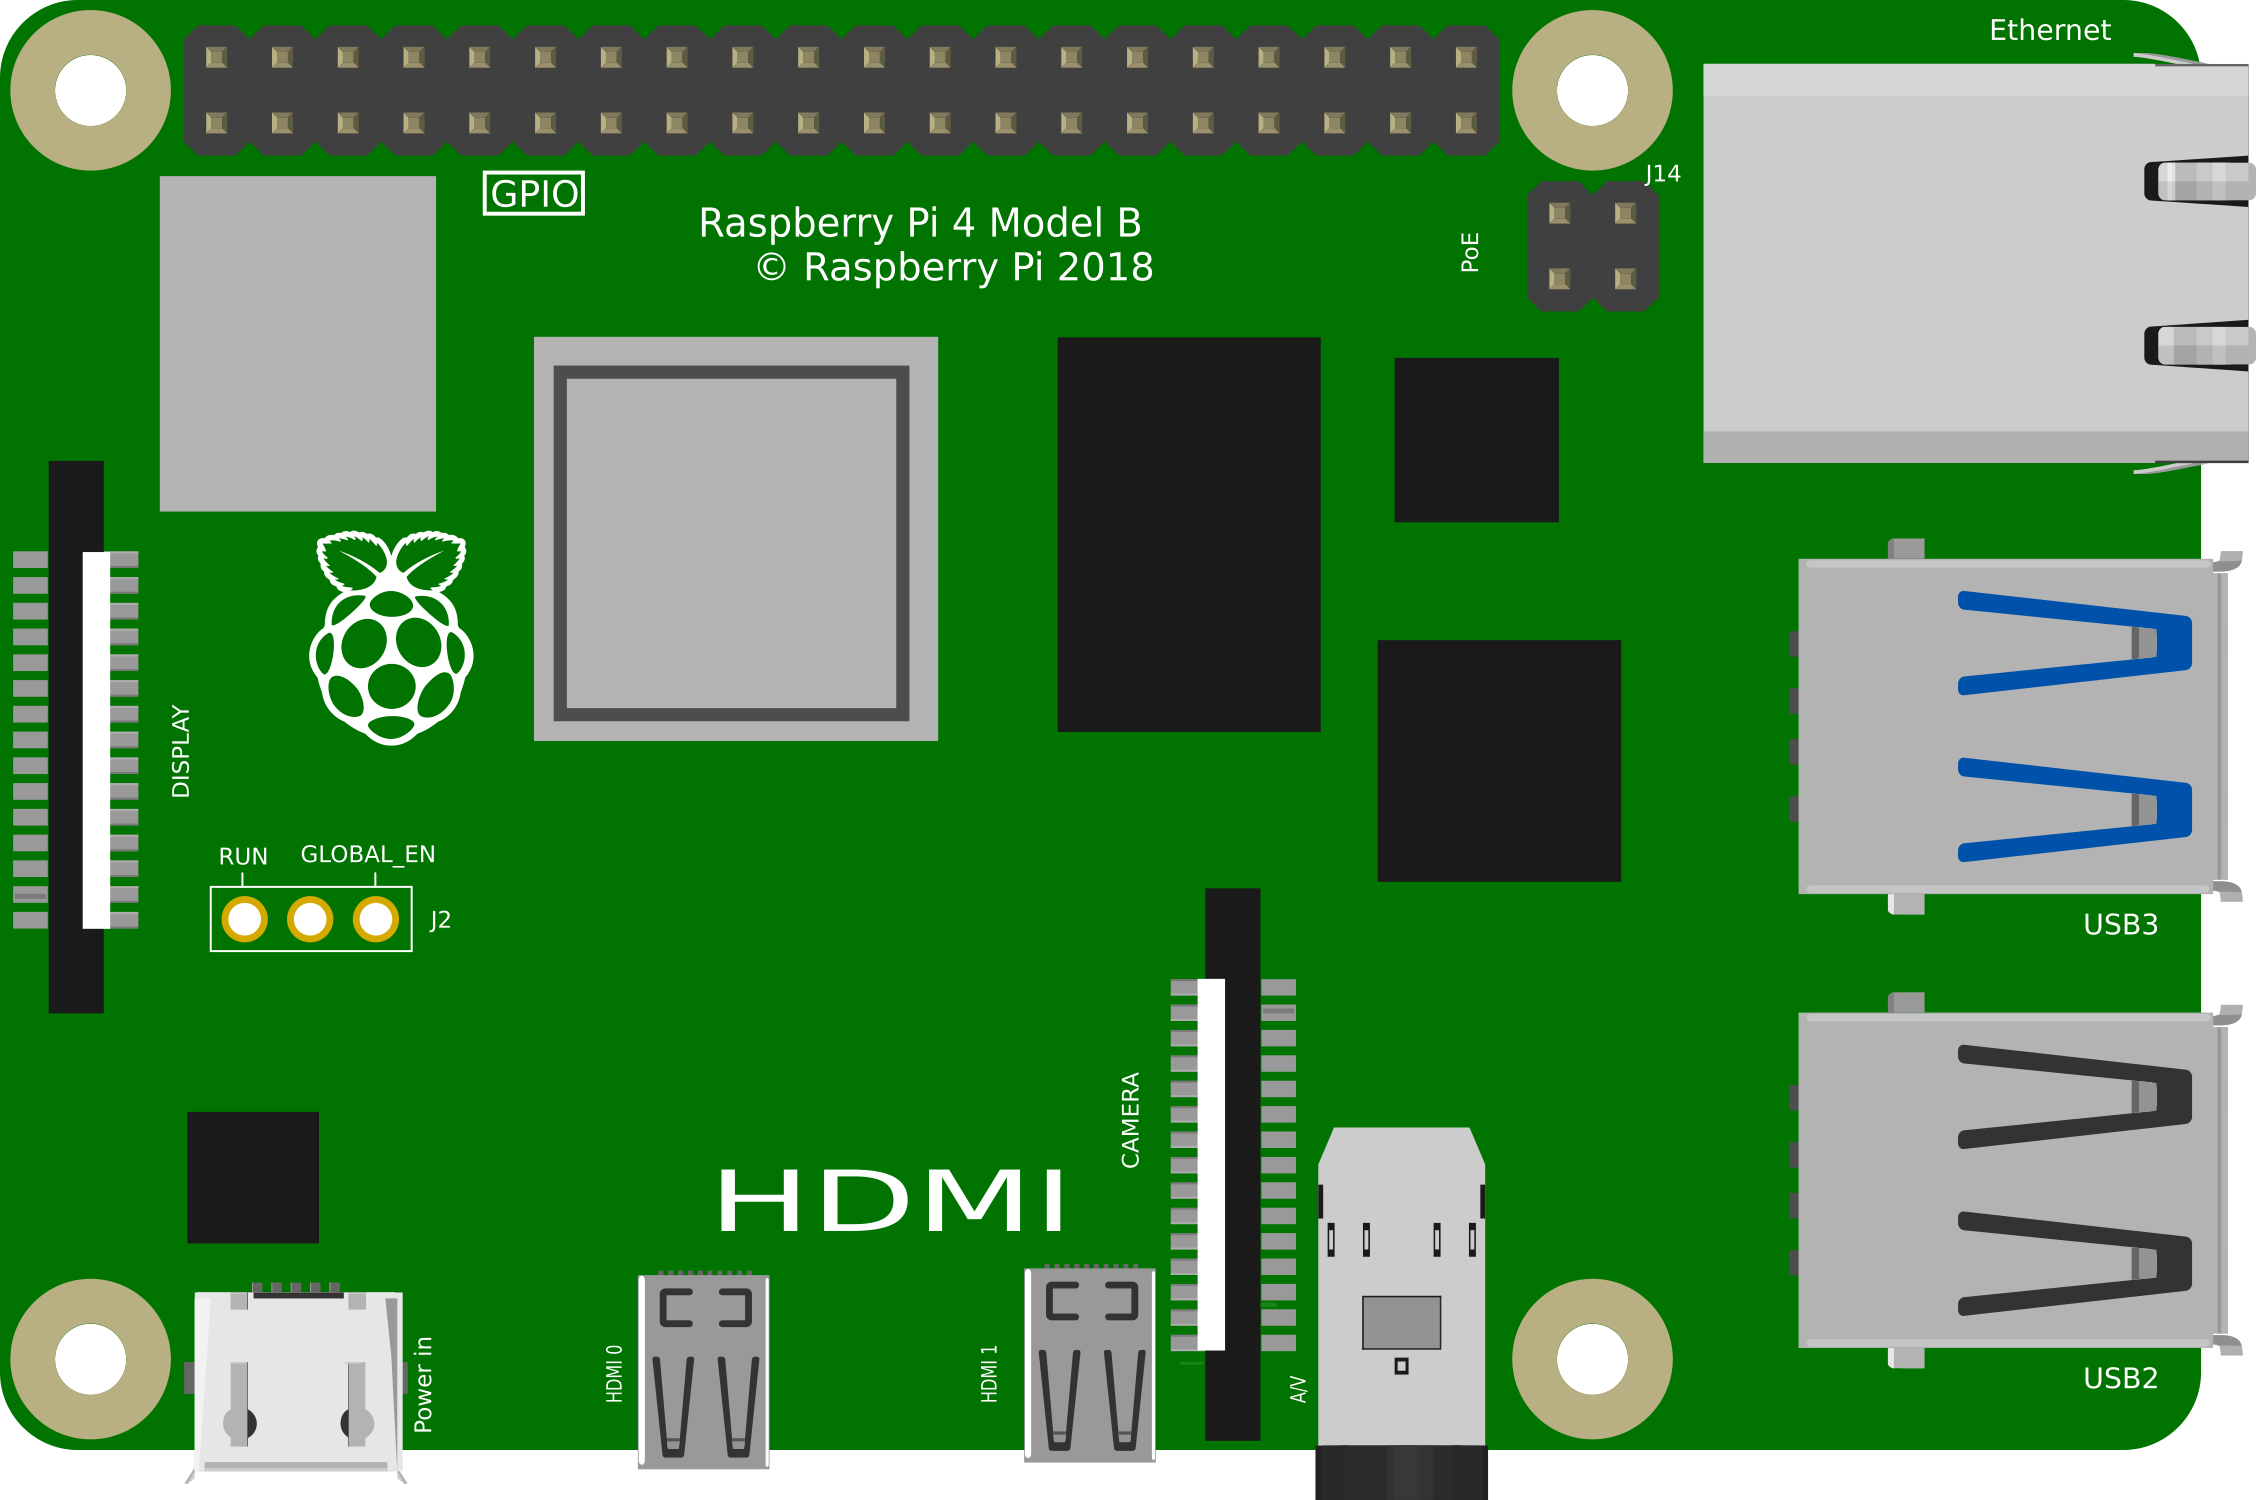
The Raspberry Pi 4B is a compact, affordable single-board computer designed for a wide range of applications. It features a powerful quad-core processor, up to 8GB of RAM, multiple USB ports, dual micro-HDMI outputs, and built-in Wi-Fi and Bluetooth connectivity. Its versatility makes it ideal for projects such as home automation, media centers, IoT devices, robotics, and educational purposes.

Common applications include:

  • DIY home automation systems
  • Media streaming and gaming platforms
  • IoT and sensor-based projects
  • Robotics and AI development
  • Educational tools for programming and electronics

Explore Projects Built with Raspberry Pi 4B

Use Cirkit Designer to design, explore, and prototype these projects online. Some projects support real-time simulation. Click "Open Project" to start designing instantly!
Raspberry Pi 4B-Controlled Relay System with Environmental Sensing and Power Monitoring
Image of smart_power_meter: A project utilizing Raspberry Pi 4B in a practical application
This circuit is designed to interface a Raspberry Pi 4B with various sensors and output devices. It includes a 4-channel relay for controlling external loads, an ADS1115 for analog-to-digital conversion of signals from a current sensor and a ZMPT101B voltage sensor, a DHT11 for temperature and humidity readings, and a 0.96" OLED display for data output. The Raspberry Pi 4B serves as the central controller, managing data acquisition from the sensors, processing the information, and driving the relay and display based on the sensor inputs and programmed logic.
Cirkit Designer LogoOpen Project in Cirkit Designer
Raspberry Pi 4B-Based Smart Surveillance System with GPS and Ultrasonic Sensing
Image of VisionTool: A project utilizing Raspberry Pi 4B in a practical application
This circuit features a Raspberry Pi 4B as the central processing unit, interfacing with an Arducam camera module, an HC-SR04 ultrasonic sensor, a GPS NEO 6M module, and a speaker. The Raspberry Pi manages image capture, distance measurement, GPS data reception, and audio output. Power is supplied to the components from a 2000mAh battery, and the Raspberry Pi facilitates communication and control over the I2C, GPIO, and serial interfaces.
Cirkit Designer LogoOpen Project in Cirkit Designer
Raspberry Pi 4B-based Payment Kiosk with Coin and Bill Acceptors
Image of Scheme thesis: A project utilizing Raspberry Pi 4B in a practical application
This circuit features a Raspberry Pi 4B as the central controller, interfaced with a variety of peripherals for a payment and display system. It includes a bill acceptor and multi coin acceptor for monetary input, a thermal printer for receipts, and a touch display for user interaction. The circuit also incorporates a 12V to 5V step-down converter to power the 5V components and a membrane matrix keypad for additional input options.
Cirkit Designer LogoOpen Project in Cirkit Designer
Raspberry Pi 4B Controlled RFID and Keypad Security System with I2C LCD Feedback and Motorized Lock Mechanism
Image of CVM: A project utilizing Raspberry Pi 4B in a practical application
This circuit features a Raspberry Pi 4B as the central controller, interfaced with an I2C LCD screen for display, an RFID-RC522 module for RFID reading, a 4x4 membrane matrix keypad for user input, and an L298N motor driver to control a DC motor. The Raspberry Pi manages data communication with the LCD via I2C, reads RFID tags, processes keypad inputs, and controls the motor's operation. Power is supplied to the motor driver and the Raspberry Pi through a 9V battery and regulated 5V connections.
Cirkit Designer LogoOpen Project in Cirkit Designer

Explore Projects Built with Raspberry Pi 4B

Use Cirkit Designer to design, explore, and prototype these projects online. Some projects support real-time simulation. Click "Open Project" to start designing instantly!
Image of smart_power_meter: A project utilizing Raspberry Pi 4B in a practical application
Raspberry Pi 4B-Controlled Relay System with Environmental Sensing and Power Monitoring
This circuit is designed to interface a Raspberry Pi 4B with various sensors and output devices. It includes a 4-channel relay for controlling external loads, an ADS1115 for analog-to-digital conversion of signals from a current sensor and a ZMPT101B voltage sensor, a DHT11 for temperature and humidity readings, and a 0.96" OLED display for data output. The Raspberry Pi 4B serves as the central controller, managing data acquisition from the sensors, processing the information, and driving the relay and display based on the sensor inputs and programmed logic.
Cirkit Designer LogoOpen Project in Cirkit Designer
Image of VisionTool: A project utilizing Raspberry Pi 4B in a practical application
Raspberry Pi 4B-Based Smart Surveillance System with GPS and Ultrasonic Sensing
This circuit features a Raspberry Pi 4B as the central processing unit, interfacing with an Arducam camera module, an HC-SR04 ultrasonic sensor, a GPS NEO 6M module, and a speaker. The Raspberry Pi manages image capture, distance measurement, GPS data reception, and audio output. Power is supplied to the components from a 2000mAh battery, and the Raspberry Pi facilitates communication and control over the I2C, GPIO, and serial interfaces.
Cirkit Designer LogoOpen Project in Cirkit Designer
Image of Scheme thesis: A project utilizing Raspberry Pi 4B in a practical application
Raspberry Pi 4B-based Payment Kiosk with Coin and Bill Acceptors
This circuit features a Raspberry Pi 4B as the central controller, interfaced with a variety of peripherals for a payment and display system. It includes a bill acceptor and multi coin acceptor for monetary input, a thermal printer for receipts, and a touch display for user interaction. The circuit also incorporates a 12V to 5V step-down converter to power the 5V components and a membrane matrix keypad for additional input options.
Cirkit Designer LogoOpen Project in Cirkit Designer
Image of CVM: A project utilizing Raspberry Pi 4B in a practical application
Raspberry Pi 4B Controlled RFID and Keypad Security System with I2C LCD Feedback and Motorized Lock Mechanism
This circuit features a Raspberry Pi 4B as the central controller, interfaced with an I2C LCD screen for display, an RFID-RC522 module for RFID reading, a 4x4 membrane matrix keypad for user input, and an L298N motor driver to control a DC motor. The Raspberry Pi manages data communication with the LCD via I2C, reads RFID tags, processes keypad inputs, and controls the motor's operation. Power is supplied to the motor driver and the Raspberry Pi through a 9V battery and regulated 5V connections.
Cirkit Designer LogoOpen Project in Cirkit Designer

Technical Specifications

The Raspberry Pi 4B offers impressive hardware capabilities for its size and price. Below are the key technical details:

General Specifications

Feature Specification
Processor Broadcom BCM2711, Quad-core Cortex-A72 (ARM v8) 64-bit SoC @ 1.5GHz
RAM Options 2GB, 4GB, or 8GB LPDDR4-3200 SDRAM
GPU VideoCore VI, supporting OpenGL ES 3.0
Storage MicroSD card slot for OS and data storage
Connectivity 2.4GHz and 5.0GHz IEEE 802.11b/g/n/ac Wi-Fi, Bluetooth 5.0, BLE
Ethernet Gigabit Ethernet
USB Ports 2 × USB 3.0, 2 × USB 2.0
Video Output 2 × micro-HDMI ports (up to 4Kp60 supported)
Audio Output 3.5mm stereo audio and composite video jack, HDMI audio
GPIO 40-pin GPIO header, backward-compatible with previous Raspberry Pi models
Power Supply 5V/3A via USB-C connector
Dimensions 85.6mm × 56.5mm × 17mm

GPIO Pin Configuration

The Raspberry Pi 4B features a 40-pin GPIO header for interfacing with external components. Below is a summary of the pin configuration:

Pin Number Pin Name Functionality
1 3.3V Power Power supply (3.3V)
2 5V Power Power supply (5V)
3 GPIO2 (SDA1) I2C Data
4 5V Power Power supply (5V)
5 GPIO3 (SCL1) I2C Clock
6 Ground Ground
7 GPIO4 General-purpose I/O
8 GPIO14 (TXD0) UART Transmit
9 Ground Ground
10 GPIO15 (RXD0) UART Receive
... ... ... (Refer to official GPIO pinout for full details)

Usage Instructions

Setting Up the Raspberry Pi 4B

  1. Prepare the MicroSD Card:
    • Download the Raspberry Pi OS from the official website.
    • Use a tool like Raspberry Pi Imager or Balena Etcher to flash the OS onto the microSD card.
  2. Connect Peripherals:
    • Insert the microSD card into the slot on the Raspberry Pi.
    • Connect a monitor via one of the micro-HDMI ports.
    • Attach a keyboard and mouse to the USB ports.
  3. Power Up:
    • Connect a 5V/3A USB-C power supply to the Raspberry Pi.
    • The device will boot into the Raspberry Pi OS setup screen.
  4. Configure the System:
    • Follow the on-screen instructions to set up Wi-Fi, language, and other preferences.

Using GPIO Pins with an Arduino UNO

The Raspberry Pi 4B can communicate with an Arduino UNO via GPIO pins. Below is an example of how to send data from the Raspberry Pi to the Arduino using UART:

Raspberry Pi Python Code


Import the necessary libraries

import serial # For serial communication import time # For adding delays

Configure the serial port (adjust the port name as needed)

ser = serial.Serial('/dev/ttyS0', 9600, timeout=1)

Wait for the serial connection to initialize

time.sleep(2)

Send data to the Arduino

while True: ser.write(b'Hello Arduino!\n') # Send a message print("Message sent to Arduino") time.sleep(1) # Wait for 1 second


Arduino Code

void setup() {
  Serial.begin(9600);  // Initialize serial communication at 9600 baud
}

void loop() {
  if (Serial.available() > 0) {  // Check if data is available
    String message = Serial.readString();  // Read the incoming message
    Serial.println("Received: " + message);  // Print the message to the serial monitor
  }
}

Best Practices

  • Use a high-quality microSD card (Class 10 or UHS-1) for better performance.
  • Ensure proper cooling (e.g., heatsinks or a fan) to prevent overheating during intensive tasks.
  • Use a reliable 5V/3A power supply to avoid power-related issues.
  • Always shut down the Raspberry Pi properly to prevent data corruption.

Troubleshooting and FAQs

Common Issues

  1. No Display on Monitor:

    • Ensure the micro-HDMI cable is securely connected to the correct port.
    • Verify that the monitor is set to the correct input source.
    • Check if the Raspberry Pi OS is properly installed on the microSD card.
  2. Wi-Fi Not Connecting:

    • Double-check the Wi-Fi credentials entered during setup.
    • Ensure the Raspberry Pi is within range of the Wi-Fi router.
    • Update the Raspberry Pi OS to the latest version.
  3. Overheating:

    • Use a heatsink or fan to improve cooling.
    • Avoid running resource-intensive tasks for extended periods without proper ventilation.
  4. GPIO Pins Not Working:

    • Verify the pin configuration and connections.
    • Ensure the GPIO pins are not damaged or shorted.
    • Use a multimeter to check for continuity.

FAQs

Q: Can I power the Raspberry Pi 4B via GPIO pins?
A: Yes, you can power the Raspberry Pi through the 5V and GND GPIO pins, but this bypasses the onboard power management and is not recommended for beginners.

Q: What operating systems are compatible with the Raspberry Pi 4B?
A: The Raspberry Pi 4B supports Raspberry Pi OS, Ubuntu, and other Linux-based distributions. It can also run lightweight versions of Windows 10 IoT Core.

Q: Can I connect multiple monitors to the Raspberry Pi 4B?
A: Yes, the Raspberry Pi 4B supports dual monitors via its two micro-HDMI ports, with resolutions up to 4K.

Q: How do I update the Raspberry Pi OS?
A: Run the following commands in the terminal:

sudo apt update
sudo apt full-upgrade

By following this documentation, users can effectively set up and utilize the Raspberry Pi 4B for a variety of projects.