
How to Use PIXY Camera: Examples, Pinouts, and Specs
 Design with PIXY Camera in Cirkit Designer
Introduction
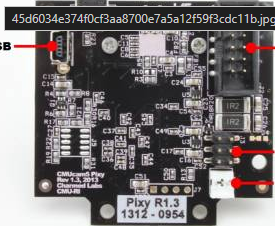
The PIXY Camera is a smart vision sensor designed for detecting and tracking objects in real-time. It combines a powerful image sensor with an onboard processor to handle image processing tasks, allowing it to output object data directly to a microcontroller or computer. This makes it an ideal choice for robotics, automation, and other applications requiring object recognition and tracking.
Explore Projects Built with PIXY Camera
 Open Project in Cirkit Designer
 Open Project in Cirkit Designer
 Open Project in Cirkit Designer
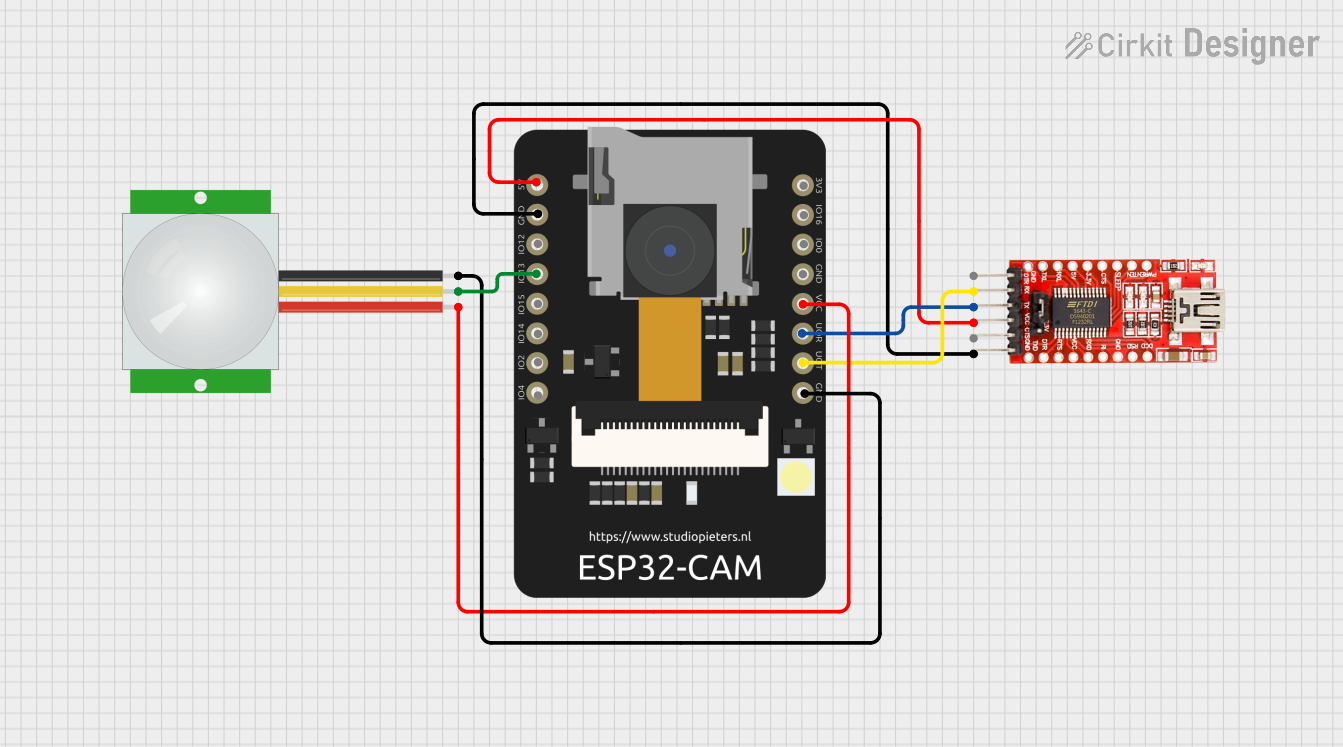
 Open Project in Cirkit Designer
Explore Projects Built with PIXY Camera

 Open Project in Cirkit Designer
 Open Project in Cirkit Designer
 Open Project in Cirkit Designer
 Open Project in Cirkit Designer
Common Applications and Use Cases
- Object tracking for robotics and drones
- Line-following robots
- Color-based object detection
- Industrial automation and sorting systems
- Educational projects involving computer vision
Technical Specifications
The PIXY Camera is equipped with advanced hardware and software features to simplify vision-based tasks. Below are its key technical specifications:
General Specifications
| Parameter | Value |
|---|---|
| Image Sensor | 1296 x 976 resolution (CMOS) |
| Processor | NXP LPC4330, 204 MHz dual-core |
| Lens | Standard M12 lens (wide-angle) |
| Frame Rate | 50 frames per second (max) |
| Communication Interfaces | UART, SPI, I2C, USB, Analog, PWM |
| Input Voltage | 6V to 10V |
| Power Consumption | 140 mA @ 7.5V |
| Dimensions | 2.0" x 1.4" x 1.4" (50 x 35 x 35 mm) |
| Weight | 27 grams |
Pin Configuration and Descriptions
The PIXY Camera features a 10-pin connector for interfacing with external devices. Below is the pinout:
| Pin Number | Name | Description |
|---|---|---|
| 1 | VCC | Power input (6V to 10V) |
| 2 | GND | Ground |
| 3 | SDA | I2C data line |
| 4 | SCL | I2C clock line |
| 5 | TX | UART transmit |
| 6 | RX | UART receive |
| 7 | SPI_SS | SPI slave select |
| 8 | SPI_MOSI | SPI master out, slave in |
| 9 | SPI_MISO | SPI master in, slave out |
| 10 | SPI_SCK | SPI clock |
Usage Instructions
The PIXY Camera is designed to be user-friendly and can be integrated into a variety of projects. Below are the steps to use it effectively:
Connecting the PIXY Camera to an Arduino UNO
Wiring: Connect the PIXY Camera to the Arduino UNO using the following connections:
- VCC (PIXY) to 5V (Arduino)
- GND (PIXY) to GND (Arduino)
- SDA (PIXY) to A4 (Arduino)
- SCL (PIXY) to A5 (Arduino)
Install the PIXY Arduino Library:
- Download the PIXY library from the official website or GitHub.
- Open the Arduino IDE, go to
Sketch > Include Library > Add .ZIP Library, and select the downloaded library.
Upload Example Code: Use the following example code to detect and print object data from the PIXY Camera:
#include <Pixy2.h> // Include the PIXY library

Pixy2 pixy; // Create a PIXY object

void setup() {
  Serial.begin(9600); // Initialize serial communication
  pixy.init(); // Initialize the PIXY Camera
  Serial.println("PIXY Camera Initialized");
}

void loop() {
  pixy.ccc.getBlocks(); // Get detected objects (blocks)

  // Check if any objects are detected
  if (pixy.ccc.numBlocks) {
    Serial.print("Detected ");
    Serial.print(pixy.ccc.numBlocks);
    Serial.println(" object(s):");

    // Loop through all detected objects
    for (int i = 0; i < pixy.ccc.numBlocks; i++) {
      Serial.print("Object ");
      Serial.print(i + 1);
      Serial.print(": X=");
      Serial.print(pixy.ccc.blocks[i].m_x); // X-coordinate
      Serial.print(", Y=");
      Serial.print(pixy.ccc.blocks[i].m_y); // Y-coordinate
      Serial.print(", Width=");
      Serial.print(pixy.ccc.blocks[i].m_width); // Width
      Serial.print(", Height=");
      Serial.println(pixy.ccc.blocks[i].m_height); // Height
    }
  }
  delay(100); // Add a short delay
}
Important Considerations and Best Practices
- Lighting Conditions: Ensure adequate and consistent lighting for accurate object detection.
- Object Colors: The PIXY Camera is optimized for color-based object detection. Use distinct, high-contrast colors for best results.
- Lens Adjustment: Adjust the lens focus for sharp images if necessary.
- Firmware Updates: Keep the PIXY Camera firmware updated to access the latest features and improvements.
Troubleshooting and FAQs
Common Issues and Solutions
No Objects Detected:
- Ensure the object is within the camera's field of view.
- Check that the object has a distinct color and is well-lit.
- Verify that the PIXY Camera is properly connected and powered.
Incorrect Object Data:
- Recalibrate the camera using the PIXYMon software.
- Adjust the lens focus for better image clarity.
Communication Errors:
- Double-check the wiring between the PIXY Camera and the microcontroller.
- Ensure the correct communication protocol (I2C, UART, SPI) is selected in the code.
FAQs
Q: Can the PIXY Camera detect multiple objects simultaneously?
A: Yes, the PIXY Camera can detect and track multiple objects at once, up to a maximum of seven distinct objects.
Q: What is the maximum detection range of the PIXY Camera?
A: The detection range depends on the size of the object and lighting conditions. Typically, it can detect objects up to several meters away.
Q: Can the PIXY Camera be used with Raspberry Pi?
A: Yes, the PIXY Camera supports multiple communication interfaces, making it compatible with Raspberry Pi and other platforms.
Q: How do I reset the PIXY Camera to factory settings?
A: Use the PIXYMon software to reset the camera to its default settings.
By following this documentation, you can effectively integrate the PIXY Camera into your projects and troubleshoot common issues.