Cirkit Designer LogoCirkit DesignerYour all-in-one circuit design IDE Launch Cirkit Designer App

How to Use Adafruit PyPortal Pynt: Examples, Pinouts, and Specs

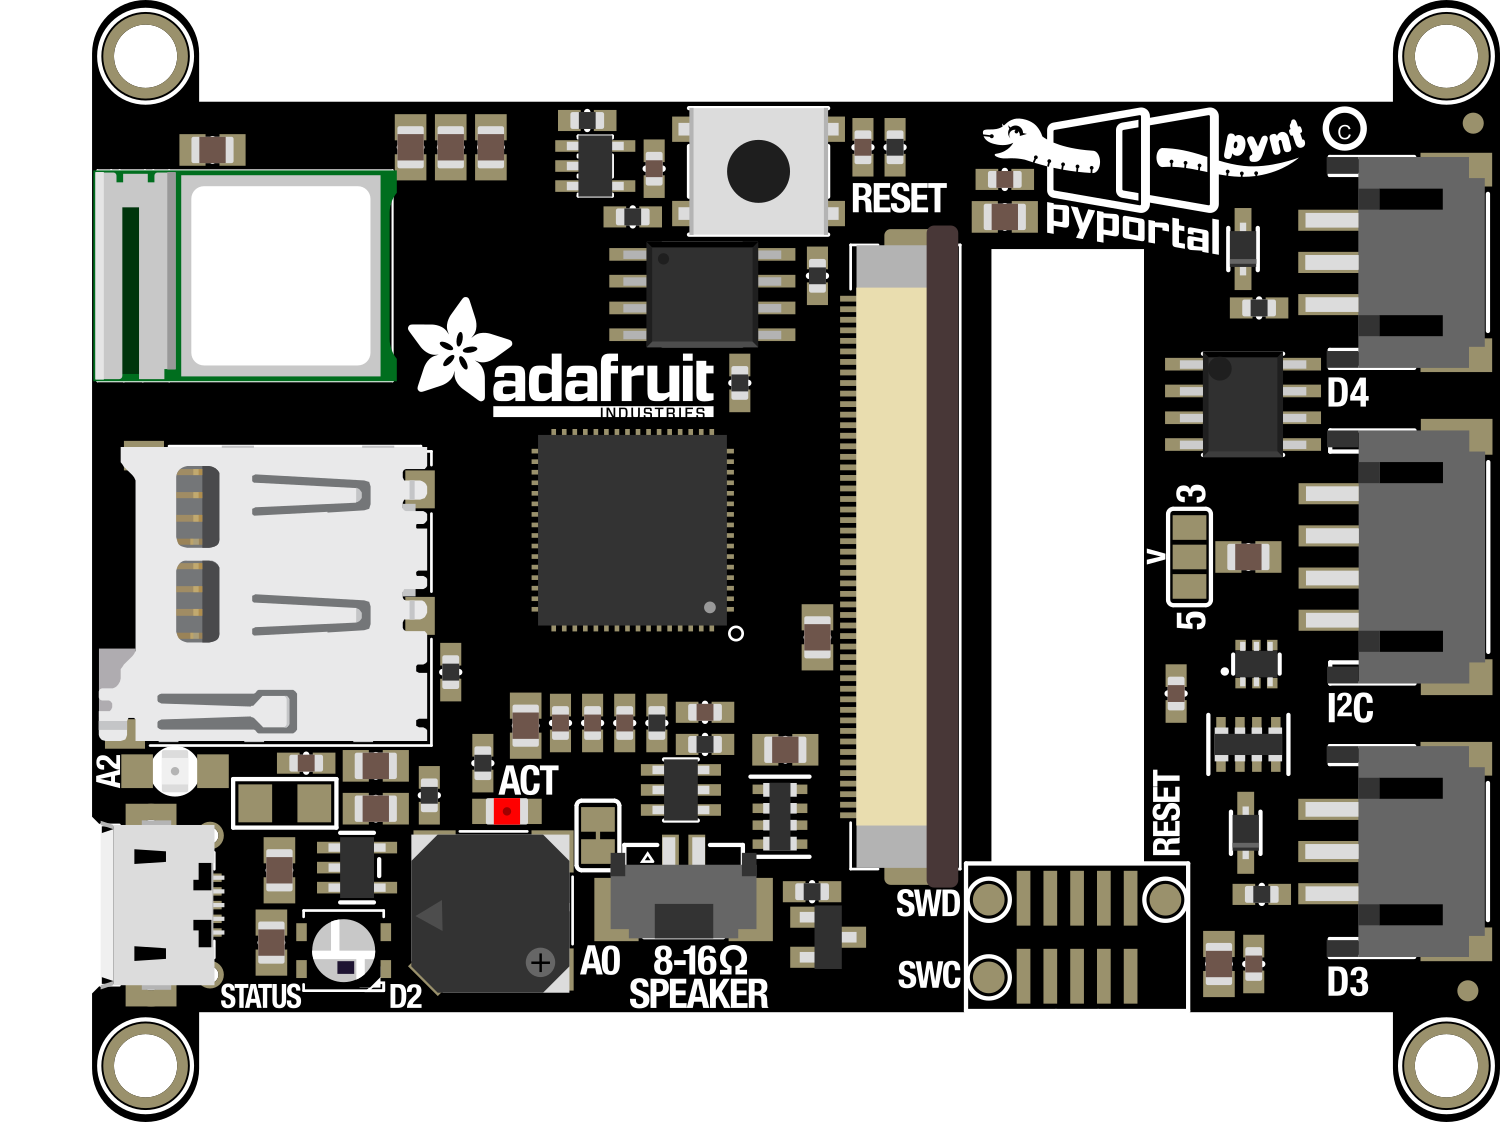
Image of Adafruit PyPortal PyntDesign with Adafruit PyPortal Pynt in Cirkit Designer

Introduction

The Adafruit PyPortal Pynt is an Internet of Things (IoT) development board designed for creating connected projects with ease. It features a 2.4" color TFT display for user interface, an ATSAMD51J20 microcontroller for processing, and an ESP32 WiFi module for wireless connectivity. This board is ideal for building interactive IoT applications such as smart home devices, educational tools, and custom controllers.

Explore Projects Built with Adafruit PyPortal Pynt

Use Cirkit Designer to design, explore, and prototype these projects online. Some projects support real-time simulation. Click "Open Project" to start designing instantly!
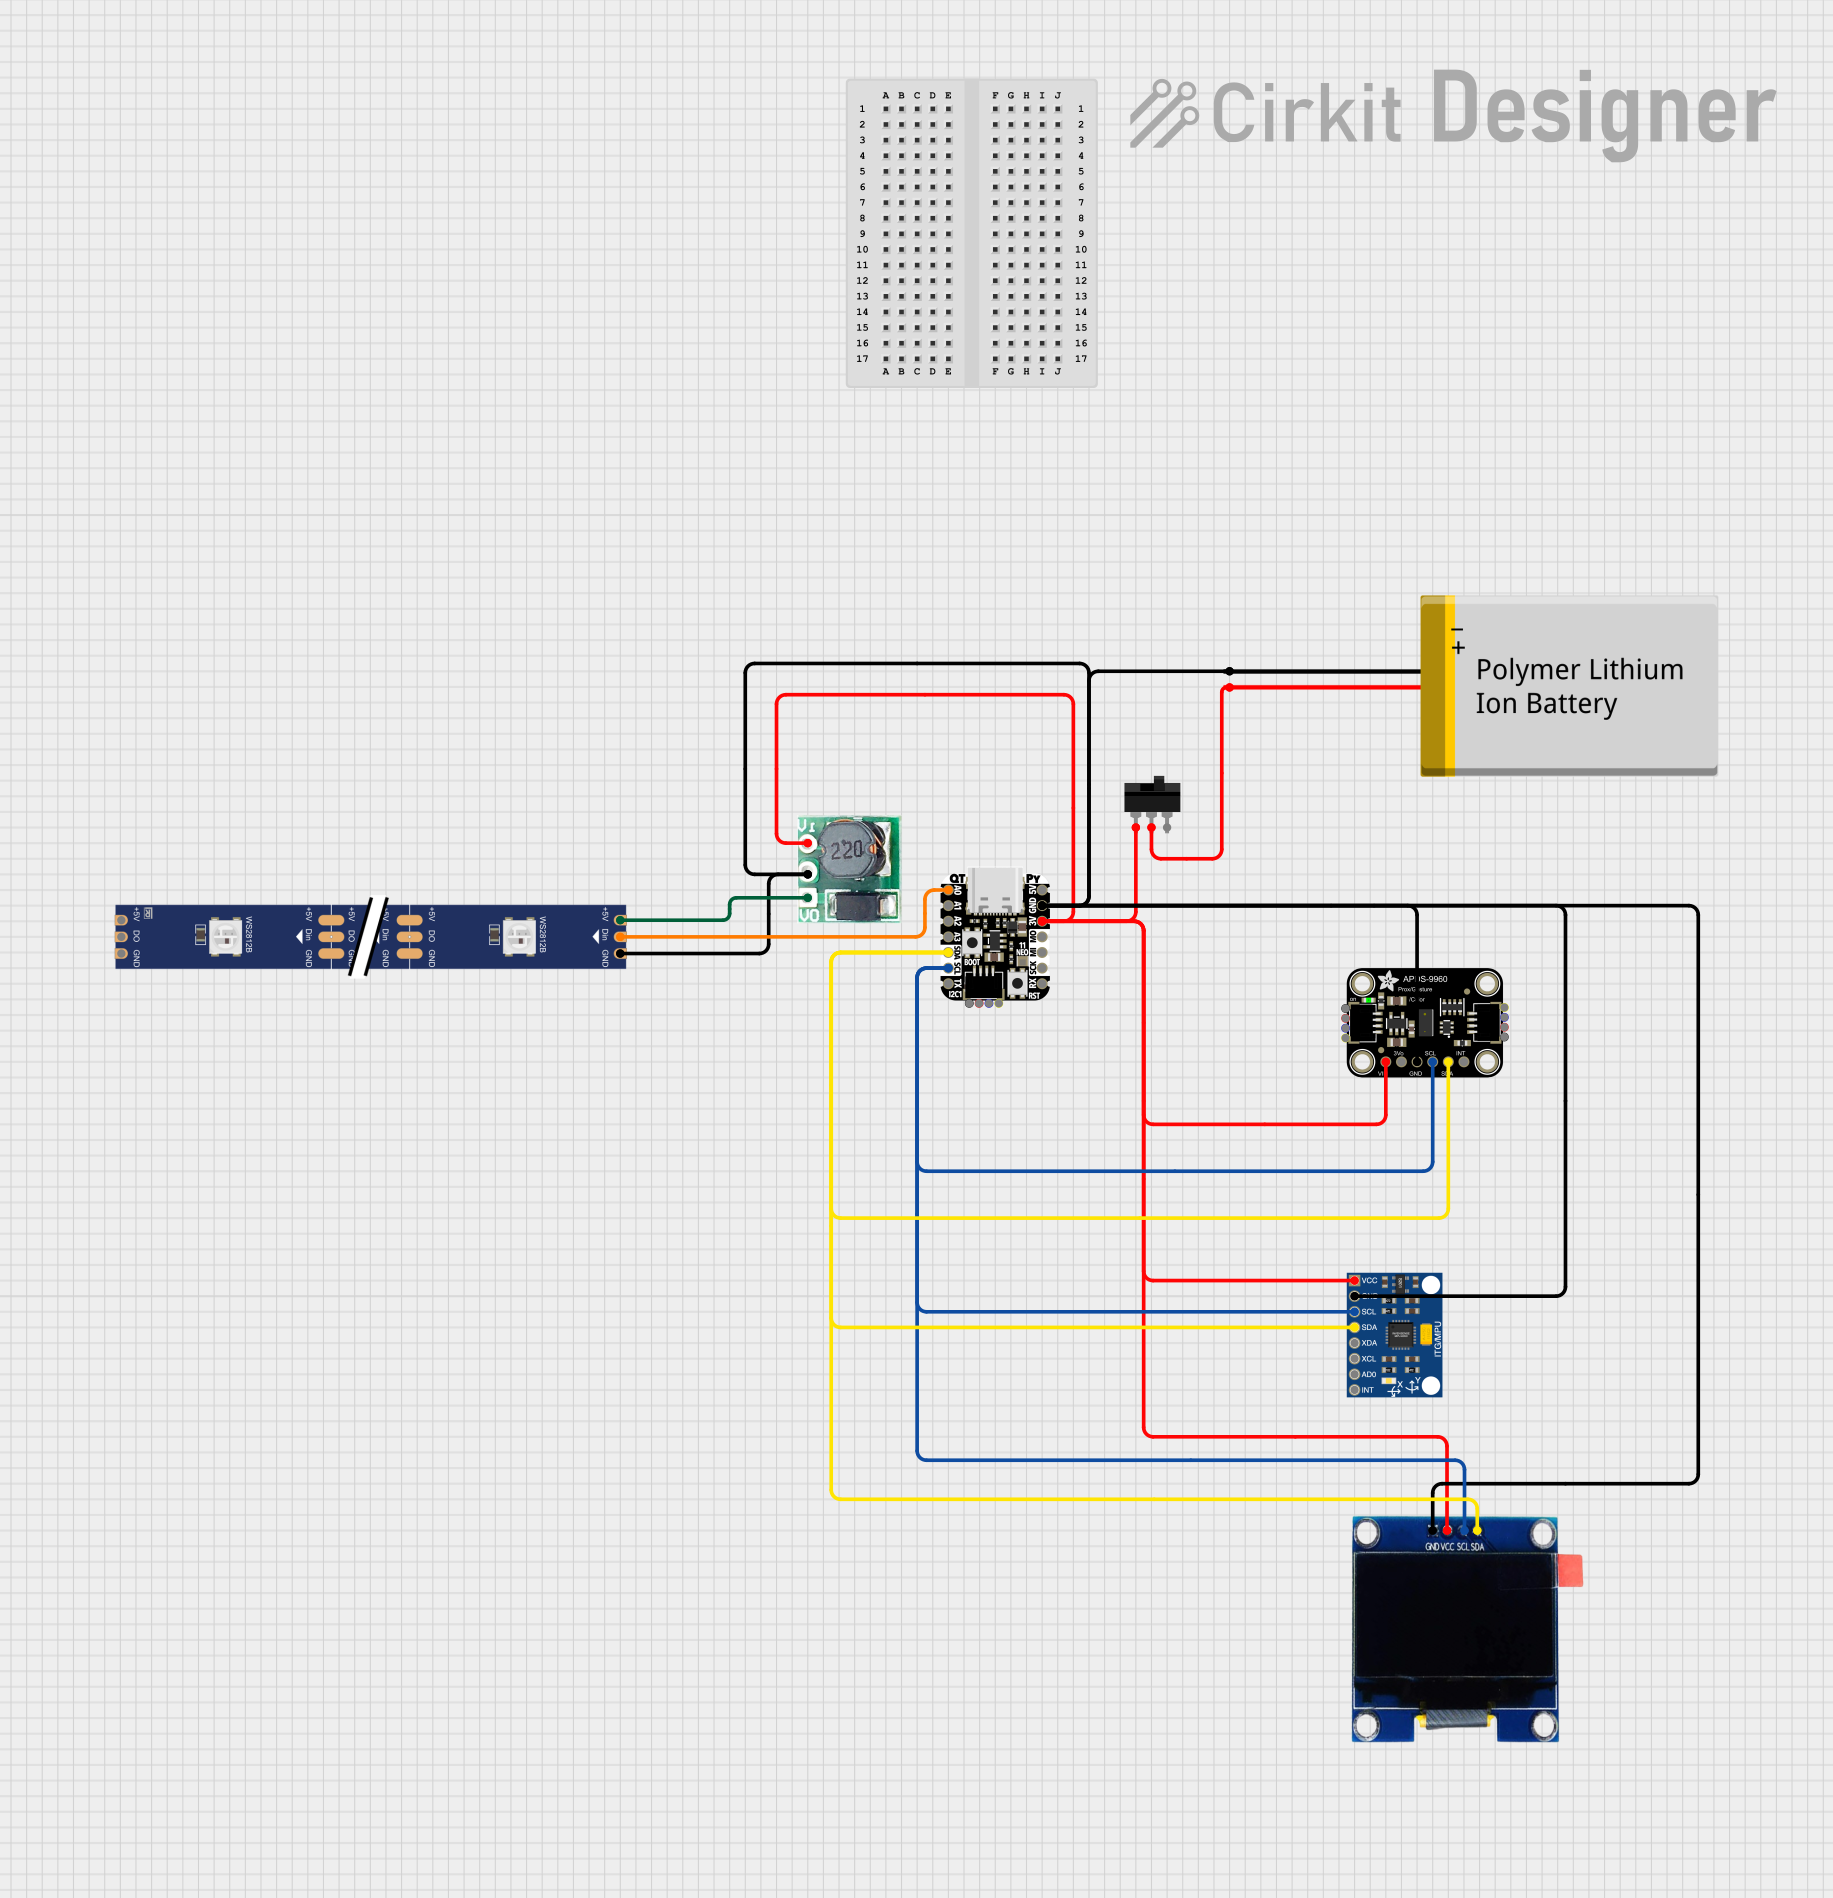
Image of Battery-Powered Smart Light with Proximity Sensor and OLED Display using Adafruit QT Py RP2040: A project utilizing Adafruit PyPortal Pynt in a practical application

Battery-Powered Smart Light with Proximity Sensor and OLED Display using Adafruit QT Py RP2040

This circuit is a portable, battery-powered system featuring an Adafruit QT Py RP2040 microcontroller that interfaces with an OLED display, a proximity sensor, an accelerometer, and an RGB LED strip. The system is powered by a lithium-ion battery with a step-up boost converter to provide 5V for the LED strip, and it includes a toggle switch for power control. The microcontroller communicates with the sensors and display via I2C.

Open Project in Cirkit Designer
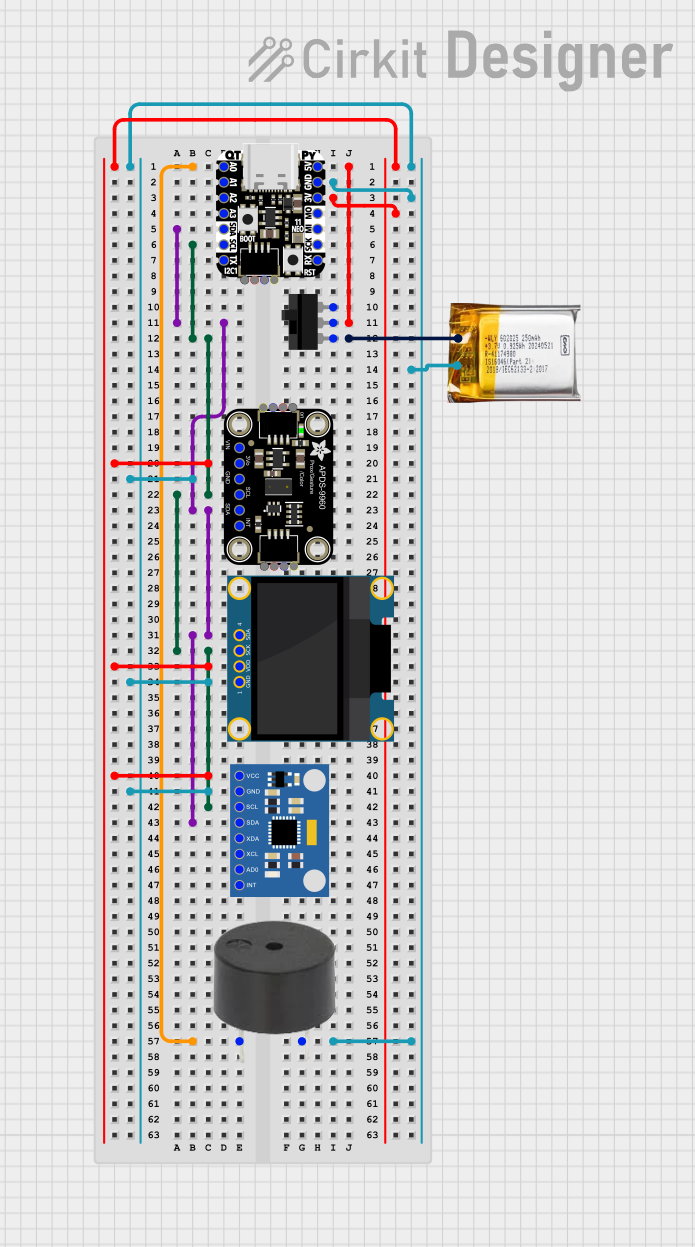
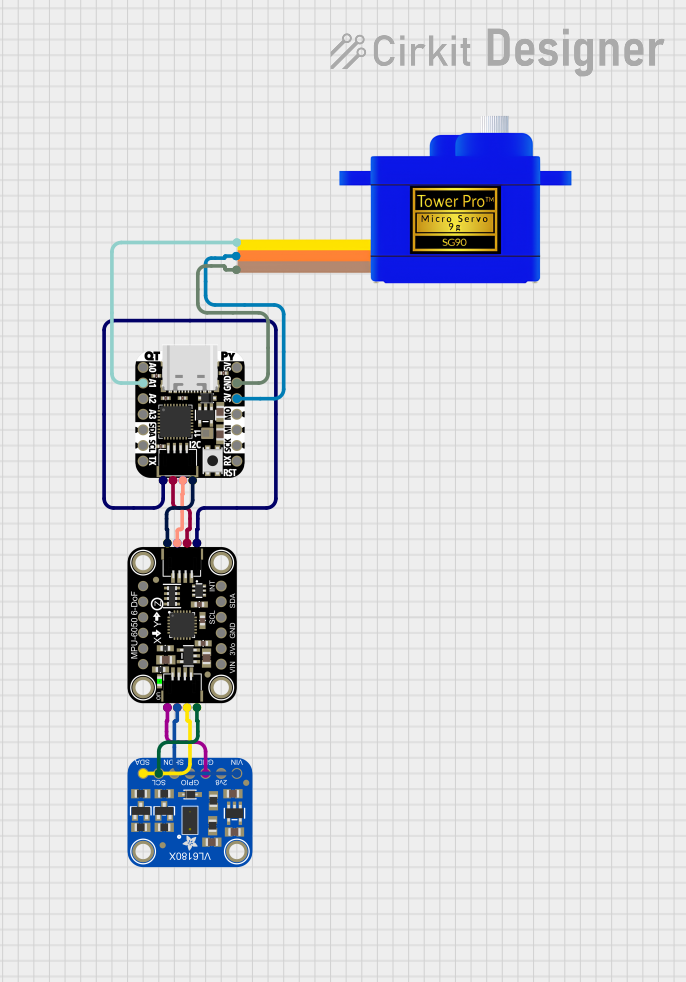
Image of Adafruit MPU6050 and VL6180X Sensor Interface with Servo Control: A project utilizing Adafruit PyPortal Pynt in a practical application
Adafruit MPU6050 and VL6180X Sensor Interface with Servo Control

This circuit features an Adafruit QT Py microcontroller interfaced with an Adafruit MPU6050 6-axis accelerometer/gyroscope and an Adafruit VL6180X Time of Flight (ToF) distance sensor, both connected via I2C communication. The QT Py also controls a Servomotor SG90, likely for physical actuation based on sensor inputs. The embedded code initializes the sensors, reads their data, and outputs the readings to a serial monitor, with the potential for motion control based on the sensor feedback.

Open Project in Cirkit Designer

Common Applications and Use Cases

Technical Specifications

Key Technical Details

Pin Configuration and Descriptions

Pin Number Name Description
1 GND Ground
2 3V3 3.3V power
3 RST Reset
4 A0 Analog pin
5 D3 Digital pin
6 D4 Digital pin
7 D5 Digital pin
8 TX UART TX
9 RX UART RX
10 SCK SPI Clock
11 MISO SPI MISO
12 MOSI SPI MOSI
13 CS SPI Chip Select

Usage Instructions

How to Use the Component in a Circuit

  1. Powering the PyPortal Pynt: Connect a 3.3V power supply to the 3V3 and GND pins.
  2. Programming: Use a USB cable to connect the PyPortal Pynt to your computer. The board is programmable via the Arduino IDE or CircuitPython.
  3. Display Output: The TFT display is directly connected to the microcontroller and does not require additional wiring.
  4. Touch Input: The capacitive touch pads can be used as input devices and are programmable through your code.
  5. Audio Output: Connect a speaker to the provided speaker output pins for audio feedback in your projects.

Important Considerations and Best Practices

Example Code for Arduino UNO

#include <Adafruit_GFX.h>    // Core graphics library
#include <Adafruit_ST7735.h> // Hardware-specific library for ST7735
#include <SPI.h>

// Pin configuration for the Adafruit PyPortal Pynt
#define TFT_CS        10
#define TFT_RST       9  // Or set to -1 and connect to Arduino RESET pin
#define TFT_DC        8

// Create TFT object
Adafruit_ST7735 tft = Adafruit_ST7735(TFT_CS, TFT_DC, TFT_RST);

void setup() {
  Serial.begin(9600);
  tft.initR(INITR_144GREENTAB); // Initialize display with the correct init table
  tft.fillScreen(ST7735_BLACK);  // Clear the screen to black
}

void loop() {
  // Display a message on the screen
  tft.setCursor(0, 0);           // Set the cursor to top-left corner
  tft.setTextColor(ST7735_WHITE); // Set the text color to white
  tft.setTextSize(1);             // Set the text size to normal
  tft.println("Hello, PyPortal!"); // Print a message to the screen
  delay(1000);                    // Wait for a second
  tft.fillScreen(ST7735_BLACK);   // Clear the screen
  delay(1000);                    // Wait for a second
}

Troubleshooting and FAQs

Common Issues Users Might Face

Solutions and Tips for Troubleshooting

FAQs

For further assistance, visit the Adafruit support forums or the PyPortal Pynt product page for additional resources and community discussions.