
How to Use 4V 1A Starboard LED, Cool White: Examples, Pinouts, and Specs

 Design with 4V 1A Starboard LED, Cool White in Cirkit Designer
Introduction
The 4V 1A Starboard LED, Cool White (Manufacturer Part ID: LST1-01C54-5765-01) by New Energy is a high-performance LED designed specifically for marine navigation lighting. It emits a cool white light, ensuring optimal visibility and safety for starboard (right side) applications on boats and ships. This LED is energy-efficient, durable, and capable of operating in harsh marine environments.
Explore Projects Built with 4V 1A Starboard LED, Cool White
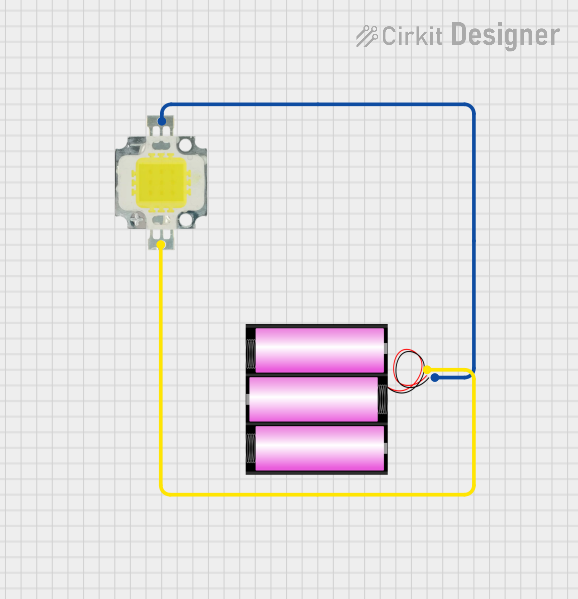 Open Project in Cirkit Designer
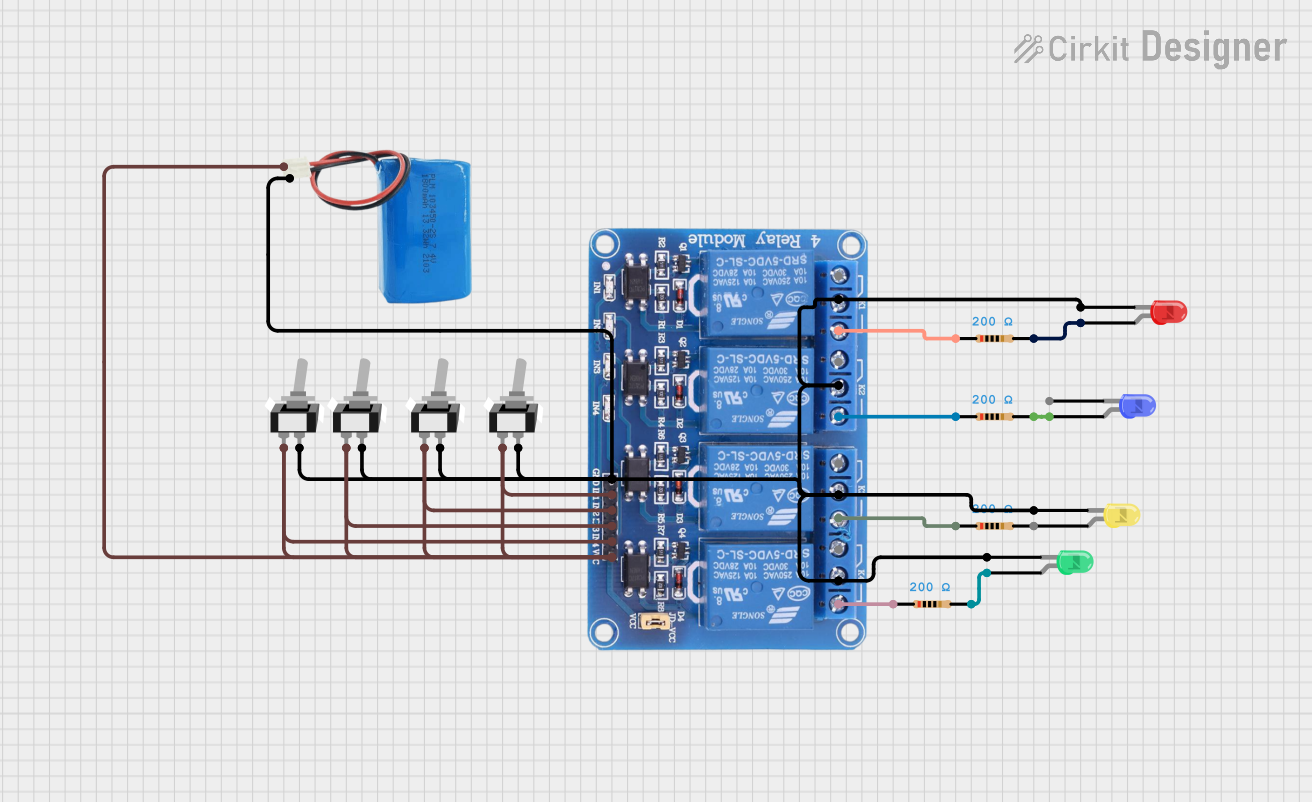 Open Project in Cirkit Designer
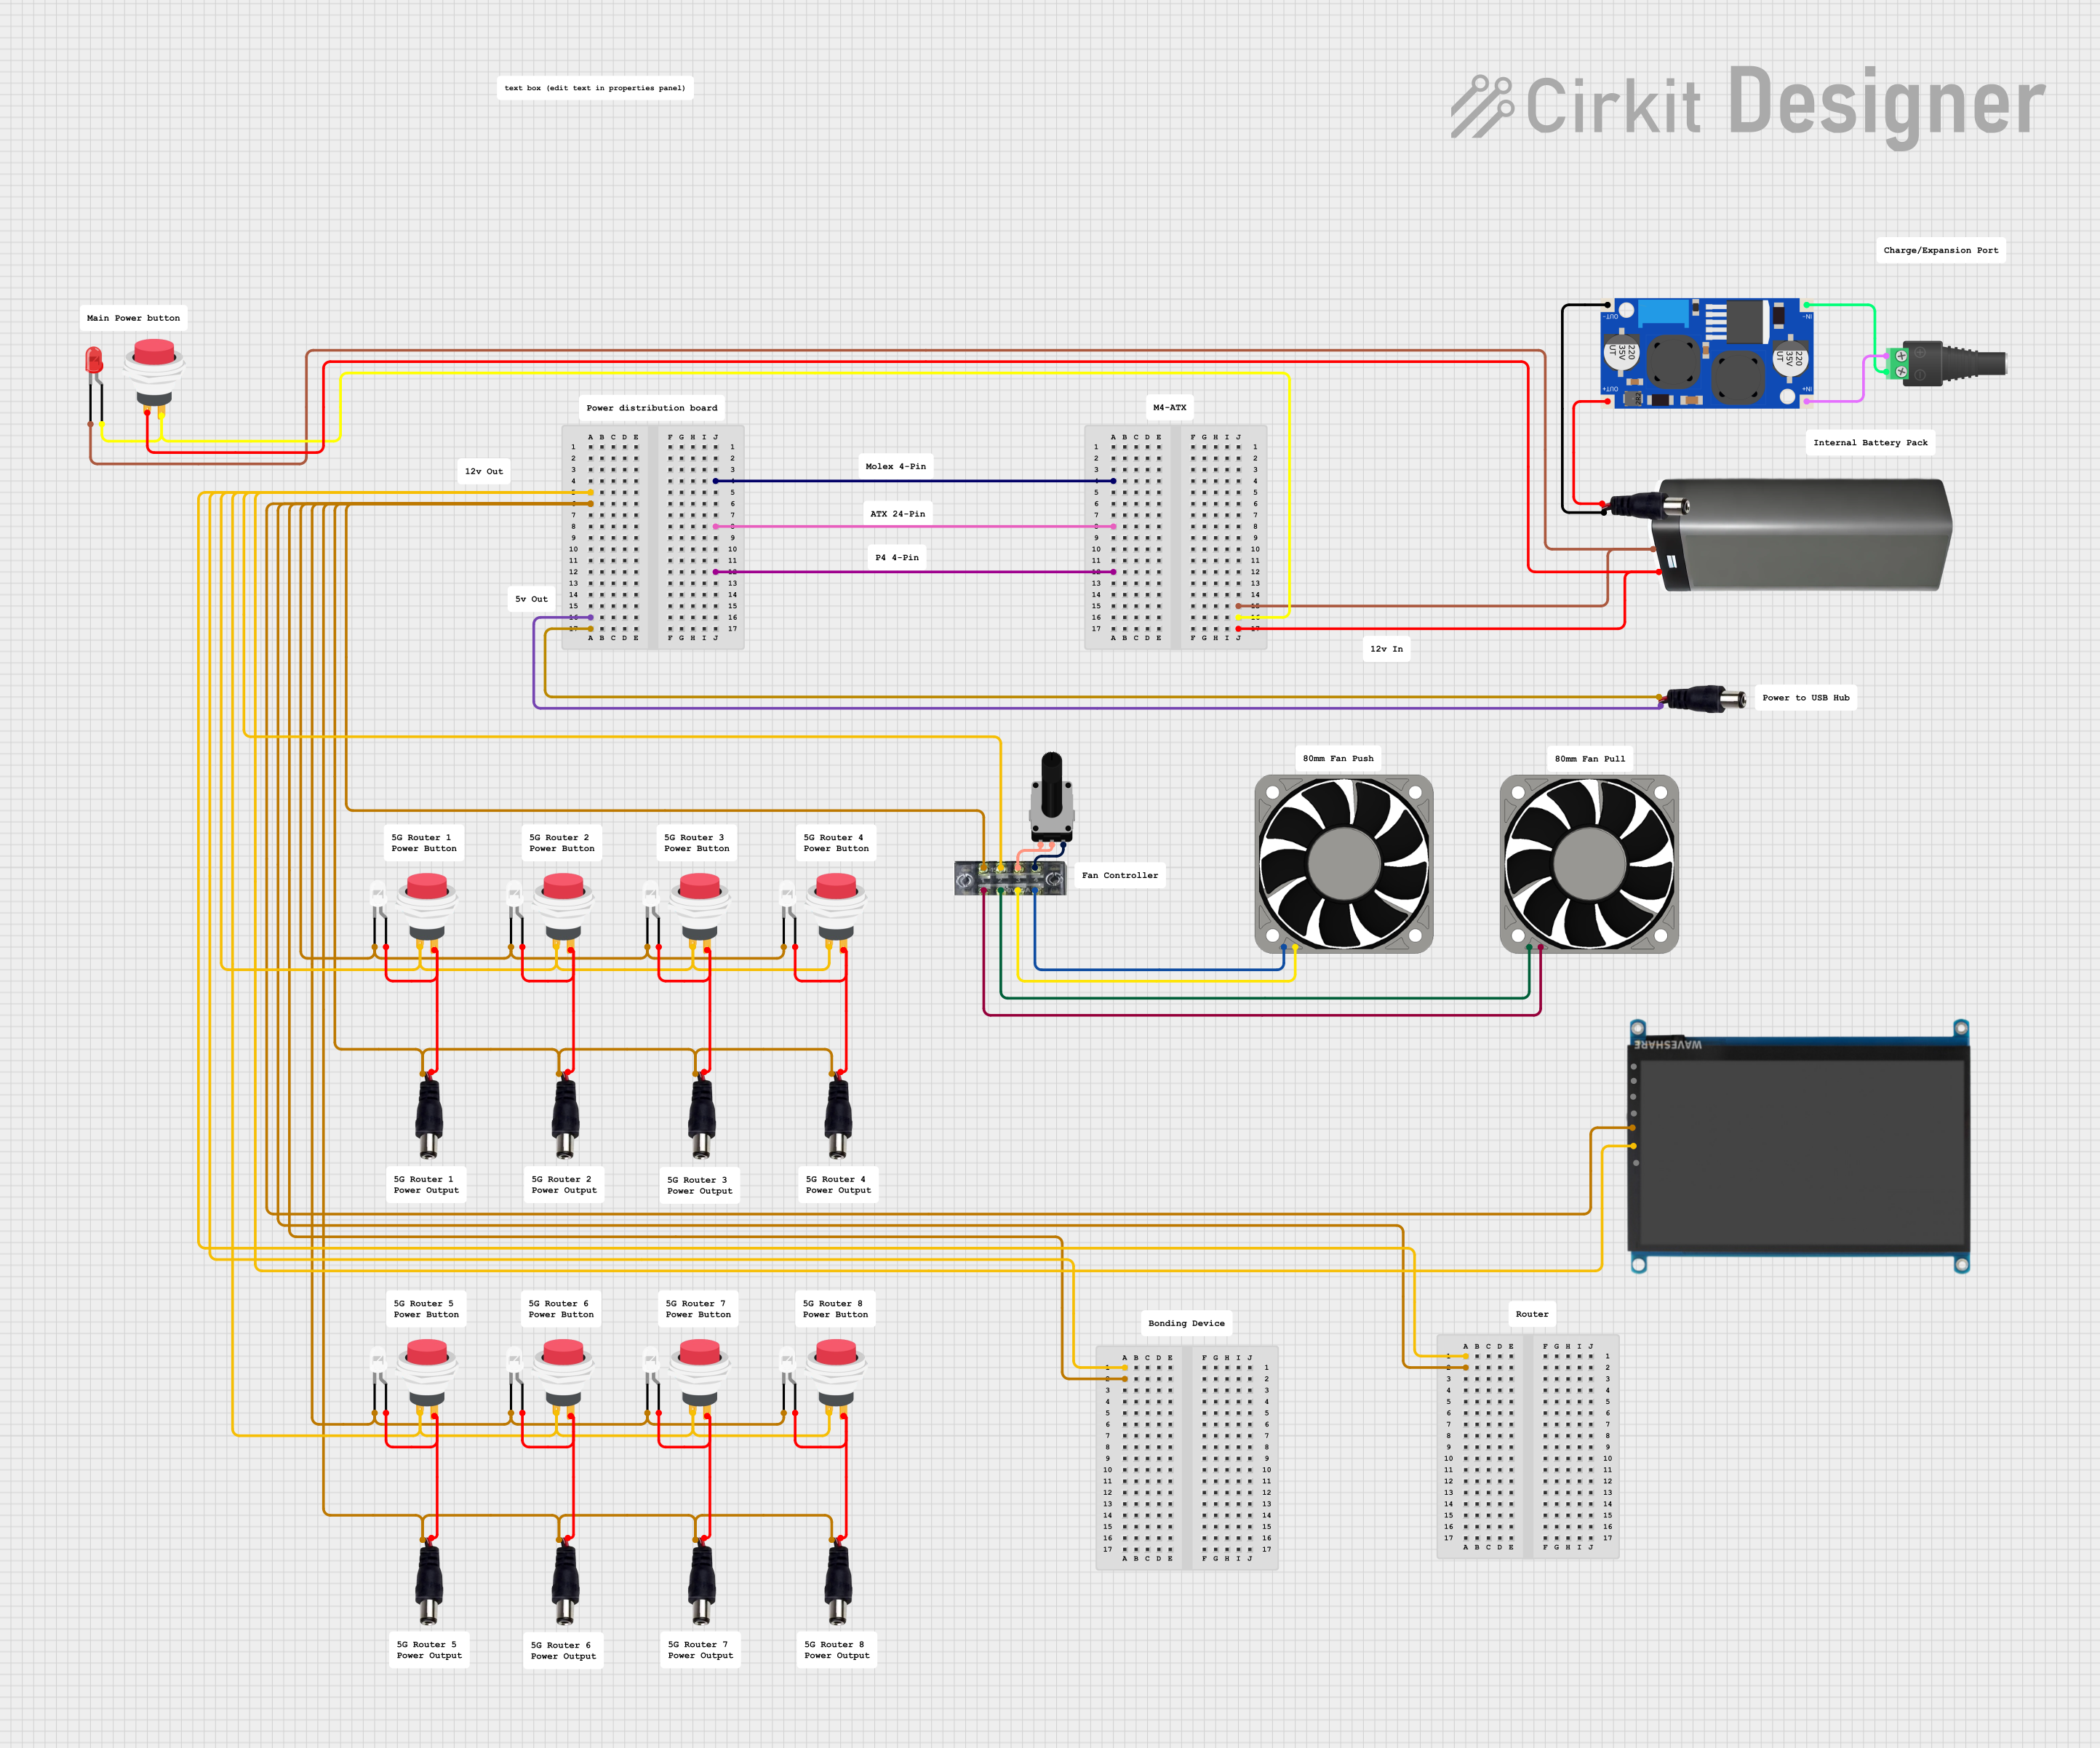 Open Project in Cirkit Designer
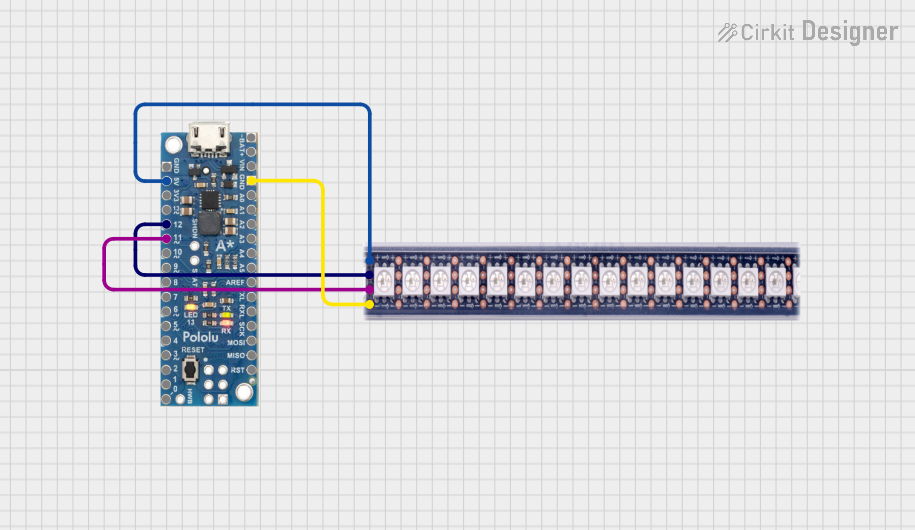 Open Project in Cirkit Designer
Explore Projects Built with 4V 1A Starboard LED, Cool White
Open Project in Cirkit DesignerOpen Project in Cirkit DesignerOpen Project in Cirkit DesignerOpen Project in Cirkit DesignerCommon Applications and Use Cases
- Starboard navigation lighting for boats and ships
- Marine safety lighting
- General-purpose cool white illumination in outdoor or rugged environments
- Custom lighting projects requiring high-intensity, directional light
Technical Specifications
Key Technical Details
| Parameter | Value |
|---|---|
| Manufacturer | New Energy |
| Part ID | LST1-01C54-5765-01 |
| Forward Voltage (Vf) | 4V (typical) |
| Forward Current (If) | 1A (maximum) |
| Power Consumption | 4W |
| Light Color | Cool White |
| Luminous Flux | 120-140 lumens |
| Beam Angle | 120° |
| Operating Temperature | -40°C to +85°C |
| PCB Type | Aluminum Starboard PCB |
| Dimensions | 20mm diameter |
| Solder Pads | 2 (Anode and Cathode) |
Pin Configuration and Descriptions
The 4V 1A Starboard LED has two solder pads for electrical connections:
| Pin Name | Description | Polarity |
|---|---|---|
| Anode | Positive terminal for power | + |
| Cathode | Negative terminal for ground | - |
Usage Instructions
How to Use the Component in a Circuit
Power Supply Requirements:
- Use a constant current LED driver or a regulated power supply capable of delivering 4V and 1A.
- Avoid exceeding the maximum current rating (1A) to prevent damage to the LED.
Wiring:
- Connect the Anode (+) to the positive terminal of the power supply.
- Connect the Cathode (-) to the ground terminal of the power supply.
- Ensure proper polarity to avoid reverse voltage damage.
Heat Dissipation:
- The LED is mounted on an aluminum PCB for heat dissipation. However, for prolonged use, attach the PCB to a heatsink or a thermally conductive surface to prevent overheating.
Protection:
- Add a series resistor or a constant current driver to limit the current if using an unregulated power source.
- Use a reverse polarity protection diode if there is a risk of incorrect wiring.
Important Considerations and Best Practices
- Do not exceed the rated voltage or current: Overdriving the LED can cause permanent damage.
- Ensure proper heat management: Overheating can reduce the lifespan of the LED.
- Avoid direct exposure to water: While the LED is suitable for marine environments, additional waterproofing may be required for direct water contact.
- Use appropriate wiring: Ensure the wires used can handle the current (1A) without significant voltage drop.
Example: Connecting to an Arduino UNO
The 4V 1A Starboard LED can be controlled using an Arduino UNO with a suitable MOSFET or transistor for current regulation. Below is an example circuit and code:
Circuit Setup
- Connect the Anode of the LED to the Drain of an N-channel MOSFET (e.g., IRF540N).
- Connect the Source of the MOSFET to ground.
- Connect the Cathode of the LED to a 4V power supply.
- Connect the Gate of the MOSFET to an Arduino digital pin (e.g., D9) through a 220-ohm resistor.
- Connect the Arduino ground to the power supply ground.
Arduino Code
// Example code to control the 4V 1A Starboard LED using PWM on Arduino UNO

const int ledPin = 9; // Pin connected to the MOSFET gate

void setup() {
  pinMode(ledPin, OUTPUT); // Set the pin as an output
}

void loop() {
  // Gradually increase brightness
  for (int brightness = 0; brightness <= 255; brightness++) {
    analogWrite(ledPin, brightness); // Set PWM duty cycle
    delay(10); // Wait 10ms for smooth transition
  }

  // Gradually decrease brightness
  for (int brightness = 255; brightness >= 0; brightness--) {
    analogWrite(ledPin, brightness); // Set PWM duty cycle
    delay(10); // Wait 10ms for smooth transition
  }
}
Troubleshooting and FAQs
Common Issues and Solutions
| Issue | Possible Cause | Solution |
|---|---|---|
| LED does not light up | Incorrect polarity | Verify Anode (+) and Cathode (-) connections. |
| LED flickers or dims unexpectedly | Insufficient power supply or loose wiring | Ensure the power supply provides 4V and 1A. Check all connections. |
| LED overheats | Poor heat dissipation | Attach the LED to a heatsink or thermally conductive surface. |
| LED burns out | Overvoltage or overcurrent | Use a constant current driver or series resistor to limit current. |
FAQs
Can I use a 5V power supply for this LED?
- No, the LED is designed for a typical forward voltage of 4V. Using a 5V supply without current regulation can damage the LED.
What is the recommended heatsink size?
- The size depends on the operating environment, but a small aluminum heatsink with thermal paste is sufficient for most applications.
Can this LED be used for non-marine applications?
- Yes, the LED can be used in any application requiring cool white light, provided the voltage and current ratings are adhered to.
Is the LED waterproof?
- The LED itself is not waterproof. Additional waterproofing measures are required for direct exposure to water.
This concludes the documentation for the 4V 1A Starboard LED, Cool White. For further assistance, refer to the manufacturer's datasheet or contact New Energy support.