
How to Use DC 6-50V Dimming LED Driver 0-3A Adjustable CC: Examples, Pinouts, and Specs
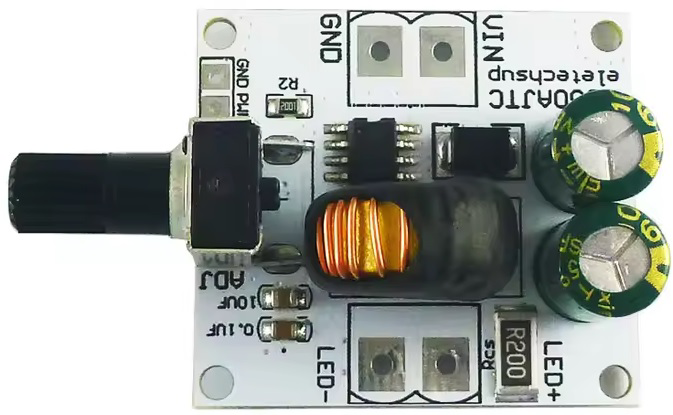
 Design with DC 6-50V Dimming LED Driver 0-3A Adjustable CC in Cirkit Designer
Introduction
The DC 6-50V Dimming LED Driver 0-3A Adjustable CC (Manufacturer Part ID: LD50AJTC) by Eletechsup is a versatile constant current LED driver designed for powering and controlling LED lighting systems. It operates within a wide input voltage range of 6V to 50V and provides an adjustable output current of up to 3A. This component is ideal for applications requiring precise dimming and current control, such as LED strips, high-power LEDs, and custom lighting projects.
Explore Projects Built with DC 6-50V Dimming LED Driver 0-3A Adjustable CC
 Open Project in Cirkit Designer
 Open Project in Cirkit Designer
 Open Project in Cirkit Designer
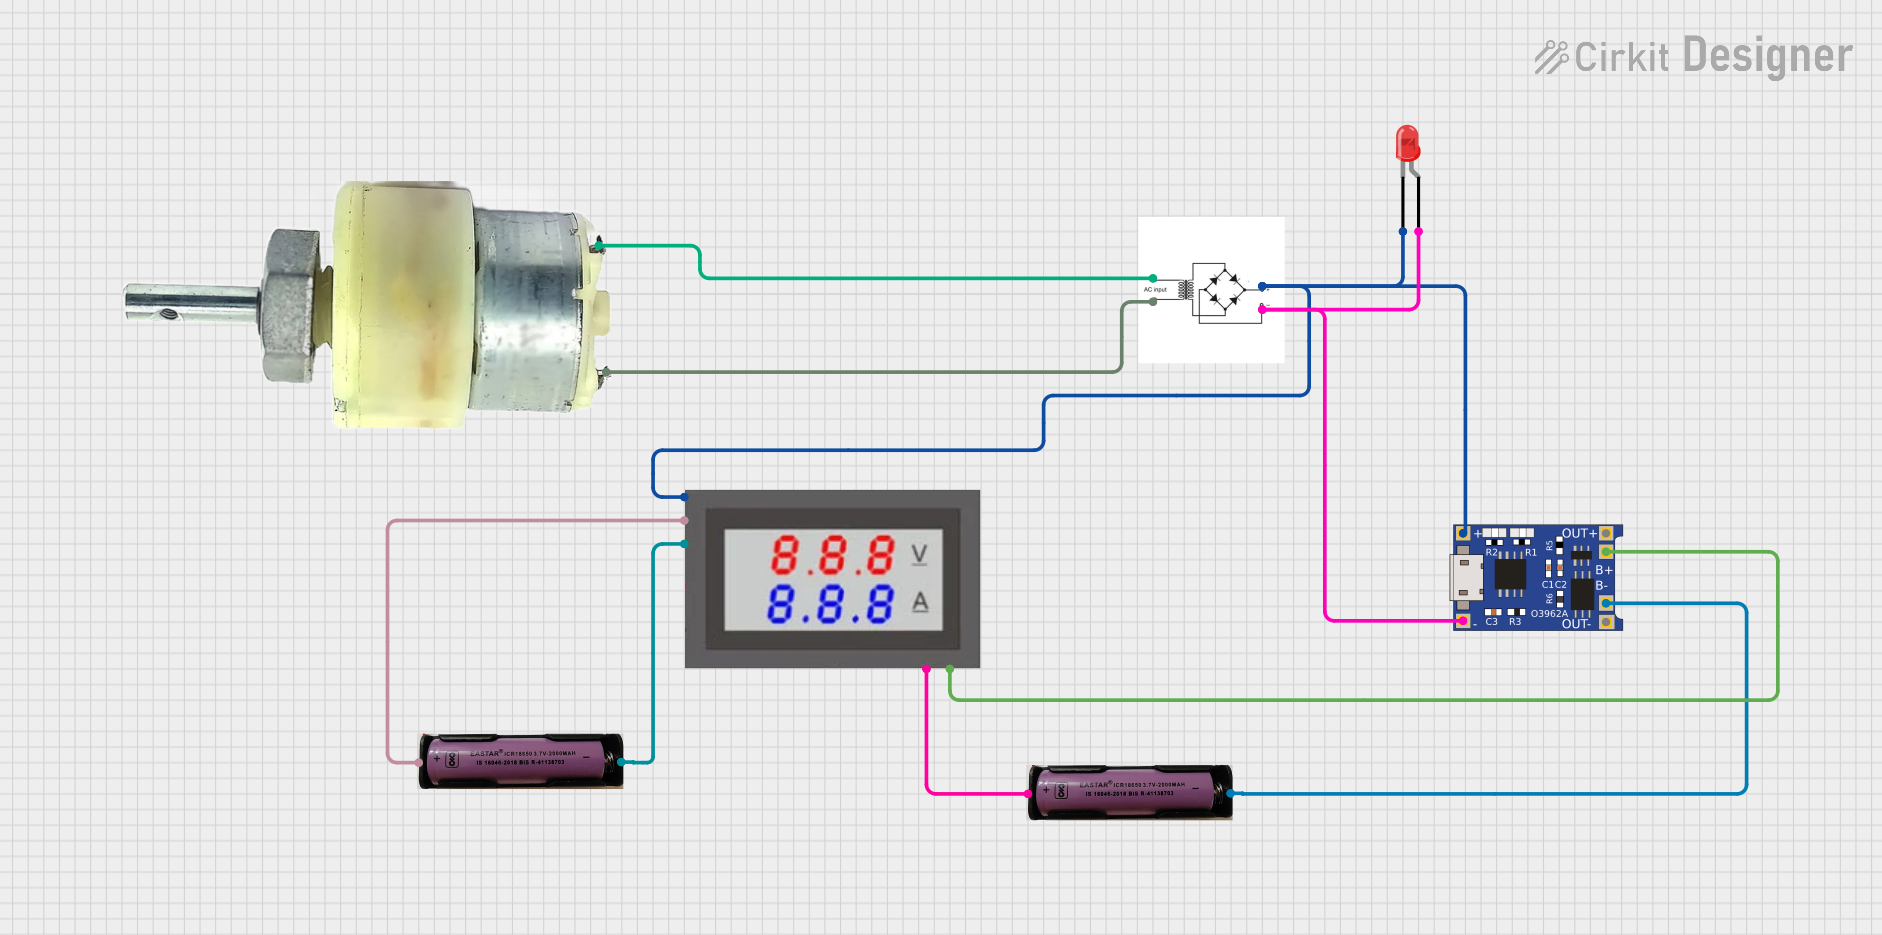 Open Project in Cirkit Designer
Explore Projects Built with DC 6-50V Dimming LED Driver 0-3A Adjustable CC
Open Project in Cirkit DesignerOpen Project in Cirkit DesignerOpen Project in Cirkit DesignerOpen Project in Cirkit DesignerCommon Applications
- LED lighting systems for residential, commercial, and industrial use
- High-power LED arrays and modules
- Automotive LED lighting
- DIY lighting projects requiring dimming functionality
- Backlighting for displays and signage
Technical Specifications
Key Technical Details
| Parameter | Value |
|---|---|
| Input Voltage Range | 6V to 50V DC |
| Output Current Range | 0A to 3A (adjustable) |
| Output Power | Up to 150W (depending on input) |
| Dimming Control | Adjustable potentiometer |
| Efficiency | Up to 95% |
| Operating Temperature | -40°C to +85°C |
| Dimensions | 60mm x 30mm x 20mm |
| Manufacturer | Eletechsup |
| Part ID | LD50AJTC |
Pin Configuration and Descriptions
| Pin Name | Description |
|---|---|
| VIN+ | Positive input voltage terminal (6V to 50V DC) |
| VIN- | Negative input voltage terminal (ground) |
| LED+ | Positive output terminal for connecting the LED load |
| LED- | Negative output terminal for connecting the LED load |
| DIM (Potentiometer) | Built-in potentiometer for adjusting the output current and dimming level |
Usage Instructions
How to Use the Component in a Circuit
Power Supply Connection:
- Connect a DC power supply (6V to 50V) to the
VIN+andVIN-terminals. - Ensure the power supply voltage matches the requirements of your LED load.
- Connect a DC power supply (6V to 50V) to the
LED Load Connection:
- Connect the positive terminal of the LED load to the
LED+pin. - Connect the negative terminal of the LED load to the
LED-pin.
- Connect the positive terminal of the LED load to the
Adjusting the Output Current:
- Use the built-in potentiometer labeled
DIMto adjust the output current and dimming level. - Turn the potentiometer clockwise to increase the current and brightness, or counterclockwise to decrease them.
- Use the built-in potentiometer labeled
Testing the Circuit:
- Power on the circuit and verify the LED brightness.
- Use a multimeter to measure the output current if precise adjustment is required.
Important Considerations and Best Practices
- Input Voltage: Ensure the input voltage is within the specified range (6V to 50V). Exceeding this range may damage the driver.
- Heat Dissipation: For high-power applications, ensure adequate ventilation or heat sinking to prevent overheating.
- Current Adjustment: Avoid setting the output current higher than the LED's rated current to prevent damage to the LED.
- Polarity: Double-check the polarity of all connections to avoid short circuits or component failure.
Example: Using with an Arduino UNO
This LED driver can be controlled manually using the built-in potentiometer. However, for automated dimming, you can use an Arduino UNO to generate a PWM signal. Below is an example code snippet:
// Example: Controlling LED brightness using Arduino UNO and PWM signal
// Connect the DIM pin of the LED driver to Arduino pin 9

const int pwmPin = 9; // PWM output pin connected to DIM pin of the LED driver

void setup() {
  pinMode(pwmPin, OUTPUT); // Set pin 9 as an output
}

void loop() {
  // Gradually increase brightness
  for (int brightness = 0; brightness <= 255; brightness++) {
    analogWrite(pwmPin, brightness); // Write PWM signal to DIM pin
    delay(10); // Small delay for smooth dimming
  }

  // Gradually decrease brightness
  for (int brightness = 255; brightness >= 0; brightness--) {
    analogWrite(pwmPin, brightness); // Write PWM signal to DIM pin
    delay(10); // Small delay for smooth dimming
  }
}
Note: Ensure the DIM pin is compatible with PWM signals for this functionality.
Troubleshooting and FAQs
Common Issues and Solutions
LED Does Not Light Up:
- Cause: Incorrect wiring or insufficient input voltage.
- Solution: Verify all connections and ensure the input voltage is within the specified range.
LED Flickers:
- Cause: Unstable power supply or loose connections.
- Solution: Use a stable DC power supply and check all connections for tightness.
Driver Overheats:
- Cause: Excessive current or inadequate heat dissipation.
- Solution: Reduce the output current using the potentiometer or add a heat sink.
Cannot Adjust Brightness:
- Cause: Faulty potentiometer or incorrect DIM pin connection.
- Solution: Check the potentiometer for damage or verify the PWM signal if using an Arduino.
FAQs
Q: Can I use this driver with a 12V LED strip?
- A: Yes, as long as the input voltage is 12V and the total current does not exceed 3A.
Q: Is the driver waterproof?
- A: No, the driver is not waterproof. Use it in a dry environment or within a protective enclosure.
Q: Can I control multiple LEDs with this driver?
- A: Yes, but ensure the total current of all LEDs does not exceed 3A.
Q: What happens if I exceed the input voltage range?
- A: Exceeding the input voltage range may permanently damage the driver.
This concludes the documentation for the DC 6-50V Dimming LED Driver 0-3A Adjustable CC. For further assistance, refer to the manufacturer's datasheet or contact Eletechsup support.