Cirkit Designer Logo
Cirkit Designer
Your all-in-one circuit design IDE
Home / 
Component Documentation

How to Use MOC3041 : Examples, Pinouts, and Specs

Image of MOC3041
Cirkit Designer LogoDesign with MOC3041 in Cirkit Designer

Introduction

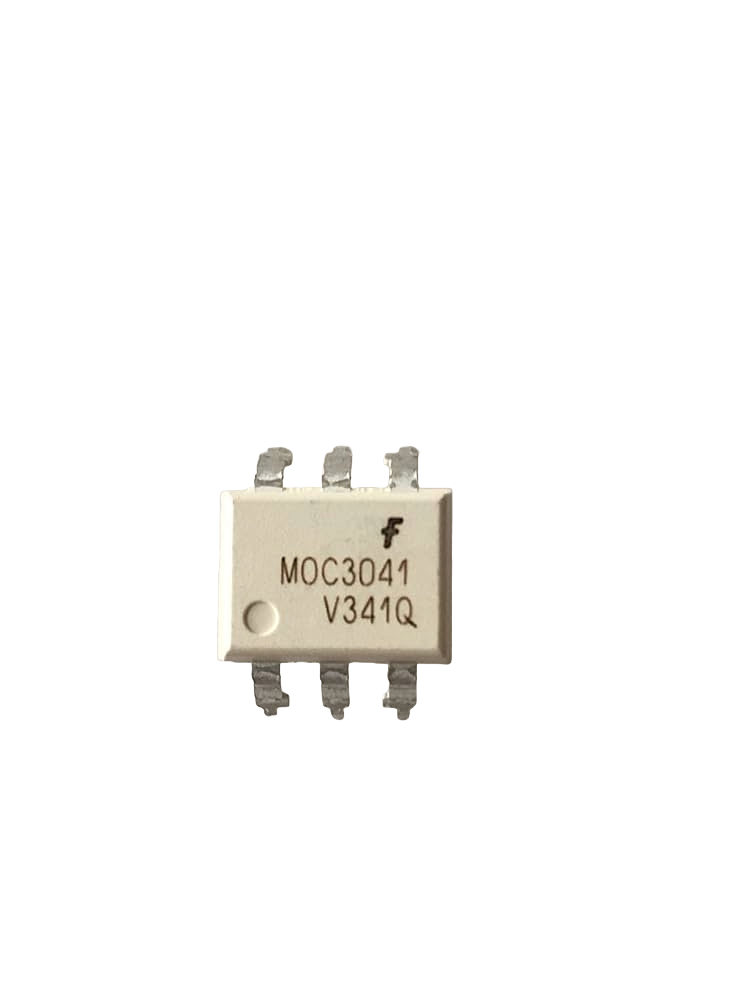
The MOC3041 is an optoisolator, also known as an optocoupler, which is a component that transfers electrical signals between two isolated circuits by using light. It consists of a gallium arsenide infrared LED and a silicon phototransistor. This device is particularly useful in applications where signal isolation is crucial for safety and noise reduction, such as in controlling AC loads with microcontrollers.

Explore Projects Built with MOC3041

Use Cirkit Designer to design, explore, and prototype these projects online. Some projects support real-time simulation. Click "Open Project" to start designing instantly!
NFC-Enabled Access Control System with Time Logging
Image of doorlock: A project utilizing MOC3041  in a practical application
This circuit is designed for access control with time tracking capabilities. It features an NFC/RFID reader for authentication, an RTC module (DS3231) for real-time clock functionality, and an OLED display for user interaction. A 12V relay controls a magnetic lock, which is activated upon successful NFC/RFID authentication, and a button switch is likely used for manual operation or input. The T8_S3 microcontroller serves as the central processing unit, interfacing with the NFC/RFID reader, RTC, OLED, and relay to manage the access control logic.
Cirkit Designer LogoOpen Project in Cirkit Designer
I2C-Controlled OLED Display with External EEPROM and Interactive Pushbuttons
Image of godmode: A project utilizing MOC3041  in a practical application
This is a microcontroller-based interactive device featuring a Wemos D1 Mini, an OLED display, external EEPROM, and an I/O expander. It includes user input buttons and status LEDs, with potential MIDI interface capabilities.
Cirkit Designer LogoOpen Project in Cirkit Designer
ESP32-Powered Wi-Fi Controlled Robotic Car with OLED Display and Ultrasonic Sensor
Image of playbot: A project utilizing MOC3041  in a practical application
This circuit is a battery-powered system featuring an ESP32 microcontroller that controls an OLED display, a motor driver for two hobby motors, an ultrasonic sensor for distance measurement, and a DFPlayer Mini for audio output through a loudspeaker. The TP4056 module manages battery charging, and a step-up boost converter provides a stable 5V supply to the components.
Cirkit Designer LogoOpen Project in Cirkit Designer
Arduino Mega 2560-Controlled Servo System with Bluetooth and Sensor Interface
Image of Završni: A project utilizing MOC3041  in a practical application
This is a microcontroller-based control system featuring an Arduino Mega 2560, designed to receive inputs from a rotary potentiometer, push switches, and an IR sensor, and to drive multiple servos and an LCD display. It includes an HC-05 Bluetooth module for wireless communication, allowing for remote interfacing and control.
Cirkit Designer LogoOpen Project in Cirkit Designer

Explore Projects Built with MOC3041

Use Cirkit Designer to design, explore, and prototype these projects online. Some projects support real-time simulation. Click "Open Project" to start designing instantly!
Image of doorlock: A project utilizing MOC3041  in a practical application
NFC-Enabled Access Control System with Time Logging
This circuit is designed for access control with time tracking capabilities. It features an NFC/RFID reader for authentication, an RTC module (DS3231) for real-time clock functionality, and an OLED display for user interaction. A 12V relay controls a magnetic lock, which is activated upon successful NFC/RFID authentication, and a button switch is likely used for manual operation or input. The T8_S3 microcontroller serves as the central processing unit, interfacing with the NFC/RFID reader, RTC, OLED, and relay to manage the access control logic.
Cirkit Designer LogoOpen Project in Cirkit Designer
Image of godmode: A project utilizing MOC3041  in a practical application
I2C-Controlled OLED Display with External EEPROM and Interactive Pushbuttons
This is a microcontroller-based interactive device featuring a Wemos D1 Mini, an OLED display, external EEPROM, and an I/O expander. It includes user input buttons and status LEDs, with potential MIDI interface capabilities.
Cirkit Designer LogoOpen Project in Cirkit Designer
Image of playbot: A project utilizing MOC3041  in a practical application
ESP32-Powered Wi-Fi Controlled Robotic Car with OLED Display and Ultrasonic Sensor
This circuit is a battery-powered system featuring an ESP32 microcontroller that controls an OLED display, a motor driver for two hobby motors, an ultrasonic sensor for distance measurement, and a DFPlayer Mini for audio output through a loudspeaker. The TP4056 module manages battery charging, and a step-up boost converter provides a stable 5V supply to the components.
Cirkit Designer LogoOpen Project in Cirkit Designer
Image of Završni: A project utilizing MOC3041  in a practical application
Arduino Mega 2560-Controlled Servo System with Bluetooth and Sensor Interface
This is a microcontroller-based control system featuring an Arduino Mega 2560, designed to receive inputs from a rotary potentiometer, push switches, and an IR sensor, and to drive multiple servos and an LCD display. It includes an HC-05 Bluetooth module for wireless communication, allowing for remote interfacing and control.
Cirkit Designer LogoOpen Project in Cirkit Designer

Common Applications

  • AC motor control
  • Solenoid/valve controls
  • AC load switching
  • Power supply regulation
  • Isolation in communication systems

Technical Specifications

Key Technical Details

  • Input LED Forward Voltage: Typically 1.15V (max 1.5V)
  • Input LED Forward Current: 15mA (max 60mA)
  • Output Driver Voltage: 400V (peak)
  • Output Driver Current: 100mA (continuous), 1A (peak)
  • Isolation Voltage: 7500V peak
  • Zero Crossing Circuit: Yes
  • Package: 6-pin DIP

Pin Configuration and Descriptions

Pin Number Name Description
1 Anode LED anode; connect to positive voltage
2 Cathode LED cathode; connect to ground
3 NC No connection; not internally connected
4 NC No connection; not internally connected
5 Emitter Phototransistor emitter; typically connected to ground
6 Collector Phototransistor collector; output signal

Usage Instructions

How to Use the MOC3041 in a Circuit

  1. Input Side (LED):

    • Connect a current-limiting resistor to the anode (Pin 1).
    • Connect the cathode (Pin 2) to the ground of the control circuit.
  2. Output Side (Phototransistor):

    • Connect the collector (Pin 6) to the load circuit.
    • Connect the emitter (Pin 5) to the ground of the load circuit.
  3. Driving the MOC3041 with a Microcontroller:

    • Use a digital output pin to switch the LED on and off.
    • Ensure the microcontroller output can supply sufficient current (15mA typical).

Important Considerations and Best Practices

  • Always calculate the current-limiting resistor value for the LED side to prevent overcurrent.
  • Consider the power dissipation and ensure proper heat sinking if necessary.
  • When switching AC loads, take advantage of the zero-crossing feature to reduce noise and power surges.
  • Ensure proper electrical isolation between the input and output sides.

Example Circuit with Arduino UNO

// Example code for controlling an AC load using MOC3041 with an Arduino UNO

const int mocPin = 2; // Digital pin connected to MOC3041 LED anode

void setup() {
  pinMode(mocPin, OUTPUT); // Set the MOC3041 control pin as an output
}

void loop() {
  digitalWrite(mocPin, HIGH); // Turn on the AC load
  delay(1000);                // Wait for 1 second
  digitalWrite(mocPin, LOW);  // Turn off the AC load
  delay(1000);                // Wait for 1 second
}

Note: This code assumes that the MOC3041 is connected to an appropriate triac and that the load is an AC load. The current-limiting resistor is not shown in the code and must be included in the actual circuit.

Troubleshooting and FAQs

Common Issues

  • LED not turning on: Check the current-limiting resistor and the microcontroller output.
  • No response on the output side: Ensure the phototransistor is correctly connected and that the load circuit is functional.
  • Intermittent operation: Verify that the connections are secure and that there are no cold solder joints.

Solutions and Tips for Troubleshooting

  • Use a multimeter to check the continuity and voltage levels across the MOC3041 pins.
  • Ensure that the input LED is not receiving more than the maximum forward current.
  • Check the zero-crossing feature if the AC load is not switching smoothly.

FAQs

Q: Can the MOC3041 be used to switch DC loads? A: Yes, but it is optimized for AC loads due to its zero-crossing feature.

Q: What is the purpose of the zero-crossing circuit? A: It allows the optoisolator to switch the AC load at the point where the AC waveform crosses zero voltage, reducing electrical noise and stress on the load.

Q: How can I increase the load current capacity? A: Use the MOC3041 to drive a power triac or relay that can handle the desired current.

Q: Is it necessary to use a heat sink with the MOC3041? A: It depends on the power dissipation. If the device is operating near its maximum ratings, a heat sink may be necessary.

This documentation provides a comprehensive guide to using the MOC3041 optoisolator. For further information, consult the manufacturer's datasheet and application notes.