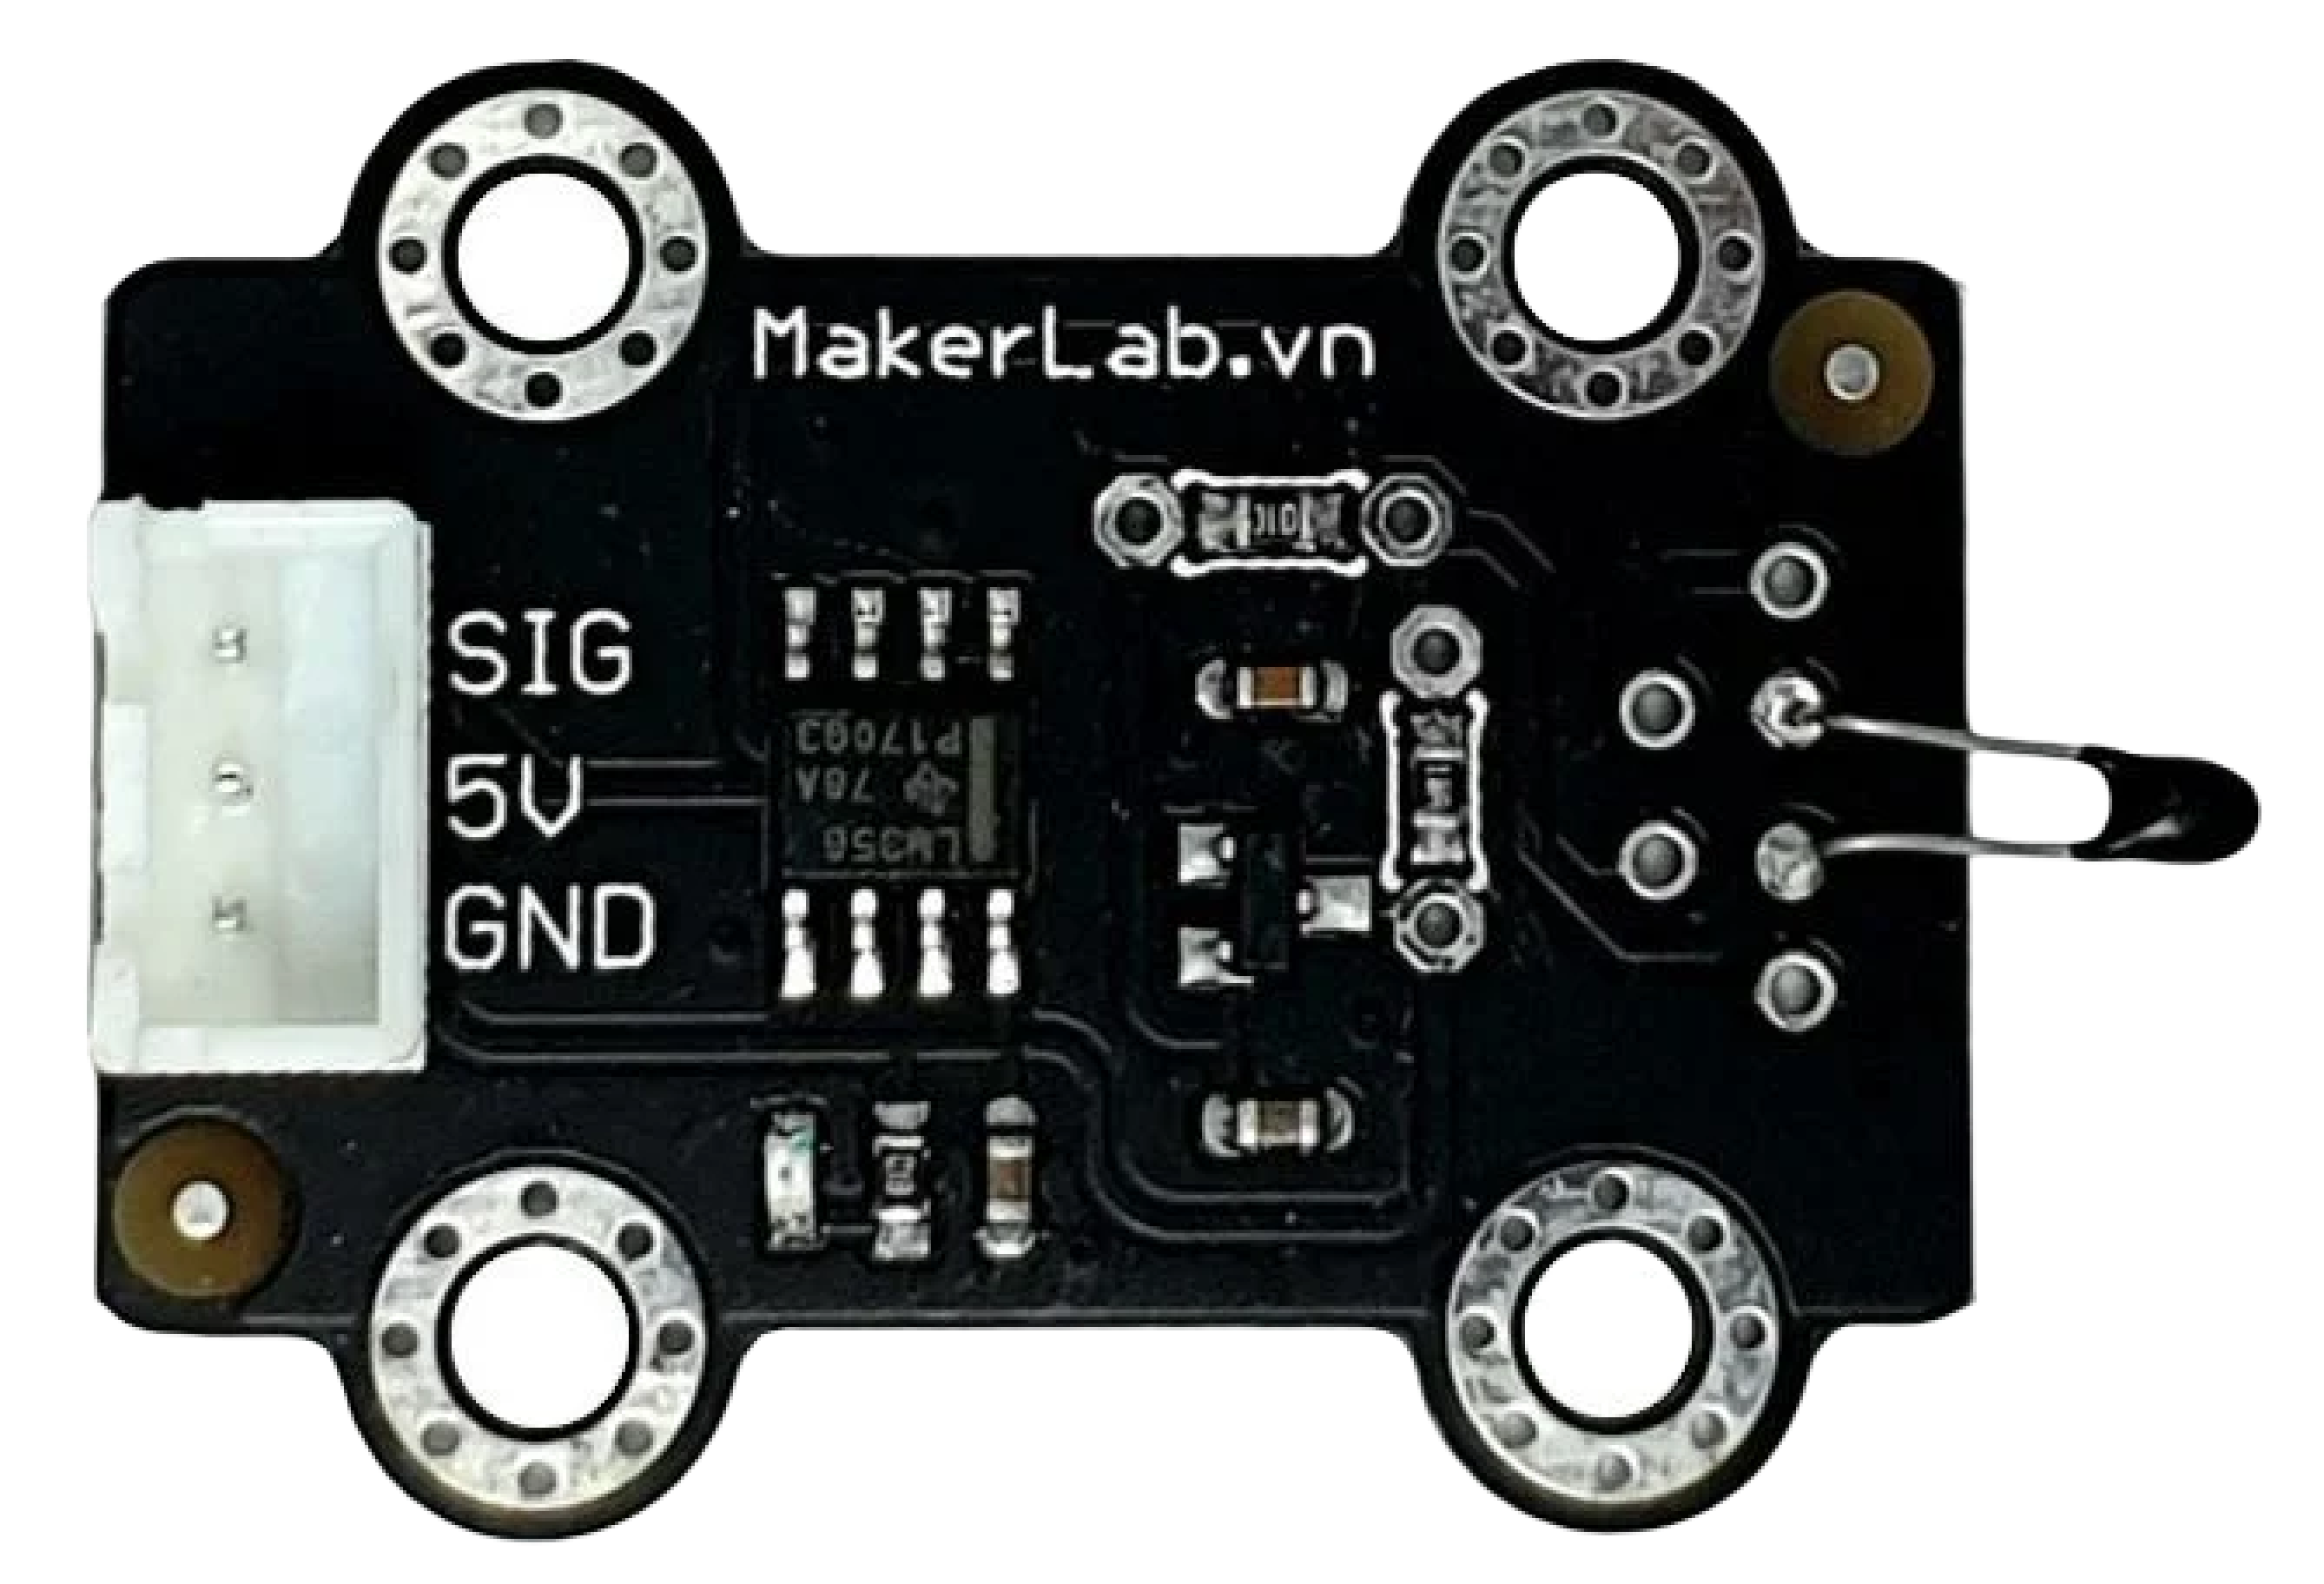
The MKE-S05 is a Negative Temperature Coefficient (NTC) thermistor used for precise temperature measurement. Its resistance decreases as the temperature increases, which makes it ideal for a wide range of applications including consumer electronics, automotive, and industrial systems where monitoring or controlling temperature is critical.
Explore Projects Built with MKE-S05 NTC Temperature Sensor
Use Cirkit Designer to design, explore, and prototype these projects online. Some projects support real-time simulation. Click "Open Project" to start designing instantly!
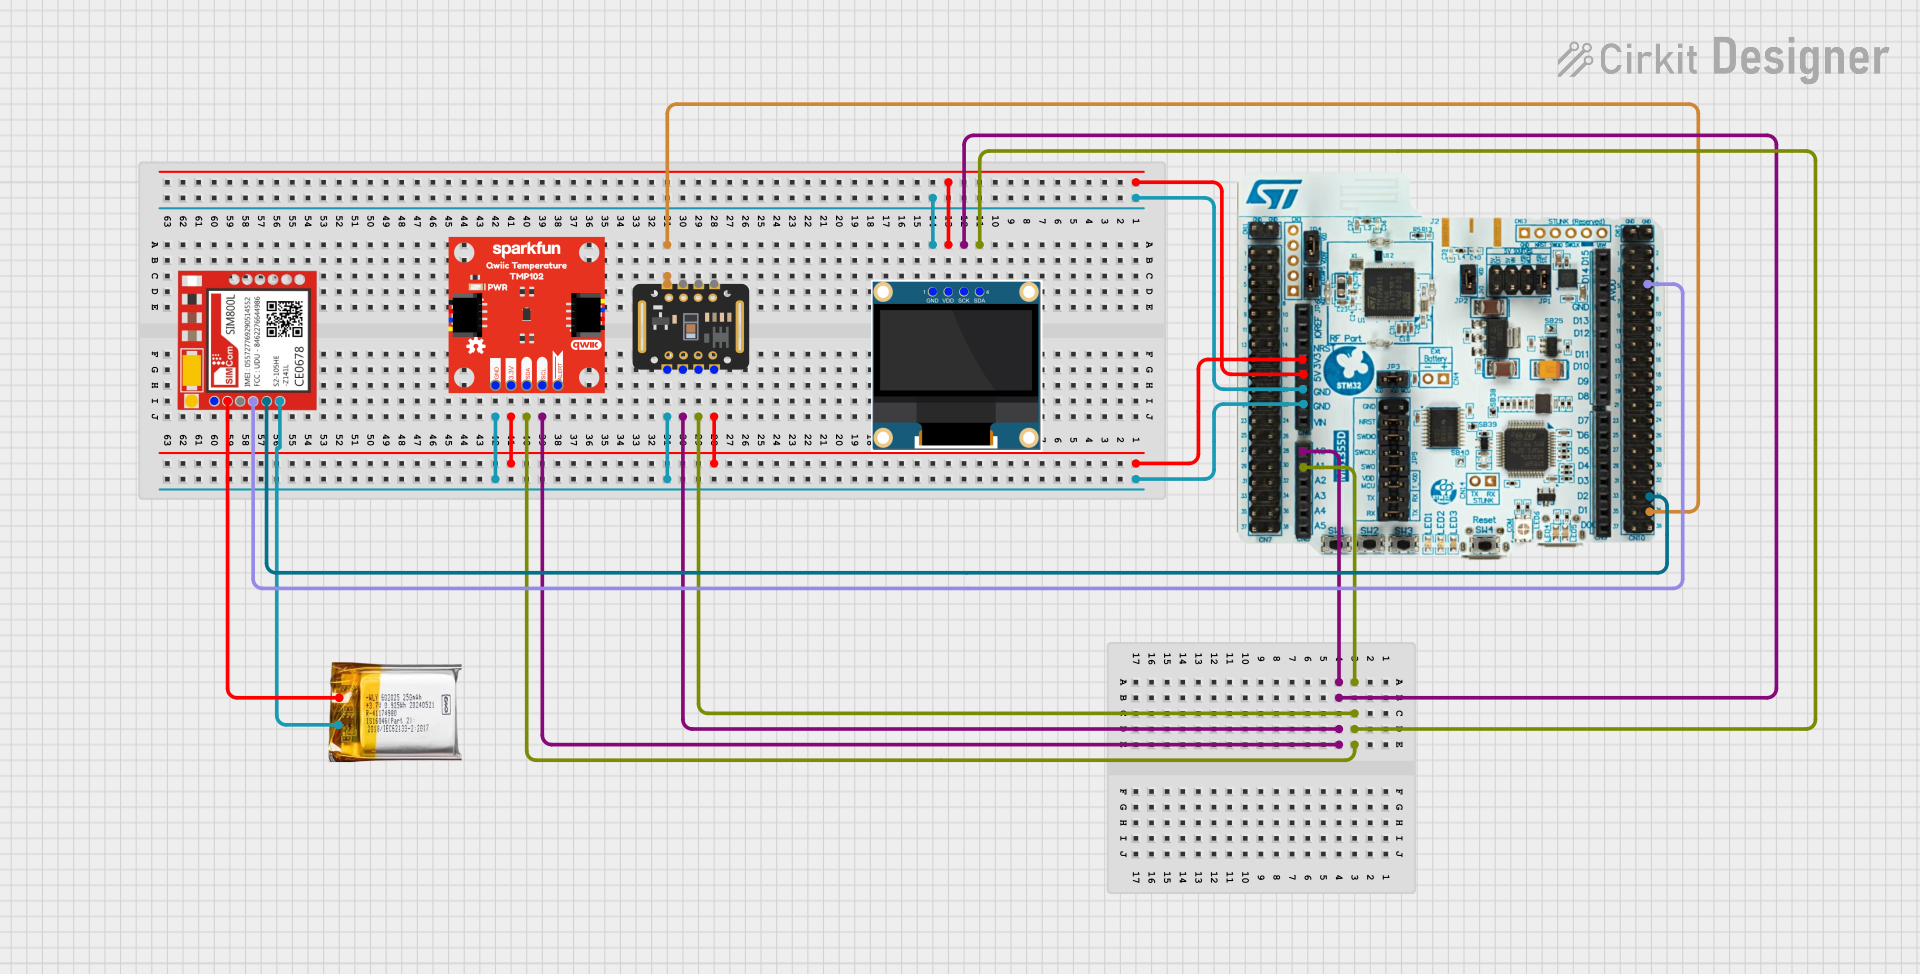
This circuit is a multi-sensor data acquisition system that uses a Nucleo WB55RG microcontroller to interface with a digital temperature sensor (TMP102), a pulse oximeter and heart-rate sensor (MAX30102), and a 0.96" OLED display via I2C. Additionally, it includes a Sim800l module for GSM communication, powered by a 3.7V LiPo battery.
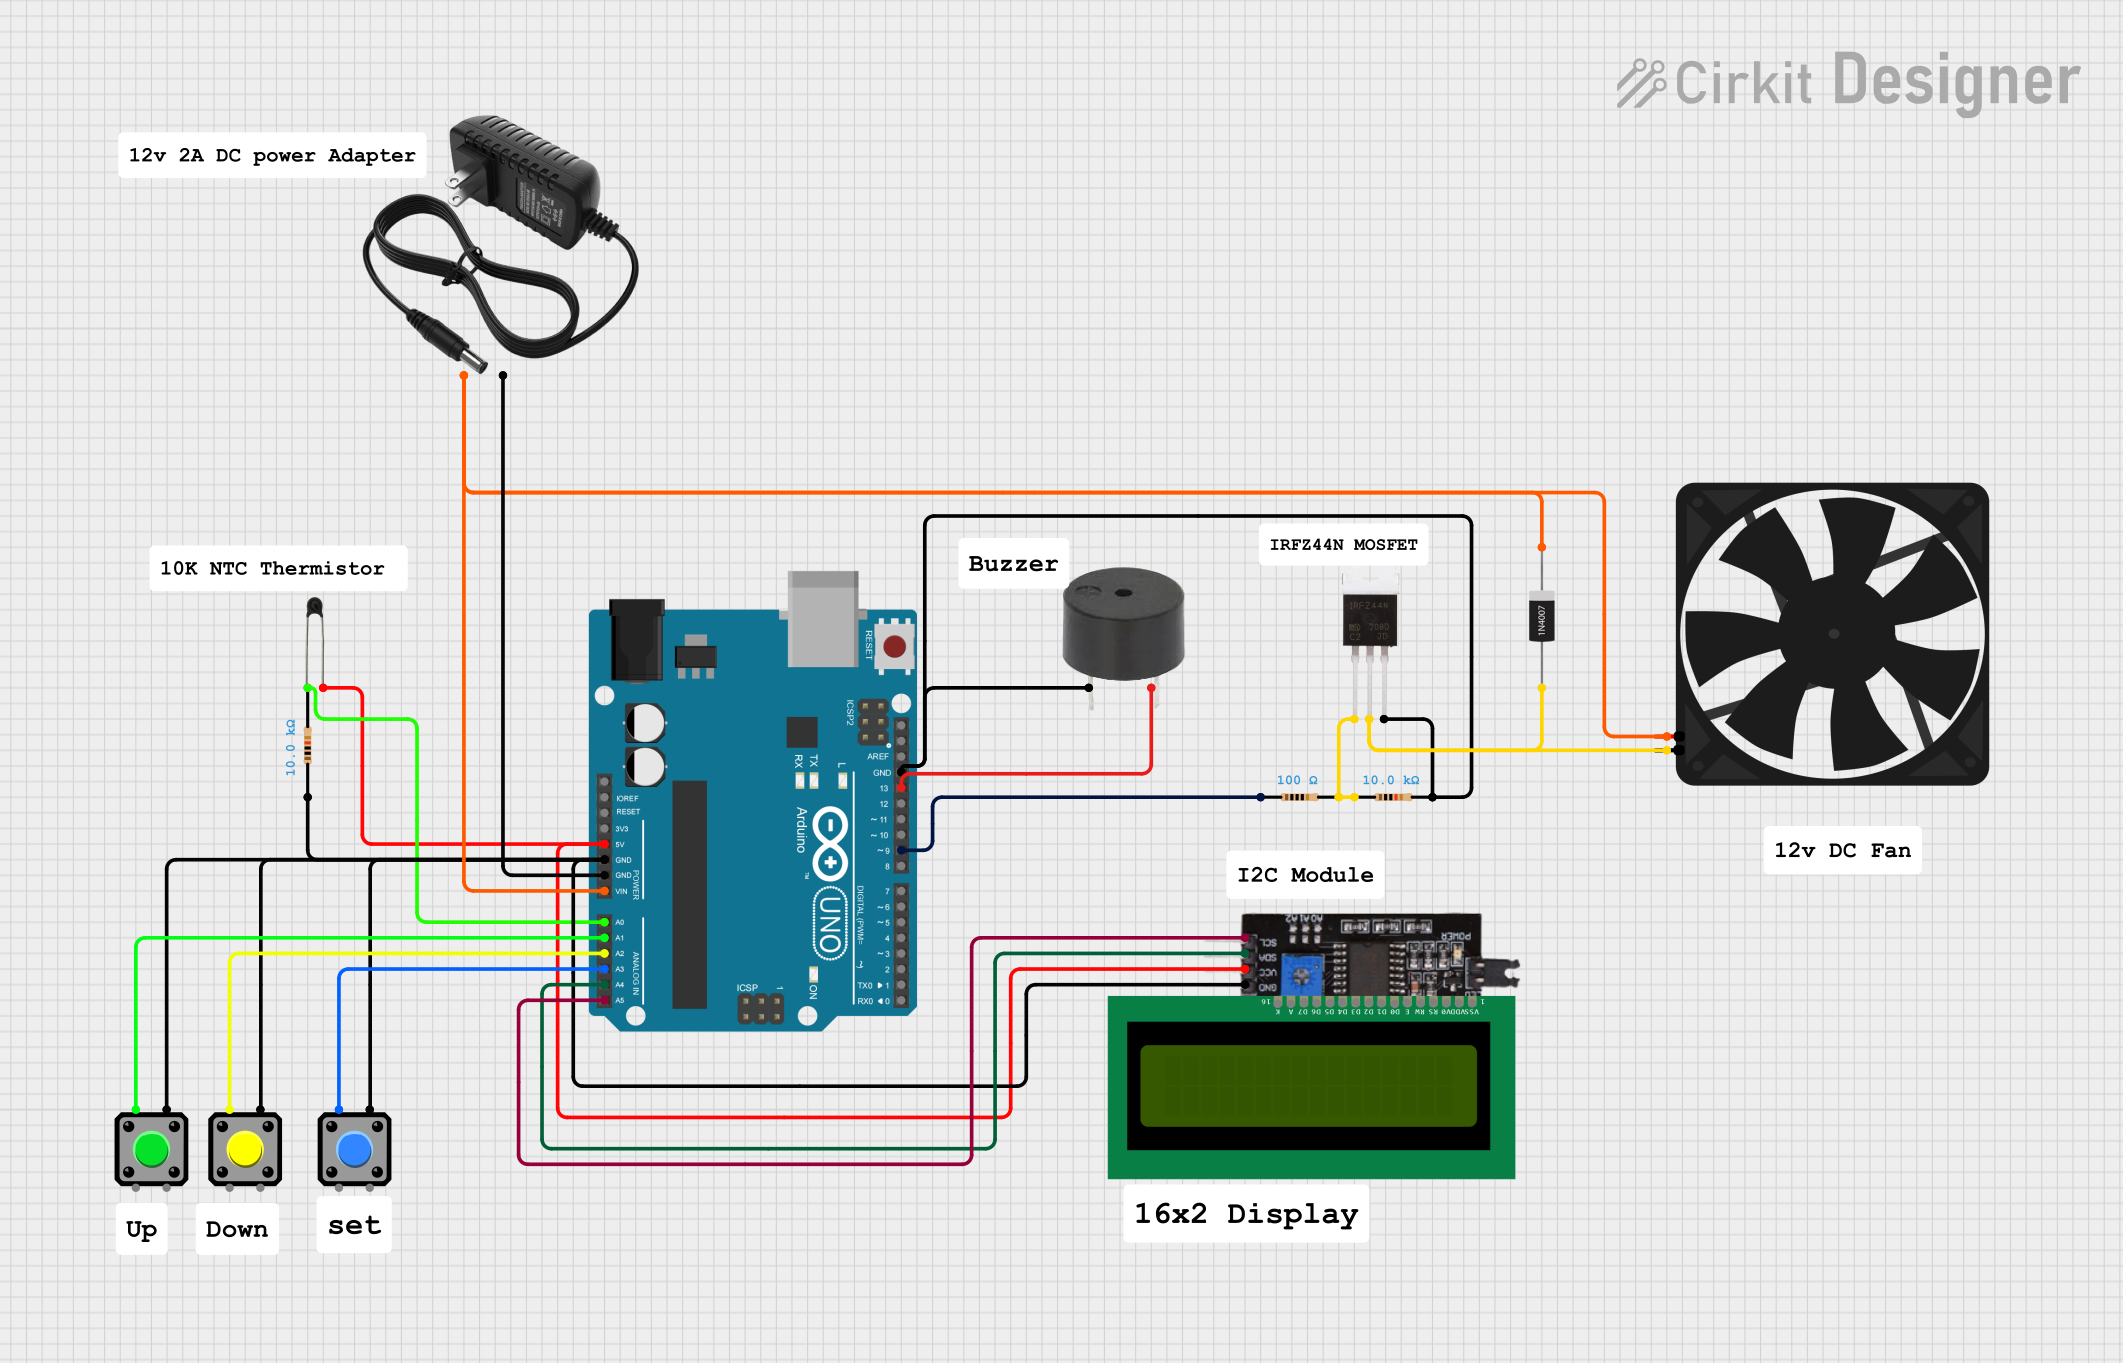
This circuit is a temperature monitoring and control system using an Arduino UNO. It includes an NTC thermistor for temperature sensing, pushbuttons for user input, an I2C module for communication, and a fan controlled by a MOSFET. The system also features a buzzer for alerts and an LCD for displaying information.
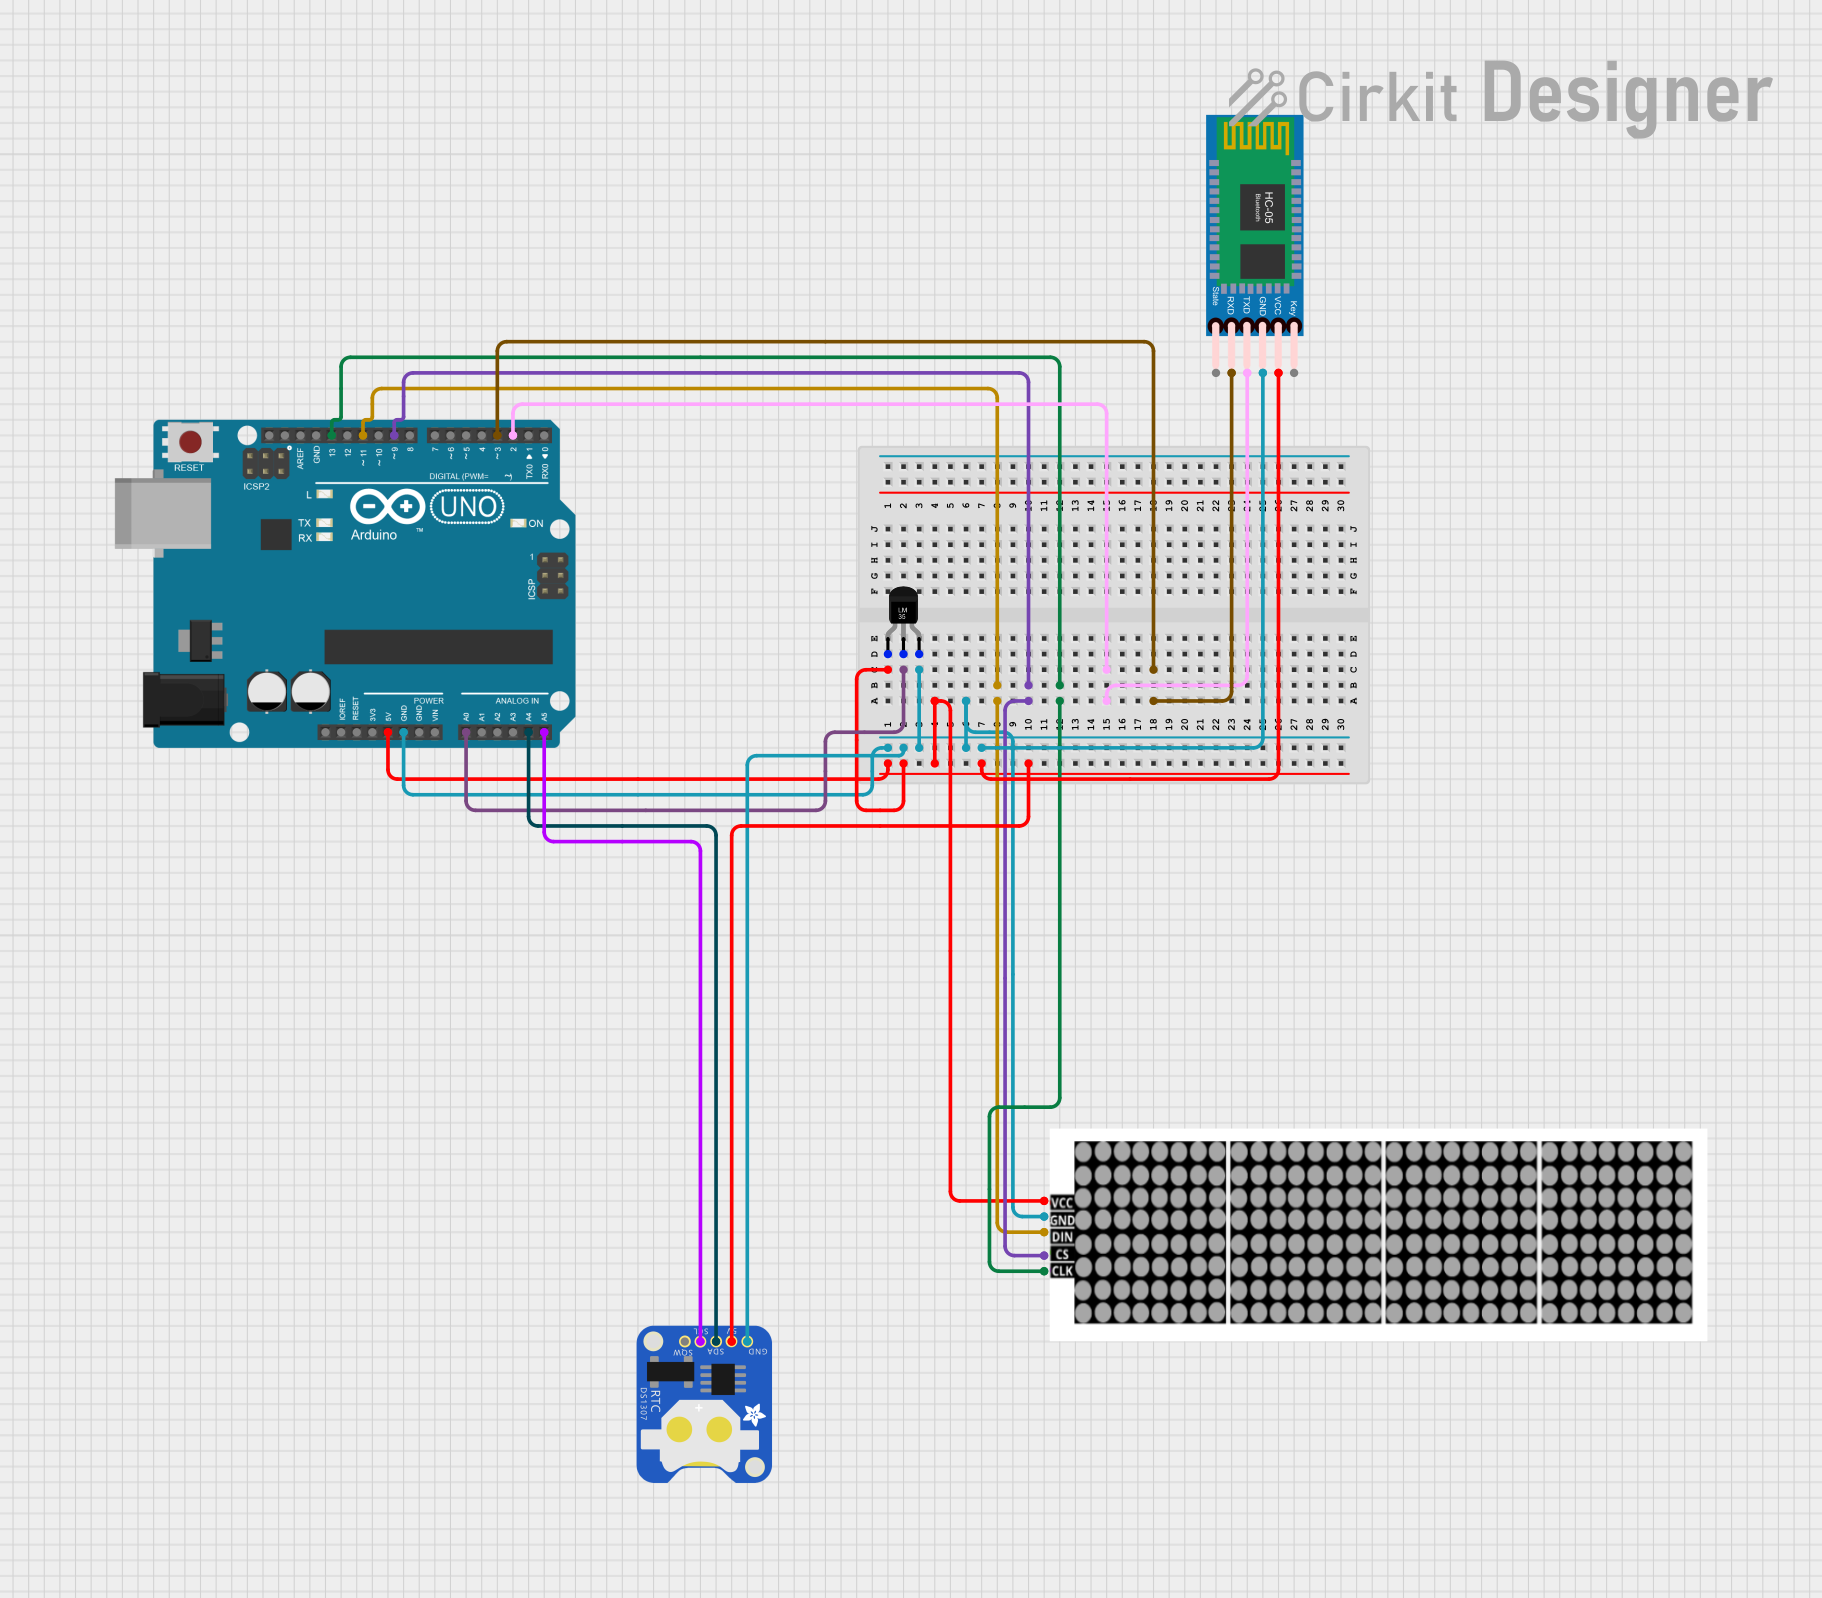
This circuit is a temperature monitoring system that uses an Arduino UNO to read temperature data from an LM35 sensor, display the data on an LED dot display, and transmit the data via an HC-05 Bluetooth module. Additionally, it includes a DS1307 RTC module for timekeeping.
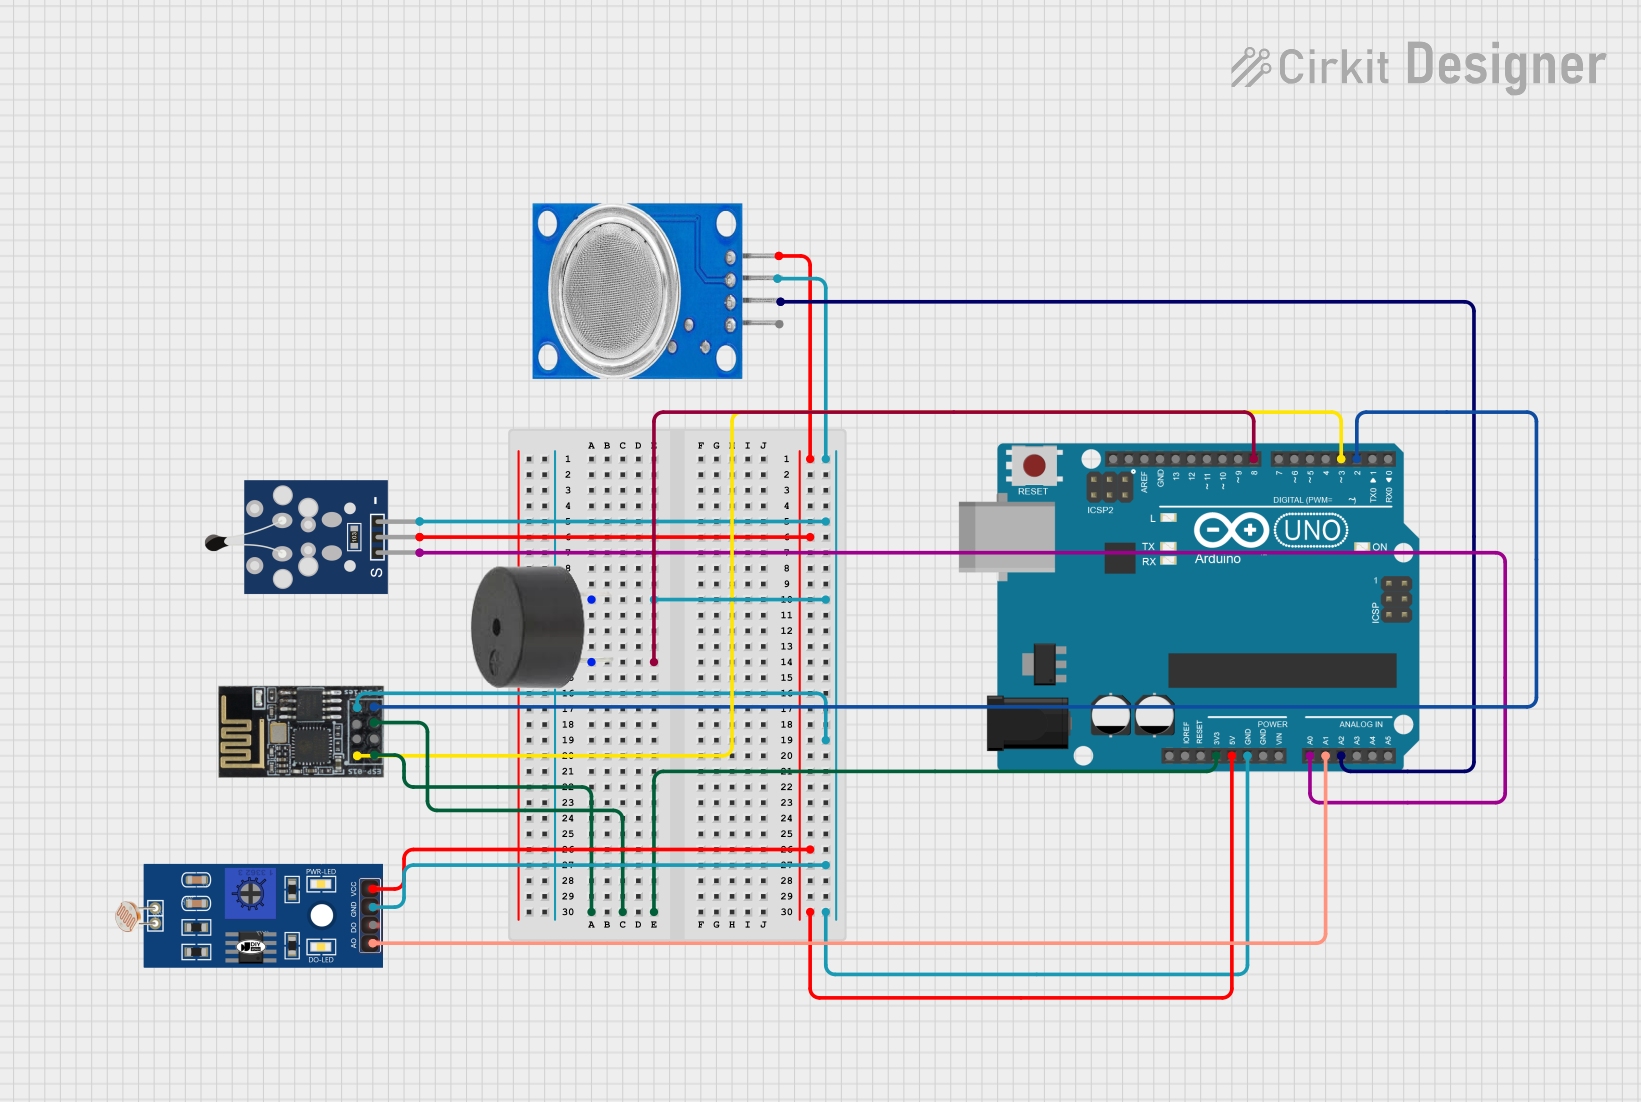
This circuit is an environmental monitoring system using an Arduino UNO, which reads data from an NTC temperature sensor, an LDR, and an MQ135 gas sensor. The data is processed and sent to a remote server via an ESP8266 WiFi module, and a buzzer is activated if certain thresholds are exceeded.
HVAC systems (Heating, Ventilation, and Air Conditioning)
Battery management systems
Temperature monitoring in consumer electronics
Over-temperature protection circuits
Technical Specifications
Key Technical Details
Resistance at 25°C: 5kΩ
B-value: Typically between 3000 and 4000 K
Operating Temperature Range: -55°C to 125°C
Thermal Time Constant: ≤ 7s (in still air)
Dissipation Constant: 5mW/°C (in still air)
Pin Configuration and Descriptions
Pin Number
Description
1
NTC Thermistor Lead
2
NTC Thermistor Lead
Note: The MKE-S05 NTC sensor is a two-terminal device, and the leads are non-polarized, meaning they can be connected in any orientation.
Usage Instructions
Integration into a Circuit
To use the MKE-S05 NTC temperature sensor in a circuit, it is typically connected in series with a fixed resistor to form a voltage divider. The voltage across the fixed resistor is then measured by an analog-to-digital converter (ADC) to determine the temperature.
Calibration: For accurate temperature readings, calibrate the sensor in the application environment.
Thermal Coupling: Ensure good thermal contact between the sensor and the surface being measured.
Avoid Self-Heating: Minimize current through the NTC to prevent self-heating which can skew readings.
Protective Coating: If used in a harsh environment, consider a protective coating for the sensor.
Troubleshooting and FAQs
Common Issues
Inaccurate Temperature Readings: Check for proper calibration and ensure the sensor is not exposed to rapid temperature changes.
Open Circuit: Ensure that there are no breaks in the circuit and that the sensor is properly connected.
Solutions and Tips
Calibration: Use a known temperature reference to calibrate the sensor.
Stable Environment: Perform measurements in a stable temperature environment when possible.
FAQs
Q: Can the sensor be used to measure liquid temperatures?
A: Yes, but ensure the sensor is waterproofed or use a version specifically designed for immersion.
Q: What is the typical response time of the sensor?
A: The thermal time constant is ≤ 7s, but the actual response will depend on the application and environment.
Example Arduino Code
Below is an example of how to connect the MKE-S05 NTC temperature sensor to an Arduino UNO and read the temperature.
// Define the analog pin connected to the sensor
const int analogPin = A0;

// Define the value of the fixed resistor in the voltage divider
const float R_fixed = 10000.0; // 10k ohm resistor

// Define the nominal resistance and temperature
const float R_nominal = 5000.0; // 5k ohm at 25 degrees C
const float T_nominal = 25.0 + 273.15; // 25 degrees C in Kelvin

// Define the B-value of the thermistor
const float B_value = 3950.0; // B-value in Kelvin

void setup() {
  Serial.begin(9600);
}

void loop() {
  int analogValue = analogRead(analogPin);
  float voltage = (analogValue / 1023.0) * 5.0; // Convert to voltage
  float R_sensor = R_fixed * (5.0 / voltage - 1.0); // Calculate sensor resistance
  float temperatureK = B_value / log(R_sensor / R_nominal); // Calculate temperature in Kelvin
  float temperatureC = temperatureK - 273.15; // Convert to Celsius

  // Print the temperature to the Serial Monitor
  Serial.print("Temperature: ");
  Serial.print(temperatureC);
  Serial.println(" C");

  delay(1000); // Wait for 1 second before the next reading
}
Note: The code above assumes a 5V supply voltage for the Arduino. If using a different voltage, adjust the voltage calculation accordingly.
Remember to wrap the sensor in a waterproof material if it is to be used in a wet environment, and always ensure that the sensor is not subjected to voltages or currents that exceed its specifications.

 Open Project in Cirkit Designer