
How to Use MATEK mLRS RX: Examples, Pinouts, and Specs
 Design with MATEK mLRS RX in Cirkit Designer
Introduction
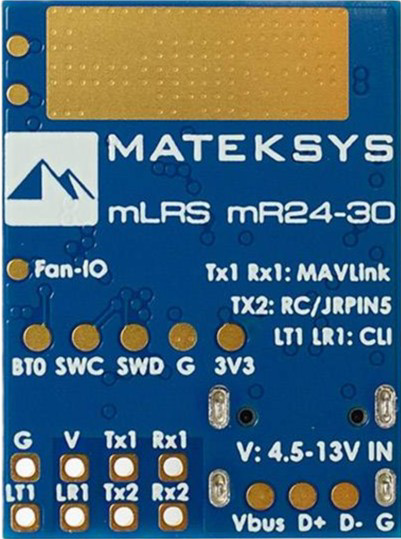
The MATEKSYS mLRS 2.4GHz Receiver (mR24-30) is a high-performance, long-range receiver designed for use in remote control systems. It ensures reliable communication between the transmitter and the aircraft, drone, or vehicle, making it an essential component for hobbyists and professionals in the RC (remote control) community. This receiver operates on the 2.4GHz frequency band and is compatible with ExpressLRS (ELRS), a popular open-source radio control system.
Explore Projects Built with MATEK mLRS RX
 Open Project in Cirkit Designer
 Open Project in Cirkit Designer
 Open Project in Cirkit Designer
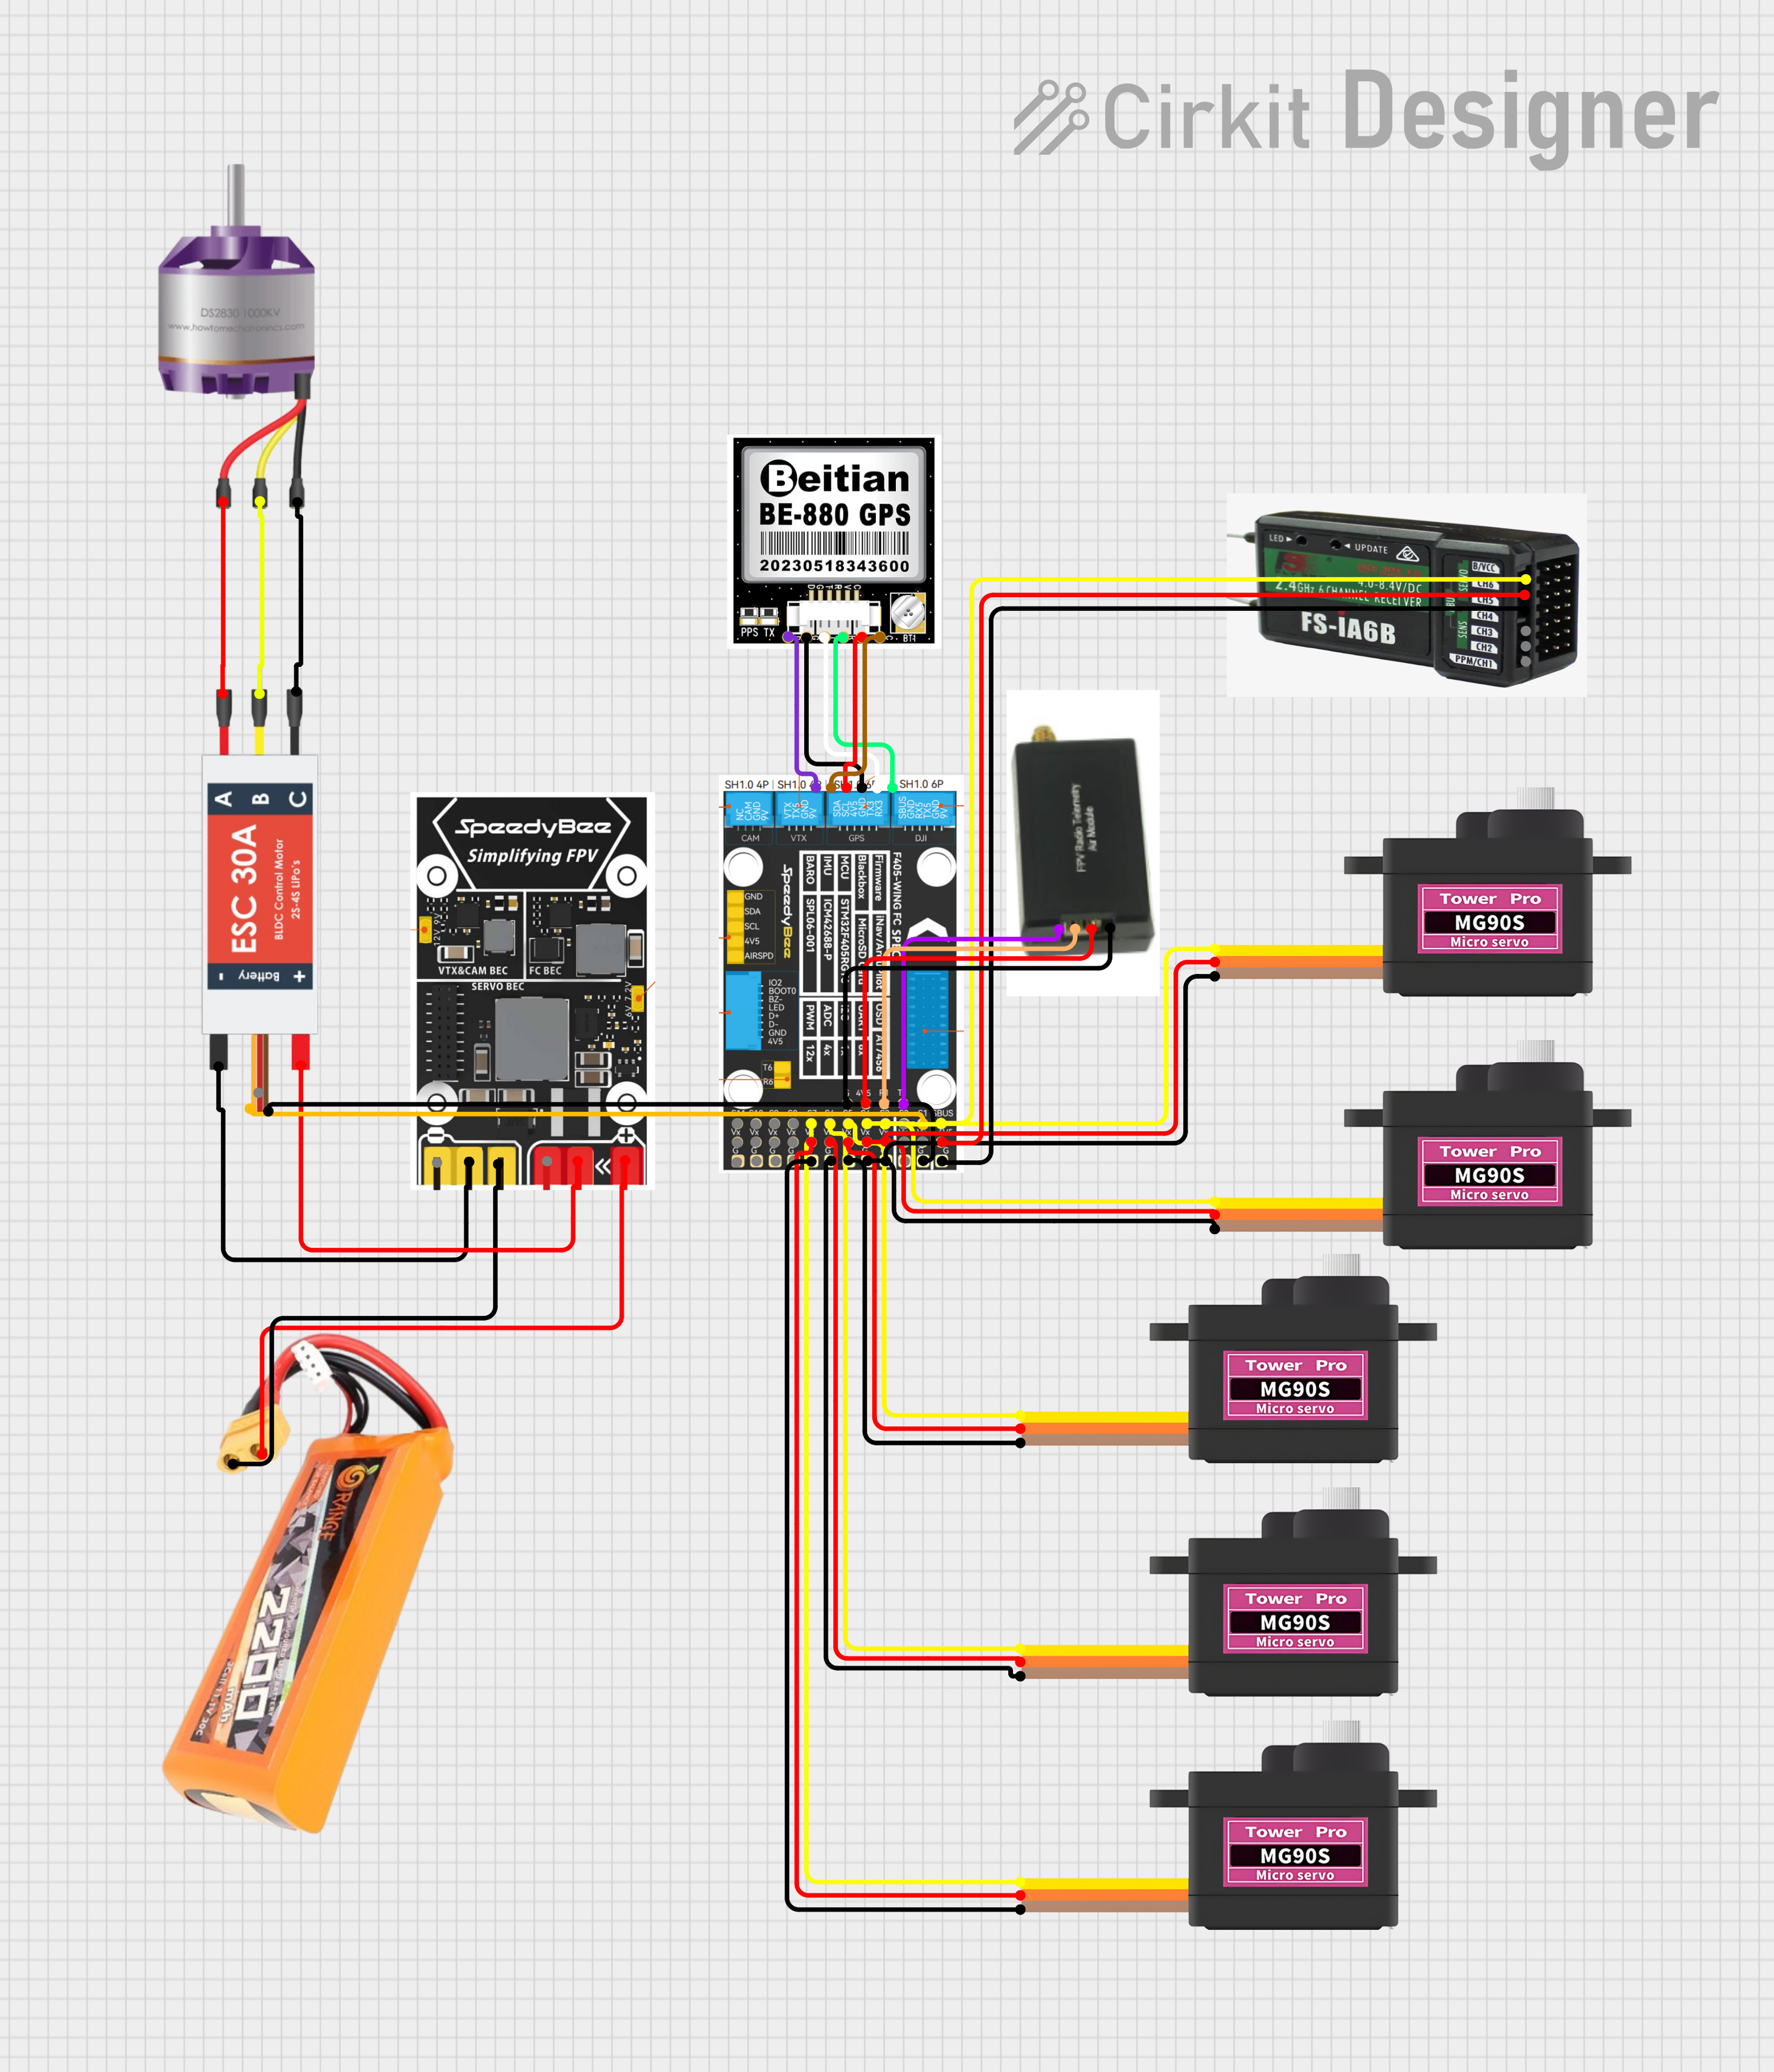 Open Project in Cirkit Designer
Explore Projects Built with MATEK mLRS RX
Open Project in Cirkit DesignerOpen Project in Cirkit DesignerOpen Project in Cirkit DesignerOpen Project in Cirkit DesignerCommon Applications and Use Cases
- Remote-controlled aircraft, drones, and vehicles
- FPV (First-Person View) systems for long-range flights
- Robotics and autonomous vehicle control
- Applications requiring low-latency, high-reliability communication
Technical Specifications
Below are the key technical details of the MATEKSYS mLRS Receiver:
| Parameter | Specification |
|---|---|
| Frequency Band | 2.4GHz |
| Protocol | ExpressLRS (ELRS) |
| Input Voltage Range | 5V (via UART or external power) |
| Antenna Connector | IPEX MHF (U.FL) |
| Dimensions | 10mm x 15mm |
| Weight | 1.5g |
| Range | Up to 30km (depending on conditions) |
| Firmware Compatibility | ExpressLRS firmware |
Pin Configuration and Descriptions
The MATEK mLRS RX features a simple pinout for easy integration into your system. Below is the pin configuration:
| Pin | Label | Description |
|---|---|---|
| 1 | GND | Ground connection |
| 2 | 5V | Power input (5V) |
| 3 | TX | UART Transmit (connect to RX on flight controller) |
| 4 | RX | UART Receive (connect to TX on flight controller) |
Usage Instructions
How to Use the Component in a Circuit
Powering the Receiver:
Connect the 5V pin to a regulated 5V power source and the GND pin to the ground of your system.Connecting to a Flight Controller:
- Use the TX pin of the receiver to connect to the RX pin of the flight controller.
- Use the RX pin of the receiver to connect to the TX pin of the flight controller.
- Ensure the UART port on the flight controller is configured for ELRS communication.
Antenna Installation:
Attach the provided antenna to the IPEX MHF (U.FL) connector. Ensure the antenna is securely connected and positioned away from other electronics to avoid interference.Binding the Receiver:
- Power on the receiver and transmitter.
- Follow the ExpressLRS binding procedure to pair the receiver with your transmitter. This typically involves entering binding mode on the transmitter and powering the receiver while holding the bind button (if applicable).
Firmware Updates:
- Use the ExpressLRS Configurator to flash the latest firmware to the receiver.
- Connect the receiver to your computer via a UART-to-USB adapter for firmware updates.
Important Considerations and Best Practices
- Antenna Placement: Ensure the antenna is mounted in a position with minimal obstructions to maximize range and signal quality.
- Power Supply: Use a clean, regulated 5V power source to avoid noise or voltage spikes that could affect performance.
- Firmware Compatibility: Always use the latest ExpressLRS firmware to ensure optimal performance and compatibility with your transmitter.
- Range Testing: Perform a range test before using the receiver in critical applications to ensure reliable communication.
Example Code for Arduino UNO
While the MATEK mLRS RX is typically used with flight controllers, it can also be connected to an Arduino UNO for testing or custom applications. Below is an example of how to read data from the receiver using the Arduino's UART interface:
#include <SoftwareSerial.h>

// Define RX and TX pins for SoftwareSerial
#define RX_PIN 10  // Connect to TX pin of mLRS RX
#define TX_PIN 11  // Connect to RX pin of mLRS RX

// Initialize SoftwareSerial
SoftwareSerial mLRS(RX_PIN, TX_PIN);

void setup() {
  // Start the serial communication
  Serial.begin(9600);  // For debugging via Serial Monitor
  mLRS.begin(115200);  // Baud rate for mLRS communication

  Serial.println("MATEK mLRS RX Test Initialized");
}

void loop() {
  // Check if data is available from the receiver
  if (mLRS.available()) {
    // Read and print the received data
    char receivedData = mLRS.read();
    Serial.print("Received: ");
    Serial.println(receivedData);
  }

  // Optional: Send data to the receiver
  if (Serial.available()) {
    char dataToSend = Serial.read();
    mLRS.write(dataToSend);
    Serial.print("Sent: ");
    Serial.println(dataToSend);
  }
}
Note: Replace the baud rate (
115200) with the appropriate value if your receiver uses a different setting.
Troubleshooting and FAQs
Common Issues and Solutions
Receiver Not Binding to Transmitter:
- Ensure both the receiver and transmitter are running compatible ExpressLRS firmware versions.
- Verify that the receiver is in binding mode (check the LED status).
- Check for proper antenna connection.
No Communication Between Receiver and Flight Controller:
- Confirm the UART port on the flight controller is configured for ELRS.
- Double-check the wiring (TX to RX and RX to TX).
- Ensure the baud rate settings match between the receiver and flight controller.
Short Range or Signal Drops:
- Verify the antenna is securely connected and properly positioned.
- Check for sources of interference near the receiver or antenna.
- Perform a range test to identify potential issues.
Firmware Update Fails:
- Ensure the UART-to-USB adapter is functioning correctly.
- Use the latest version of the ExpressLRS Configurator.
- Verify the correct COM port is selected during the update process.
FAQs
Q: Can I use the MATEK mLRS RX with other protocols besides ExpressLRS?
A: No, the mLRS RX is specifically designed for use with the ExpressLRS protocol.
Q: What is the maximum range of the receiver?
A: The receiver can achieve a range of up to 30km under optimal conditions, such as clear line-of-sight and minimal interference.
Q: How do I know if the receiver is working correctly?
A: The LED on the receiver provides status information. Refer to the ExpressLRS documentation for LED behavior details.
Q: Can I use this receiver with a 3.3V power source?
A: No, the receiver requires a 5V power source for proper operation.
By following this documentation, you can effectively integrate and troubleshoot the MATEK mLRS RX in your projects.