
How to Use 1 Watt LED Cool White w/ Heatsink: Examples, Pinouts, and Specs
 Design with 1 Watt LED Cool White w/ Heatsink in Cirkit Designer
Introduction
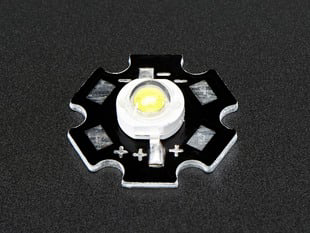
The 1 Watt LED Cool White with Heatsink, manufactured by Adafruit (part ID: 518), is a high-brightness, semiconductor light source that emits cool white light when electric current passes through it. This LED is designed for high-performance applications requiring significant illumination, such as task lighting, spot lighting, and architectural lighting. The included heatsink is essential for heat dissipation, ensuring the LED operates within its temperature limits, thereby extending its lifespan.
Explore Projects Built with 1 Watt LED Cool White w/ Heatsink
 Open Project in Cirkit Designer
 Open Project in Cirkit Designer
 Open Project in Cirkit Designer
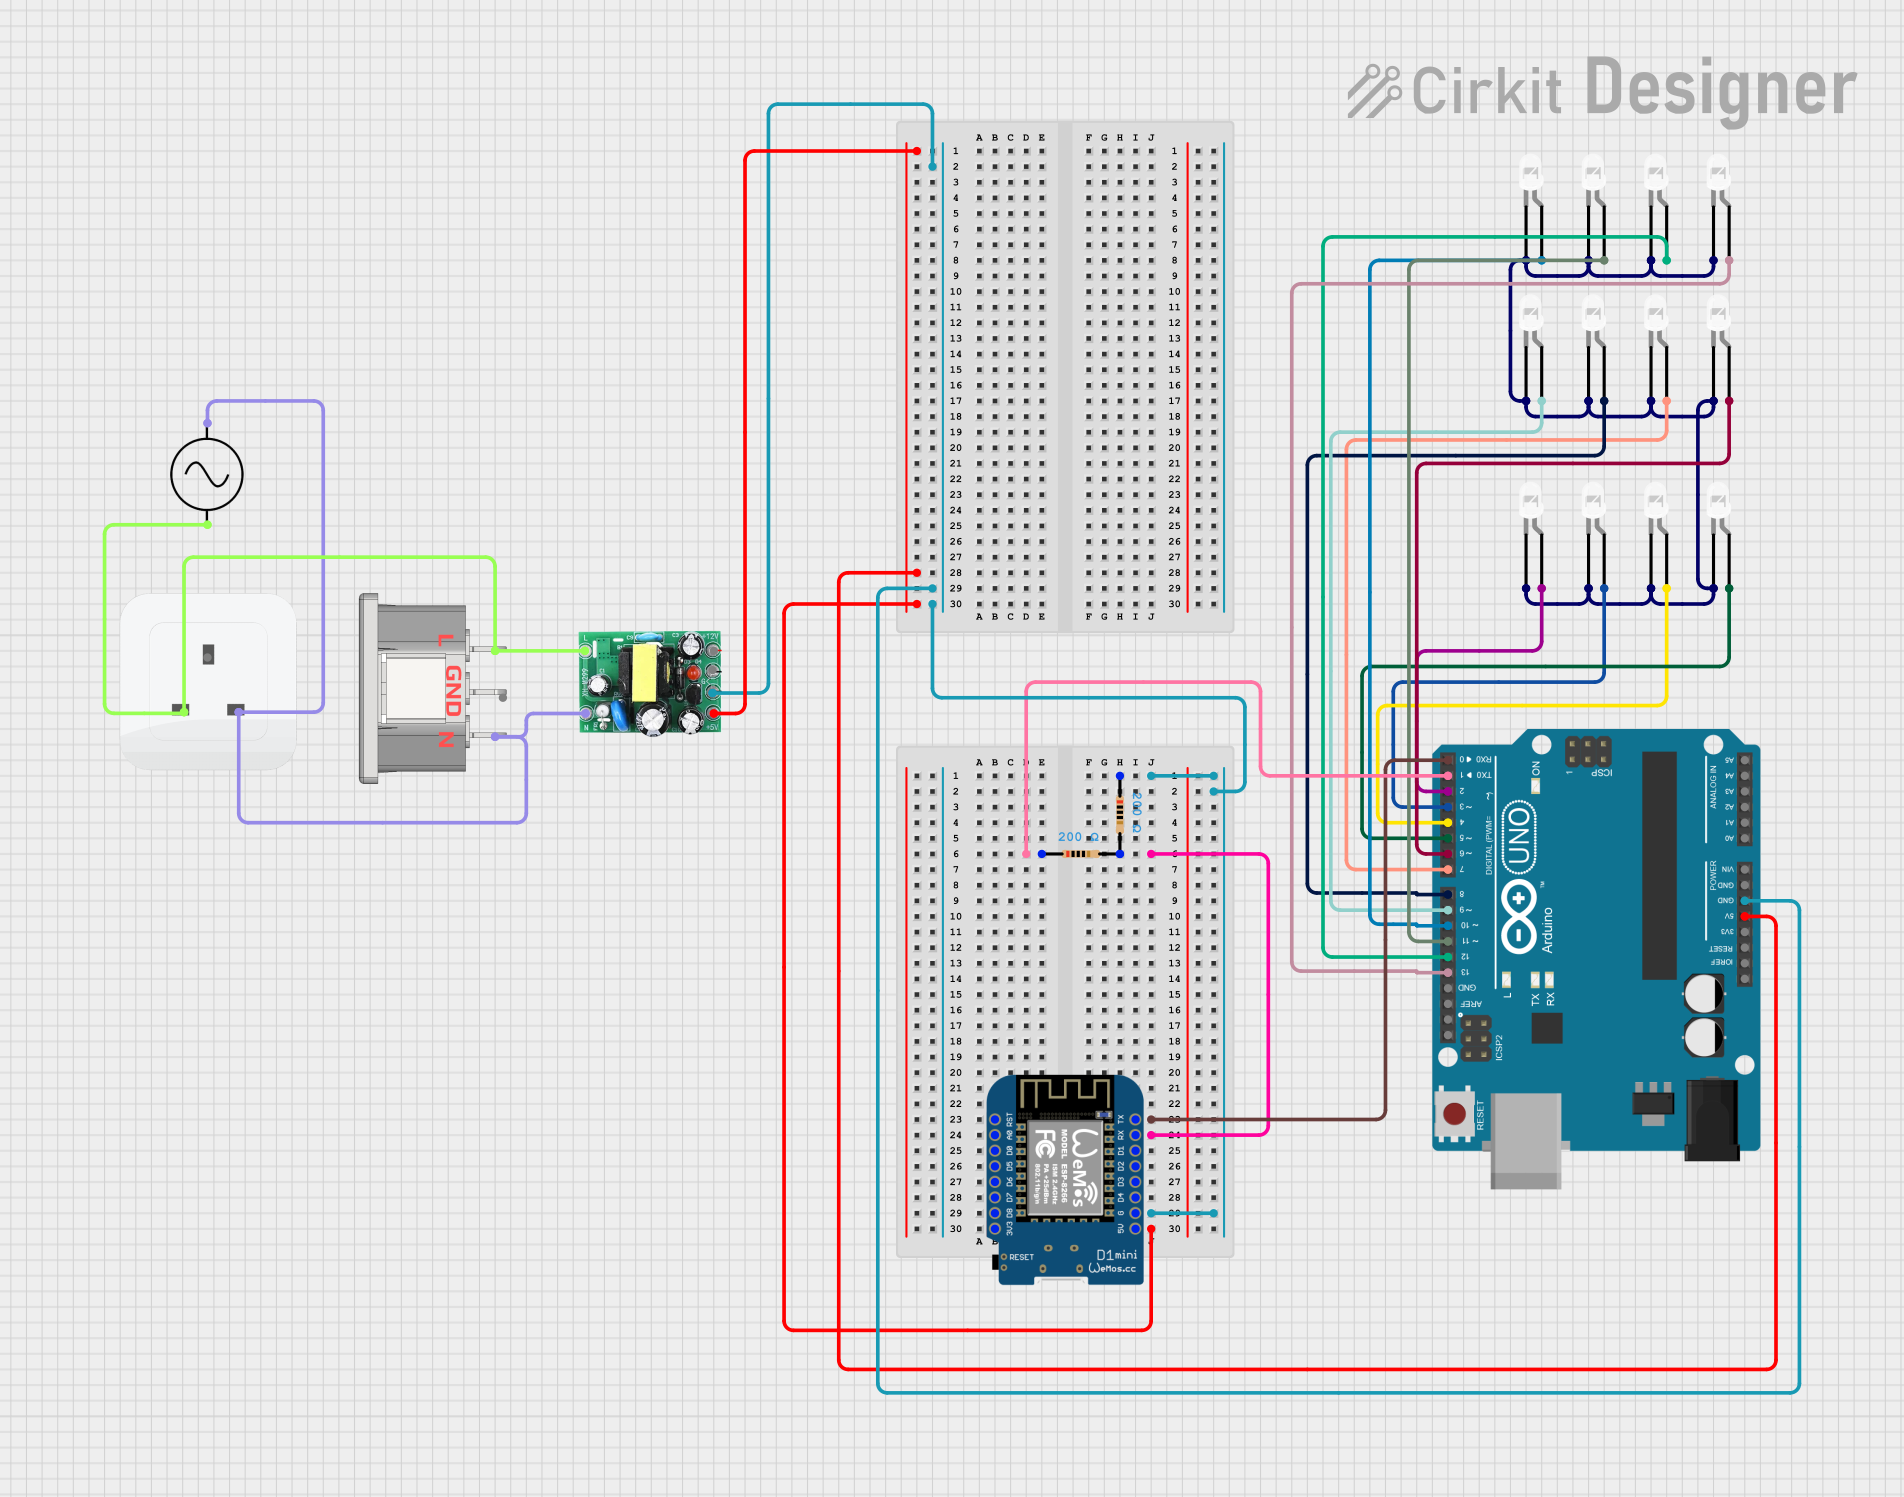
 Open Project in Cirkit Designer
Explore Projects Built with 1 Watt LED Cool White w/ Heatsink

 Open Project in Cirkit Designer
 Open Project in Cirkit Designer
 Open Project in Cirkit Designer
 Open Project in Cirkit Designer
Common Applications and Use Cases
- Task lighting in workspaces
- Spot lighting for displays or features
- Architectural and accent lighting
- DIY projects and hobbyist applications
- Prototyping for industrial lighting solutions
Technical Specifications
Key Technical Details
- Forward Voltage (VF): 3.0 - 3.4V
- Forward Current (IF): 350mA (max)
- Luminous Flux: Approximately 90-100 lumens
- Color Temperature: Cool White, 6000K - 6500K
- Viewing Angle: 120 degrees
- Operating Temperature: -40°C to +60°C
Pin Configuration and Descriptions
| Pin Number | Description | Notes |
|---|---|---|
| 1 | Anode (+) | Connect to positive power supply |
| 2 | Cathode (-) | Connect to ground |
Usage Instructions
How to Use the Component in a Circuit
Power Supply: Ensure that the power supply voltage does not exceed the forward voltage of the LED. Use a current-limiting resistor to prevent exceeding the maximum forward current.
Current-Limiting Resistor: Calculate the resistor value using Ohm's law:
R = (V_supply - V_forward) / I_forward. For a 5V supply, a resistor value of(5V - 3.4V) / 350mA ≈ 4.6Ωis needed. Round up to the nearest standard resistor value.Heatsink Attachment: The heatsink should be securely attached to the LED to ensure proper heat dissipation. Use thermal adhesive or compound if necessary.
Wiring: Connect the anode of the LED to the positive side of the power supply through the current-limiting resistor. Connect the cathode to the ground.
Important Considerations and Best Practices
- Do not exceed the maximum ratings for voltage and current.
- Always use a current-limiting resistor.
- Ensure proper heat dissipation with the heatsink.
- Avoid looking directly at the LED when powered to prevent eye damage.
- Use proper ESD precautions when handling the LED.
Troubleshooting and FAQs
Common Issues
- LED Not Lighting Up: Check the polarity of the connections and ensure the power supply is functioning.
- LED Overheating: Ensure the heatsink is properly attached and that there is adequate airflow.
- Dim Light Output: Confirm that the current-limiting resistor is the correct value and that the power supply voltage is adequate.
Solutions and Tips for Troubleshooting
- Verify all connections and measure voltage across the LED to ensure it falls within the specified forward voltage range.
- If the LED is overheating, improve heat dissipation by enhancing airflow or reapplying thermal compound.
- Replace the current-limiting resistor with the correct value if the LED appears dim.
FAQs
Q: Can I power this LED directly from an Arduino pin? A: No, an Arduino pin cannot supply enough current for this LED. Use an external power source and a transistor to switch the LED on and off.
Q: How long can I run the LED continuously? A: The LED can run continuously as long as it is within the operating temperature range and proper current limits are maintained.
Q: Is it necessary to use a heatsink? A: Yes, the heatsink is crucial for maintaining the LED's temperature within safe limits.
Example Arduino Code
Below is an example of how to control the 1 Watt LED using an Arduino UNO. This example assumes the use of a suitable current-limiting resistor and an external power source.
const int ledPin = 9; // Connect the LED through a transistor to pin 9

void setup() {
  pinMode(ledPin, OUTPUT);
}

void loop() {
  analogWrite(ledPin, 128); // Set to 50% brightness
  delay(1000);
  analogWrite(ledPin, 255); // Set to 100% brightness
  delay(1000);
}
Note: The analogWrite function is used for PWM control of the LED brightness. Ensure that the transistor used can handle the LED's current requirements.