How to Use DC Motor: Examples, Pinouts, and Specs
Introduction
A DC motor, manufactured by Earth4002 with part ID 4002, is an electromechanical device that converts direct current (DC) electrical energy into mechanical energy. This component is widely used in applications requiring rotational motion, such as robotics, conveyor belts, fans, and electric vehicles. Its ability to provide precise speed and torque control makes it a versatile choice for various industrial and consumer applications.
Explore Projects Built with DC Motor


Explore Projects Built with DC Motor
Common Applications
- Robotics and automation systems
- Electric vehicles and drones
- Conveyor belts and industrial machinery
- Household appliances (e.g., fans, mixers)
- Toys and hobbyist projects
Technical Specifications
Below are the key technical details for the Earth4002 DC motor:
| Parameter | Value |
|---|---|
| Operating Voltage | 6V to 12V DC |
| Rated Current | 1.2A |
| Stall Current | 2.5A |
| Rated Speed | 3000 RPM (at 12V) |
| Torque | 0.5 Nm (at rated speed) |
| Power Output | 6W (at rated speed) |
| Motor Type | Brushed DC Motor |
| Shaft Diameter | 6 mm |
| Dimensions | 50 mm x 30 mm x 30 mm |
| Weight | 150 g |
Pin Configuration and Descriptions
The Earth4002 DC motor has two terminals for electrical connections:
| Pin | Description |
|---|---|
| + | Positive terminal for DC power input |
| - | Negative terminal for DC power input |
Note: The polarity of the connections determines the direction of rotation. Reversing the polarity will reverse the motor's rotation.
Usage Instructions
How to Use the DC Motor in a Circuit
- Power Supply: Connect the motor to a DC power source within the operating voltage range (6V to 12V). Ensure the power supply can provide sufficient current (at least 2.5A for stall conditions).
- Motor Driver: Use a motor driver (e.g., L298N or L293D) or an H-bridge circuit to control the motor's speed and direction. Directly connecting the motor to a microcontroller is not recommended due to high current requirements.
- Speed Control: Implement Pulse Width Modulation (PWM) to control the motor's speed. Most motor drivers support PWM input.
- Direction Control: Use the motor driver's control pins to reverse the polarity and change the motor's rotation direction.
Important Considerations and Best Practices
- Current Protection: Use a fuse or current-limiting resistor to protect the motor and circuit from overcurrent conditions.
- Heat Dissipation: Ensure proper ventilation or heat sinks to prevent overheating during prolonged operation.
- Noise Suppression: Add capacitors (e.g., 0.1 µF) across the motor terminals to reduce electrical noise.
- Load Matching: Avoid overloading the motor beyond its rated torque to prevent damage.
- Polarity Check: Double-check the polarity of connections before powering the motor to avoid reverse rotation or damage.
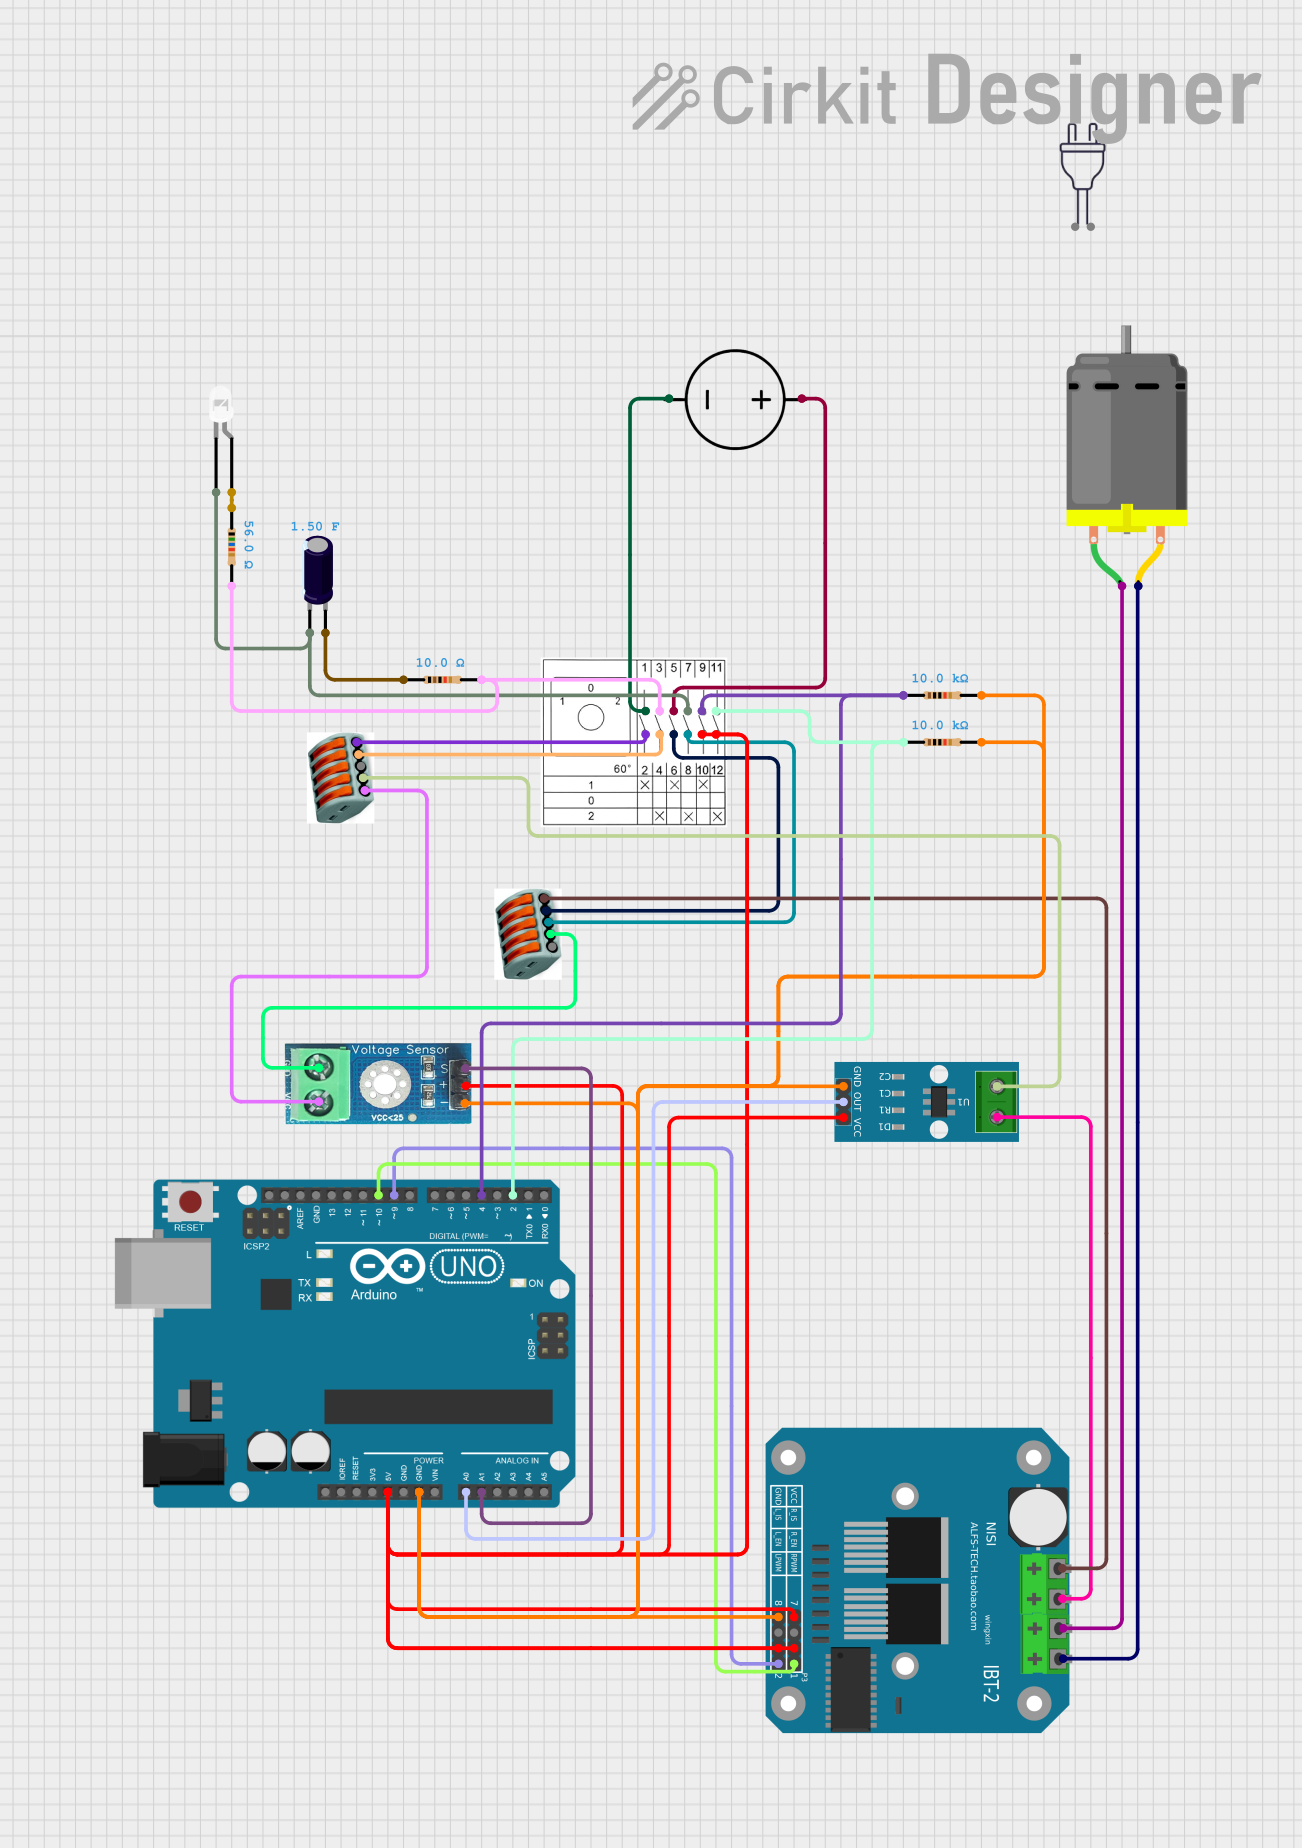
Example: Connecting the DC Motor to an Arduino UNO
Below is an example of how to control the Earth4002 DC motor using an Arduino UNO and an L298N motor driver:
// Example: Controlling a DC Motor with Arduino UNO and L298N Motor Driver

// Define motor control pins
const int ENA = 9;  // PWM pin for speed control
const int IN1 = 8;  // Direction control pin 1
const int IN2 = 7;  // Direction control pin 2

void setup() {
  // Set motor control pins as outputs
  pinMode(ENA, OUTPUT);
  pinMode(IN1, OUTPUT);
  pinMode(IN2, OUTPUT);
}

void loop() {
  // Rotate motor in forward direction
  digitalWrite(IN1, HIGH);  // Set IN1 high
  digitalWrite(IN2, LOW);   // Set IN2 low
  analogWrite(ENA, 128);    // Set speed to 50% (PWM value: 128 out of 255)
  delay(3000);              // Run for 3 seconds

  // Stop the motor
  analogWrite(ENA, 0);      // Set speed to 0
  delay(1000);              // Wait for 1 second

  // Rotate motor in reverse direction
  digitalWrite(IN1, LOW);   // Set IN1 low
  digitalWrite(IN2, HIGH);  // Set IN2 high
  analogWrite(ENA, 200);    // Set speed to ~78% (PWM value: 200 out of 255)
  delay(3000);              // Run for 3 seconds

  // Stop the motor
  analogWrite(ENA, 0);      // Set speed to 0
  delay(1000);              // Wait for 1 second
}
Note: Ensure the motor driver is powered with a suitable external power supply, and connect the motor terminals to the driver's output pins.
Troubleshooting and FAQs
Common Issues and Solutions
Motor Does Not Spin
- Cause: Insufficient power supply or loose connections.
- Solution: Verify the power supply voltage and current. Check all connections.
Motor Spins in the Wrong Direction
- Cause: Incorrect polarity of the motor terminals.
- Solution: Reverse the connections to the motor terminals or adjust the control signals.
Motor Overheats
- Cause: Prolonged operation at high current or excessive load.
- Solution: Reduce the load or provide better cooling (e.g., heat sinks or fans).
Excessive Noise or Vibration
- Cause: Electrical noise or mechanical imbalance.
- Solution: Add capacitors across the motor terminals and check for physical alignment.
Arduino Cannot Control the Motor
- Cause: Motor driver not properly connected or insufficient power.
- Solution: Verify the motor driver's connections and ensure it is powered correctly.
FAQs
Q: Can I connect the DC motor directly to an Arduino?
A: No, the motor's current requirements exceed the Arduino's output capacity. Use a motor driver.Q: How do I control the motor's speed?
A: Use PWM signals from a microcontroller or motor driver to adjust the motor's speed.Q: What happens if I exceed the motor's rated voltage?
A: Exceeding the rated voltage can damage the motor or reduce its lifespan. Always stay within the specified range.Q: Can I use this motor for continuous operation?
A: Yes, but ensure proper cooling and avoid overloading to prevent overheating.
This concludes the documentation for the Earth4002 DC motor. For further assistance, refer to the manufacturer's datasheet or contact technical support.