How to Use YL-99 Limit switch: Examples, Pinouts, and Specs
Introduction
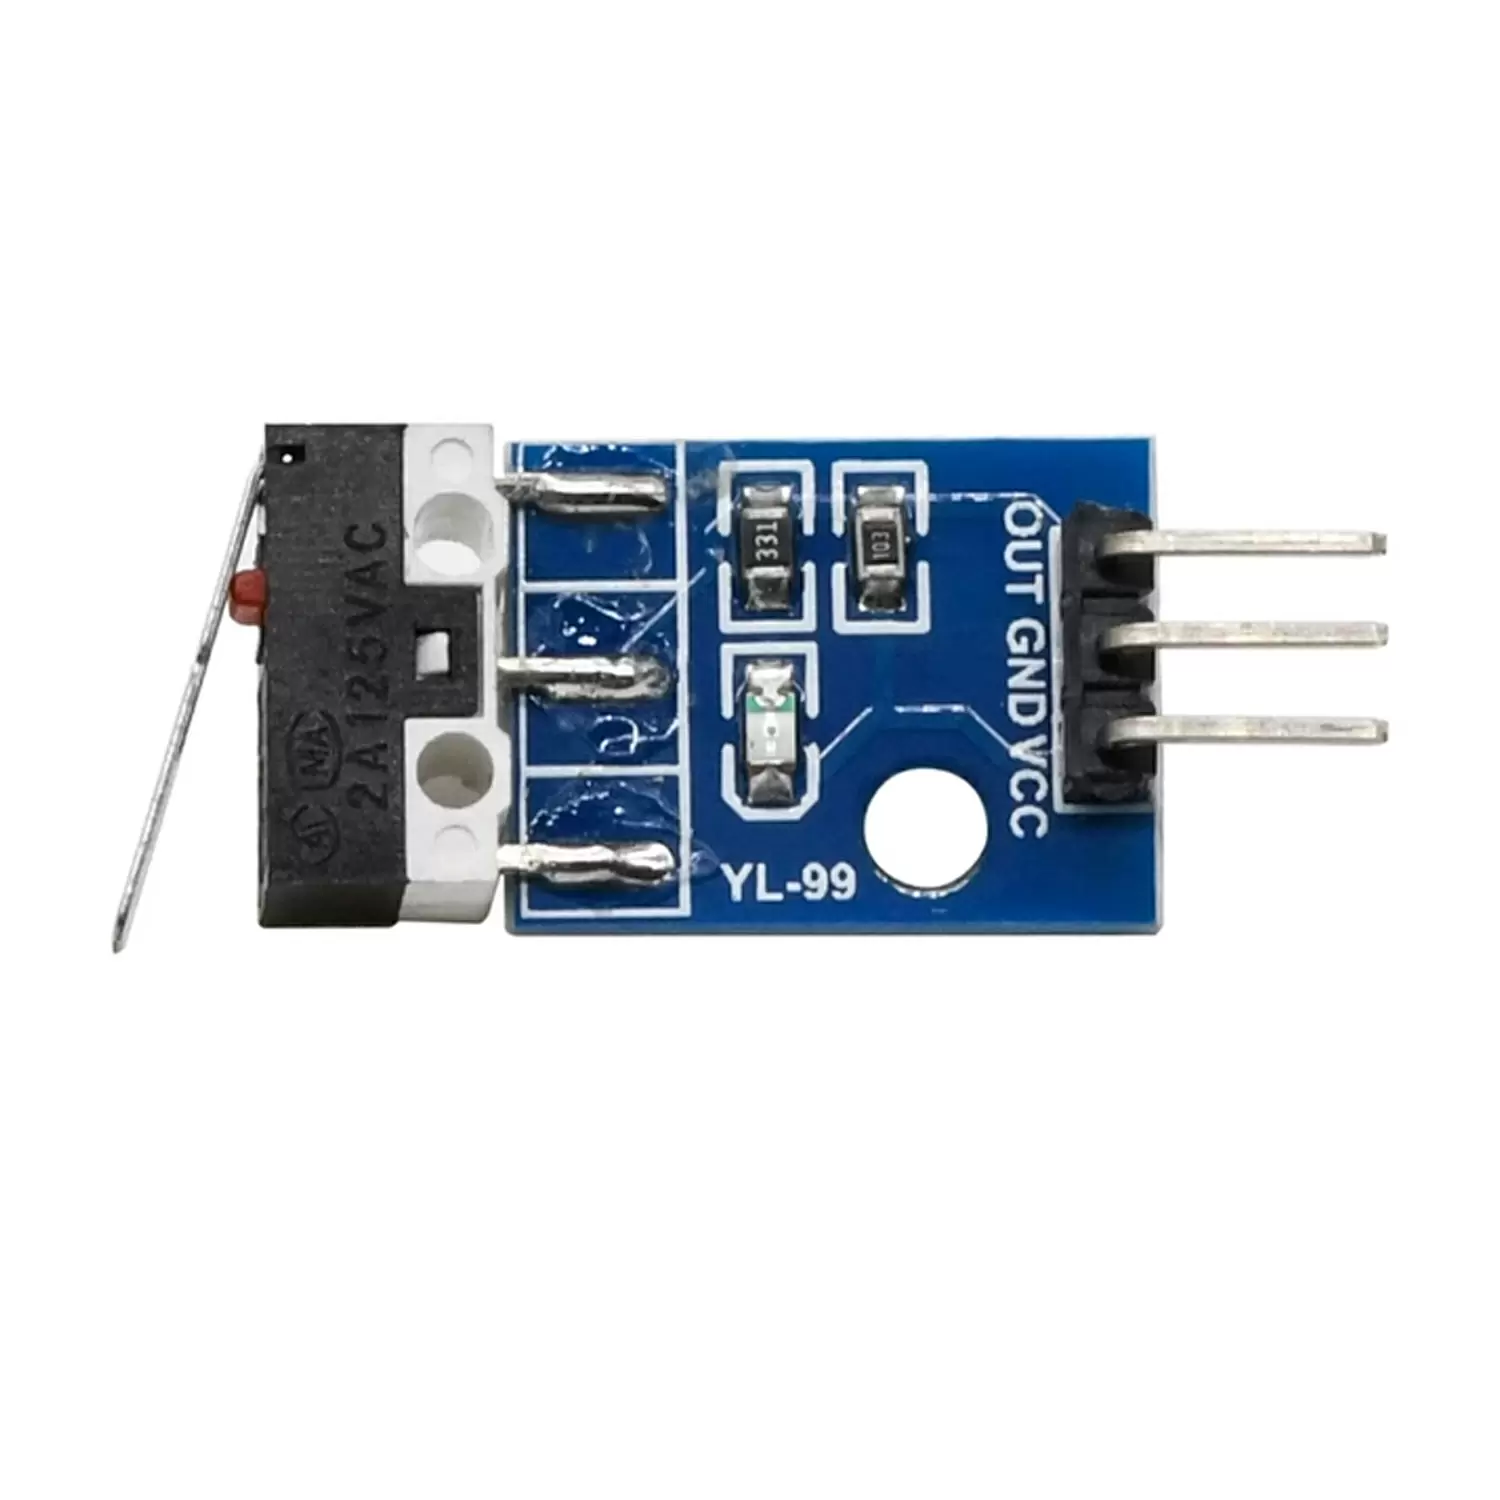
The YL-99 Limit Switch is a mechanical device designed to detect the presence or position of an object. It operates by opening or closing an electrical circuit when a predetermined limit is reached. This makes it an essential component in automation, robotics, and industrial control systems. The YL-99 is compact, reliable, and easy to integrate into various projects, making it a popular choice for hobbyists and professionals alike.
Explore Projects Built with YL-99 Limit switch
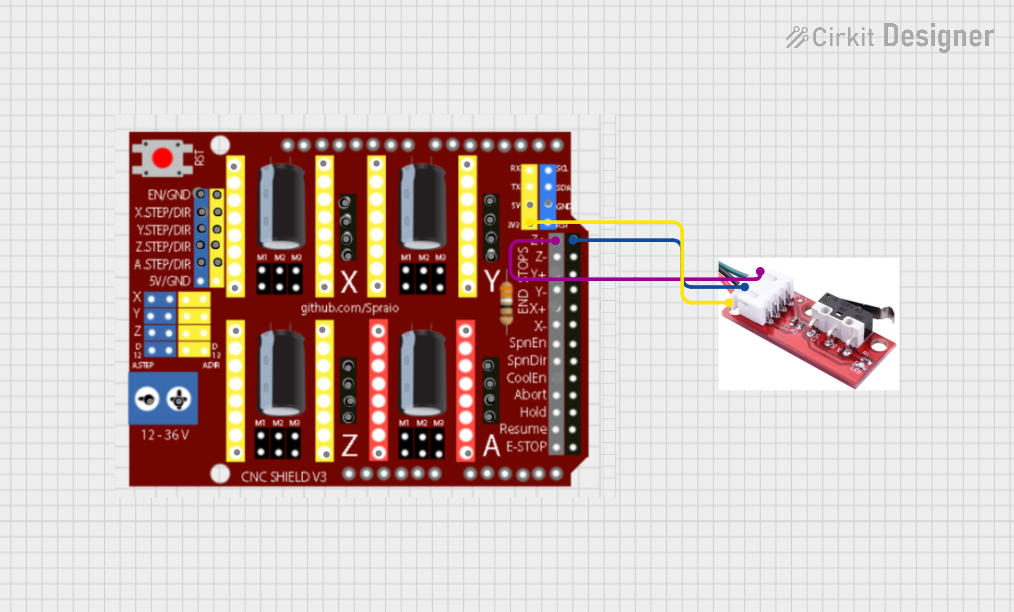
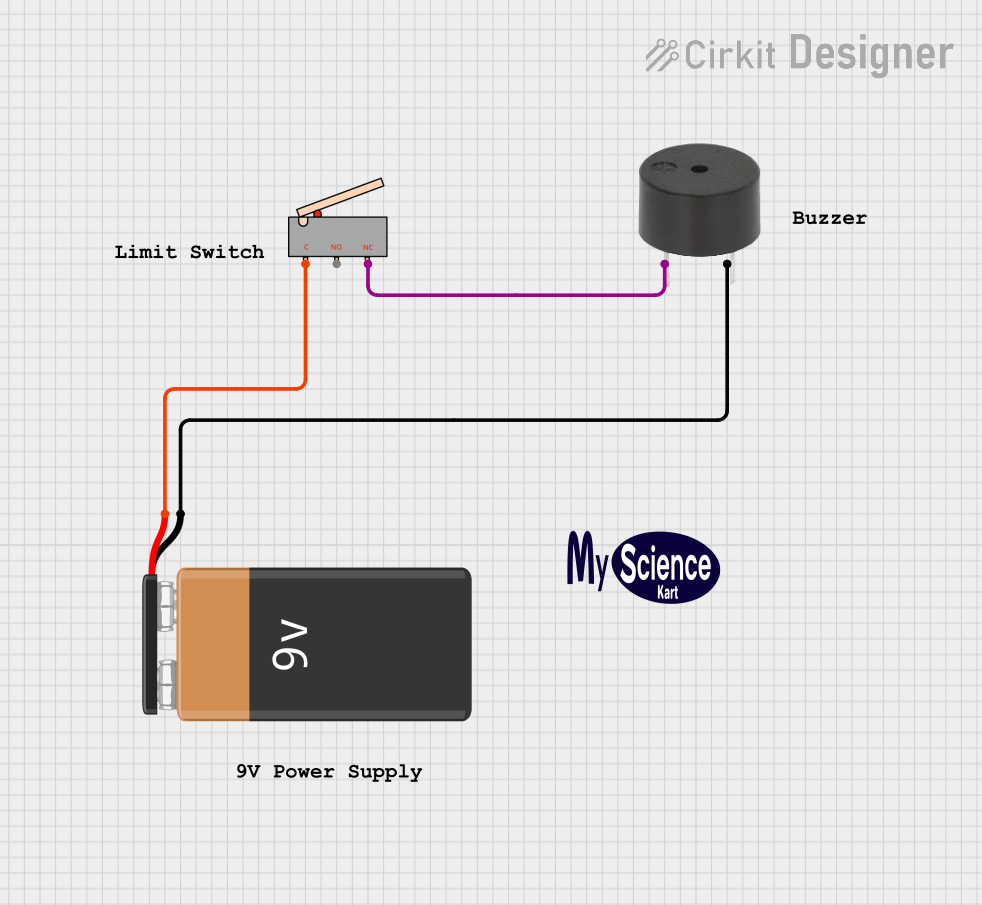
Explore Projects Built with YL-99 Limit switch
Common Applications and Use Cases
- Detecting the end position of moving parts in machinery
- Triggering events in conveyor belt systems
- Safety interlocks in industrial equipment
- Position sensing in robotics
- Home automation systems
Technical Specifications
The YL-99 Limit Switch is a simple yet robust device. Below are its key technical details:
| Parameter | Specification |
|---|---|
| Operating Voltage | 5V DC |
| Maximum Current | 300mA |
| Contact Type | Normally Open (NO) or Normally Closed (NC) |
| Switch Type | Mechanical |
| Dimensions | 27mm x 10mm x 10mm |
| Mounting Hole Diameter | 2mm |
| Operating Temperature | -25°C to 85°C |
Pin Configuration and Descriptions
The YL-99 Limit Switch typically has three pins:
| Pin | Name | Description |
|---|---|---|
| 1 | Common (COM) | The common terminal for the switch circuit. |
| 2 | Normally Open (NO) | Open circuit by default; closes when the switch is pressed. |
| 3 | Normally Closed (NC) | Closed circuit by default; opens when the switch is pressed. |
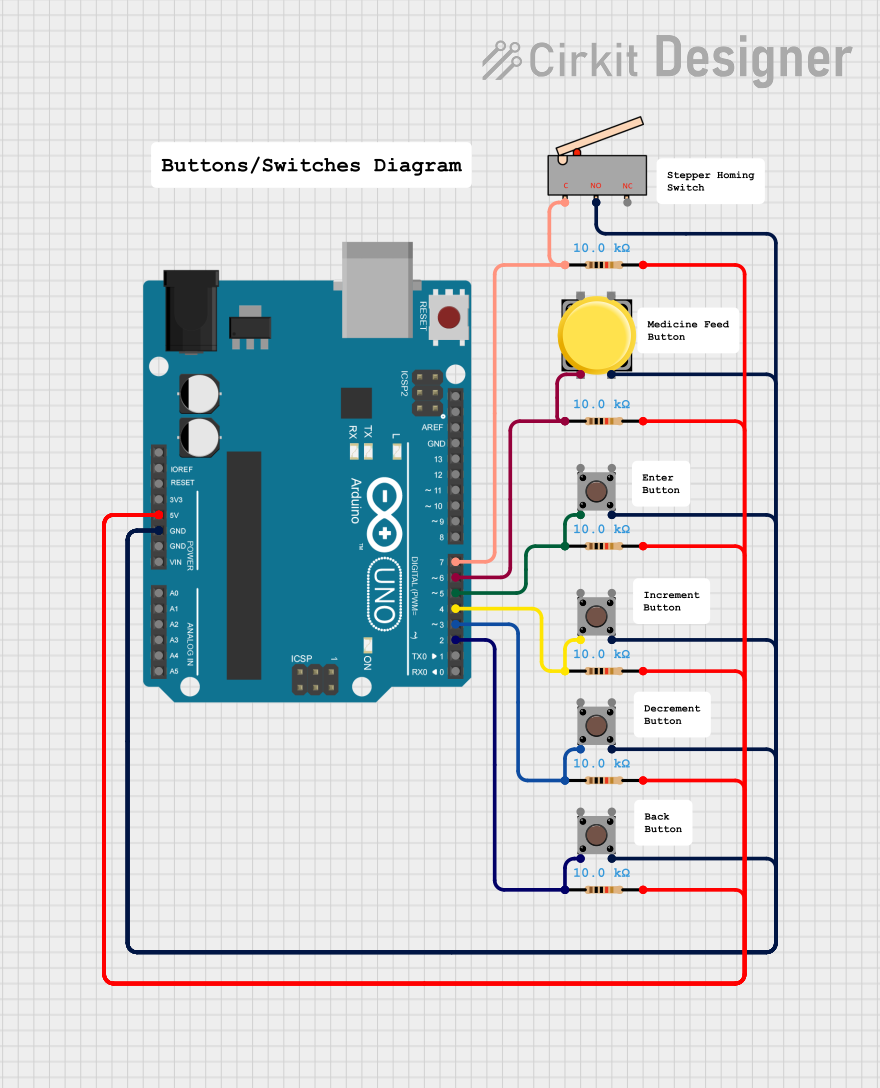
Usage Instructions
How to Use the YL-99 Limit Switch in a Circuit
Wiring the Switch:
- Connect the
COMpin to the positive terminal of your power source or signal input. - Use the
NOpin if you want the circuit to close (activate) when the switch is pressed. - Use the
NCpin if you want the circuit to open (deactivate) when the switch is pressed.
- Connect the
Integration with Microcontrollers:
- The YL-99 can be connected to a microcontroller (e.g., Arduino UNO) to detect the switch's state.
- Use a pull-up or pull-down resistor to ensure stable readings.
Example Circuit:
- Connect the
COMpin to the ground (GND) of the Arduino. - Connect the
NOpin to a digital input pin on the Arduino (e.g., D2). - Use a 10kΩ pull-up resistor between the digital input pin and 5V.
- Connect the
Arduino UNO Example Code
// YL-99 Limit Switch Example Code
// This code reads the state of the limit switch and prints it to the Serial Monitor.

const int switchPin = 2; // Pin connected to the NO pin of the YL-99
int switchState = 0;     // Variable to store the state of the switch

void setup() {
  pinMode(switchPin, INPUT_PULLUP); // Set the pin as input with internal pull-up
  Serial.begin(9600);              // Initialize serial communication
}

void loop() {
  switchState = digitalRead(switchPin); // Read the state of the switch

  if (switchState == LOW) {
    // Switch is pressed (NO pin connected to GND)
    Serial.println("Switch Pressed");
  } else {
    // Switch is not pressed
    Serial.println("Switch Released");
  }

  delay(100); // Small delay to avoid spamming the Serial Monitor
}
Important Considerations and Best Practices
- Debouncing: Mechanical switches like the YL-99 can produce noise or "bouncing" when pressed. Use software debouncing (e.g., a small delay) or hardware debouncing (e.g., a capacitor) to ensure stable readings.
- Voltage Levels: Ensure the operating voltage does not exceed the specified 5V DC to avoid damaging the switch.
- Mounting: Secure the switch using screws or adhesive to prevent movement during operation.
- Environmental Conditions: Avoid exposing the switch to extreme temperatures or moisture unless it is specifically rated for such conditions.
Troubleshooting and FAQs
Common Issues and Solutions
Switch Not Responding:
- Cause: Loose or incorrect wiring.
- Solution: Double-check the connections, ensuring the
COMpin is properly connected and the correct output pin (NOorNC) is used.
Unstable Readings:
- Cause: Switch bouncing or electrical noise.
- Solution: Implement debouncing in your code or add a capacitor across the switch terminals.
Switch Stuck in One State:
- Cause: Mechanical failure or debris inside the switch.
- Solution: Inspect the switch for physical damage or obstructions. Replace if necessary.
Arduino Not Detecting the Switch:
- Cause: Missing pull-up or pull-down resistor.
- Solution: Use the
INPUT_PULLUPmode in your Arduino code or add an external resistor.
FAQs
Q: Can the YL-99 Limit Switch handle AC voltage?
A: No, the YL-99 is designed for low-voltage DC applications only. Using it with AC voltage may damage the switch or pose a safety hazard.
Q: How do I choose between the NO and NC pins?
A: Use the NO pin if you want the circuit to activate when the switch is pressed. Use the NC pin if you want the circuit to deactivate when the switch is pressed.
Q: Can I use the YL-99 in outdoor environments?
A: The YL-99 is not weatherproof. If outdoor use is required, consider enclosing it in a waterproof housing.
Q: What is the lifespan of the YL-99 Limit Switch?
A: The lifespan depends on usage conditions but is typically rated for thousands of mechanical operations under normal conditions.