Cirkit Designer Logo
Cirkit Designer
Your all-in-one circuit design IDE
Home / 
Component Documentation

How to Use TCA8418: Examples, Pinouts, and Specs

Image of TCA8418
Cirkit Designer LogoDesign with TCA8418 in Cirkit Designer

Introduction

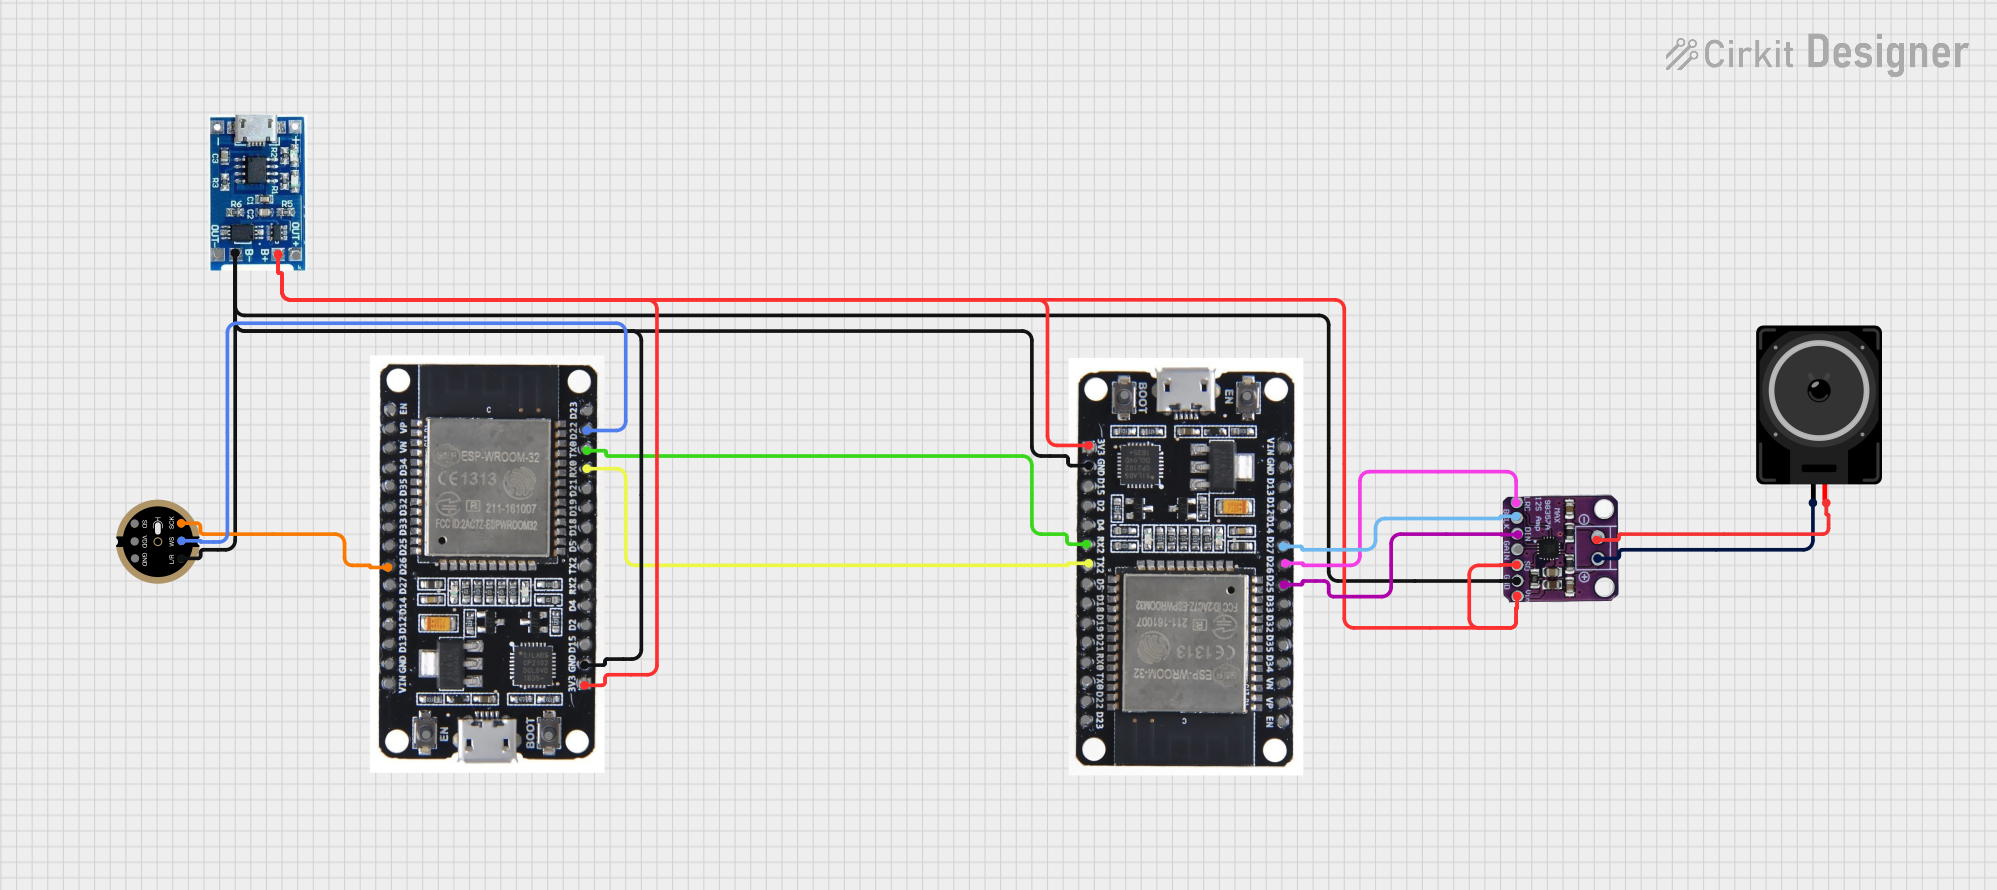
The TCA8418, manufactured by Adafruit, is a 16-key capacitive touch sensor controller designed to interface with microcontrollers via the I2C protocol. This versatile component is equipped with features such as key scanning, debounce handling, and interrupt generation, making it an excellent choice for touch-sensitive applications. It is commonly used in devices requiring capacitive touch input, such as keypads, control panels, and user interfaces.

Explore Projects Built with TCA8418

Use Cirkit Designer to design, explore, and prototype these projects online. Some projects support real-time simulation. Click "Open Project" to start designing instantly!
Configurable Battery-Powered RF Signal Transmitter with DIP Switch Settings
Image of fyp transmitter: A project utilizing TCA8418 in a practical application
This circuit appears to be a configurable encoder system with an RF transmission capability. The encoder's address pins (A0-A7) are connected to a DIP switch for setting the address, and its data output (DO) is connected to an RF transmitter, allowing the encoded signal to be wirelessly transmitted. The circuit is powered by a 9V battery, regulated to 5V by a 7805 voltage regulator, and includes a diode for polarity protection. Tactile switches are connected to the encoder's data inputs (D1-D3), and an LED with a current-limiting resistor indicates power or activity.
Cirkit Designer LogoOpen Project in Cirkit Designer
ESP32-Based Portable Smart Speaker with Audio Input Processing
Image of talkAI: A project utilizing TCA8418 in a practical application
This circuit features two ESP32 microcontrollers configured for serial communication, with one ESP32's TX0 connected to the other's RX2, and vice versa. An INMP441 microphone is interfaced with one ESP32 for audio input, using I2S protocol with connections for serial clock (SCK), word select (WS), and serial data (SD). A Max98357 audio amplifier is connected to the other ESP32 to drive a loudspeaker, receiving I2S data (DIN), bit clock (BLCK), and left-right clock (LRC), and is powered by a lipo battery charger module.
Cirkit Designer LogoOpen Project in Cirkit Designer
Satellite-Based Timing and Navigation System with SDR and Atomic Clock Synchronization
Image of GPS 시스템 측정 구성도_Confirm: A project utilizing TCA8418 in a practical application
This circuit appears to be a complex system involving power supply management, GPS and timing synchronization, and data communication. It includes a SI-TEX G1 Satellite Compass for GPS data, an XHTF1021 Atomic Rubidium Clock for precise timing, and Ettus USRP B200 units for software-defined radio communication. Power is supplied through various SMPS units and distributed via terminal blocks and DC jacks. Data communication is facilitated by Beelink MINI S12 N95 computers, RS232 splitters, and a 1000BASE-T Media Converter for network connectivity. RF Directional Couplers are used to interface antennas with the USRP units, and the entire system is likely contained within cases for protection and organization.
Cirkit Designer LogoOpen Project in Cirkit Designer
Cellular-Enabled IoT Device with Real-Time Clock and Power Management
Image of LRCM PHASE 2 BASIC: A project utilizing TCA8418 in a practical application
This circuit features a LilyGo-SIM7000G module for cellular communication and GPS functionality, interfaced with an RTC DS3231 for real-time clock capabilities. It includes voltage sensing through two voltage sensor modules, and uses an 8-channel opto-coupler for isolating different parts of the circuit. Power management is handled by a buck converter connected to a DC power source and batteries, with a fuse for protection and a rocker switch for on/off control. Additionally, there's an LED for indication purposes.
Cirkit Designer LogoOpen Project in Cirkit Designer

Explore Projects Built with TCA8418

Use Cirkit Designer to design, explore, and prototype these projects online. Some projects support real-time simulation. Click "Open Project" to start designing instantly!
Image of fyp transmitter: A project utilizing TCA8418 in a practical application
Configurable Battery-Powered RF Signal Transmitter with DIP Switch Settings
This circuit appears to be a configurable encoder system with an RF transmission capability. The encoder's address pins (A0-A7) are connected to a DIP switch for setting the address, and its data output (DO) is connected to an RF transmitter, allowing the encoded signal to be wirelessly transmitted. The circuit is powered by a 9V battery, regulated to 5V by a 7805 voltage regulator, and includes a diode for polarity protection. Tactile switches are connected to the encoder's data inputs (D1-D3), and an LED with a current-limiting resistor indicates power or activity.
Cirkit Designer LogoOpen Project in Cirkit Designer
Image of talkAI: A project utilizing TCA8418 in a practical application
ESP32-Based Portable Smart Speaker with Audio Input Processing
This circuit features two ESP32 microcontrollers configured for serial communication, with one ESP32's TX0 connected to the other's RX2, and vice versa. An INMP441 microphone is interfaced with one ESP32 for audio input, using I2S protocol with connections for serial clock (SCK), word select (WS), and serial data (SD). A Max98357 audio amplifier is connected to the other ESP32 to drive a loudspeaker, receiving I2S data (DIN), bit clock (BLCK), and left-right clock (LRC), and is powered by a lipo battery charger module.
Cirkit Designer LogoOpen Project in Cirkit Designer
Image of GPS 시스템 측정 구성도_Confirm: A project utilizing TCA8418 in a practical application
Satellite-Based Timing and Navigation System with SDR and Atomic Clock Synchronization
This circuit appears to be a complex system involving power supply management, GPS and timing synchronization, and data communication. It includes a SI-TEX G1 Satellite Compass for GPS data, an XHTF1021 Atomic Rubidium Clock for precise timing, and Ettus USRP B200 units for software-defined radio communication. Power is supplied through various SMPS units and distributed via terminal blocks and DC jacks. Data communication is facilitated by Beelink MINI S12 N95 computers, RS232 splitters, and a 1000BASE-T Media Converter for network connectivity. RF Directional Couplers are used to interface antennas with the USRP units, and the entire system is likely contained within cases for protection and organization.
Cirkit Designer LogoOpen Project in Cirkit Designer
Image of LRCM PHASE 2 BASIC: A project utilizing TCA8418 in a practical application
Cellular-Enabled IoT Device with Real-Time Clock and Power Management
This circuit features a LilyGo-SIM7000G module for cellular communication and GPS functionality, interfaced with an RTC DS3231 for real-time clock capabilities. It includes voltage sensing through two voltage sensor modules, and uses an 8-channel opto-coupler for isolating different parts of the circuit. Power management is handled by a buck converter connected to a DC power source and batteries, with a fuse for protection and a rocker switch for on/off control. Additionally, there's an LED for indication purposes.
Cirkit Designer LogoOpen Project in Cirkit Designer

Common Applications and Use Cases

  • Capacitive touch keypads for consumer electronics
  • Touch-sensitive control panels in industrial systems
  • User interfaces for IoT devices
  • Gaming devices with touch input
  • Home automation systems

Technical Specifications

The TCA8418 is a robust and feature-rich component. Below are its key technical details:

Parameter Value
Operating Voltage 1.65V to 3.6V
I2C Address Configurable (default: 0x34)
Maximum I2C Speed 400 kHz (Fast Mode)
Number of Keys Supported Up to 16 capacitive touch keys
Interrupt Output Open-drain, active-low
Key Debounce Time Programmable (up to 64 ms)
Operating Temperature -40°C to +85°C
Package Type TSSOP-24

Pin Configuration and Descriptions

The TCA8418 comes in a 24-pin TSSOP package. Below is the pinout and description:

Pin Name Type Description
1-16 K0-K15 Input/Output Keypad matrix pins for capacitive touch sensing
17 INT Output Interrupt output (active-low, open-drain)
18 SDA Input/Output I2C data line
19 SCL Input I2C clock line
20 VCC Power Power supply (1.65V to 3.6V)
21 GND Ground Ground connection
22-24 NC - No connection

Usage Instructions

The TCA8418 is straightforward to use in a circuit. Below are the steps and considerations for integrating it into your design:

Connecting the TCA8418

  1. Power Supply: Connect the VCC pin to a 1.65V to 3.6V power source and the GND pin to ground.
  2. I2C Interface: Connect the SDA and SCL pins to the corresponding I2C lines of your microcontroller. Use pull-up resistors (typically 4.7kΩ) on both lines if not already present.
  3. Interrupt Pin: Connect the INT pin to a GPIO pin on your microcontroller to handle interrupts. Use a pull-up resistor if required.
  4. Keypad Matrix: Connect up to 16 capacitive touch keys to the K0-K15 pins.

Programming the TCA8418

The TCA8418 communicates via I2C, and its default address is 0x34. You can configure its registers to enable key scanning, debounce, and interrupt functionality. Below is an example of how to use the TCA8418 with an Arduino UNO:

Example Code

#include <Wire.h>

// Define the I2C address of the TCA8418
#define TCA8418_ADDR 0x34

void setup() {
  Wire.begin(); // Initialize I2C communication
  Serial.begin(9600); // Initialize serial communication for debugging

  // Configure the TCA8418
  Wire.beginTransmission(TCA8418_ADDR);
  Wire.write(0x01); // Write to the configuration register
  Wire.write(0x10); // Example configuration: enable key scanning
  Wire.endTransmission();

  Serial.println("TCA8418 initialized.");
}

void loop() {
  // Check for key press events
  Wire.beginTransmission(TCA8418_ADDR);
  Wire.write(0x02); // Address the key event register
  Wire.endTransmission();

  Wire.requestFrom(TCA8418_ADDR, 1); // Request 1 byte of data
  if (Wire.available()) {
    uint8_t keyEvent = Wire.read(); // Read the key event
    if (keyEvent != 0) {
      Serial.print("Key pressed: ");
      Serial.println(keyEvent, HEX); // Print the key event in hexadecimal
    }
  }

  delay(100); // Small delay to avoid flooding the I2C bus
}

Important Considerations

  • Debounce Settings: Configure the debounce time to avoid false key presses. This can be done by writing to the debounce register.
  • Interrupt Handling: Use the INT pin to detect key press events efficiently. Ensure your microcontroller's GPIO pin is configured to handle interrupts.
  • I2C Address Conflicts: If multiple I2C devices are on the same bus, ensure their addresses do not conflict. The TCA8418's address can be changed if necessary.

Troubleshooting and FAQs

Common Issues and Solutions

  1. No Response from the TCA8418

    • Ensure the I2C connections (SDA, SCL) are correct and have pull-up resistors.
    • Verify the power supply voltage is within the specified range (1.65V to 3.6V).
    • Check the I2C address. The default is 0x34, but it may differ if modified.
  2. Keys Not Detected

    • Verify the keypad matrix connections to the K0-K15 pins.
    • Check the debounce settings. If the debounce time is too short, key presses may not register.
    • Ensure the capacitive touch keys are properly designed and grounded.
  3. Interrupt Pin Not Working

    • Confirm the INT pin is connected to a GPIO pin on the microcontroller.
    • Use a pull-up resistor on the INT pin if required.
    • Check the interrupt configuration in the TCA8418's registers.

FAQs

Q: Can the TCA8418 handle more than 16 keys?
A: No, the TCA8418 supports up to 16 keys. For larger keypads, consider using multiple TCA8418 chips or a different controller.

Q: What is the maximum I2C speed supported?
A: The TCA8418 supports I2C communication at speeds up to 400 kHz (Fast Mode).

Q: Can the TCA8418 be used with 5V microcontrollers?
A: Yes, but you must use level shifters or ensure the I2C lines operate at a voltage compatible with the TCA8418 (1.65V to 3.6V).

By following this documentation, you can effectively integrate the TCA8418 into your projects and troubleshoot common issues.