
How to Use Adafruit AHT20 Temperature and Humidity Sensor: Examples, Pinouts, and Specs
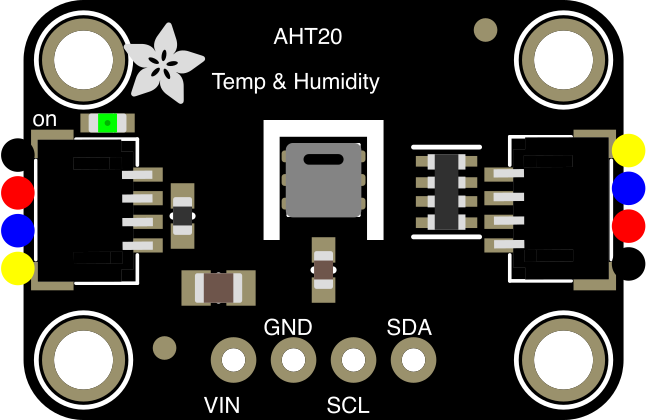
 Design with Adafruit AHT20 Temperature and Humidity Sensor in Cirkit Designer
Introduction
The Adafruit AHT20 is a digital sensor designed to measure temperature and humidity with high accuracy and precision. It features an I2C interface, making it easy to integrate into a wide range of projects, from environmental monitoring systems to IoT applications. The sensor is compact, reliable, and ideal for applications requiring precise environmental data.
Explore Projects Built with Adafruit AHT20 Temperature and Humidity Sensor
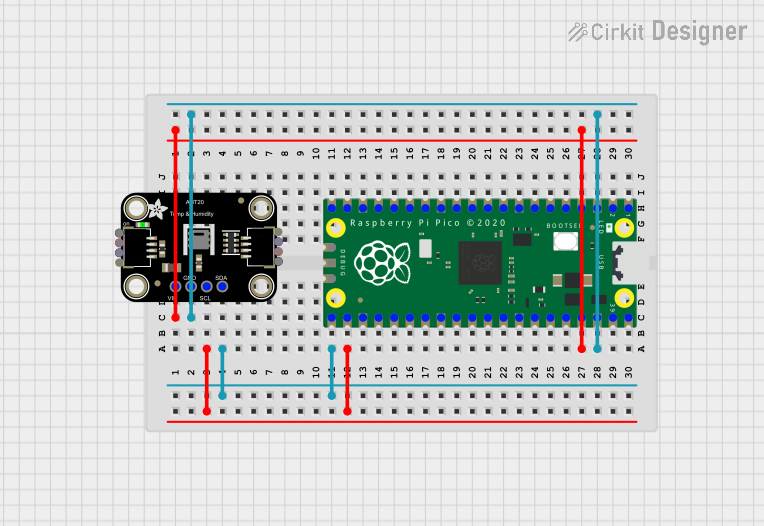 Open Project in Cirkit Designer
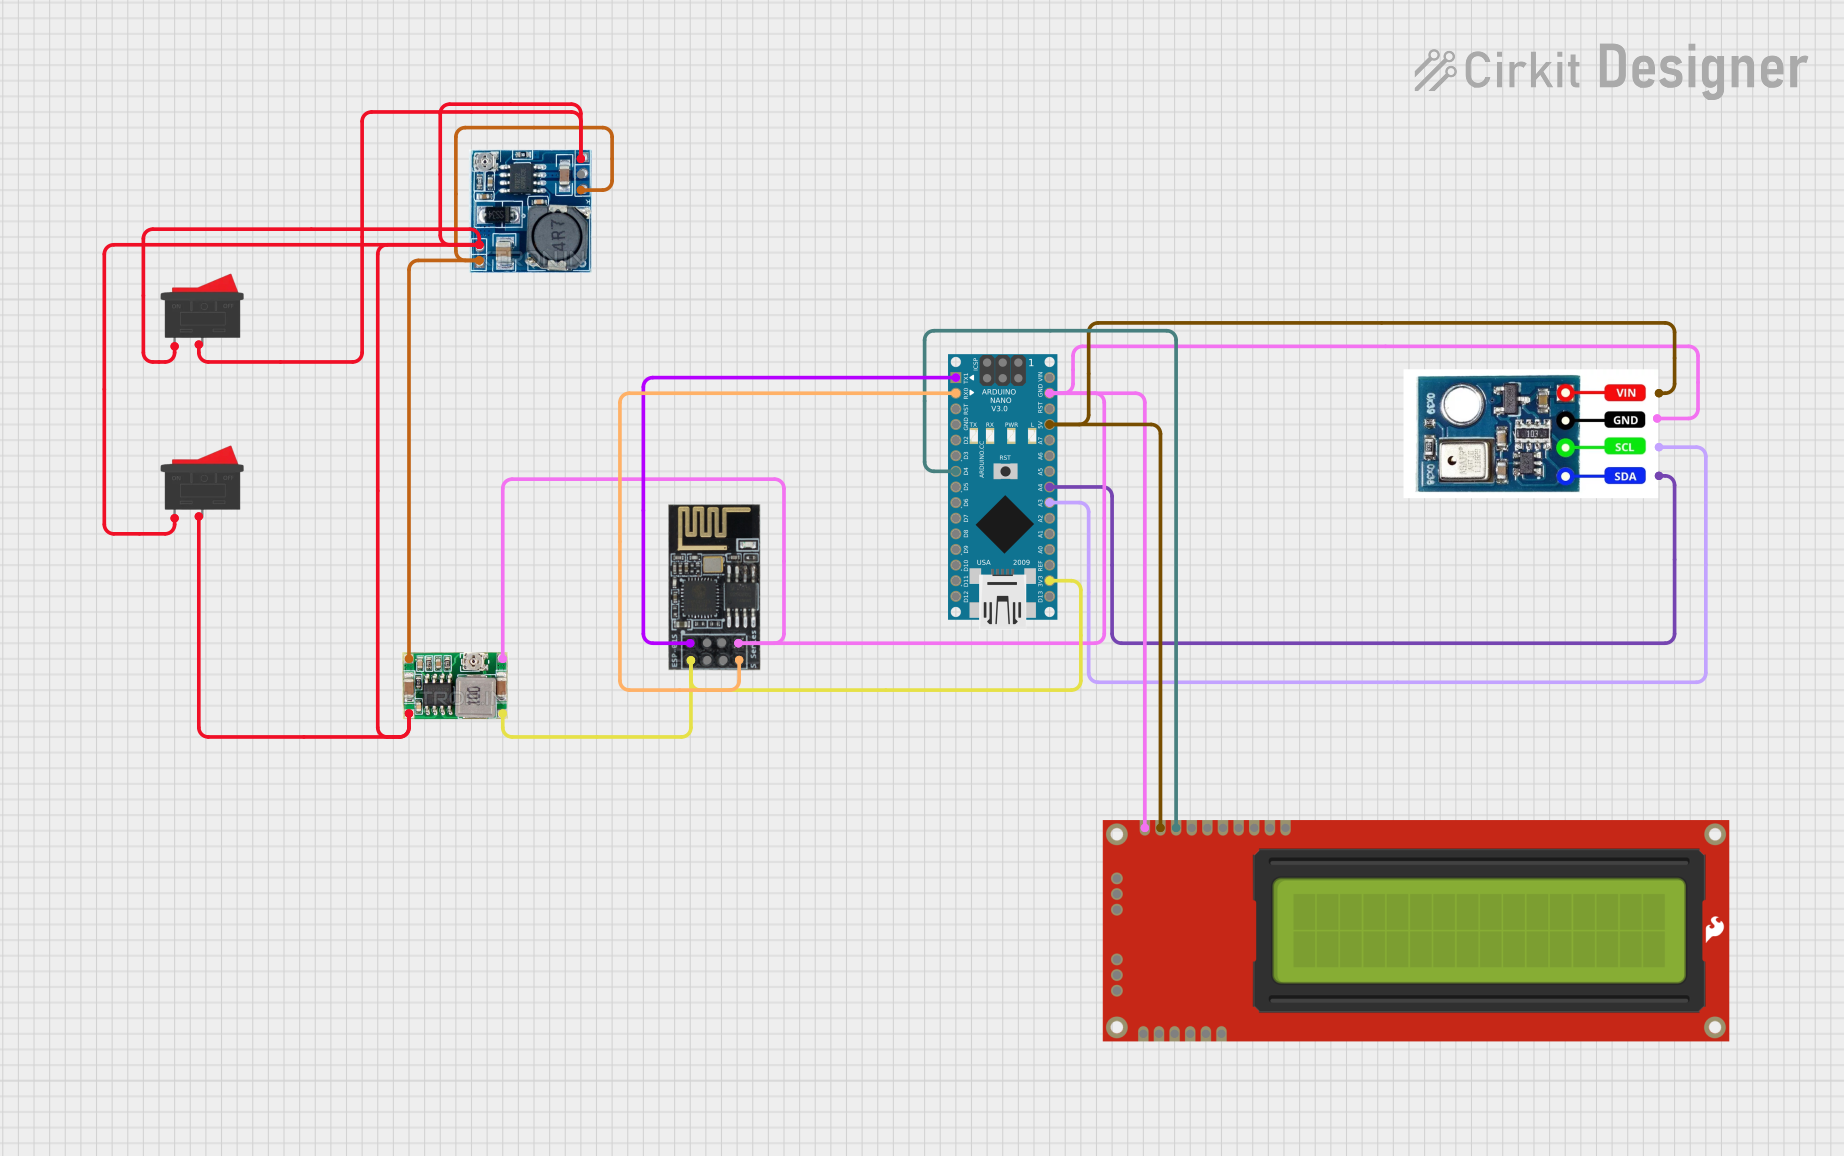 Open Project in Cirkit Designer
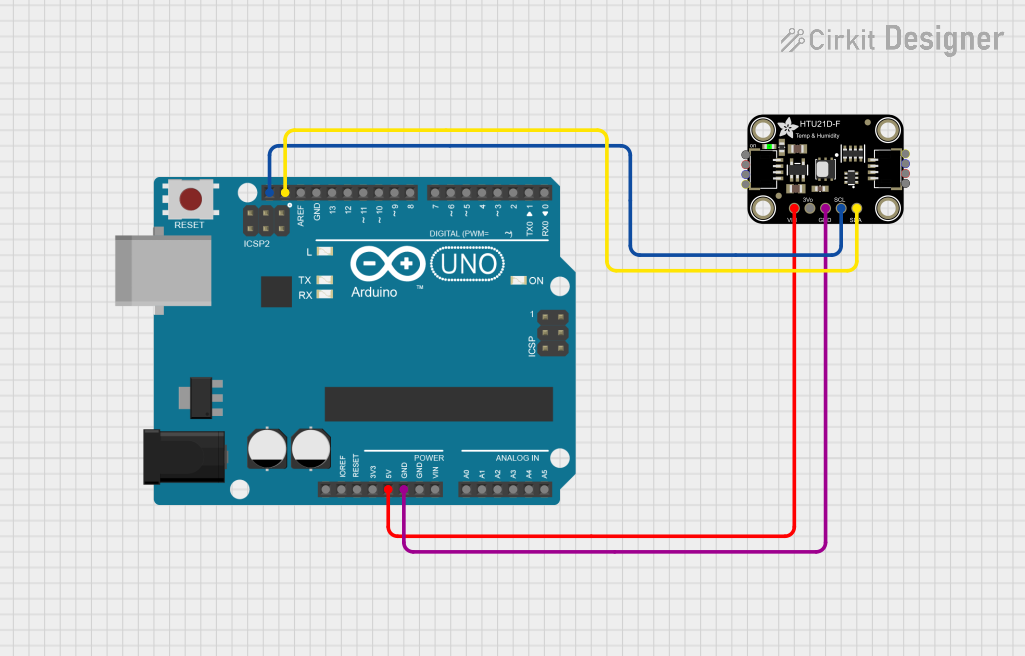 Open Project in Cirkit Designer
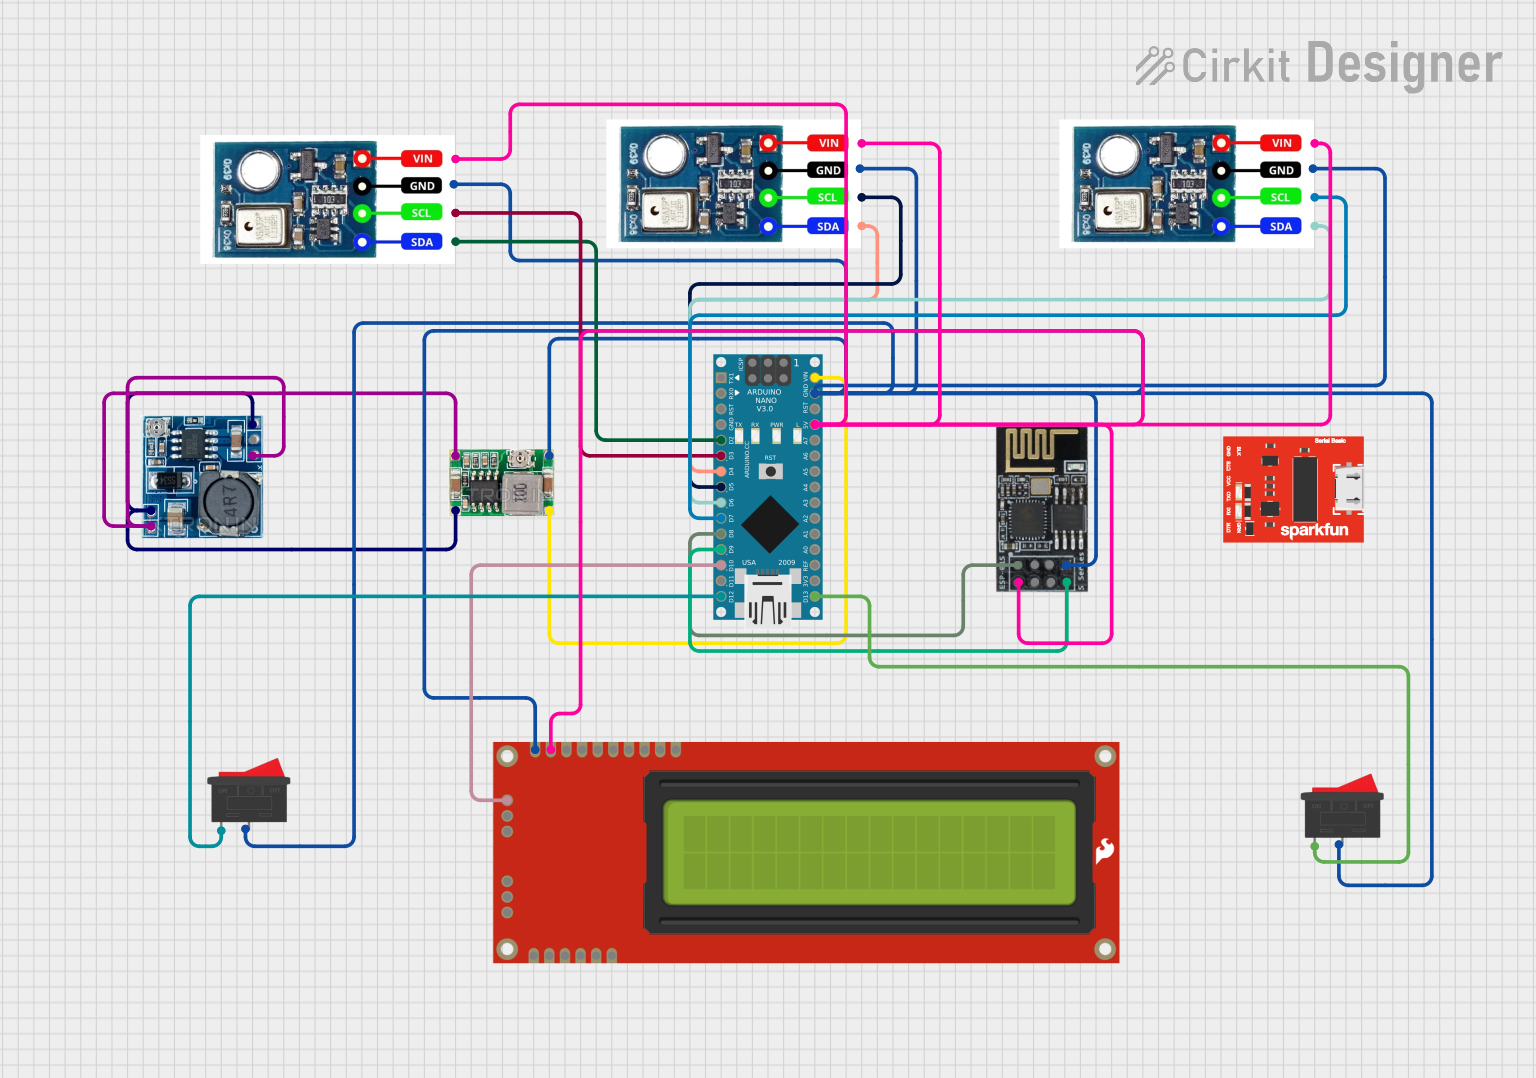 Open Project in Cirkit Designer
Explore Projects Built with Adafruit AHT20 Temperature and Humidity Sensor
Open Project in Cirkit DesignerOpen Project in Cirkit DesignerOpen Project in Cirkit DesignerOpen Project in Cirkit DesignerCommon Applications and Use Cases
- Weather stations and environmental monitoring
- HVAC systems
- IoT devices and smart home automation
- Agricultural monitoring
- Data logging and scientific experiments
Technical Specifications
The Adafruit AHT20 sensor offers the following key technical details:
| Parameter | Value |
|---|---|
| Supply Voltage | 2.0V to 5.5V |
| Operating Current | ~350 µA (measuring) |
| Standby Current | <1 µA |
| Temperature Range | -40°C to 85°C |
| Temperature Accuracy | ±0.3°C |
| Humidity Range | 0% to 100% RH |
| Humidity Accuracy | ±2% RH |
| Communication Interface | I2C |
| I2C Address | 0x38 |
| Dimensions | 15mm x 15mm x 2mm |
Pin Configuration and Descriptions
The Adafruit AHT20 sensor has four pins, as described in the table below:
| Pin | Name | Description |
|---|---|---|
| 1 | VIN | Power supply input (2.0V to 5.5V) |
| 2 | GND | Ground connection |
| 3 | SCL | I2C clock line |
| 4 | SDA | I2C data line |
Usage Instructions
How to Use the Component in a Circuit
- Power the Sensor: Connect the VIN pin to a 3.3V or 5V power source and the GND pin to ground.
- Connect I2C Lines: Connect the SCL pin to the I2C clock line and the SDA pin to the I2C data line of your microcontroller.
- Pull-Up Resistors: Ensure that the I2C lines (SCL and SDA) have pull-up resistors (typically 4.7kΩ). Many development boards, like the Arduino UNO, already include these resistors.
- Address Selection: The AHT20 has a fixed I2C address of 0x38, so no additional configuration is needed for address selection.
Important Considerations and Best Practices
- Power Supply: Ensure a stable power supply within the specified voltage range to avoid inaccurate readings.
- I2C Bus Speed: The sensor supports standard I2C speeds (100 kHz) and fast mode (400 kHz). Use a compatible speed for your microcontroller.
- Environmental Factors: Avoid exposing the sensor to extreme conditions (e.g., condensation or dust) to maintain accuracy and longevity.
- Warm-Up Time: Allow the sensor a brief warm-up period (e.g., 10 seconds) after powering it on for optimal performance.
Example Code for Arduino UNO
Below is an example of how to use the Adafruit AHT20 sensor with an Arduino UNO. This code uses the Adafruit AHT20 library, which can be installed via the Arduino Library Manager.
#include <Wire.h>
#include <Adafruit_AHTX0.h>

// Create an instance of the AHT20 sensor
Adafruit_AHTX0 aht;

void setup() {
  Serial.begin(9600);
  while (!Serial) {
    delay(10); // Wait for Serial Monitor to open
  }

  Serial.println("Adafruit AHT20 Temperature and Humidity Sensor Test");

  // Initialize the sensor
  if (!aht.begin()) {
    Serial.println("Failed to find AHT20 sensor. Check wiring!");
    while (1) {
      delay(10); // Stay in loop if initialization fails
    }
  }
  Serial.println("AHT20 sensor initialized successfully!");
}

void loop() {
  // Get sensor readings
  sensors_event_t humidity, temp;
  aht.getEvent(&humidity, &temp);

  // Print temperature and humidity to Serial Monitor
  Serial.print("Temperature: ");
  Serial.print(temp.temperature);
  Serial.println(" °C");

  Serial.print("Humidity: ");
  Serial.print(humidity.relative_humidity);
  Serial.println(" %");

  delay(2000); // Wait 2 seconds before next reading
}
Troubleshooting and FAQs
Common Issues and Solutions
Sensor Not Detected
- Cause: Incorrect wiring or I2C address mismatch.
- Solution: Double-check the wiring and ensure the sensor is connected to the correct I2C pins. Verify that the I2C address is set to 0x38 in your code.
Inaccurate Readings
- Cause: Environmental interference or insufficient warm-up time.
- Solution: Ensure the sensor is in a stable environment and allow it to warm up for at least 10 seconds after powering on.
I2C Communication Errors
- Cause: Missing pull-up resistors or incorrect I2C bus speed.
- Solution: Add 4.7kΩ pull-up resistors to the SCL and SDA lines if not already present. Check that the I2C bus speed is compatible with the sensor.
FAQs
Q: Can the AHT20 operate at 5V logic levels?
- A: Yes, the AHT20 is compatible with both 3.3V and 5V logic levels.
Q: How often can I take readings from the sensor?
- A: The sensor can provide readings approximately every 2 seconds. Avoid polling it too frequently to ensure accurate data.
Q: Is the sensor waterproof?
- A: No, the AHT20 is not waterproof. Use a protective enclosure if deploying it in humid or wet environments.
This documentation provides a comprehensive guide to using the Adafruit AHT20 Temperature and Humidity Sensor effectively in your projects.