Cirkit Designer Logo
Cirkit Designer
Your all-in-one circuit design IDE
Home / 
Component Documentation

How to Use Battery AAx6 9v: Examples, Pinouts, and Specs

Image of Battery AAx6 9v
Cirkit Designer LogoDesign with Battery AAx6 9v in Cirkit Designer

Introduction

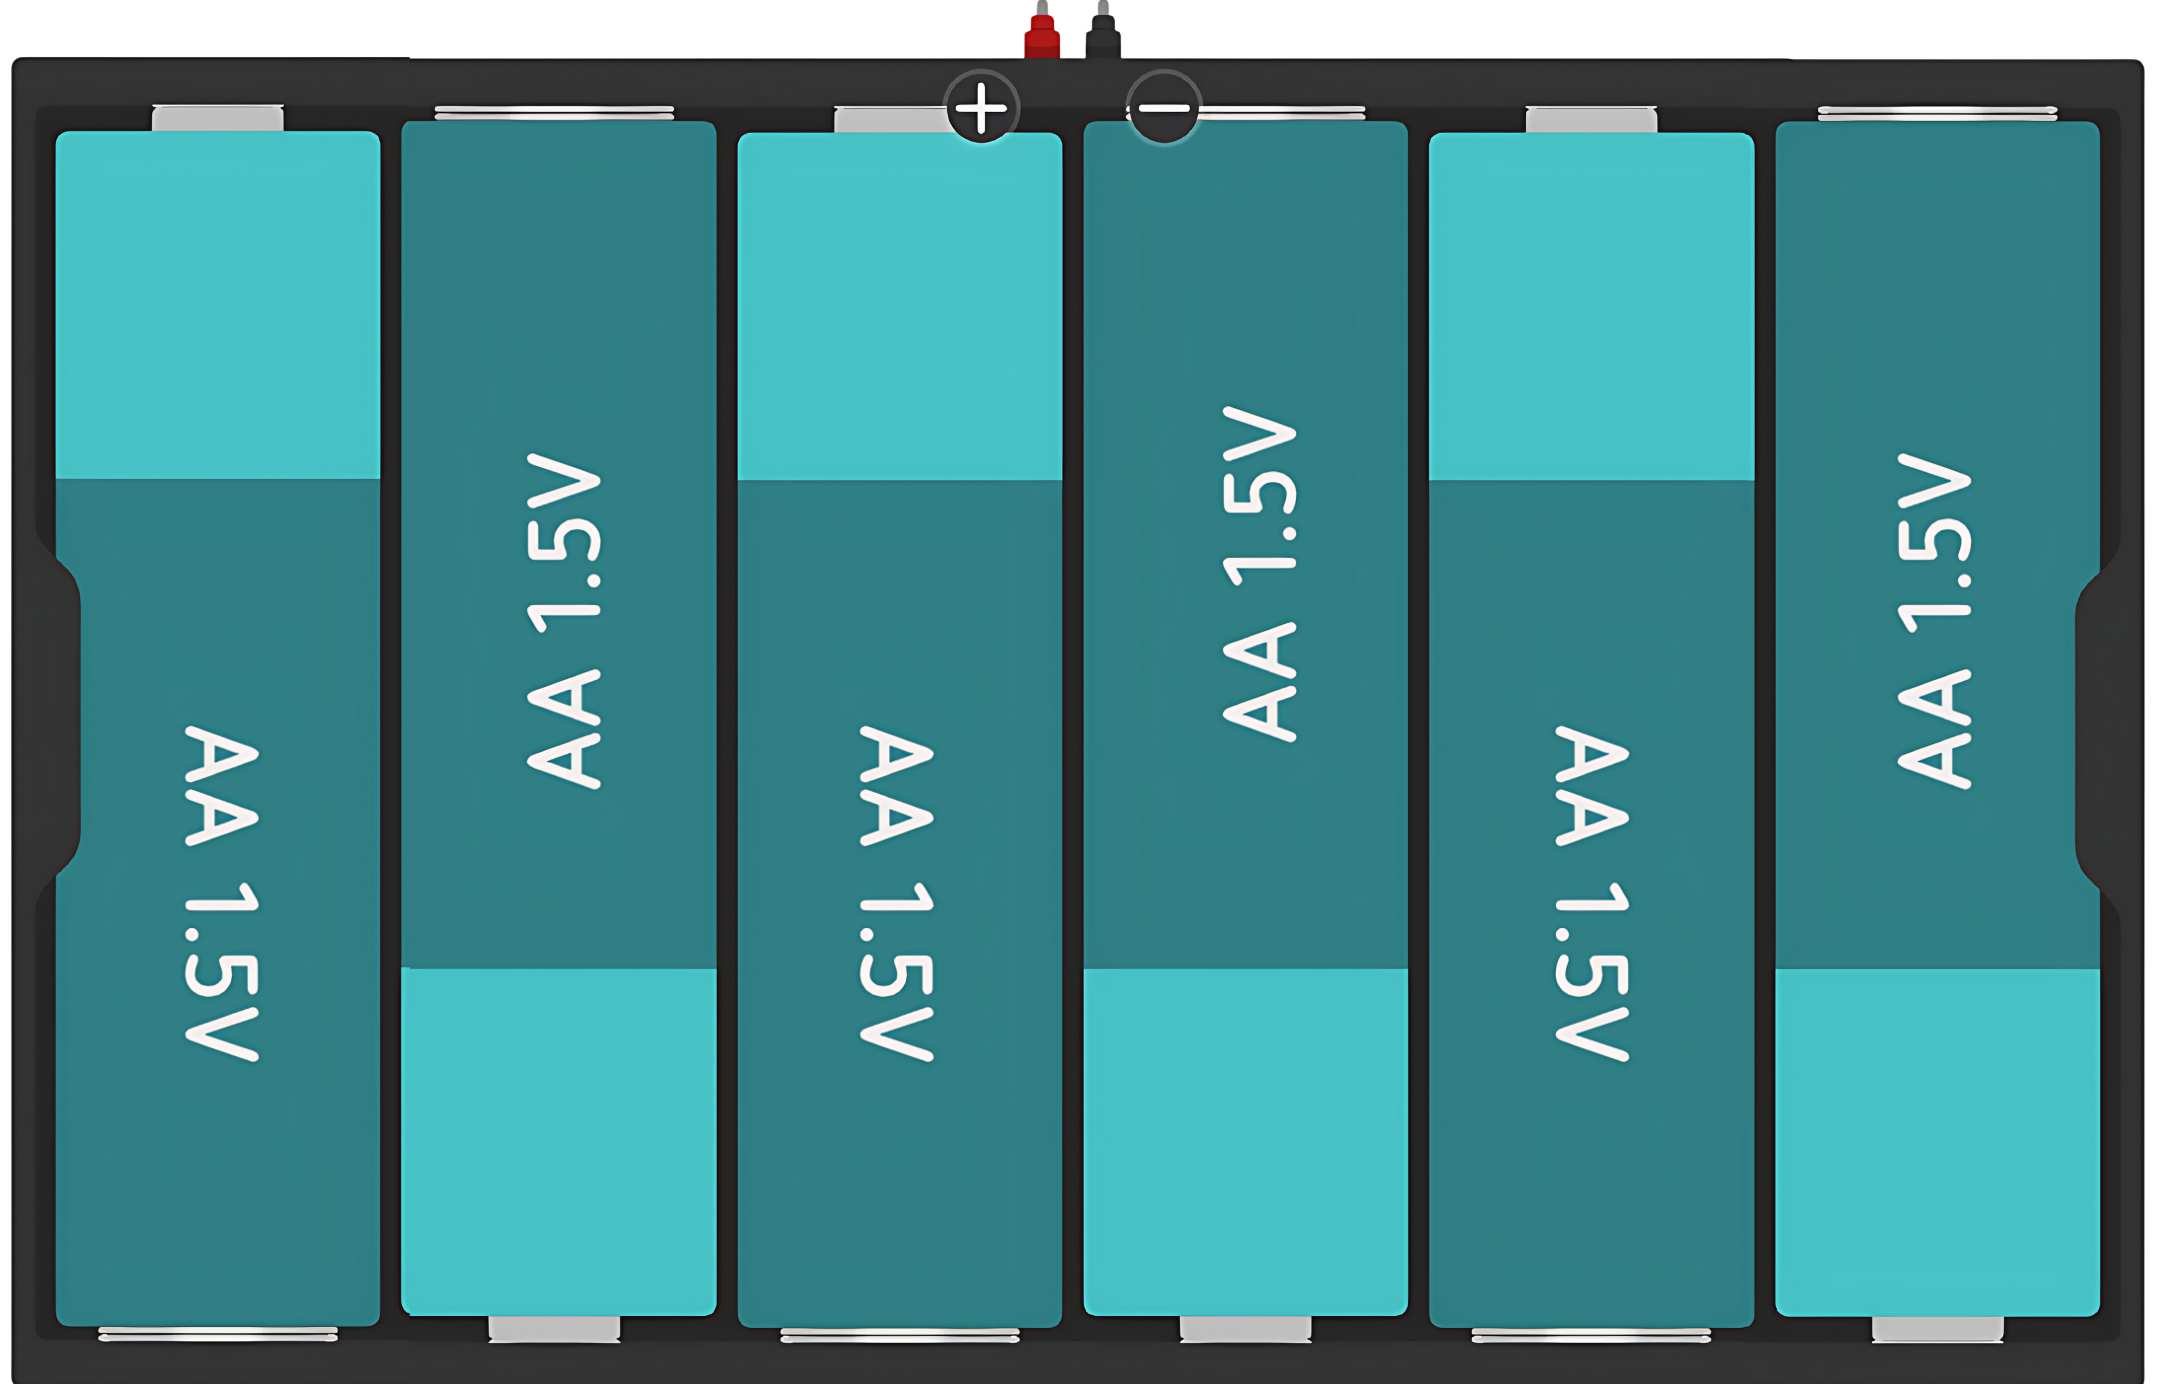
The Battery Holder for 6 AA batteries is a simple and convenient way to power electronic projects that require a 9V power supply. This holder is designed to connect six AA batteries in series, thereby combining their voltage to produce a total output of 9 volts. Common applications include portable devices, DIY electronics projects, robotics, and as a backup power source for devices that require a steady 9V supply.

Explore Projects Built with Battery AAx6 9v

Use Cirkit Designer to design, explore, and prototype these projects online. Some projects support real-time simulation. Click "Open Project" to start designing instantly!
Battery-Powered Multi-Voltage Supply with Barrel Jack Connectors
Image of Battery Setup: A project utilizing Battery AAx6 9v in a practical application
This circuit consists of multiple 9V batteries connected in series and parallel configurations to provide power to three separate 2.1mm barrel jacks. Each barrel jack receives a different combination of series and parallel battery connections to achieve the desired voltage and current levels.
Cirkit Designer LogoOpen Project in Cirkit Designer
12V UPS System with Dual 18650 Li-ion Battery Backup and Voltage Regulation
Image of Power supply: A project utilizing Battery AAx6 9v in a practical application
This circuit is designed to provide an uninterruptible power supply (UPS) system with a 12V DC output. It includes a 12V 5A power supply connected to an AC source through a toggle switch, which charges a pair of 18650 Li-ion batteries via a voltage regulator (XL4016). The UPS module ensures a continuous power supply to the load by switching between the power supply and the battery bank.
Cirkit Designer LogoOpen Project in Cirkit Designer
Battery-Powered Dual Gearmotor Drive System
Image of electric car: A project utilizing Battery AAx6 9v in a practical application
This circuit consists of a 6V battery pack connected in parallel to two DC gearmotors, one for the left wheel and one for the right wheel of a vehicle. The battery provides power directly to both motors, enabling them to run simultaneously. As there is no control circuitry or microcontroller code provided, the motors will run continuously when the circuit is powered.
Cirkit Designer LogoOpen Project in Cirkit Designer
Simple Battery-Powered Red LED Circuit
Image of project 2: A project utilizing Battery AAx6 9v in a practical application
This circuit is a simple LED lighting circuit powered by two AA batteries. The LED's anode is connected through a 220 Ohm resistor to the positive terminal of one battery mount, and its cathode is directly connected to the negative terminal of the other battery mount. The resistor limits the current to protect the LED from excessive current that could damage it.
Cirkit Designer LogoOpen Project in Cirkit Designer

Explore Projects Built with Battery AAx6 9v

Use Cirkit Designer to design, explore, and prototype these projects online. Some projects support real-time simulation. Click "Open Project" to start designing instantly!
Image of Battery Setup: A project utilizing Battery AAx6 9v in a practical application
Battery-Powered Multi-Voltage Supply with Barrel Jack Connectors
This circuit consists of multiple 9V batteries connected in series and parallel configurations to provide power to three separate 2.1mm barrel jacks. Each barrel jack receives a different combination of series and parallel battery connections to achieve the desired voltage and current levels.
Cirkit Designer LogoOpen Project in Cirkit Designer
Image of Power supply: A project utilizing Battery AAx6 9v in a practical application
12V UPS System with Dual 18650 Li-ion Battery Backup and Voltage Regulation
This circuit is designed to provide an uninterruptible power supply (UPS) system with a 12V DC output. It includes a 12V 5A power supply connected to an AC source through a toggle switch, which charges a pair of 18650 Li-ion batteries via a voltage regulator (XL4016). The UPS module ensures a continuous power supply to the load by switching between the power supply and the battery bank.
Cirkit Designer LogoOpen Project in Cirkit Designer
Image of electric car: A project utilizing Battery AAx6 9v in a practical application
Battery-Powered Dual Gearmotor Drive System
This circuit consists of a 6V battery pack connected in parallel to two DC gearmotors, one for the left wheel and one for the right wheel of a vehicle. The battery provides power directly to both motors, enabling them to run simultaneously. As there is no control circuitry or microcontroller code provided, the motors will run continuously when the circuit is powered.
Cirkit Designer LogoOpen Project in Cirkit Designer
Image of project 2: A project utilizing Battery AAx6 9v in a practical application
Simple Battery-Powered Red LED Circuit
This circuit is a simple LED lighting circuit powered by two AA batteries. The LED's anode is connected through a 220 Ohm resistor to the positive terminal of one battery mount, and its cathode is directly connected to the negative terminal of the other battery mount. The resistor limits the current to protect the LED from excessive current that could damage it.
Cirkit Designer LogoOpen Project in Cirkit Designer

Technical Specifications

Key Technical Details

  • Nominal Voltage Output: 9V (when using six 1.5V AA batteries)
  • Maximum Recommended Current: Varies based on the batteries used (consult battery manufacturer's specifications)
  • Material: Typically plastic casing with metal contacts
  • Connector Type: Often includes a standard 9V battery snap connector

Pin Configuration and Descriptions

The battery holder typically does not have pins but rather two leads or a snap connector. Below is a description of the connector:

Connector Type Description
Positive Lead (Red) Connects to the positive terminal of the circuit
Negative Lead (Black) Connects to the negative terminal of the circuit

Usage Instructions

How to Use the Component in a Circuit

  1. Inserting Batteries: Open the battery holder and insert six AA batteries following the polarity markings inside the holder.
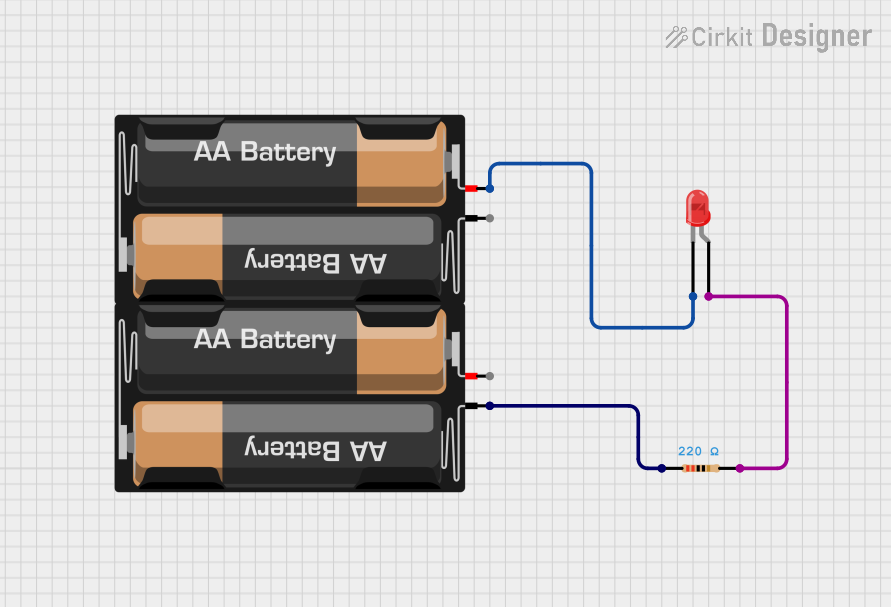
  2. Connecting to a Circuit: Use the leads or snap connector to connect the battery holder to your circuit. Ensure correct polarity by connecting the red lead to the positive terminal and the black lead to the negative terminal of your circuit.
  3. Securing Connections: If using leads, solder or use terminal blocks to secure the connections to prevent power interruptions.

Important Considerations and Best Practices

  • Battery Orientation: Always insert batteries according to the indicated polarity. Reversing polarity can damage your circuit.
  • Battery Type: Use batteries of the same type and brand for optimal performance. Mixing old and new batteries or different brands can result in uneven discharge and potential leakage.
  • Voltage Check: Before connecting to your circuit, use a multimeter to check that the output voltage is close to 9V.
  • Storage: When not in use, remove batteries to prevent leakage and corrosion in the battery holder.

Troubleshooting and FAQs

Common Issues

  • Low Voltage Output: Ensure all batteries are properly inserted and have sufficient charge. Replace batteries if necessary.
  • Intermittent Power: Check for loose connections or broken leads. Secure or replace connections as needed.
  • No Power: Verify that the battery holder's contacts are clean and free from corrosion. Clean with a soft brush or cloth if necessary.

FAQs

Q: Can I use rechargeable AA batteries in this holder? A: Yes, you can use rechargeable AA batteries, but ensure they are all fully charged and of the same type.

Q: What happens if I mix different brands of batteries? A: Mixing brands can lead to uneven discharge rates and reduced performance. It may also increase the risk of battery leakage.

Q: How do I dispose of used batteries? A: Follow your local regulations for battery disposal. Do not throw batteries in the regular trash.

Q: Can I use this battery holder with an Arduino UNO? A: Yes, you can power an Arduino UNO with this battery holder, but ensure that the input voltage is within the Arduino's specified range.

Example Code for Arduino UNO

// This example demonstrates how to power an Arduino UNO using the 9V battery holder.
// No specific code is required to power the board; simply connect the battery holder.

void setup() {
  // Initialize digital pin LED_BUILTIN as an output.
  pinMode(LED_BUILTIN, OUTPUT);
}

void loop() {
  // Turn the LED on (HIGH is the voltage level)
  digitalWrite(LED_BUILTIN, HIGH);
  // Wait for a second
  delay(1000);
  // Turn the LED off by making the voltage LOW
  digitalWrite(LED_BUILTIN, LOW);
  // Wait for a second
  delay(1000);
}

Note: When using the battery holder to power an Arduino UNO, ensure that the voltage does not exceed the board's maximum voltage input to prevent damage.