
How to Use vue3: Examples, Pinouts, and Specs

 Design with vue3 in Cirkit Designer
Introduction
Vue 3, developed by Emporia, is a progressive JavaScript framework designed for building user interfaces and single-page applications (SPAs). It introduces a powerful reactivity system, a component-based architecture, and significant performance improvements over its predecessor, Vue 2. Vue 3 is highly versatile and can be used for small-scale projects as well as large, complex applications.
Explore Projects Built with vue3
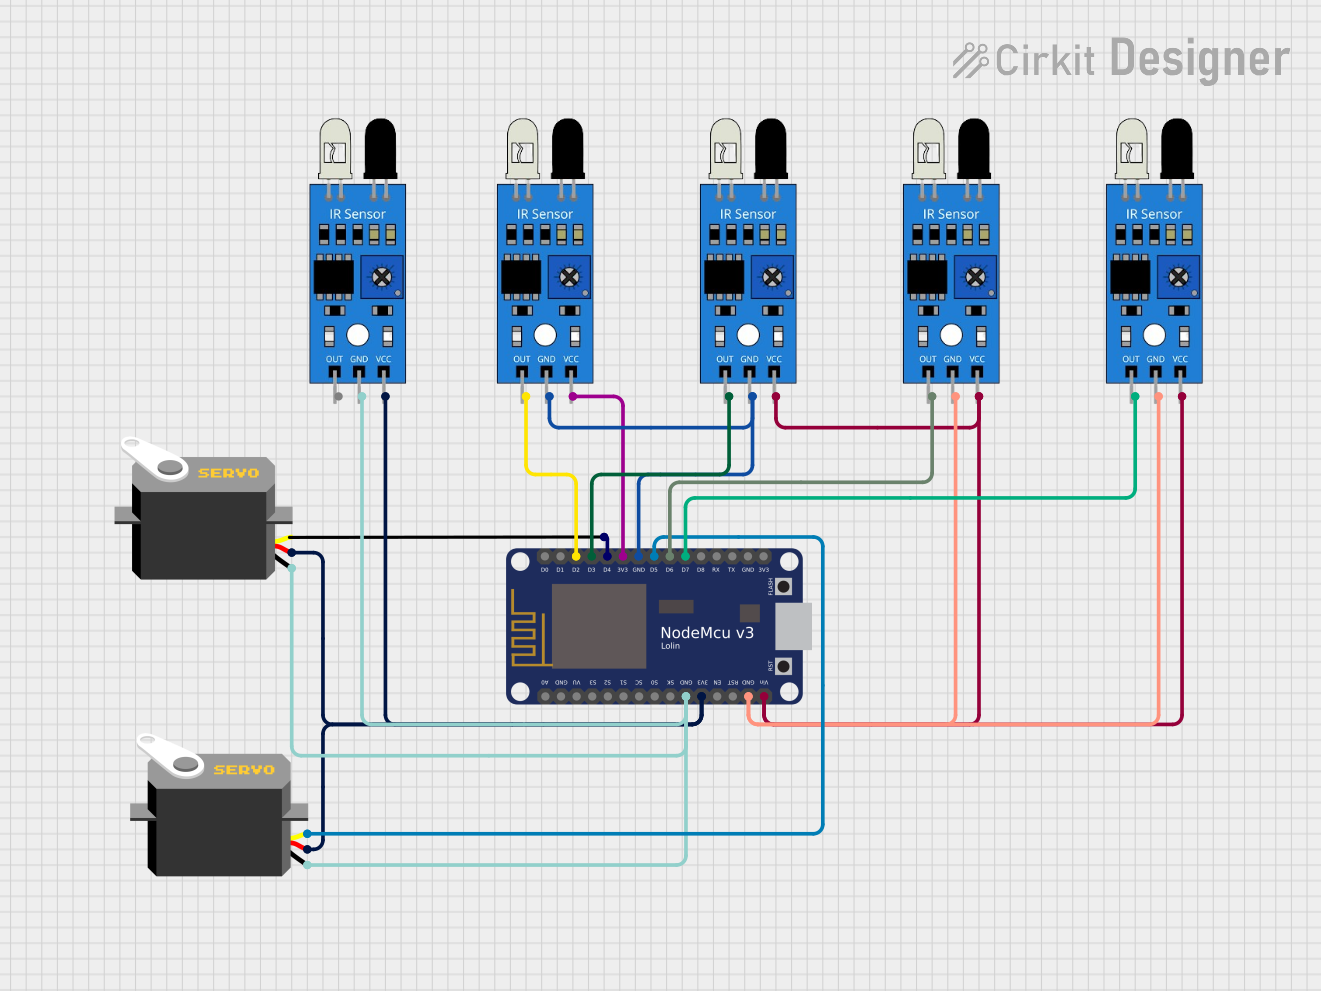
 Open Project in Cirkit Designer
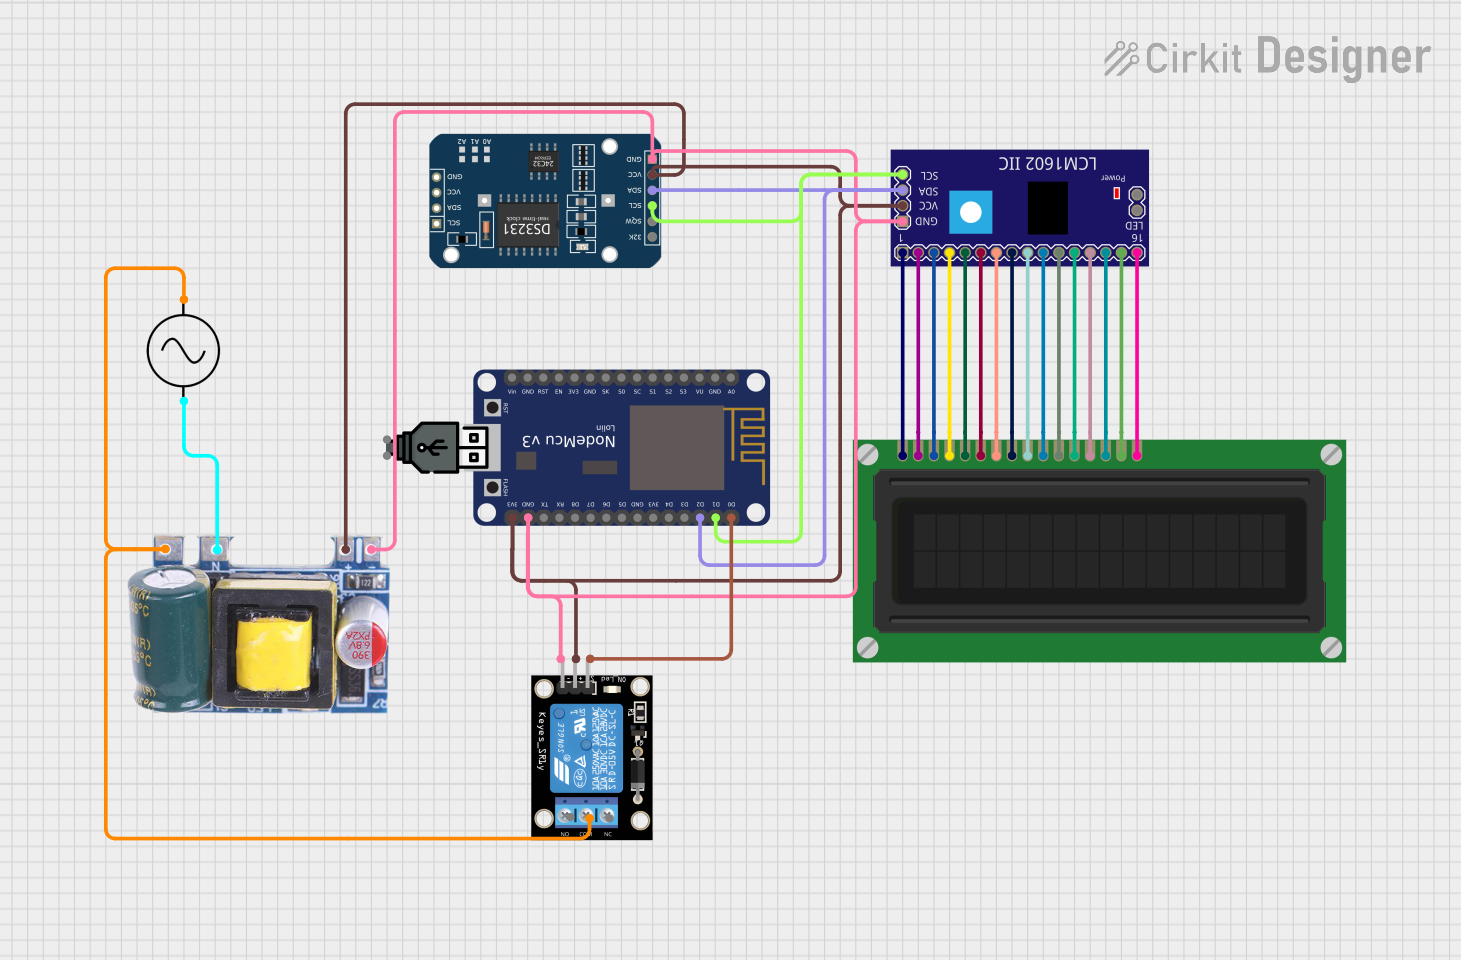
 Open Project in Cirkit Designer
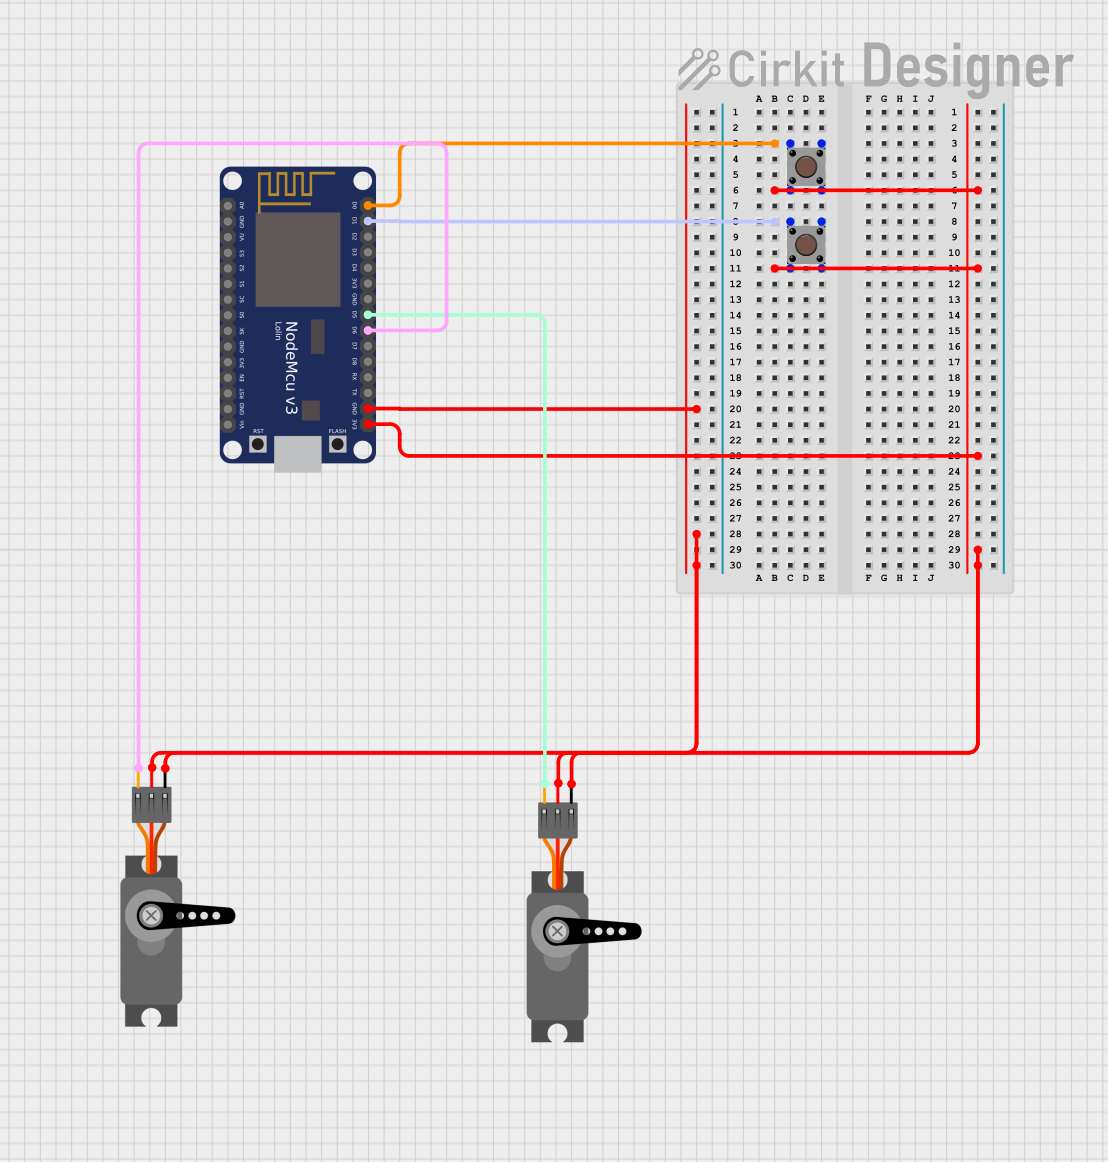
 Open Project in Cirkit Designer
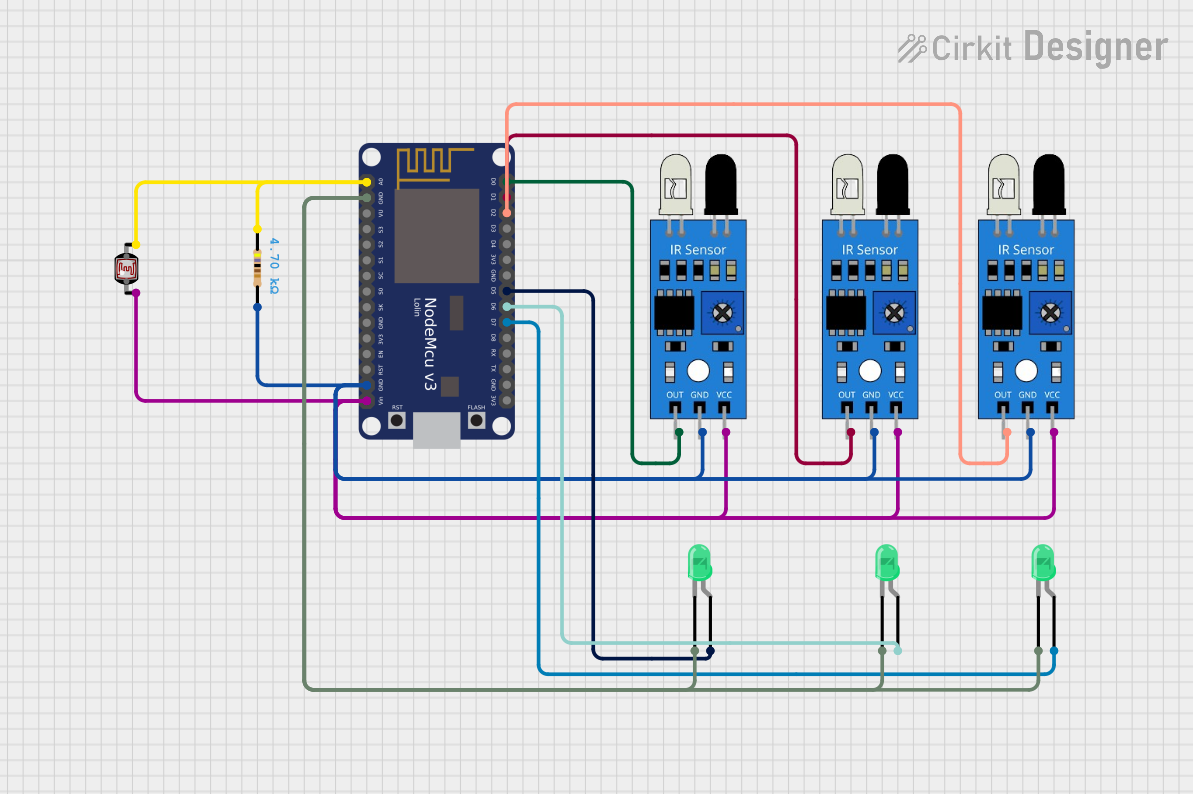
 Open Project in Cirkit Designer
Explore Projects Built with vue3

 Open Project in Cirkit Designer
 Open Project in Cirkit Designer
 Open Project in Cirkit Designer
 Open Project in Cirkit Designer
Common Applications and Use Cases
- Single-Page Applications (SPAs): Ideal for creating dynamic, fast-loading web applications.
- Interactive User Interfaces: Used to build responsive and interactive UI components.
- Progressive Web Applications (PWAs): Suitable for creating web apps with offline capabilities.
- Prototyping and Rapid Development: Simplifies the process of building and testing application prototypes.
- Enterprise Applications: Scales well for large, enterprise-level projects.
Technical Specifications
Vue 3 is a software framework, so its "technical specifications" are more about its features and requirements rather than physical properties. Below are the key details:
Key Features
- Reactivity System: Uses a Proxy-based reactivity system for better performance and flexibility.
- Composition API: Provides a more flexible and modular way to organize code.
- Improved Performance: Faster rendering and smaller bundle sizes compared to Vue 2.
- TypeScript Support: Built with TypeScript, offering better type safety and tooling.
- Tree-Shaking Support: Removes unused code during the build process to optimize performance.
- Fragment Support: Allows components to return multiple root nodes.
System Requirements
| Requirement | Details |
|---|---|
| Node.js Version | 12.0.0 or higher |
| Package Manager | npm (6.0.0 or higher) or Yarn |
| Browser Compatibility | Modern browsers (Chrome, Firefox, Edge, Safari) and IE11 (with polyfills) |
Pin Configuration and Descriptions
As Vue 3 is a software framework, it does not have physical pins. However, its core modules and APIs can be thought of as "pins" that developers interact with. Below is a table of key APIs and their descriptions:
| API/Module | Description |
|---|---|
createApp |
Initializes a Vue application instance. |
reactive |
Creates a reactive object to track state changes. |
ref |
Creates a reactive reference to a value. |
computed |
Defines a computed property that updates automatically when dependencies change. |
watch |
Observes changes to reactive data and executes a callback. |
provide/inject |
Enables dependency injection for sharing data between components. |
Usage Instructions
How to Use Vue 3 in a Project
Install Vue 3: Use npm or Yarn to install Vue 3 in your project:
npm install vue@nextOr, if using Yarn:
yarn add vue@nextCreate a Vue Application: Use the
createAppfunction to initialize a Vue application:import { createApp } from 'vue'; import App from './App.vue'; // Create and mount the Vue application const app = createApp(App); app.mount('#app');Define Components: Create reusable components using the
defineComponentfunction or the Composition API:import { defineComponent } from 'vue'; export default defineComponent({ name: 'MyComponent', props: { message: { type: String, required: true } }, setup(props) { return { greeting: `Hello, ${props.message}!` }; } });Use the Composition API: Leverage the Composition API for better code organization:
import { ref, computed } from 'vue';

export default {
  setup() {
    const count = ref(0);

    // Computed property to double the count
    const doubleCount = computed(() => count.value * 2);

    // Function to increment the count
    const increment = () => {
      count.value++;
    };

    return { count, doubleCount, increment };
  }
};
Important Considerations and Best Practices
- Use the Composition API for Complex Logic: It provides better modularity and reusability.
- Leverage TypeScript: Vue 3 is built with TypeScript, so using it can improve code quality and maintainability.
- Optimize Performance: Use Vue's built-in tools like lazy loading and tree-shaking to reduce bundle size.
- Follow Vue's Style Guide: Adhering to the official style guide ensures consistency and readability.
Using Vue 3 with Arduino UNO
Vue 3 is a JavaScript framework and does not directly interface with hardware like the Arduino UNO. However, you can use Vue 3 to build a web-based interface that communicates with an Arduino via APIs or WebSockets.
Example: Sending data to an Arduino using a REST API:
// Function to send data to the Arduino
async function sendDataToArduino(data) {
  try {
    const response = await fetch('http://arduino.local/api', {
      method: 'POST',
      headers: {
        'Content-Type': 'application/json'
      },
      body: JSON.stringify(data)
    });

    if (!response.ok) {
      throw new Error('Failed to send data to Arduino');
    }

    console.log('Data sent successfully!');
  } catch (error) {
    console.error('Error:', error);
  }
}

// Example usage
sendDataToArduino({ ledState: 'on' });
Troubleshooting and FAQs
Common Issues
Application Fails to Start:
- Cause: Incorrect Node.js version or missing dependencies.
- Solution: Ensure you have Node.js 12.0.0 or higher and run
npm installto install dependencies.
Reactivity Not Working:
- Cause: Using non-reactive objects or improper use of
ref/reactive. - Solution: Ensure you wrap objects in
reactiveor usereffor primitive values.
- Cause: Using non-reactive objects or improper use of
Performance Issues:
- Cause: Large components or unnecessary re-renders.
- Solution: Use Vue's performance tools to identify bottlenecks and optimize components.
TypeScript Errors:
- Cause: Incorrect type definitions or missing TypeScript configuration.
- Solution: Check your
tsconfig.jsonfile and ensure proper type annotations.
FAQs
Q: Can I use Vue 3 with Vue 2 projects?
- A: Vue 3 is not backward-compatible with Vue 2, but you can use the Vue 2 Composition API plugin to ease migration.
Q: How do I debug Vue 3 applications?
- A: Use the Vue DevTools browser extension for debugging and inspecting Vue components.
Q: Is Vue 3 suitable for large-scale applications?
- A: Yes, Vue 3 is designed to scale well for enterprise-level applications with its modular architecture and improved performance.