How to Use LJC18A3-B-Z/BY Capacitive Proximity Sensor: Examples, Pinouts, and Specs
Introduction
The LJC18A3-B-Z/BY is a capacitive proximity sensor designed to detect the presence or absence of objects without physical contact. It operates by sensing changes in capacitance caused by the proximity of a target object. This type of sensor is commonly used in industrial automation, robotics, and other applications where non-contact object detection is required.
Explore Projects Built with LJC18A3-B-Z/BY Capacitive Proximity Sensor
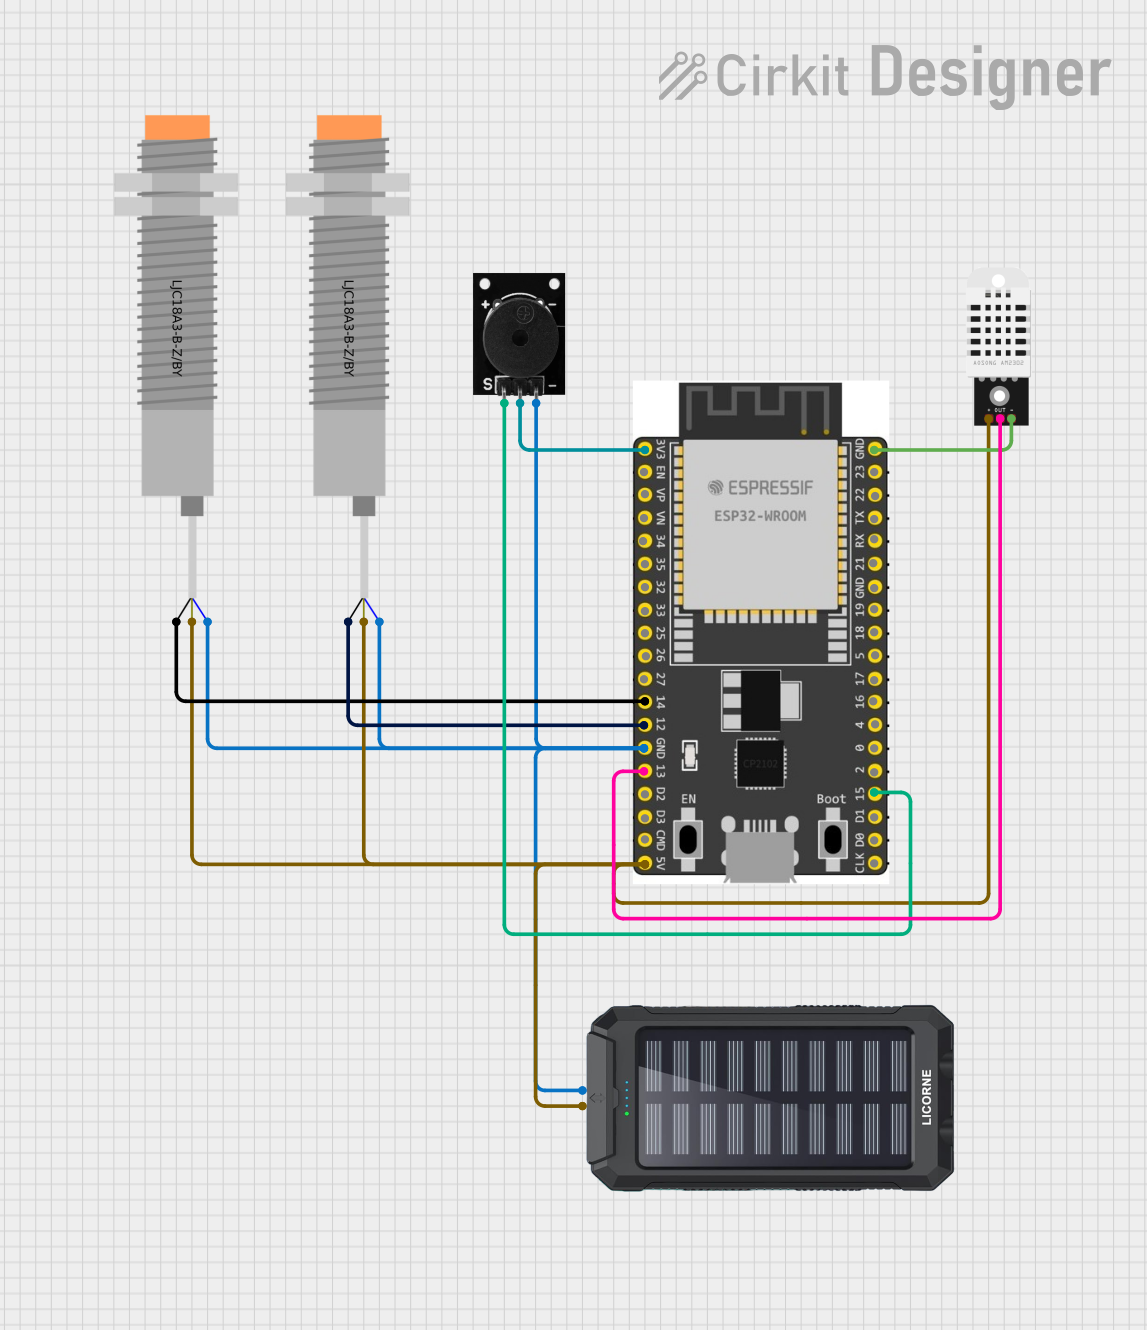
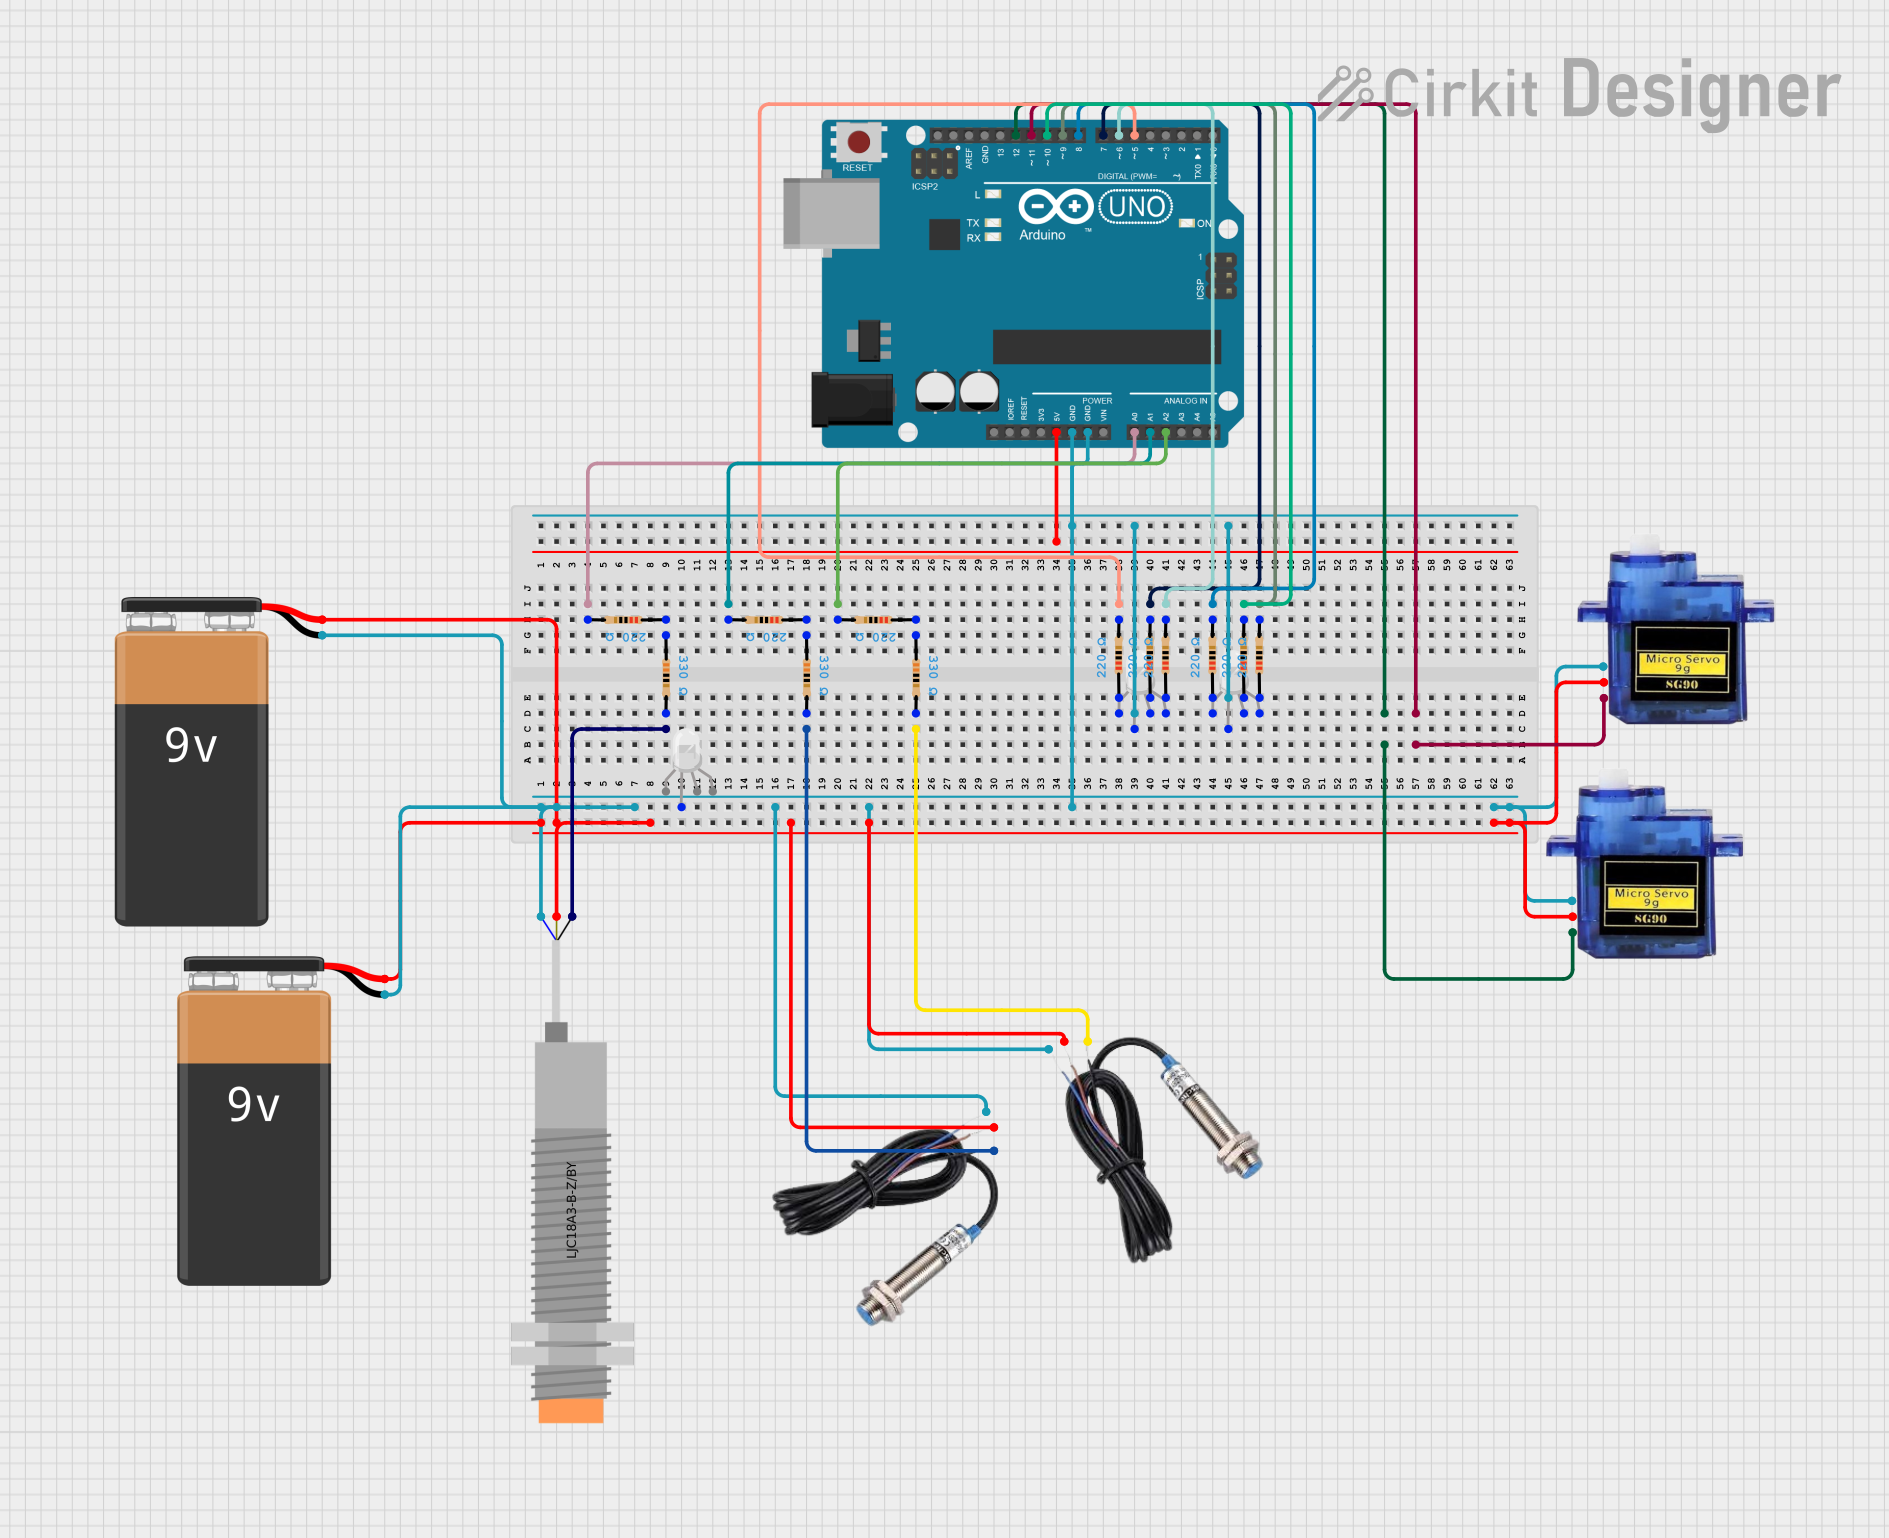
Explore Projects Built with LJC18A3-B-Z/BY Capacitive Proximity Sensor
Common Applications and Use Cases
- Position detection in machinery
- Level control in tanks and silos
- Counting and sorting equipment
- Security systems
- Touch-free switches
Technical Specifications
Key Technical Details
- Supply Voltage (Vcc): 6-36V DC
- Output Current: 300 mA (max)
- Sensing Distance: 1-10 mm (adjustable)
- Output Type: PNP NO (Normally Open)
- Response Frequency: 100 Hz
- Operating Temperature: -25°C to +65°C
- Material: Metal and plastic
- Protection Rating: IP67 (Dust and water-resistant)
Pin Configuration and Descriptions
| Pin Number | Description | Notes |
|---|---|---|
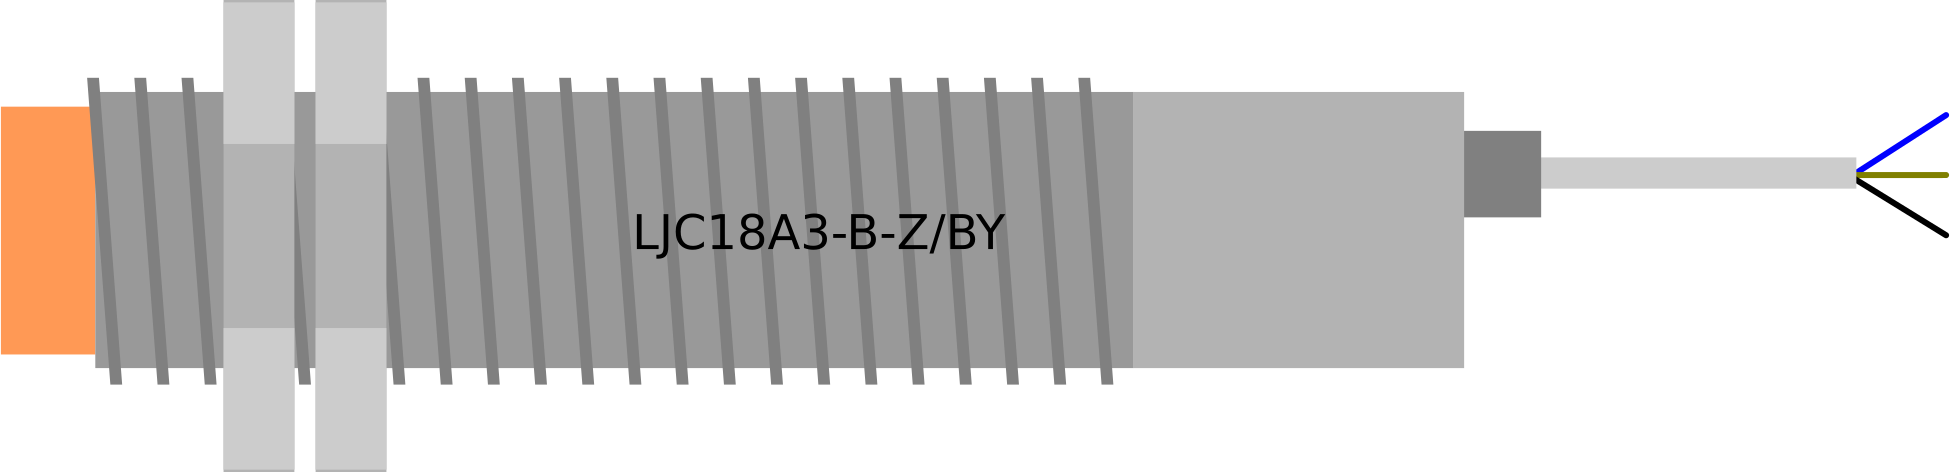
| 1 | Brown Wire (Vcc) | Supply voltage (6-36V DC) |
| 2 | Blue Wire (GND) | Ground connection |
| 3 | Black Wire (Output) | Output signal (PNP NO) |
Usage Instructions
How to Use the Component in a Circuit
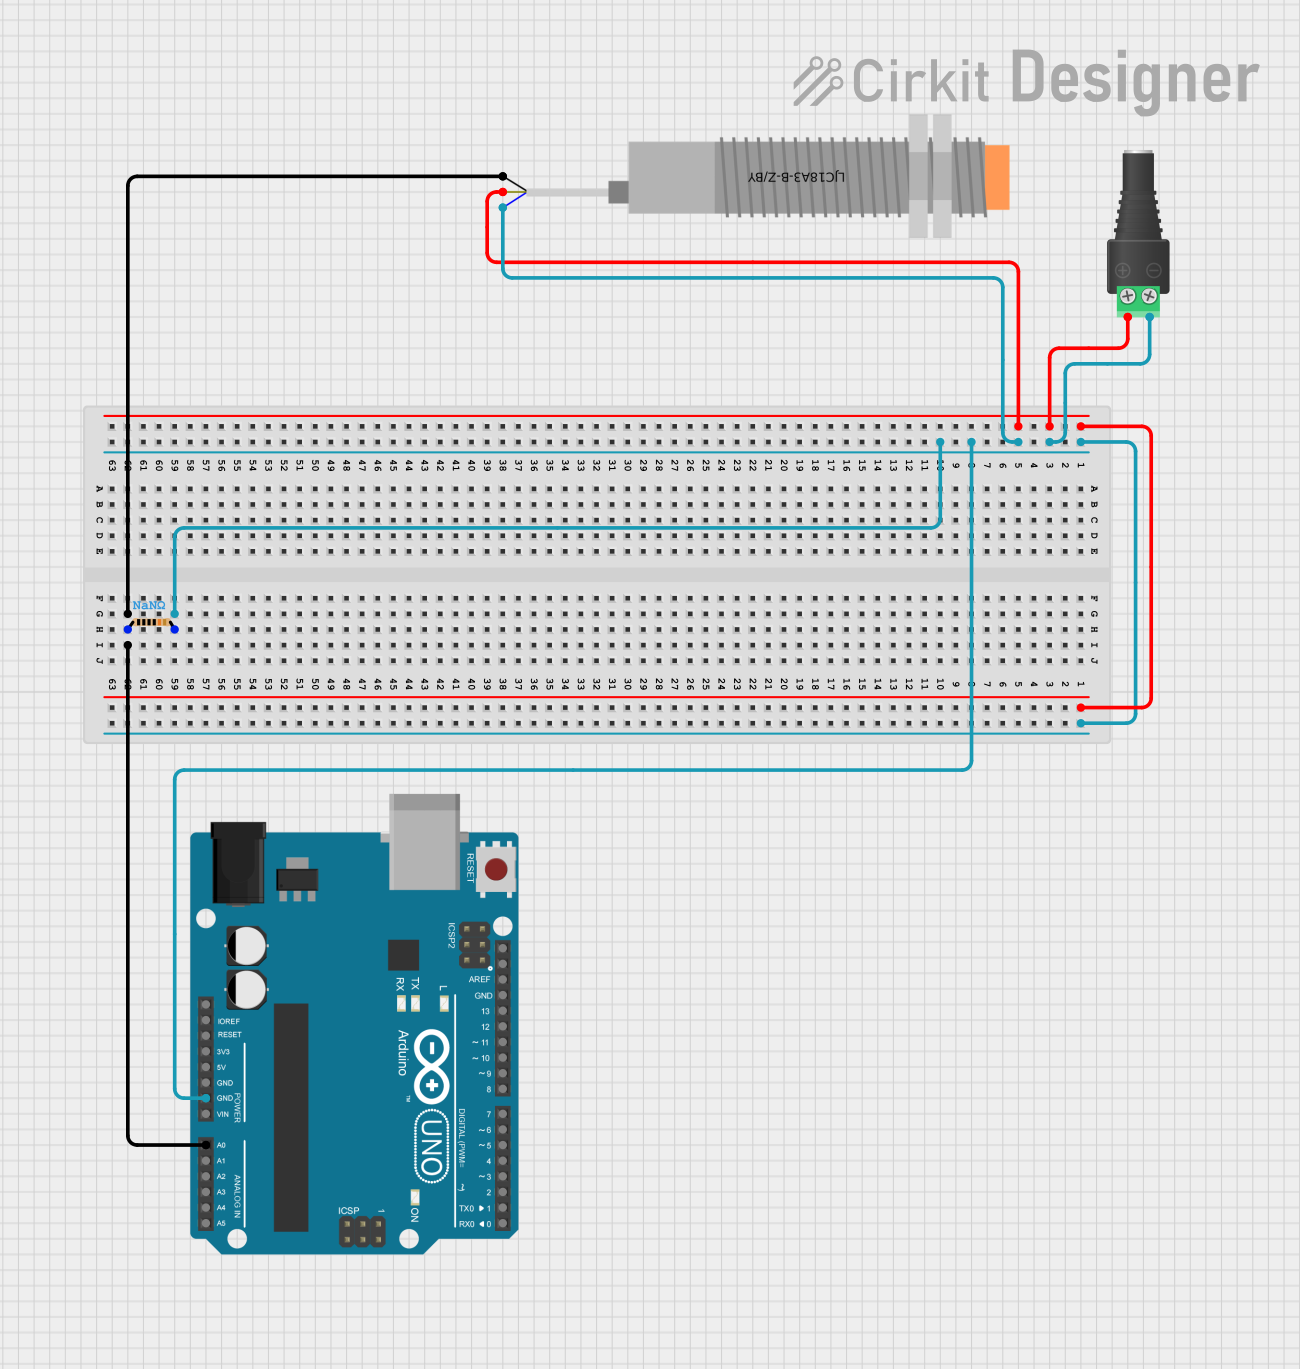
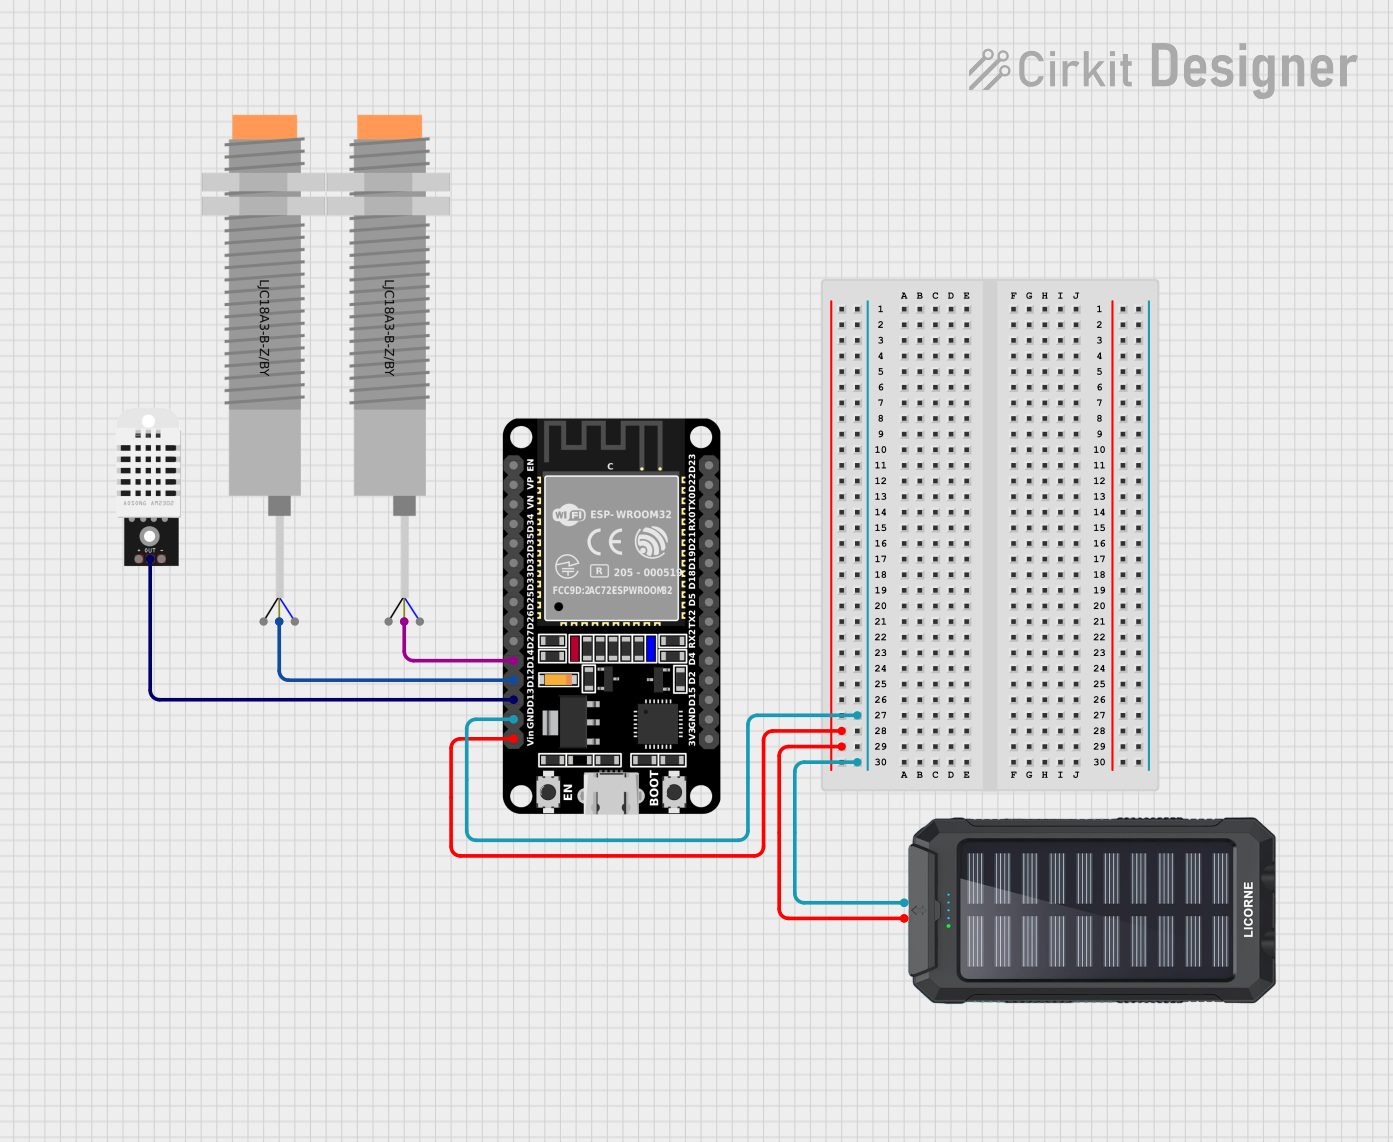
- Power Supply Connection: Connect the brown wire to the positive terminal of your power supply, and the blue wire to the negative terminal or ground.
- Output Connection: Connect the black wire to the input of your control system (e.g., PLC, microcontroller).
- Adjust Sensing Distance: Turn the sensitivity adjustment potentiometer on the sensor to set the desired sensing distance within the 1-10 mm range.
- Mounting: Secure the sensor in place, ensuring that the sensing area is facing the target object with enough clearance for the desired sensing distance.
Important Considerations and Best Practices
- Ensure that the supply voltage does not exceed the specified maximum of 36V DC.
- Avoid placing the sensor near materials that can affect capacitance, such as metal objects or liquids, unless they are the target.
- Keep the sensor away from high-vibration areas to prevent false triggering.
- Regularly clean the sensing area to maintain accuracy, especially in dusty or dirty environments.
Troubleshooting and FAQs
Common Issues
- Sensor not detecting objects: Check the power supply, connections, and ensure the sensing distance is correctly adjusted.
- False triggering: Ensure the sensor is not subjected to mechanical vibrations or electrical noise.
- Output not functioning: Verify the output connection and ensure the load does not exceed the maximum output current rating.
Solutions and Tips for Troubleshooting
- If the sensor is not functioning, first check for proper power supply voltage and wiring connections.
- Adjust the sensitivity potentiometer carefully to fine-tune the sensing distance.
- Use shielded cables for wiring in electrically noisy environments to minimize interference.
FAQs
Q: Can the sensor detect non-metallic objects? A: Yes, capacitive sensors can detect both metallic and non-metallic objects.
Q: Is the sensor waterproof? A: The sensor has an IP67 rating, making it dust and water-resistant, but it should not be submerged.
Q: How do I connect this sensor to an Arduino UNO? A: Connect the brown wire to the 5V pin, the blue wire to GND, and the black wire to a digital input pin on the Arduino UNO.
Example Arduino Code
// Define the connection pin
const int sensorPin = 2; // Black wire connected to digital pin 2

void setup() {
  pinMode(sensorPin, INPUT); // Set the sensor pin as an input
  Serial.begin(9600);       // Start serial communication at 9600 baud
}

void loop() {
  int sensorValue = digitalRead(sensorPin); // Read the sensor output
  Serial.println(sensorValue);              // Print the sensor value to the serial monitor
  delay(100);                               // Wait for 100 milliseconds
}
This example code sets up an Arduino UNO to read the output from the LJC18A3-B-Z/BY capacitive proximity sensor and print the results to the serial monitor. The sensor's black wire is connected to digital pin 2, the brown wire to the 5V pin, and the blue wire to GND. The code continuously reads the sensor output and prints the value, which will be HIGH when an object is detected and LOW when no object is present.