How to Use temt6000: Examples, Pinouts, and Specs
Introduction
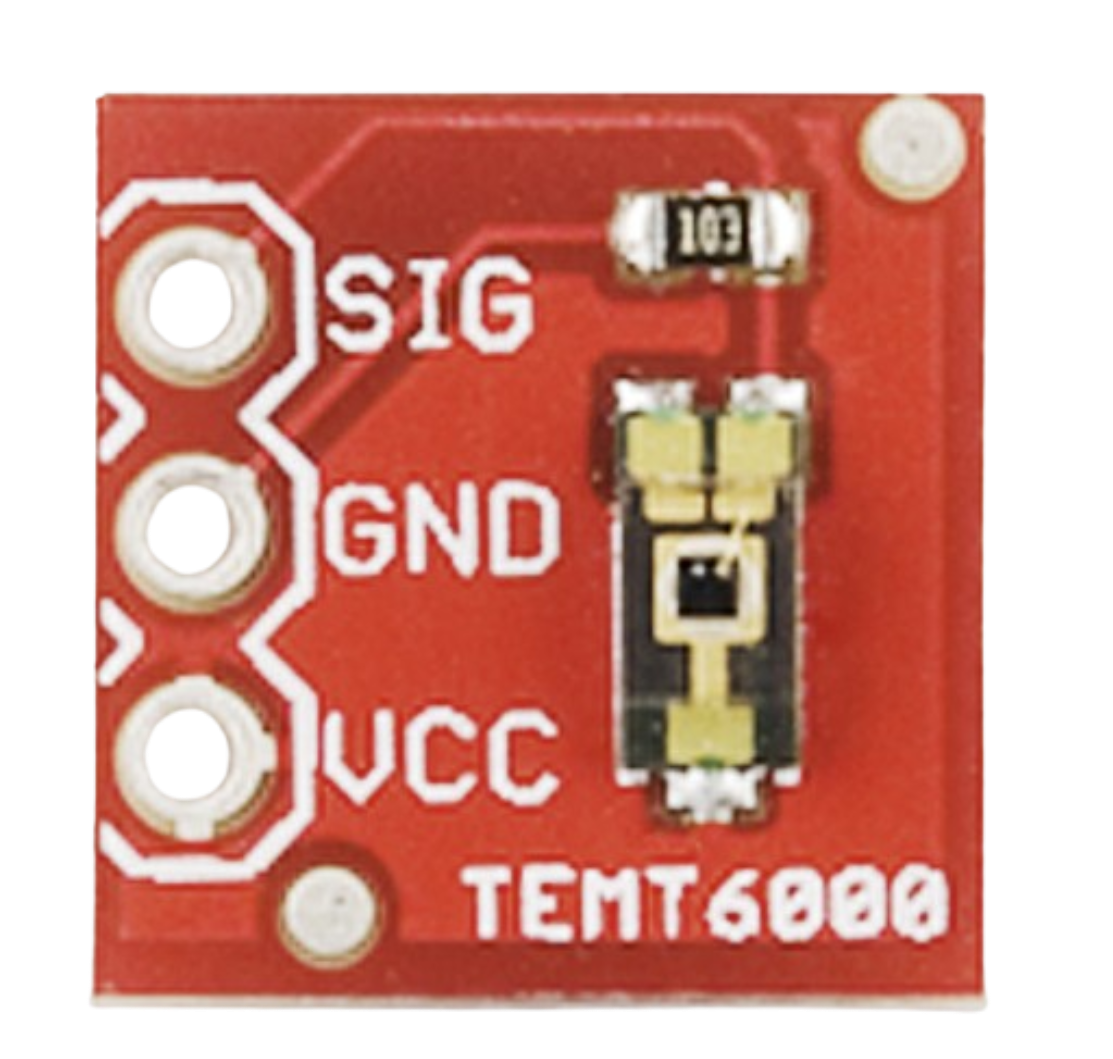
The TEMT6000 is a light sensor designed to detect ambient light levels. It outputs an analog voltage proportional to the intensity of the light it senses, making it an ideal choice for applications requiring light measurement or control. Its compact size and ease of use make it suitable for a wide range of projects, from automatic lighting systems to light-sensitive devices.
Explore Projects Built with temt6000

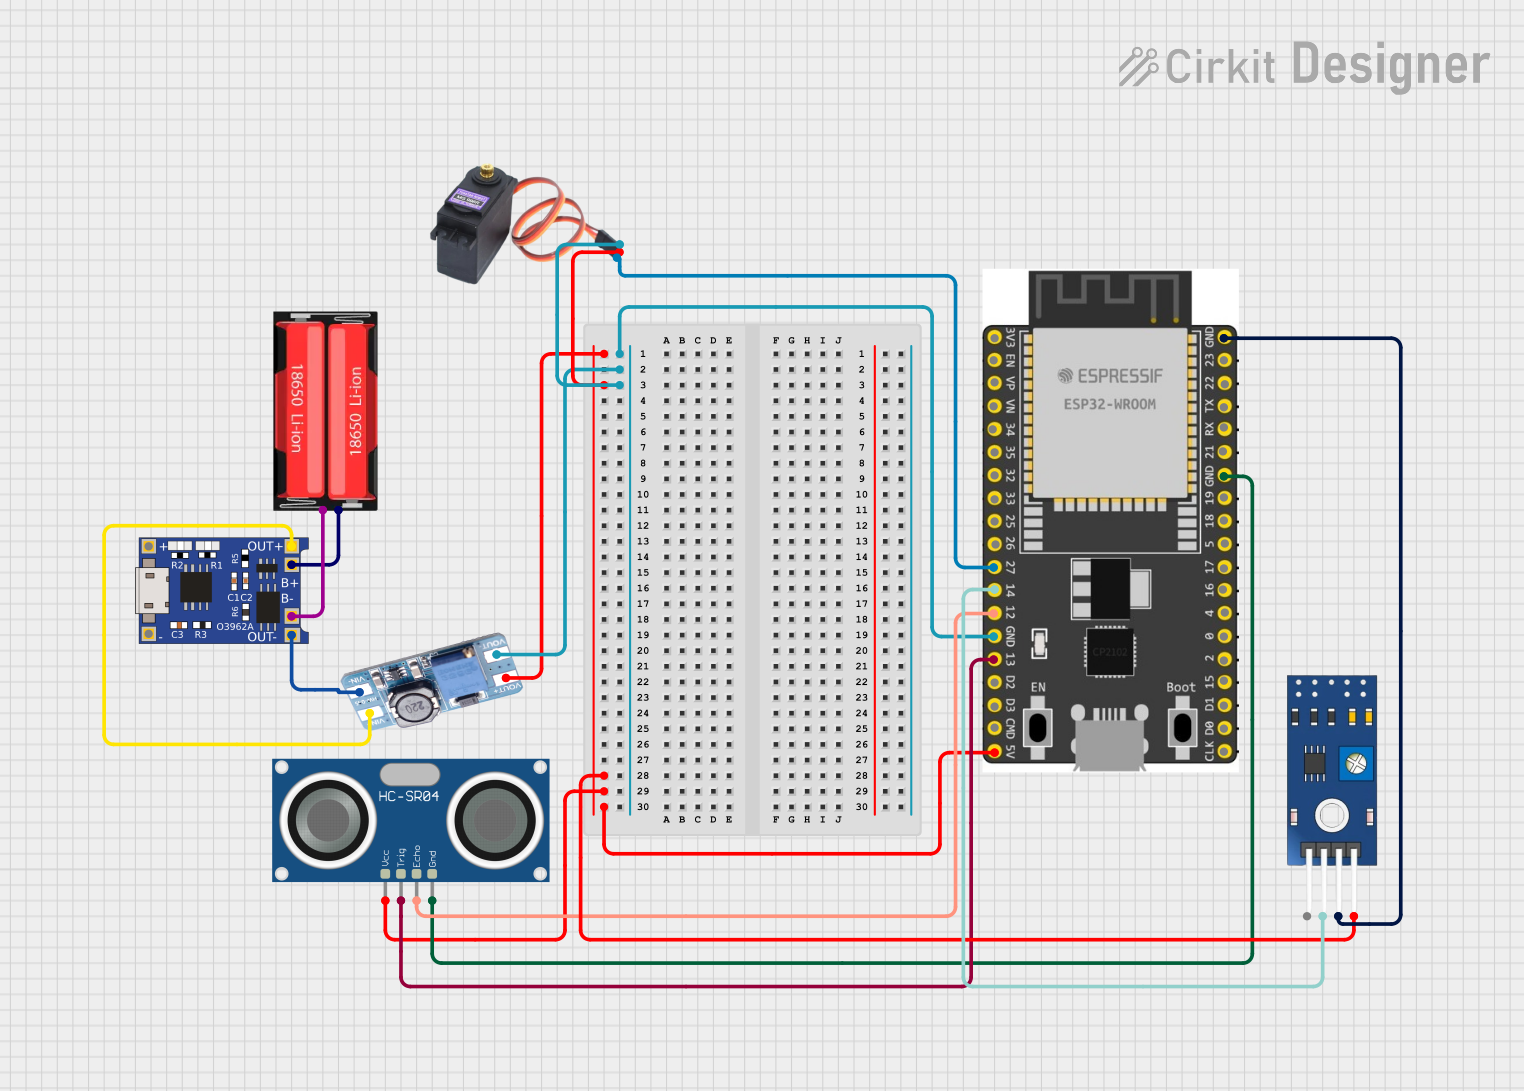

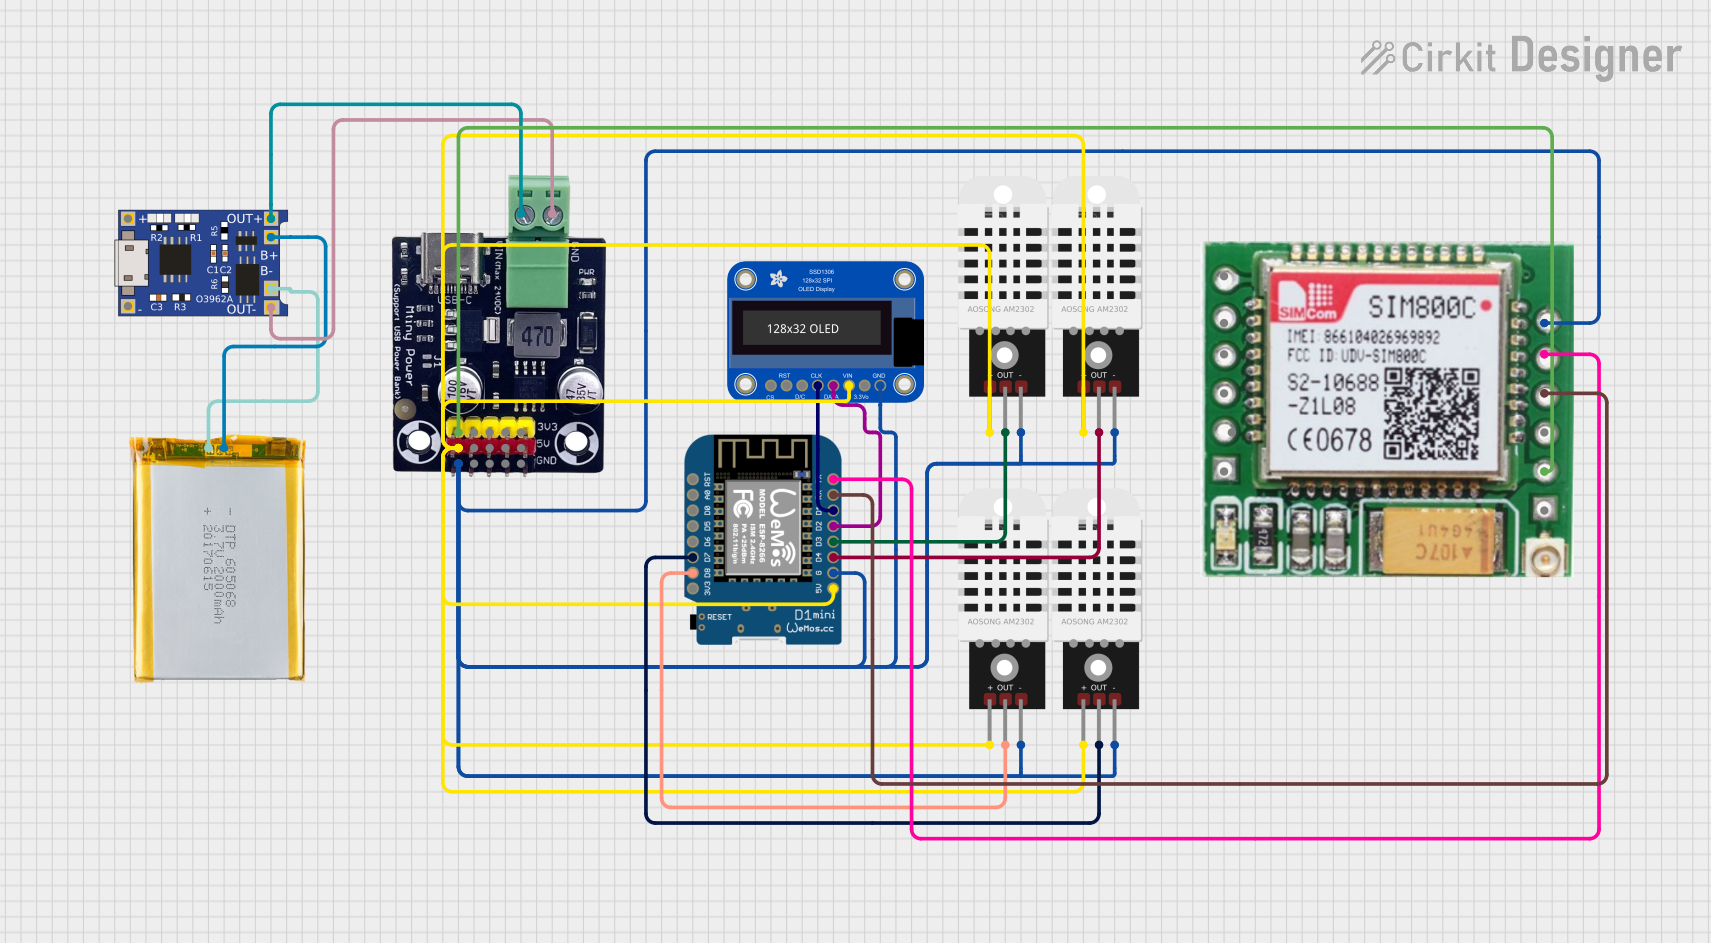
Explore Projects Built with temt6000
Common Applications
- Automatic brightness adjustment in displays
- Ambient light detection for smart home systems
- Light-sensitive robotics and automation
- Energy-saving lighting control systems
- Weather monitoring stations
Technical Specifications
The TEMT6000 is a phototransistor-based sensor with the following key specifications:
| Parameter | Value |
|---|---|
| Supply Voltage (Vcc) | 3.3V to 5V |
| Output Voltage Range | 0V to Vcc (proportional to light) |
| Spectral Sensitivity | 570 nm (peak sensitivity) |
| Operating Temperature | -40°C to +85°C |
| Current Consumption | ~0.5 mA |
| Light Intensity Range | 0 to ~1000 lux |
Pin Configuration
The TEMT6000 sensor typically comes with three pins. Below is the pinout description:
| Pin | Name | Description |
|---|---|---|
| 1 | Vcc | Power supply pin (3.3V to 5V) |
| 2 | GND | Ground connection |
| 3 | OUT | Analog output pin (voltage proportional to light) |
Usage Instructions
Connecting the TEMT6000
To use the TEMT6000 in a circuit, follow these steps:
- Connect the Vcc pin to a 3.3V or 5V power source.
- Connect the GND pin to the ground of your circuit.
- Connect the OUT pin to an analog input pin of your microcontroller or ADC (Analog-to-Digital Converter).
Important Considerations
- The TEMT6000 is sensitive to visible light, with peak sensitivity at 570 nm. Avoid using it in environments with strong infrared or UV light sources, as these may affect accuracy.
- Ensure the sensor is not obstructed by objects or enclosures that block light.
- Use a pull-down resistor on the output pin if the sensor is connected to a high-impedance input.
Example: Using TEMT6000 with Arduino UNO
Below is an example of how to read light intensity from the TEMT6000 using an Arduino UNO:
// TEMT6000 Light Sensor Example with Arduino UNO
// Reads the analog voltage from the sensor and converts it to a light intensity value.

const int sensorPin = A0; // Connect the OUT pin of TEMT6000 to A0 on Arduino

void setup() {
  Serial.begin(9600); // Initialize serial communication at 9600 baud
  pinMode(sensorPin, INPUT); // Set the sensor pin as input
}

void loop() {
  int sensorValue = analogRead(sensorPin); // Read the analog value from the sensor
  float voltage = sensorValue * (5.0 / 1023.0); // Convert to voltage (5V reference)

  // Print the raw value and voltage to the Serial Monitor
  Serial.print("Raw Value: ");
  Serial.print(sensorValue);
  Serial.print(" | Voltage: ");
  Serial.print(voltage);
  Serial.println(" V");

  delay(500); // Wait for 500ms before the next reading
}
Notes:
- The
analogRead()function returns a value between 0 and 1023, corresponding to 0V to 5V. - You can calibrate the sensor for specific light intensity ranges by mapping the raw values to lux.
Troubleshooting and FAQs
Common Issues
No Output or Incorrect Readings
- Cause: Incorrect wiring or loose connections.
- Solution: Double-check the wiring. Ensure Vcc and GND are properly connected.
Output Voltage Stuck at Maximum or Minimum
- Cause: Sensor is exposed to extreme light or complete darkness.
- Solution: Test the sensor in a controlled lighting environment.
Fluctuating Readings
- Cause: Electrical noise or unstable power supply.
- Solution: Add a decoupling capacitor (e.g., 0.1 µF) between Vcc and GND.
FAQs
Q: Can the TEMT6000 detect infrared or UV light?
A: No, the TEMT6000 is designed to detect visible light, with peak sensitivity at 570 nm. It is not suitable for detecting infrared or UV light.
Q: How do I increase the accuracy of the sensor?
A: Use an ADC with higher resolution or average multiple readings to reduce noise and improve accuracy.
Q: Can I use the TEMT6000 with a 3.3V microcontroller?
A: Yes, the TEMT6000 operates with a supply voltage range of 3.3V to 5V, making it compatible with 3.3V systems.
Q: What is the maximum distance for detecting light?
A: The TEMT6000 does not have a fixed detection distance. Its output depends on the intensity of light reaching the sensor, not the distance from the light source.
By following this documentation, you can effectively integrate the TEMT6000 light sensor into your projects and troubleshoot common issues.