How to Use Mini Fan: Examples, Pinouts, and Specs
Introduction
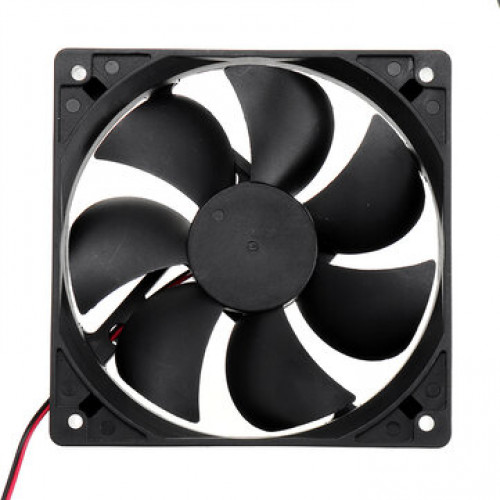
The Mini Fan is a small electric fan designed for cooling or ventilation purposes. It is typically powered by a low-voltage DC motor, making it suitable for a wide range of applications. Its compact size and low power consumption make it ideal for use in electronics projects, small enclosures, and portable devices.
Explore Projects Built with Mini Fan


Explore Projects Built with Mini Fan
Common Applications and Use Cases
- Cooling electronic components such as microcontrollers, sensors, and power supplies.
- Ventilation in small enclosures or cases.
- DIY projects requiring airflow or heat dissipation.
- Portable cooling devices or gadgets.
Technical Specifications
The following table outlines the key technical details of the Mini Fan:
| Parameter | Value |
|---|---|
| Operating Voltage | 5V DC (typical), 3-12V range |
| Current Consumption | 100-200mA (depending on load) |
| Power Rating | 0.5W - 2.4W |
| Fan Speed | 3000-8000 RPM (varies by model) |
| Dimensions | 30mm x 30mm x 10mm (typical) |
| Connector Type | 2-pin or 3-pin JST/PH2.0 |
| Noise Level | 20-30 dB (depending on speed) |
| Weight | ~10g |
Pin Configuration and Descriptions
The Mini Fan typically comes with a 2-pin or 3-pin connector. The pin configuration is as follows:
2-Pin Connector
| Pin Number | Name | Description |
|---|---|---|
| 1 | VCC | Positive power supply (3-12V) |
| 2 | GND | Ground connection |
3-Pin Connector
| Pin Number | Name | Description |
|---|---|---|
| 1 | VCC | Positive power supply (3-12V) |
| 2 | GND | Ground connection |
| 3 | PWM/Signal | Optional speed control input |
Usage Instructions
How to Use the Mini Fan in a Circuit
- Power Connection: Connect the VCC pin to a DC power source (e.g., 5V from an Arduino or external power supply). Connect the GND pin to the ground of the circuit.
- Speed Control (Optional): If using a 3-pin Mini Fan, connect the PWM/Signal pin to a microcontroller's PWM output to control the fan speed. A typical PWM frequency of 25kHz is recommended.
- Mounting: Secure the Mini Fan in place using screws or adhesive, ensuring proper airflow direction (usually indicated by arrows on the fan housing).
Important Considerations and Best Practices
- Voltage Range: Ensure the input voltage is within the specified range (3-12V). Exceeding this range may damage the fan.
- Current Supply: Verify that the power source can supply sufficient current (100-200mA) for the fan to operate reliably.
- Airflow Direction: Check the airflow direction before installation. Most fans have arrows indicating the direction of airflow and blade rotation.
- Noise Reduction: To minimize noise, ensure the fan is mounted securely and avoid obstructions near the blades.
- PWM Control: When using PWM for speed control, ensure the duty cycle is adjusted appropriately to avoid stalling the fan at very low speeds.
Example: Connecting a Mini Fan to an Arduino UNO
Below is an example of how to connect and control a Mini Fan using an Arduino UNO:
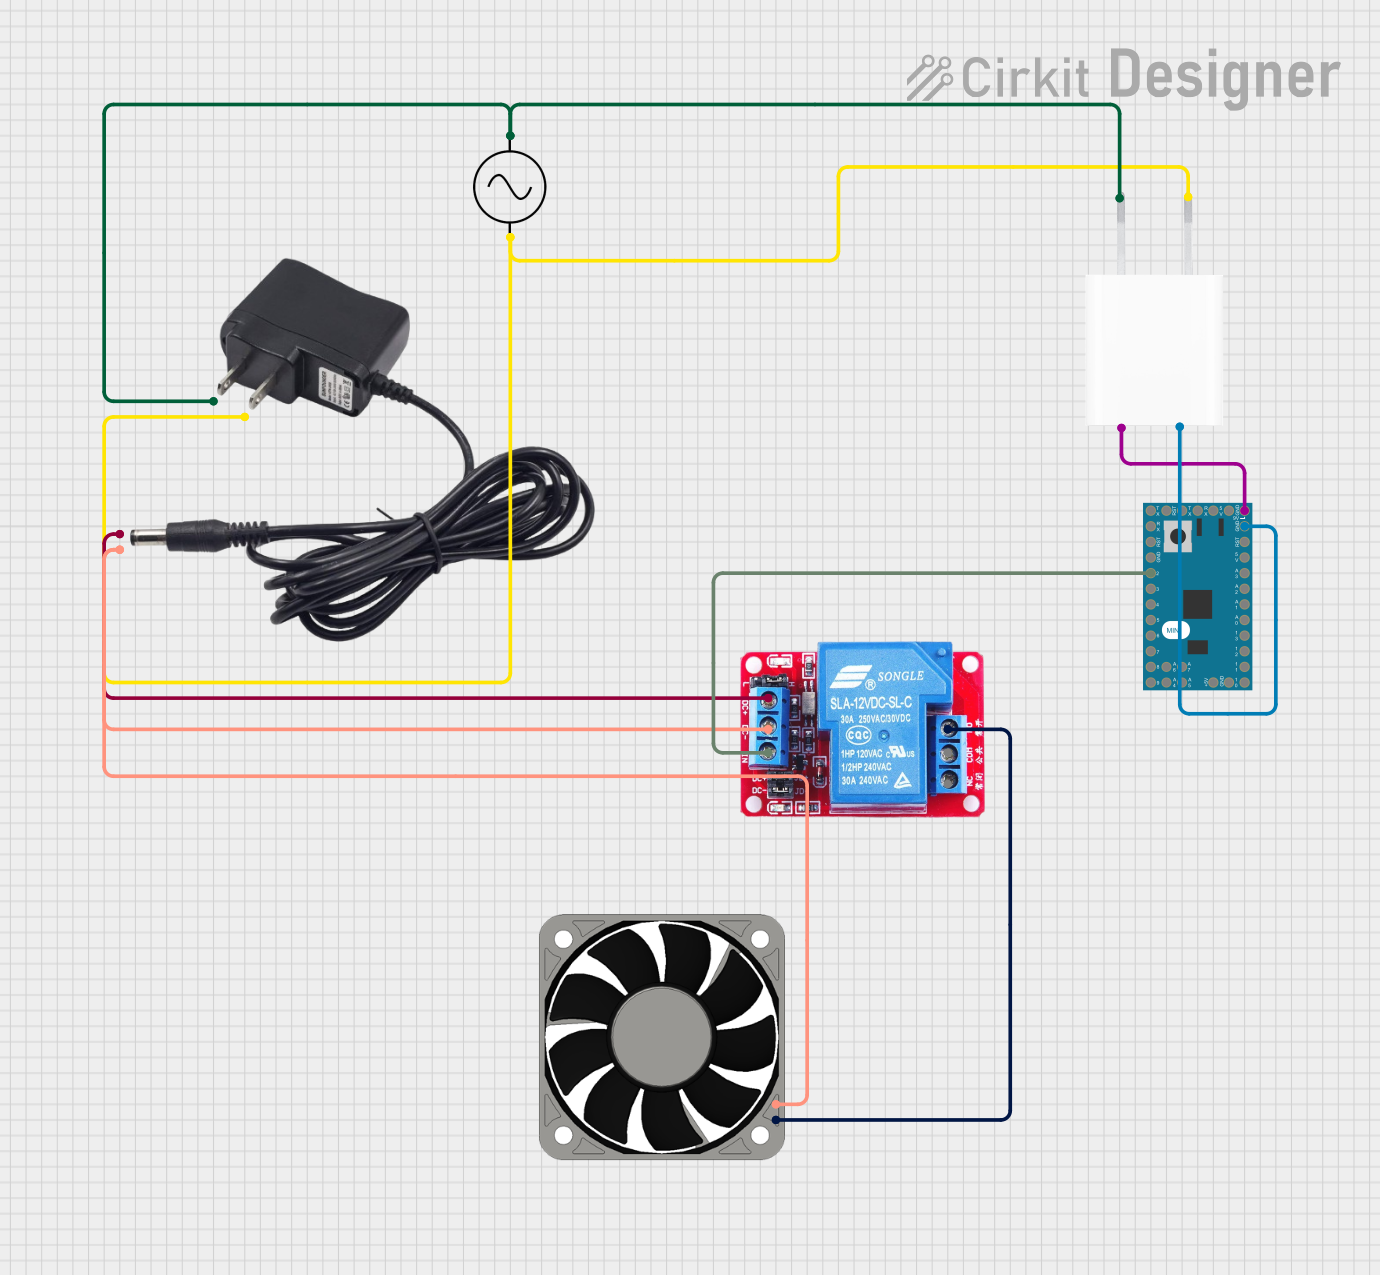
Circuit Diagram
- Connect the VCC pin of the Mini Fan to the 5V pin on the Arduino.
- Connect the GND pin of the Mini Fan to the GND pin on the Arduino.
- If using a 3-pin fan, connect the PWM/Signal pin to a PWM-capable pin on the Arduino (e.g., pin 9).
Arduino Code
// Mini Fan Speed Control using PWM
// Connect the fan's PWM/Signal pin to Arduino pin 9
// Ensure the fan's VCC and GND are connected to 5V and GND respectively

const int fanPin = 9; // PWM-capable pin connected to the fan's signal pin

void setup() {
  pinMode(fanPin, OUTPUT); // Set the fan pin as an output
}

void loop() {
  // Set fan speed to 50% (128 out of 255)
  analogWrite(fanPin, 128);
  delay(5000); // Run at 50% speed for 5 seconds

  // Set fan speed to 100% (255 out of 255)
  analogWrite(fanPin, 255);
  delay(5000); // Run at full speed for 5 seconds

  // Turn off the fan (0 out of 255)
  analogWrite(fanPin, 0);
  delay(5000); // Fan off for 5 seconds
}
Troubleshooting and FAQs
Common Issues and Solutions
Fan Does Not Spin
- Cause: Insufficient voltage or current.
- Solution: Verify the power supply voltage and current. Ensure proper connections to VCC and GND.
Fan Spins Slowly
- Cause: Low input voltage or high resistance in the circuit.
- Solution: Check the input voltage and ensure it meets the fan's specifications. Inspect wiring for loose connections.
Fan Makes Excessive Noise
- Cause: Loose mounting or obstructions near the blades.
- Solution: Secure the fan properly and remove any obstructions.
PWM Control Not Working
- Cause: Incorrect PWM frequency or duty cycle.
- Solution: Use a PWM frequency of 25kHz and adjust the duty cycle between 0-100%.
FAQs
Q: Can I power the Mini Fan directly from a USB port?
A: Yes, most Mini Fans can be powered from a USB port (5V), provided the current draw does not exceed the port's limit (typically 500mA).
Q: Can I use the Mini Fan with a 12V power supply?
A: Yes, if the fan supports a 12V input. Check the specifications of your specific fan model before connecting.
Q: How do I reverse the airflow direction?
A: The airflow direction is fixed by the fan's design. To reverse airflow, physically rotate the fan or use a fan designed for reversible operation.
Q: Is the Mini Fan waterproof?
A: Most Mini Fans are not waterproof. Avoid exposing the fan to water or high humidity environments unless specified as waterproof.