The RHS-82MG is a high-performance, low-noise operational amplifier (op-amp) designed for precision signal processing applications. It offers a wide bandwidth, low distortion, and high input impedance, making it ideal for use in audio processing, instrumentation, active filters, and other analog circuits requiring high accuracy and stability. Its robust design ensures reliable operation in both commercial and industrial environments.
Explore Projects Built with RHS-82MG
Use Cirkit Designer to design, explore, and prototype these projects online. Some projects support real-time simulation. Click "Open Project" to start designing instantly!
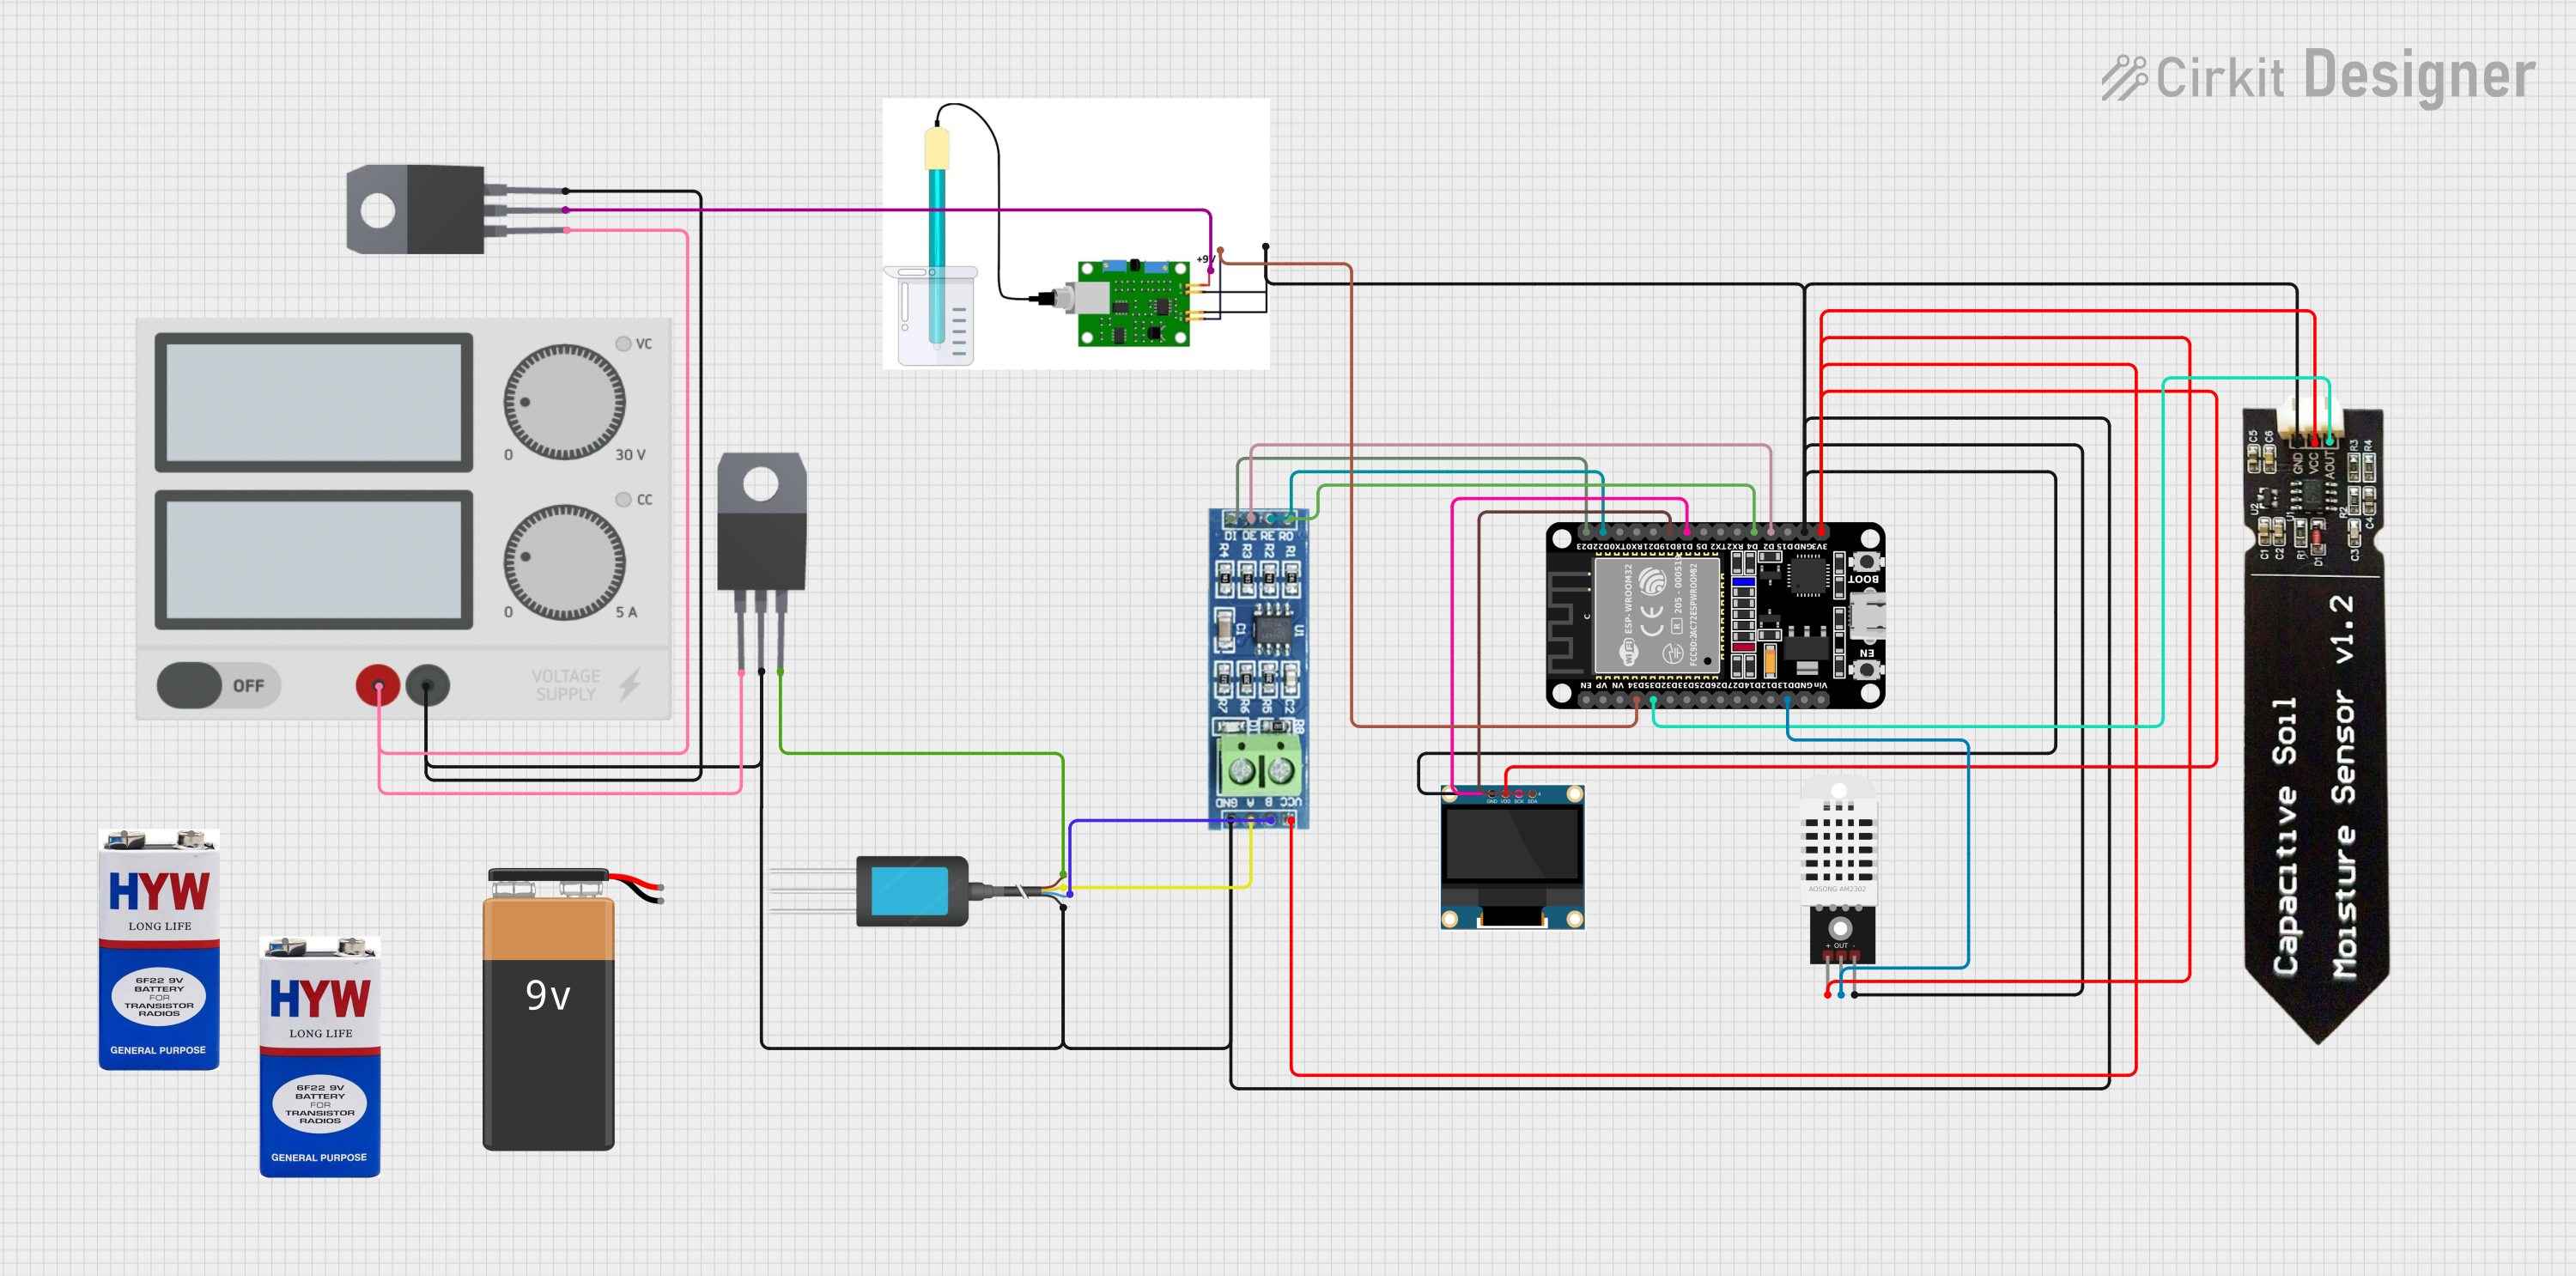
This circuit is a smart agricultural monitoring system that uses an ESP32 microcontroller to collect data from various sensors, including a DHT22 for temperature and humidity, a pH sensor, an NPK soil sensor, and a capacitive soil moisture sensor. The collected data is displayed on a 0.96" OLED screen, and the RS485 module facilitates communication with the NPK soil sensor.
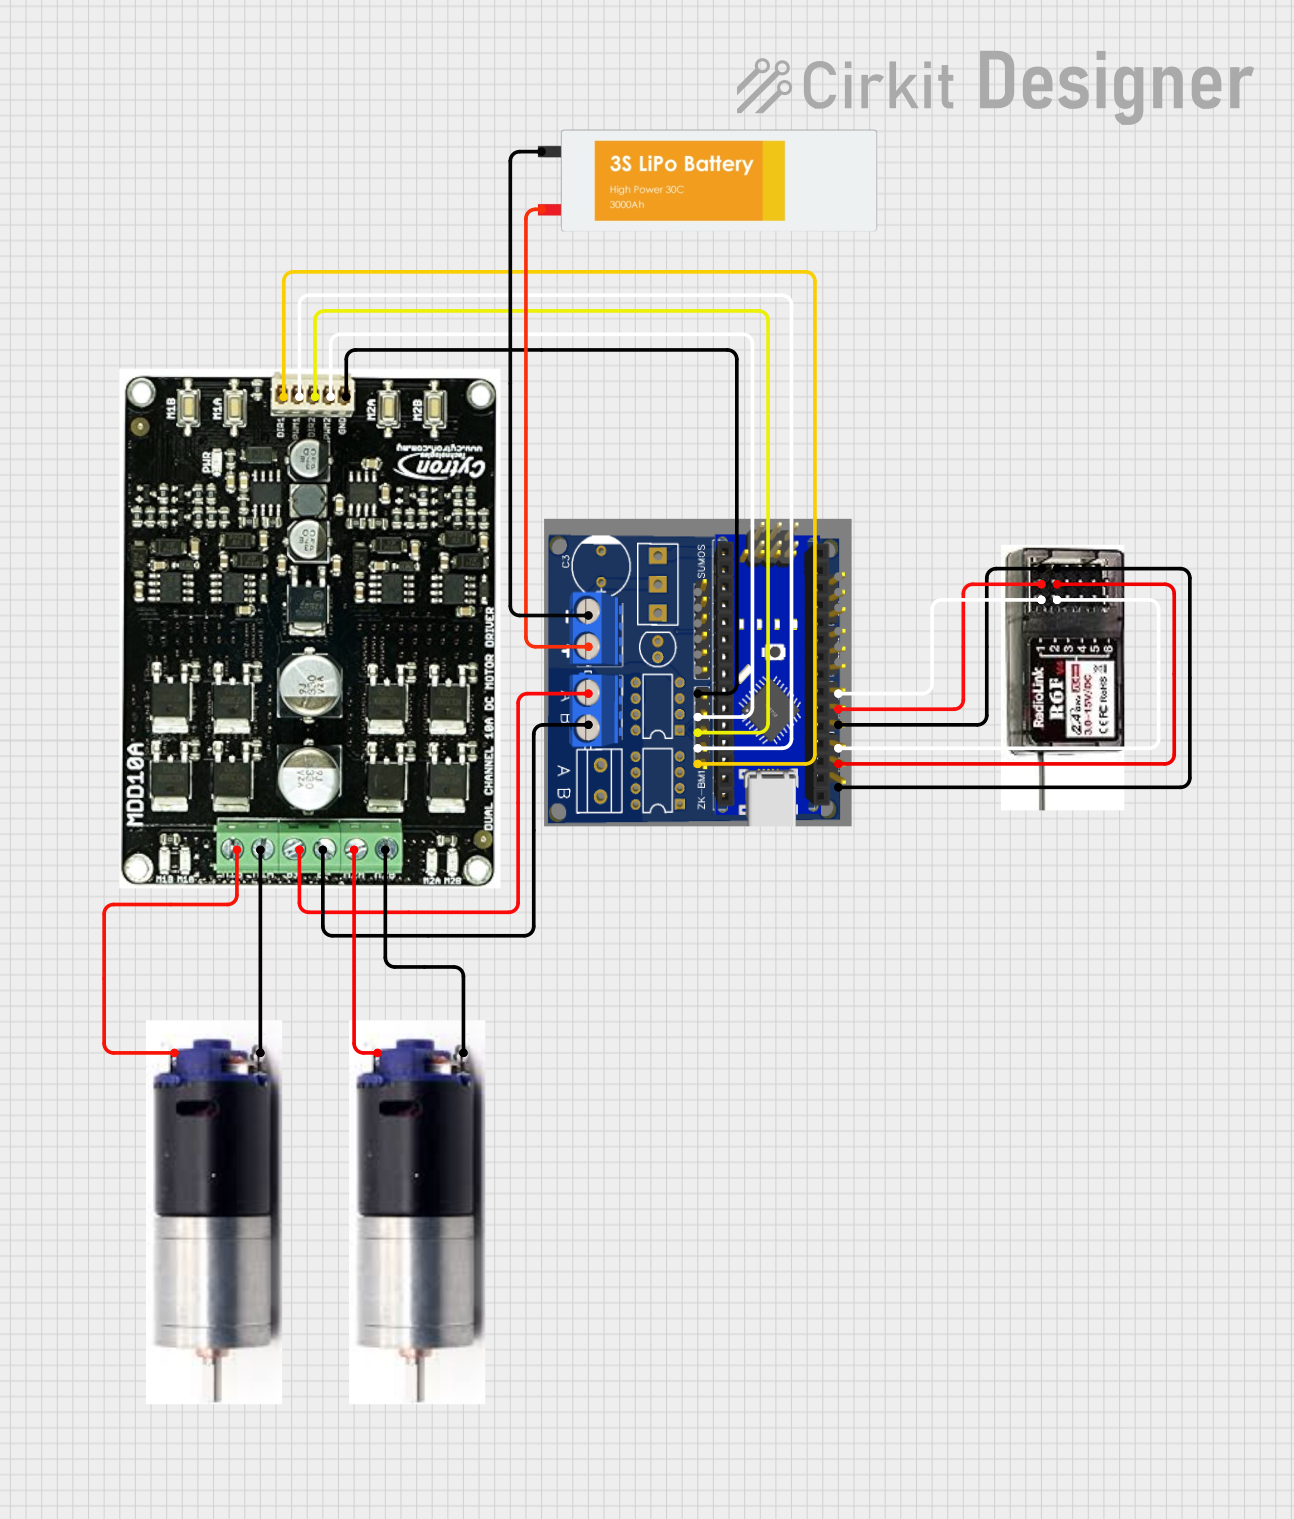
This circuit is a remote-controlled motor driver system powered by a LiPo battery. It uses a Massive RC MDEx microcontroller to control an MDD10A dual motor driver, which in turn drives two GM25 DC motors. The R6FG receiver receives remote control signals to manage the motor directions and speeds.
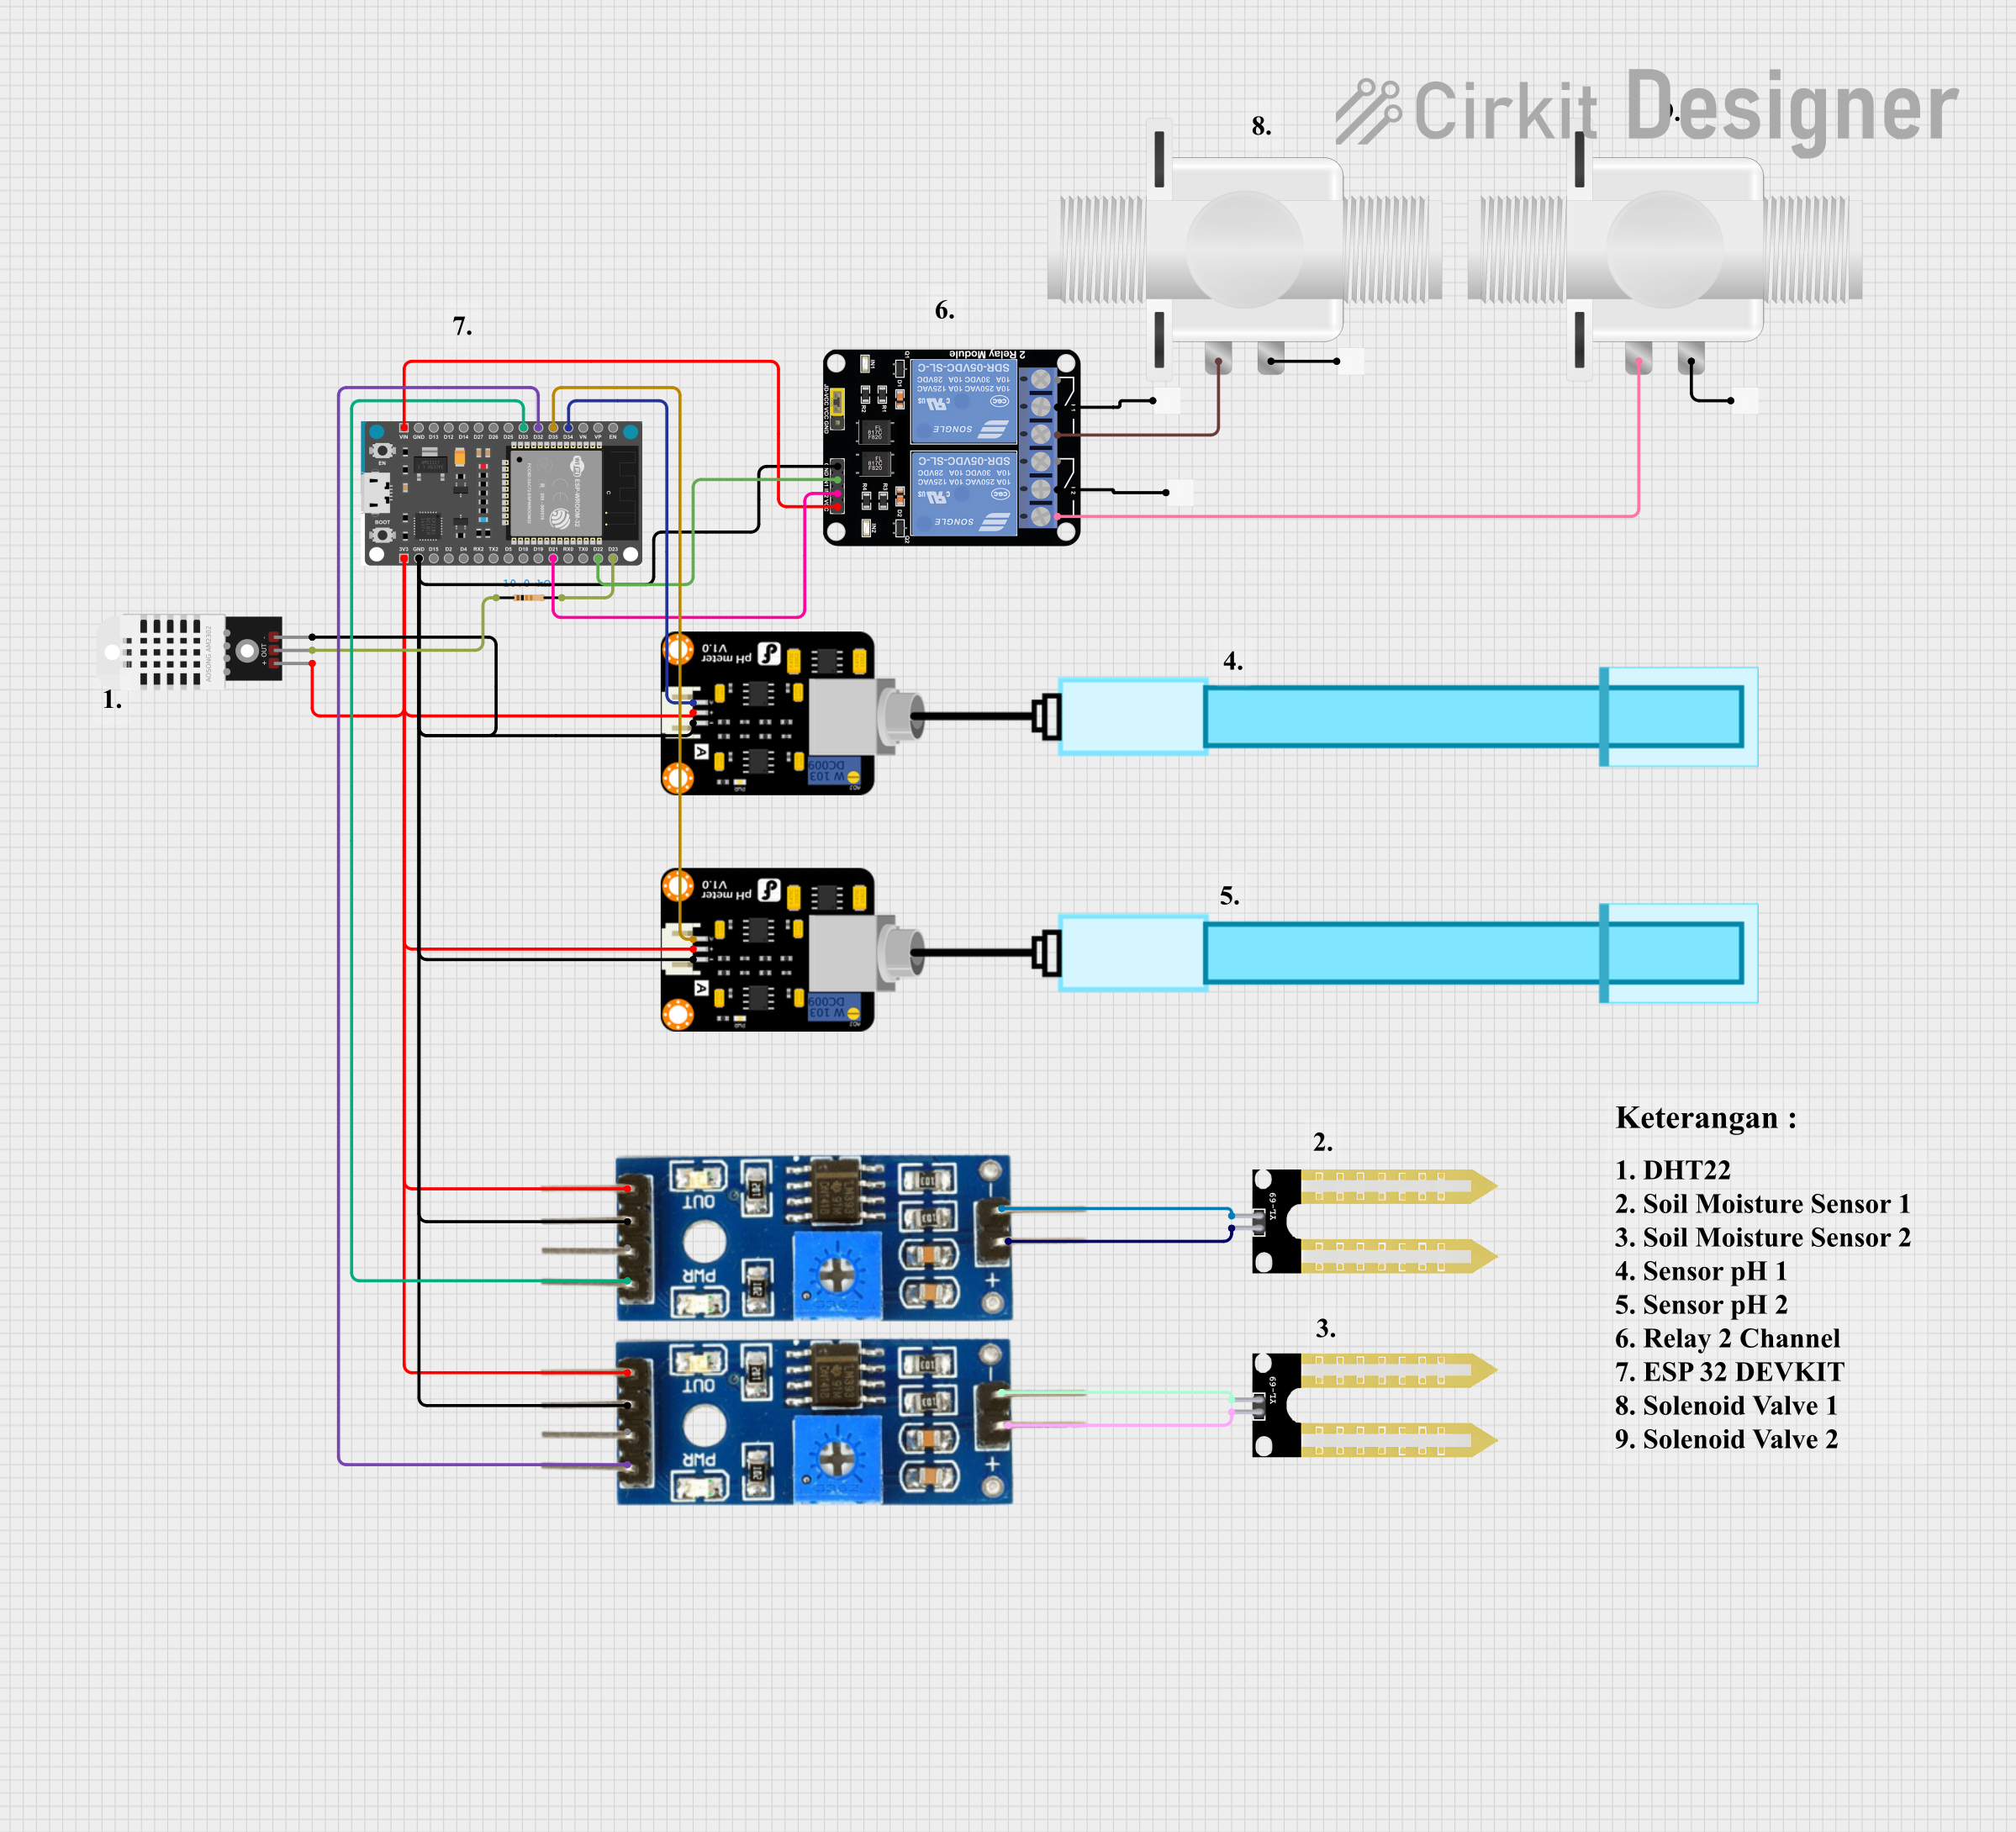
This is an automated environmental control system for plant growth that uses an ESP32 to monitor soil moisture and pH levels, and to manage irrigation through solenoid valves. The system aims to maintain optimal growing conditions by adjusting watering schedules based on sensor inputs.
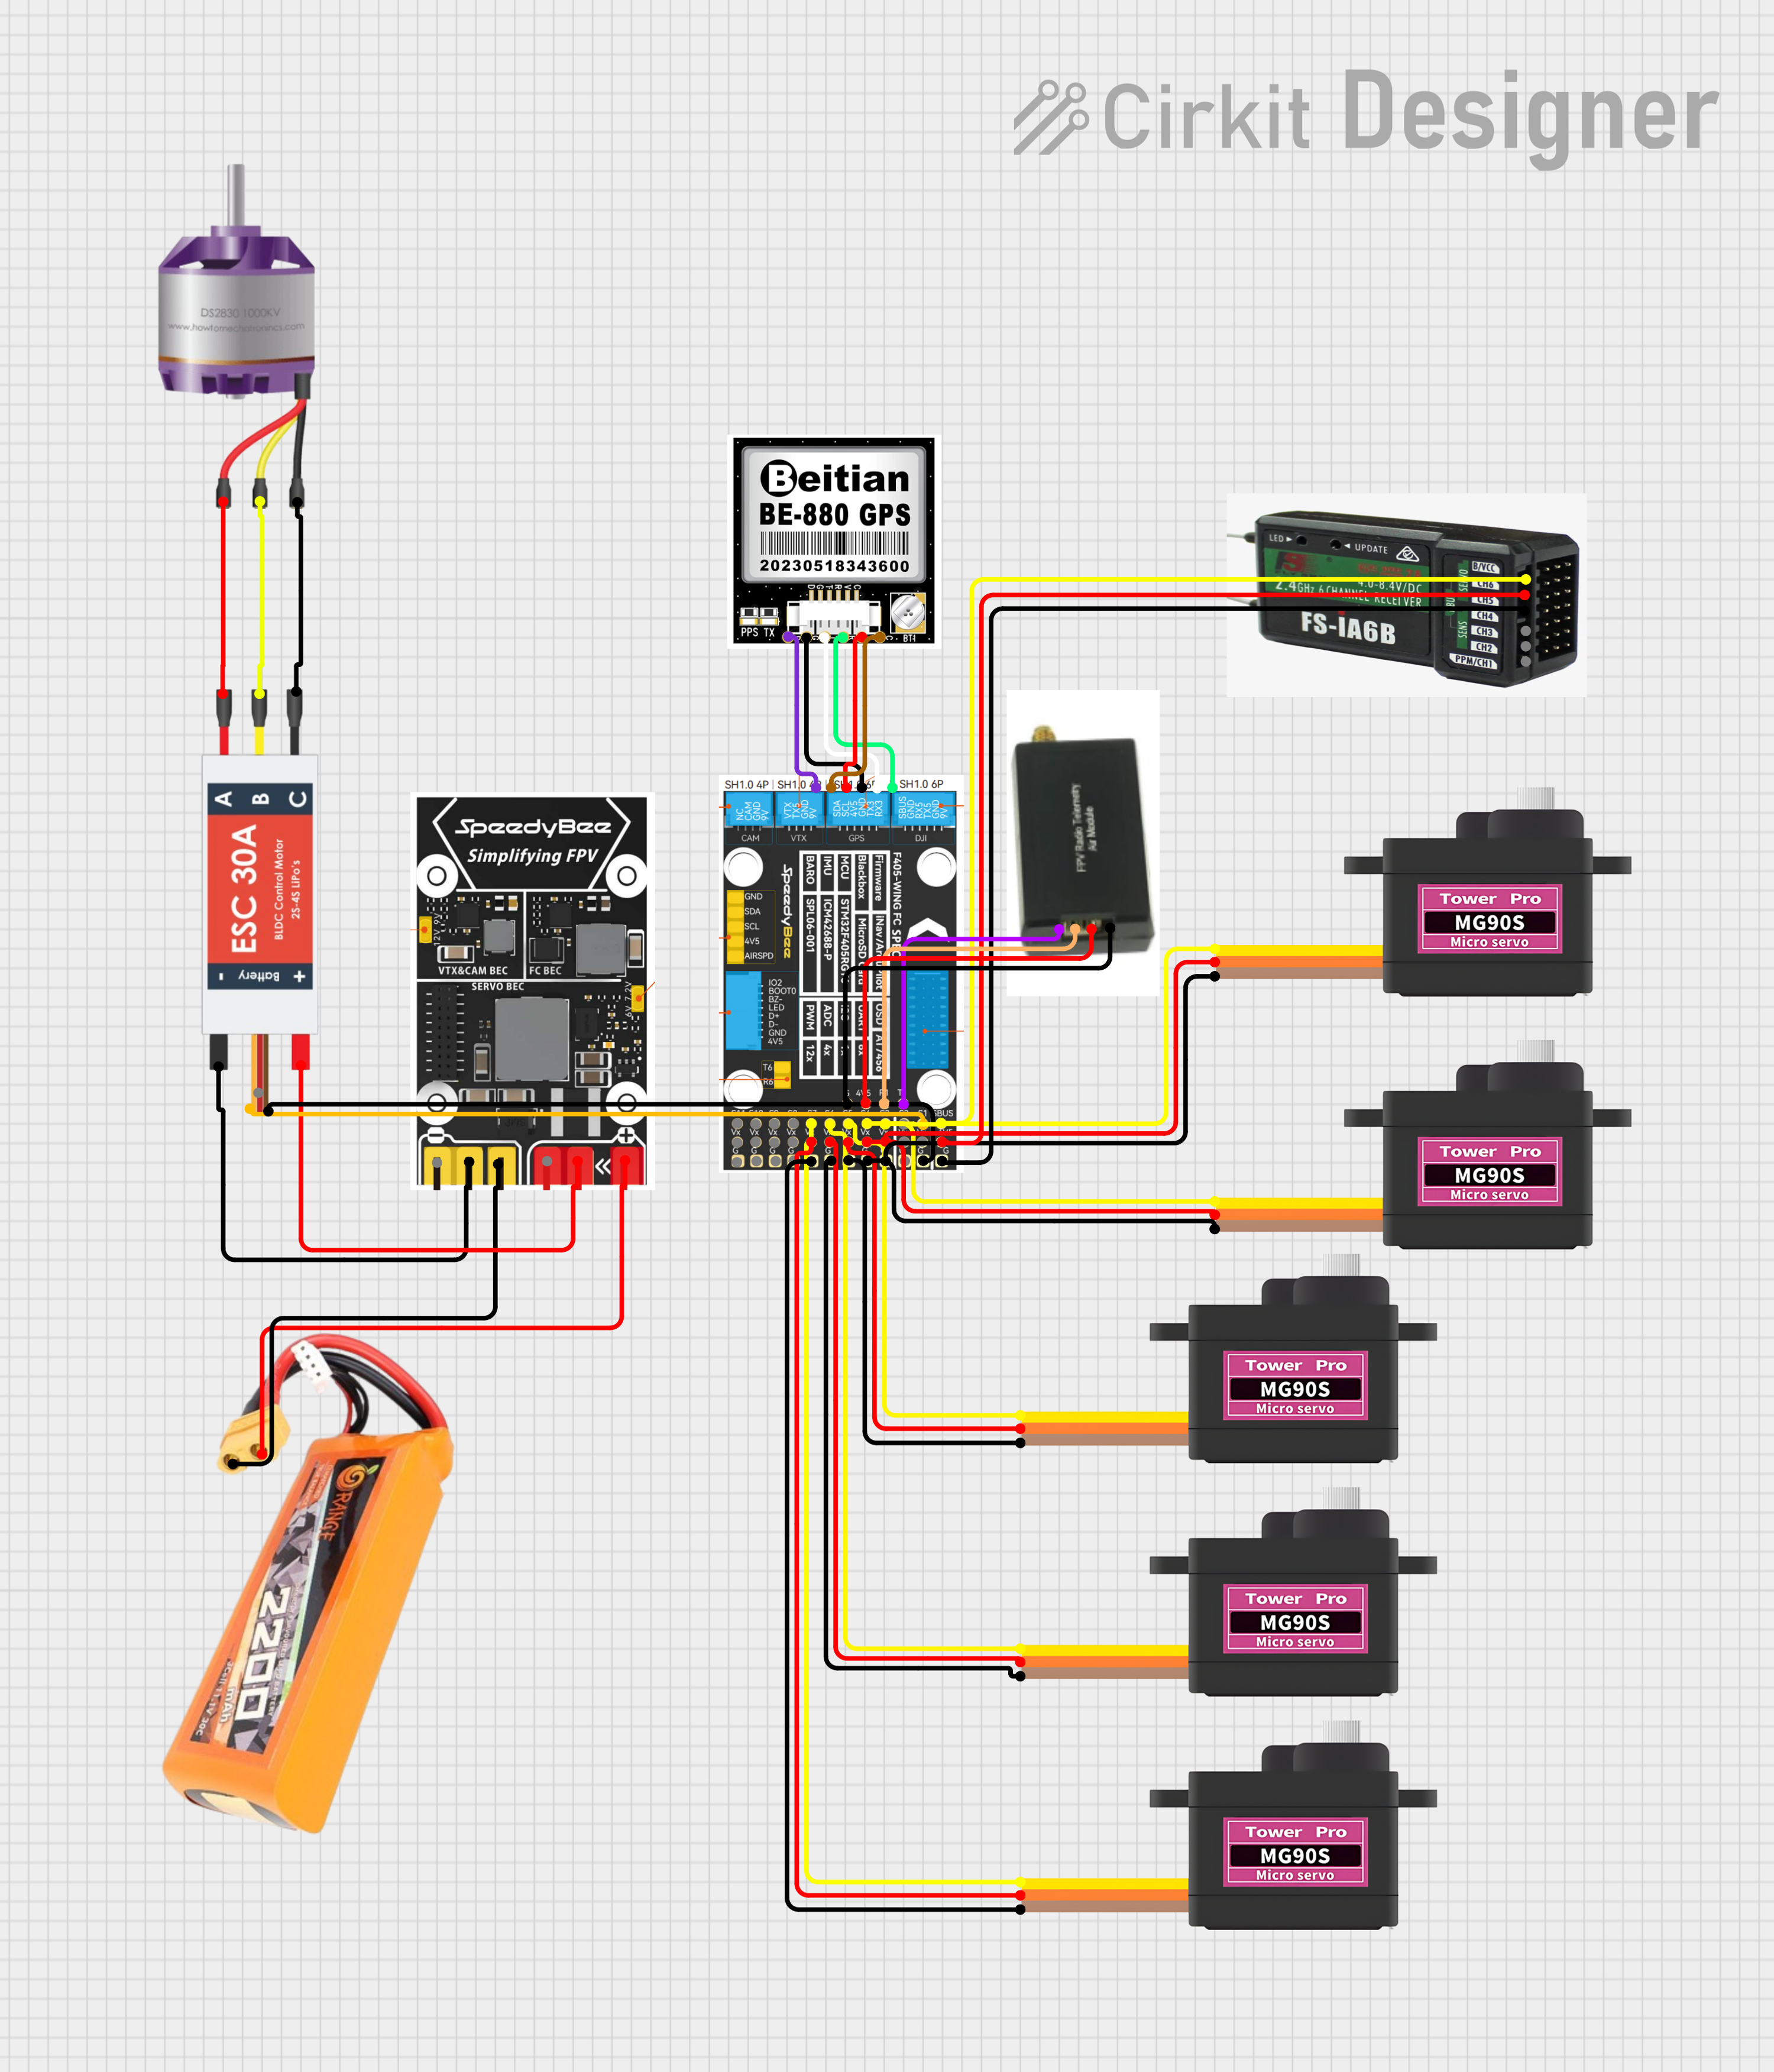
This circuit is designed for a remote-controlled vehicle or drone, featuring a flight controller that manages a brushless motor, servomotors for actuation, telemetry for data communication, and a GPS module for positioning. It is powered by a lipo battery and includes a receiver for remote control inputs.
The RHS-82MG is typically available in an 8-pin Dual Inline Package (DIP) or Small Outline Integrated Circuit (SOIC). Below is the pinout and description:
Pin Number
Pin Name
Description
1
Offset Null 1
Used for offset voltage adjustment (optional)
2
Inverting Input
Inverting input terminal (-)
3
Non-Inverting Input
Non-inverting input terminal (+)
4
V- (Negative Supply)
Negative power supply terminal
5
Offset Null 2
Used for offset voltage adjustment (optional)
6
Output
Output terminal of the op-amp
7
V+ (Positive Supply)
Positive power supply terminal
8
NC (No Connect)
Not connected internally
Usage Instructions
Using the RHS-82MG in a Circuit
Power Supply: Connect the V+ and V- pins to the appropriate positive and negative supply voltages. Ensure the supply voltage does not exceed the specified range (±18V).
Input Connections: Connect the signal source to the inverting (pin 2) or non-inverting (pin 3) input, depending on the desired configuration (e.g., inverting or non-inverting amplifier).
Output Load: Connect the load to the output pin (pin 6). Ensure the load impedance is within the recommended range to avoid distortion or instability.
Offset Adjustment: If precise offset voltage adjustment is required, connect a 10 kΩ potentiometer between the Offset Null 1 (pin 1) and Offset Null 2 (pin 5) pins, with the wiper connected to V+.
Important Considerations
Decoupling Capacitors: Place decoupling capacitors (e.g., 0.1 µF ceramic and 10 µF electrolytic) close to the power supply pins to minimize noise and ensure stable operation.
Input Protection: Avoid applying voltages to the input pins that exceed the supply voltage range, as this may damage the op-amp.
Thermal Management: Ensure adequate ventilation or heat dissipation if the op-amp operates near its maximum temperature range.
Example: Connecting RHS-82MG to an Arduino UNO
The RHS-82MG can be used to amplify an analog signal before feeding it into the Arduino's ADC. Below is an example of a non-inverting amplifier circuit with a gain of 11.
Circuit Diagram
Connect the RHS-82MG as follows:
Pin 3 (Non-Inverting Input): Connect to the signal source.
Pin 2 (Inverting Input): Connect to a voltage divider with resistors R1 (10 kΩ) and R2 (100 kΩ).
Pin 6 (Output): Connect to Arduino's analog input pin (e.g., A0).
Pin 4 (V-): Connect to GND.
Pin 7 (V+): Connect to +5V from Arduino.
Arduino Code
// Arduino code to read amplified signal from RHS-82MG
const int analogPin = A0; // Analog pin connected to RHS-82MG output
int sensorValue = 0;      // Variable to store the analog reading

void setup() {
  Serial.begin(9600); // Initialize serial communication at 9600 baud
}

void loop() {
  sensorValue = analogRead(analogPin); // Read the analog value
  float voltage = sensorValue * (5.0 / 1023.0); // Convert to voltage
  Serial.print("Amplified Voltage: ");
  Serial.println(voltage); // Print the voltage to the Serial Monitor
  delay(500); // Wait for 500 ms before the next reading
}
Troubleshooting and FAQs
Common Issues
No Output Signal:
Check the power supply connections (V+ and V-).
Verify that the input signal is within the specified range.
Ensure the load impedance is not too low.
Distorted Output:
Verify that the gain setting resistors are correctly calculated.
Check for excessive noise or interference in the circuit.
Ensure the output is not overloaded.
High Offset Voltage:
Use the offset null pins to adjust the offset voltage.
Verify that the input bias current is properly accounted for in the circuit design.
FAQs
Q1: Can the RHS-82MG operate with a single supply voltage?
A1: Yes, the RHS-82MG can operate with a single supply voltage. However, the input and output signals must be biased appropriately to remain within the op-amp's operating range.
Q2: What is the maximum gain I can achieve with the RHS-82MG?
A2: The maximum gain depends on the circuit configuration and the bandwidth required. For high gains, ensure the gain-bandwidth product (10 MHz) is not exceeded.
Q3: How do I minimize noise in my circuit?
A3: Use proper grounding techniques, shield sensitive signal paths, and place decoupling capacitors close to the power supply pins.
Q4: Can I use the RHS-82MG for audio applications?
A4: Yes, the RHS-82MG's low noise and low distortion make it suitable for high-fidelity audio applications.


 Open Project in Cirkit Designer