How to Use LM386: Examples, Pinouts, and Specs
Introduction
The LM386 is a low-voltage audio power amplifier designed for use in low-power applications. It is capable of driving small speakers and headphones, making it ideal for portable and battery-powered devices. The LM386 is widely used in audio amplification circuits due to its simplicity, low power consumption, and adjustable gain, which ranges from 20 to 200.
Explore Projects Built with LM386


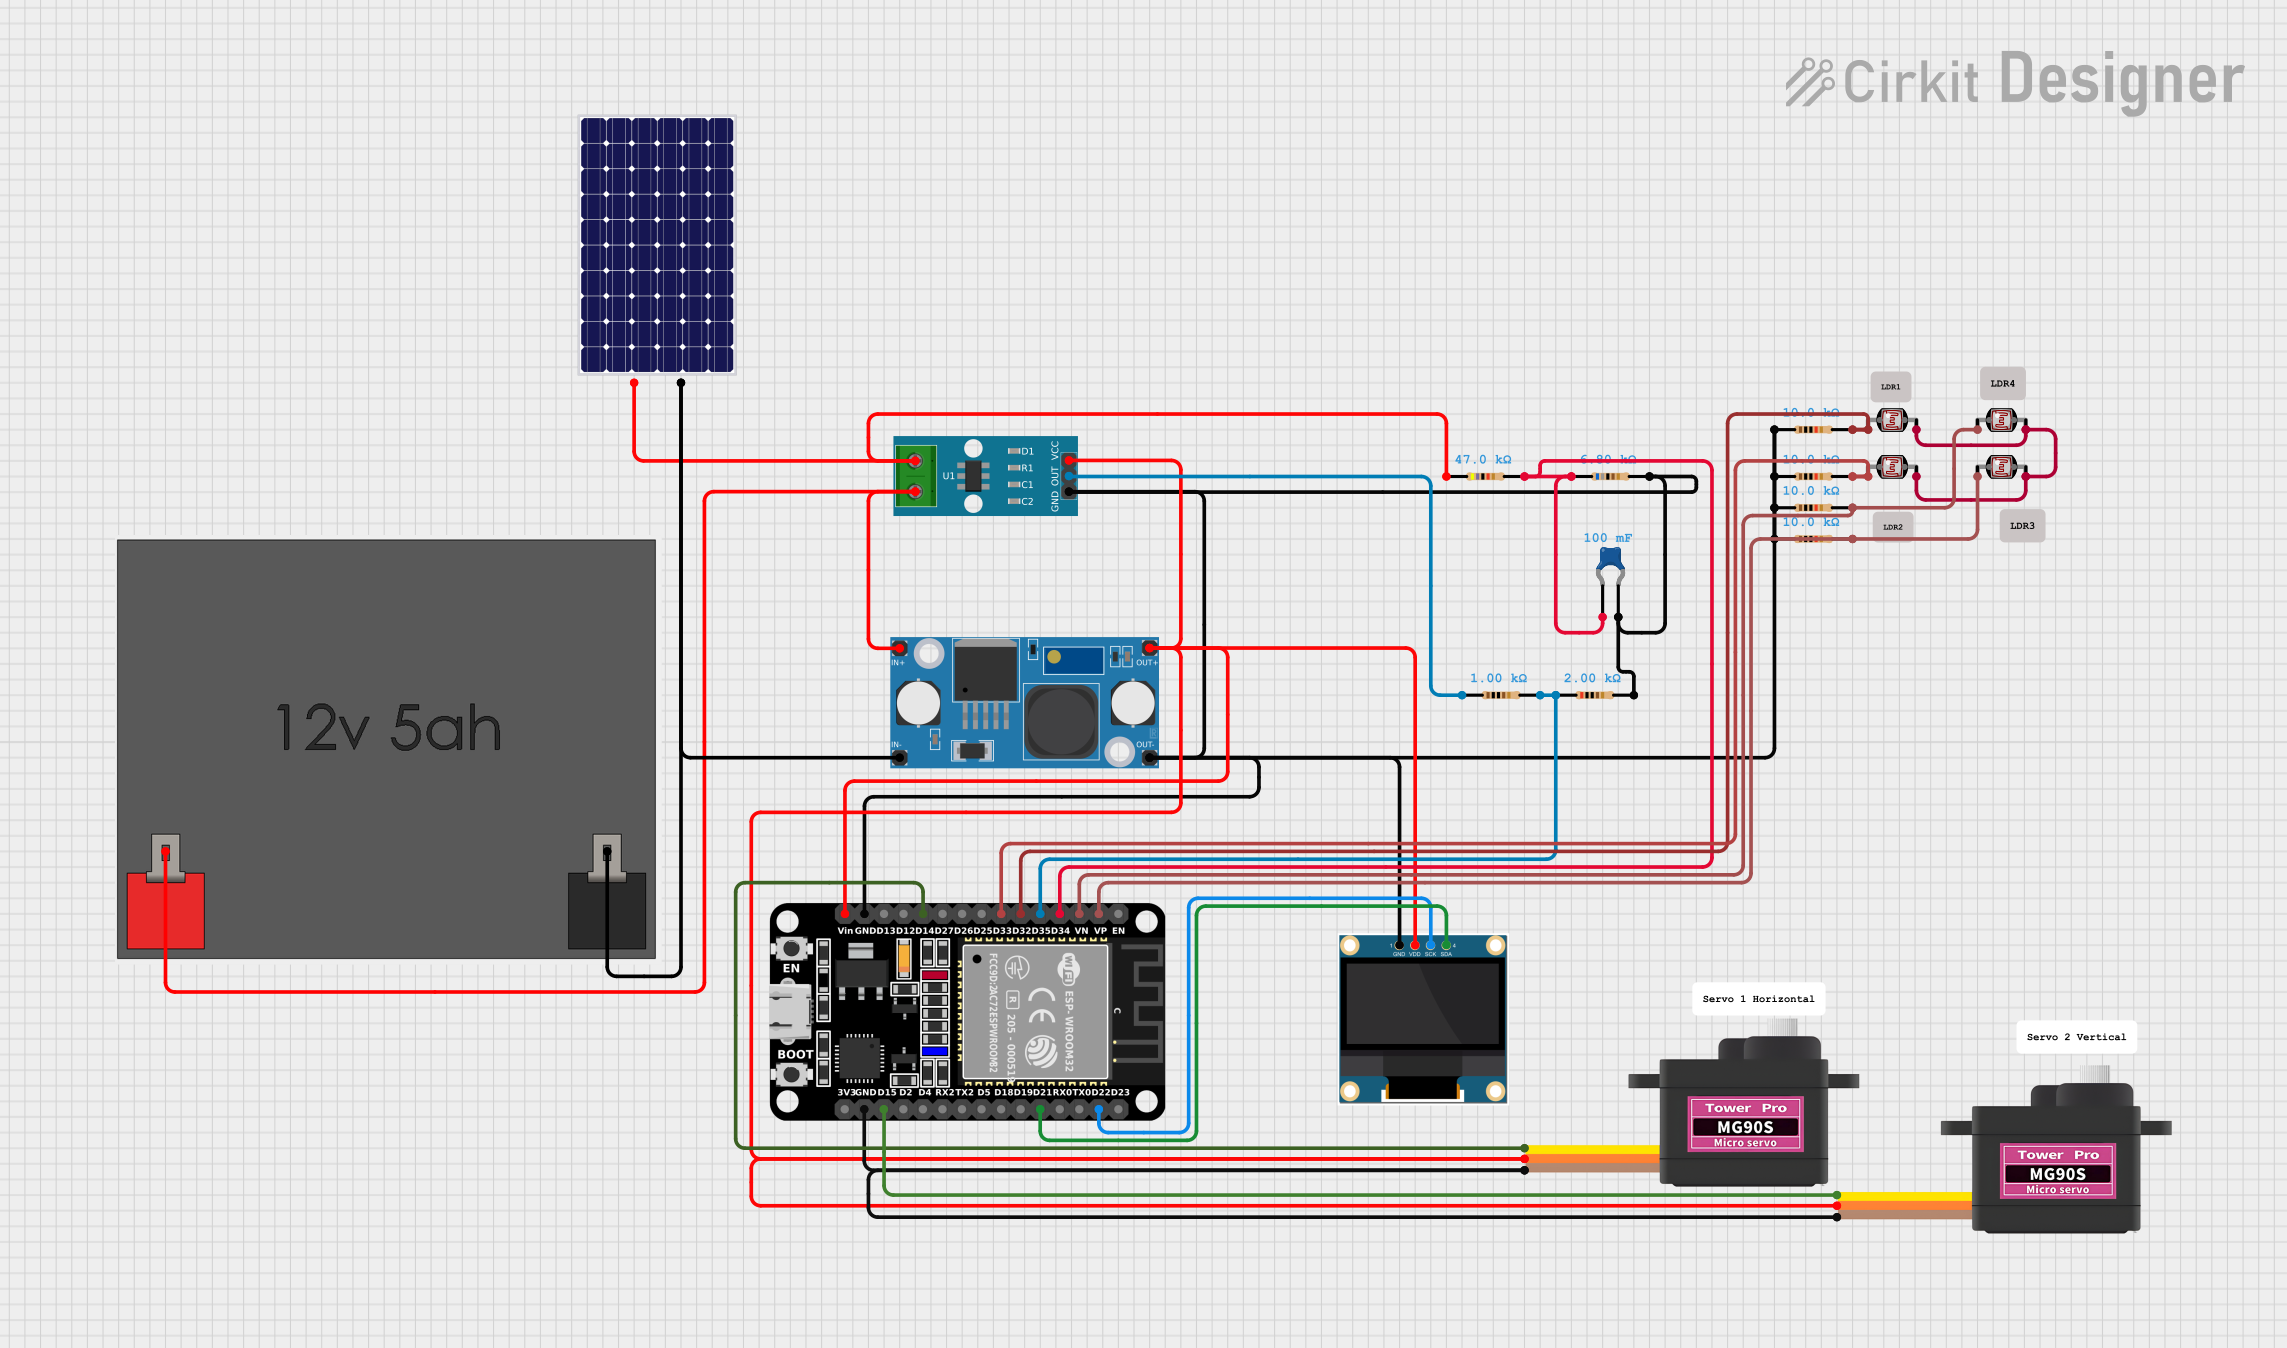
Explore Projects Built with LM386
Common Applications and Use Cases
- Portable audio devices
- Intercom systems
- AM/FM radio amplifiers
- DIY audio projects
- Signal amplification for small speakers or headphones
Technical Specifications
The LM386 is a versatile and efficient audio amplifier. Below are its key technical specifications:
| Parameter | Value |
|---|---|
| Supply Voltage (Vcc) | 4V to 12V |
| Output Power | 0.325W at 8Ω (Vcc = 6V) |
| Input Resistance | 50 kΩ |
| Voltage Gain | 20 (default), adjustable up to 200 |
| Quiescent Current | 4 mA (typical) |
| Output Load Resistance | 4Ω to 32Ω |
| Frequency Response | 300 Hz to 300 kHz |
| Total Harmonic Distortion | Less than 0.2% |
Pin Configuration and Descriptions
The LM386 is an 8-pin IC. Below is the pinout and description:
| Pin Number | Pin Name | Description |
|---|---|---|
| 1 | Gain | Connect to Pin 8 via a capacitor to increase gain (default gain is 20). |
| 2 | Inverting Input (-) | Negative input for the audio signal. |
| 3 | Non-Inverting Input (+) | Positive input for the audio signal. |
| 4 | Ground (GND) | Ground connection. |
| 5 | Output | Amplified audio output. |
| 6 | Vcc | Positive power supply (4V to 12V). |
| 7 | Bypass | Optional pin for bypassing the internal circuitry to reduce noise. |
| 8 | Gain | Connect to Pin 1 via a capacitor to increase gain (default gain is 20). |
Usage Instructions
The LM386 is straightforward to use in audio amplification circuits. Below are the steps and considerations for using the LM386:
Basic Circuit Configuration
- Power Supply: Connect Pin 6 (Vcc) to a power source (4V to 12V) and Pin 4 (GND) to ground.
- Input Signal: Feed the audio signal to Pin 3 (Non-Inverting Input). Pin 2 (Inverting Input) is typically connected to ground.
- Output: Connect Pin 5 to the speaker or headphone. Use a coupling capacitor (e.g., 220 µF) to block DC components.
- Gain Adjustment: To increase the gain, connect a capacitor (e.g., 10 µF) between Pins 1 and 8. For the default gain of 20, leave these pins unconnected.
- Bypass Pin: Optionally, connect a capacitor (e.g., 10 µF) to Pin 7 to reduce noise.
Example Circuit
Below is a simple circuit diagram for using the LM386 to drive an 8Ω speaker:
   +Vcc (4V-12V)
       |
       R (10kΩ)
       |
       +--- Pin 6 (Vcc)
       |
       C (10µF)
       |
Input --- Pin 3 (Non-Inverting Input)
       |
       GND --- Pin 2 (Inverting Input)
       |
       +--- Pin 4 (GND)
       |
       C (220µF)
       |
Output --- Pin 5 (Output) --- Speaker (8Ω)
Arduino Example
The LM386 can be used with an Arduino to amplify audio signals. Below is an example code snippet to generate a simple tone:
// Arduino example to generate a tone for the LM386 amplifier
// Connect the LM386 input (Pin 3) to Arduino Pin 9 (PWM output)

int tonePin = 9; // PWM pin connected to LM386 input

void setup() {
  pinMode(tonePin, OUTPUT); // Set the pin as output
}

void loop() {
  // Generate a 1 kHz square wave
  tone(tonePin, 1000); // Play a 1 kHz tone
  delay(1000);         // Play for 1 second
  noTone(tonePin);     // Stop the tone
  delay(1000);         // Wait for 1 second
}
Important Considerations
- Use decoupling capacitors (e.g., 0.1 µF) near the power supply pins to reduce noise.
- Ensure the speaker impedance matches the LM386's output load resistance (4Ω to 32Ω).
- Avoid exceeding the maximum supply voltage (12V) to prevent damage to the IC.
Troubleshooting and FAQs
Common Issues and Solutions
No Output Sound:
- Check the power supply connections (Pin 6 and Pin 4).
- Verify the input signal is properly connected to Pin 3.
- Ensure the speaker or headphone is connected to Pin 5 with a coupling capacitor.
Distorted Output:
- Reduce the input signal amplitude to avoid overdriving the amplifier.
- Check the gain configuration (Pins 1 and 8) and ensure the capacitor value is appropriate.
- Verify the speaker impedance is within the recommended range (4Ω to 32Ω).
High Noise or Humming:
- Add a capacitor (e.g., 10 µF) to the Bypass pin (Pin 7) to reduce noise.
- Use shielded cables for the input signal to minimize interference.
- Place decoupling capacitors near the power supply pins.
FAQs
Q: Can the LM386 drive a 4Ω speaker?
A: Yes, the LM386 can drive speakers with an impedance as low as 4Ω. However, ensure the power supply voltage is sufficient to deliver the required output power.
Q: How do I increase the gain of the LM386?
A: To increase the gain, connect a capacitor (e.g., 10 µF) between Pins 1 and 8. The gain can be adjusted up to 200.
Q: What is the maximum input voltage for the LM386?
A: The maximum input voltage depends on the supply voltage and gain configuration. Ensure the input signal does not exceed the amplifier's input range to avoid distortion.
Q: Can I use the LM386 for stereo audio?
A: The LM386 is a single-channel amplifier. For stereo audio, you will need two LM386 ICs, one for each channel.