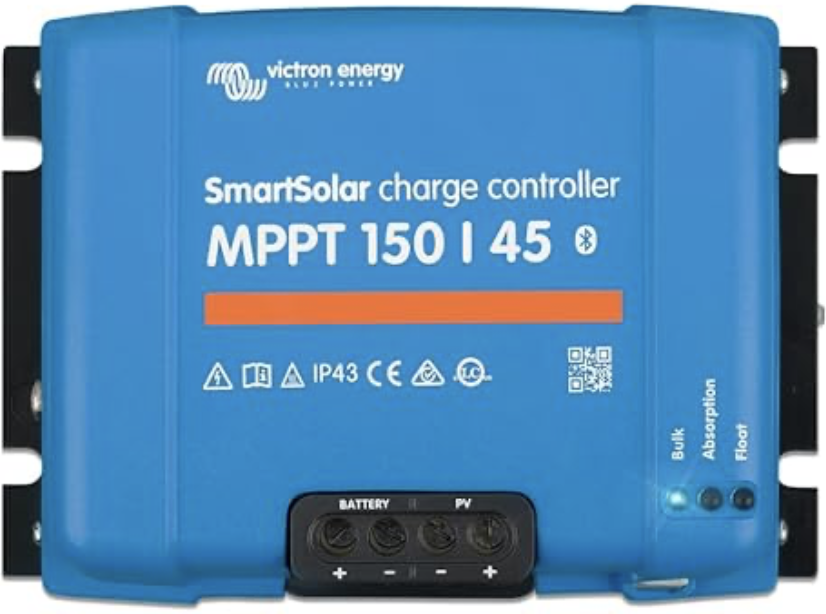
The Victron Energy SmartSolar MPPT Laderegler 150V 45 is a high-performance solar charge controller designed to maximize energy harvest from solar panels using advanced Maximum Power Point Tracking (MPPT) technology. It is compatible with multiple battery voltages (12V, 24V, 36V, and 48V) and can handle up to 150V input and 45A output. This device is ideal for off-grid solar systems, RVs, boats, and other renewable energy applications.
Explore Projects Built with Victron Energy SmartSolar MPPT Laderegler 150V 45 Amp 12/24/36/48-Volt
Use Cirkit Designer to design, explore, and prototype these projects online. Some projects support real-time simulation. Click "Open Project" to start designing instantly!
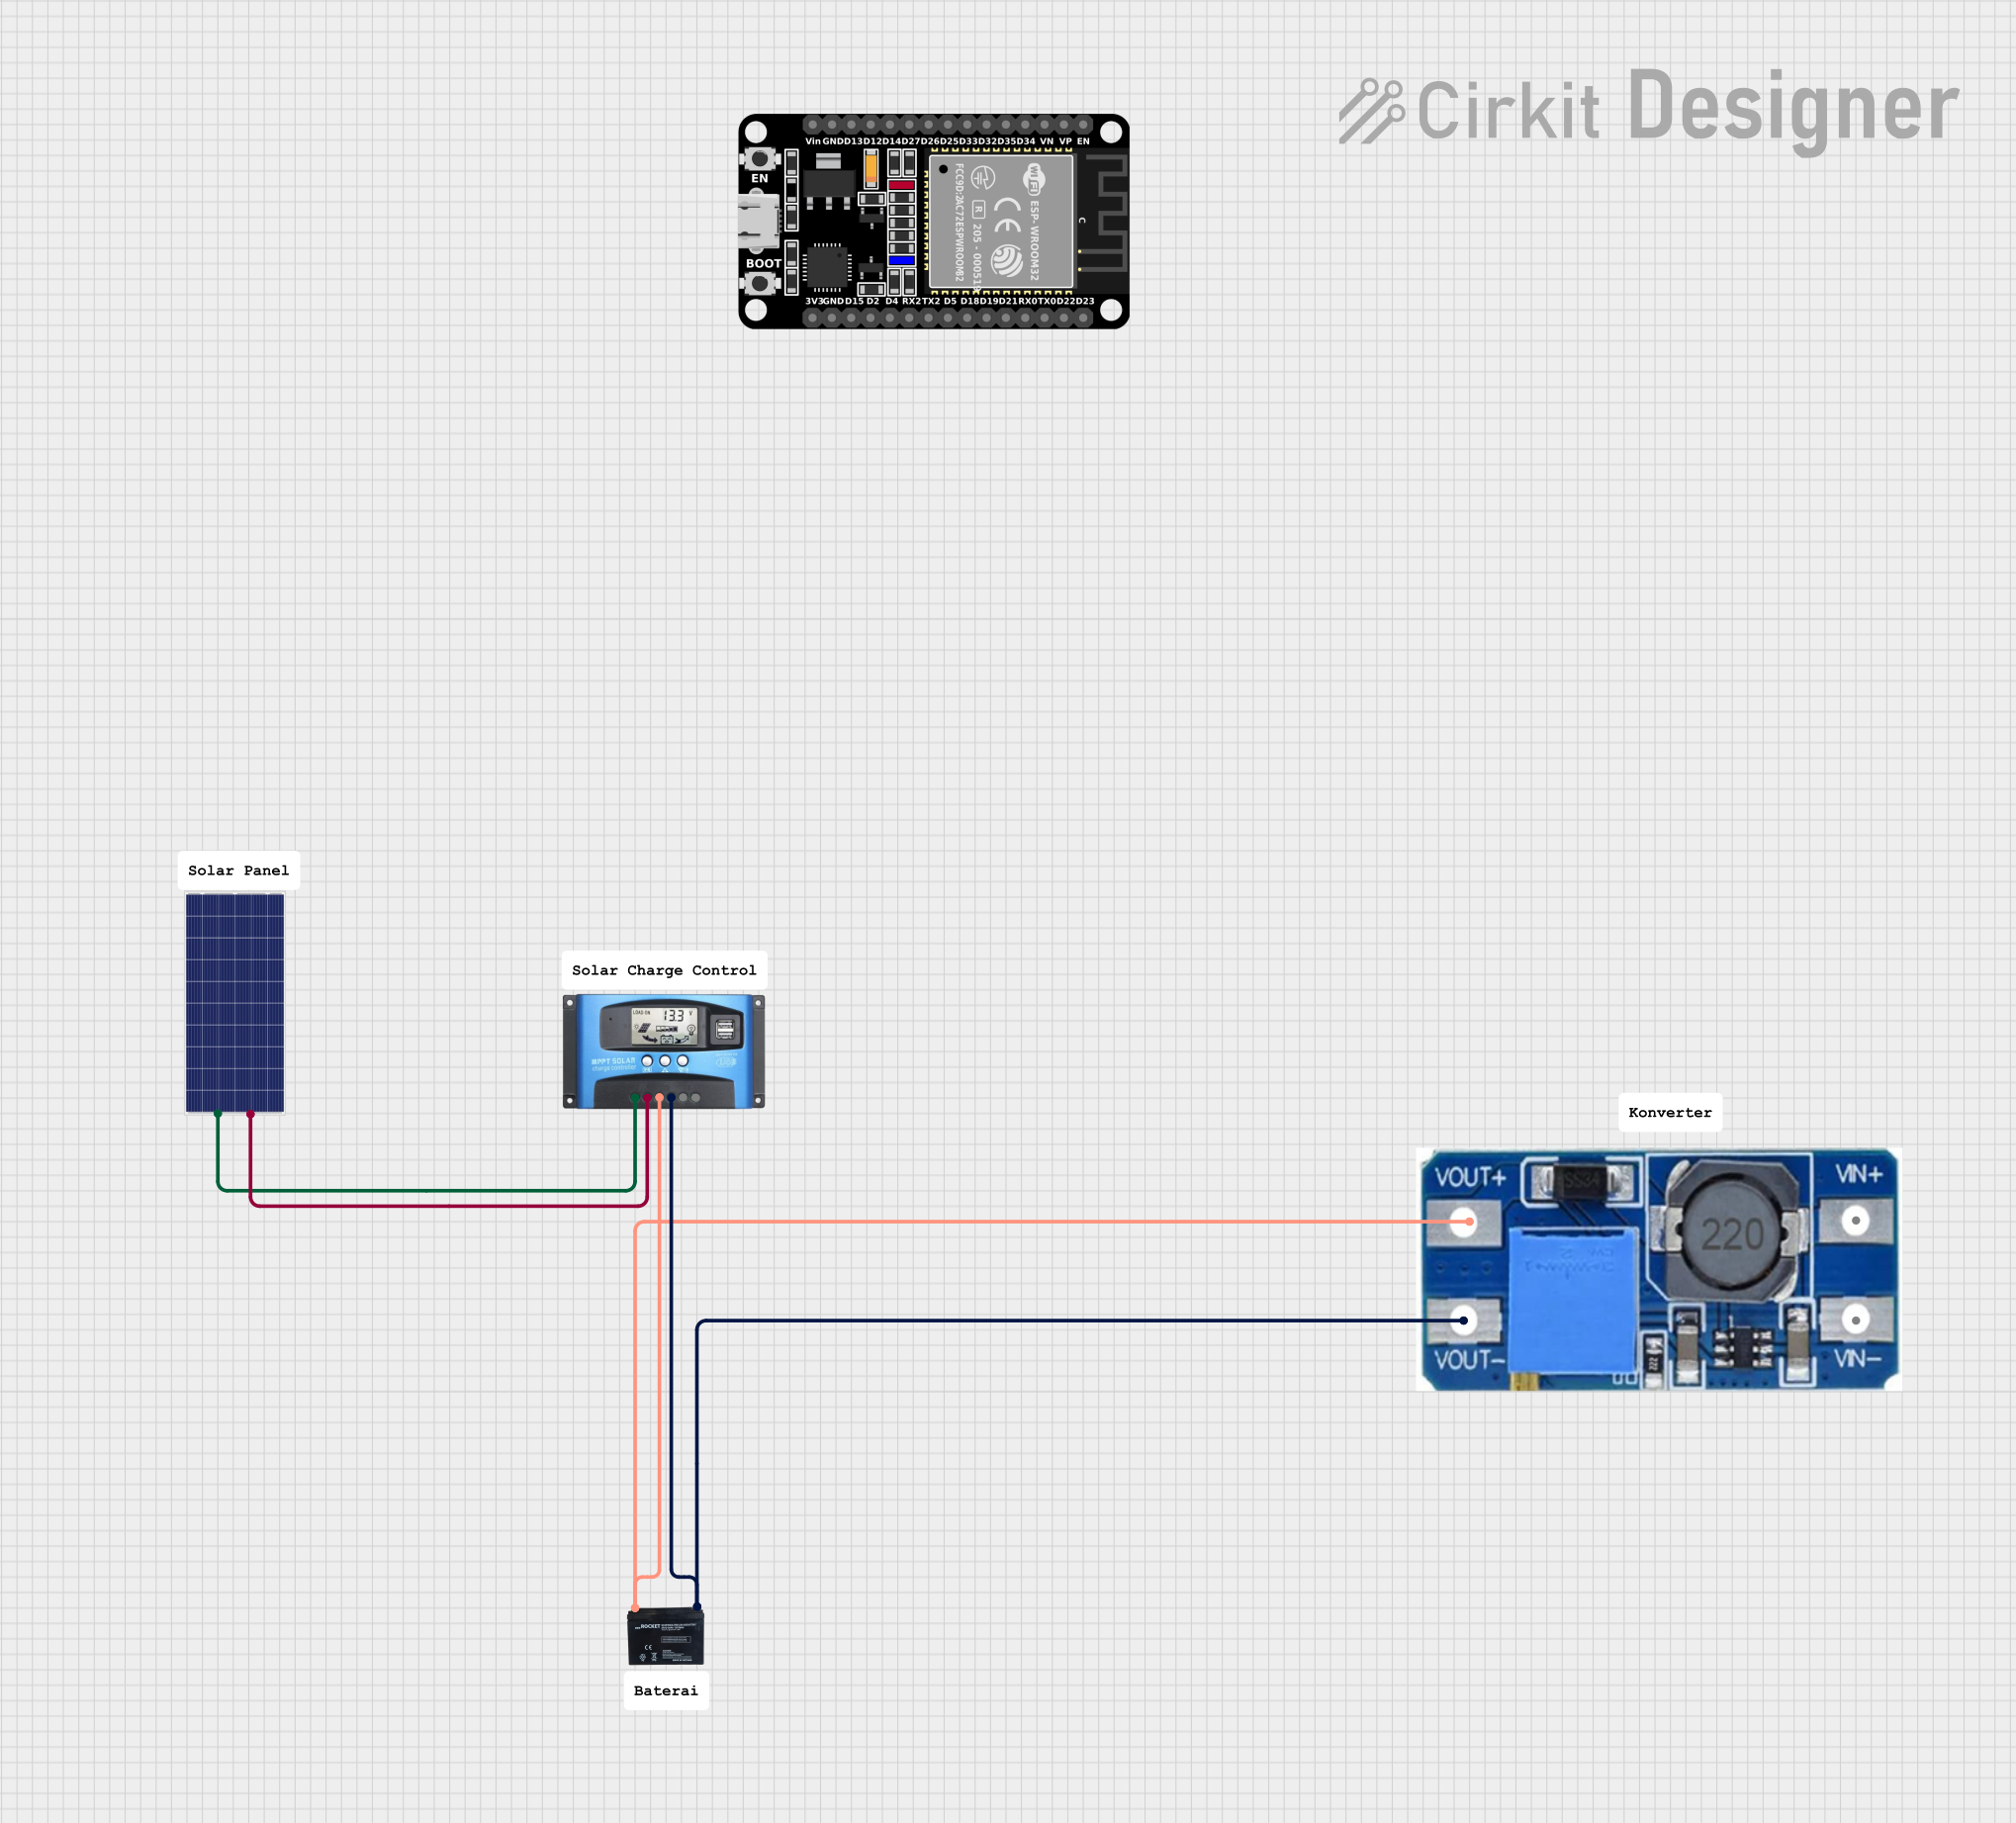
This circuit is a solar power management system that includes a solar panel, an MPPT solar charge controller, a 12V 200Ah battery, and various voltage converters. The system is designed to harness solar energy, store it in a battery, and provide regulated power outputs at different voltages for various loads.
This circuit is a solar-powered battery charging system with an MPPT (Maximum Power Point Tracking) charge controller. The solar panel provides power to the MPPT SCC, which optimizes the charging of a 12V battery. A step-up boost converter is used to regulate the output voltage from the battery.
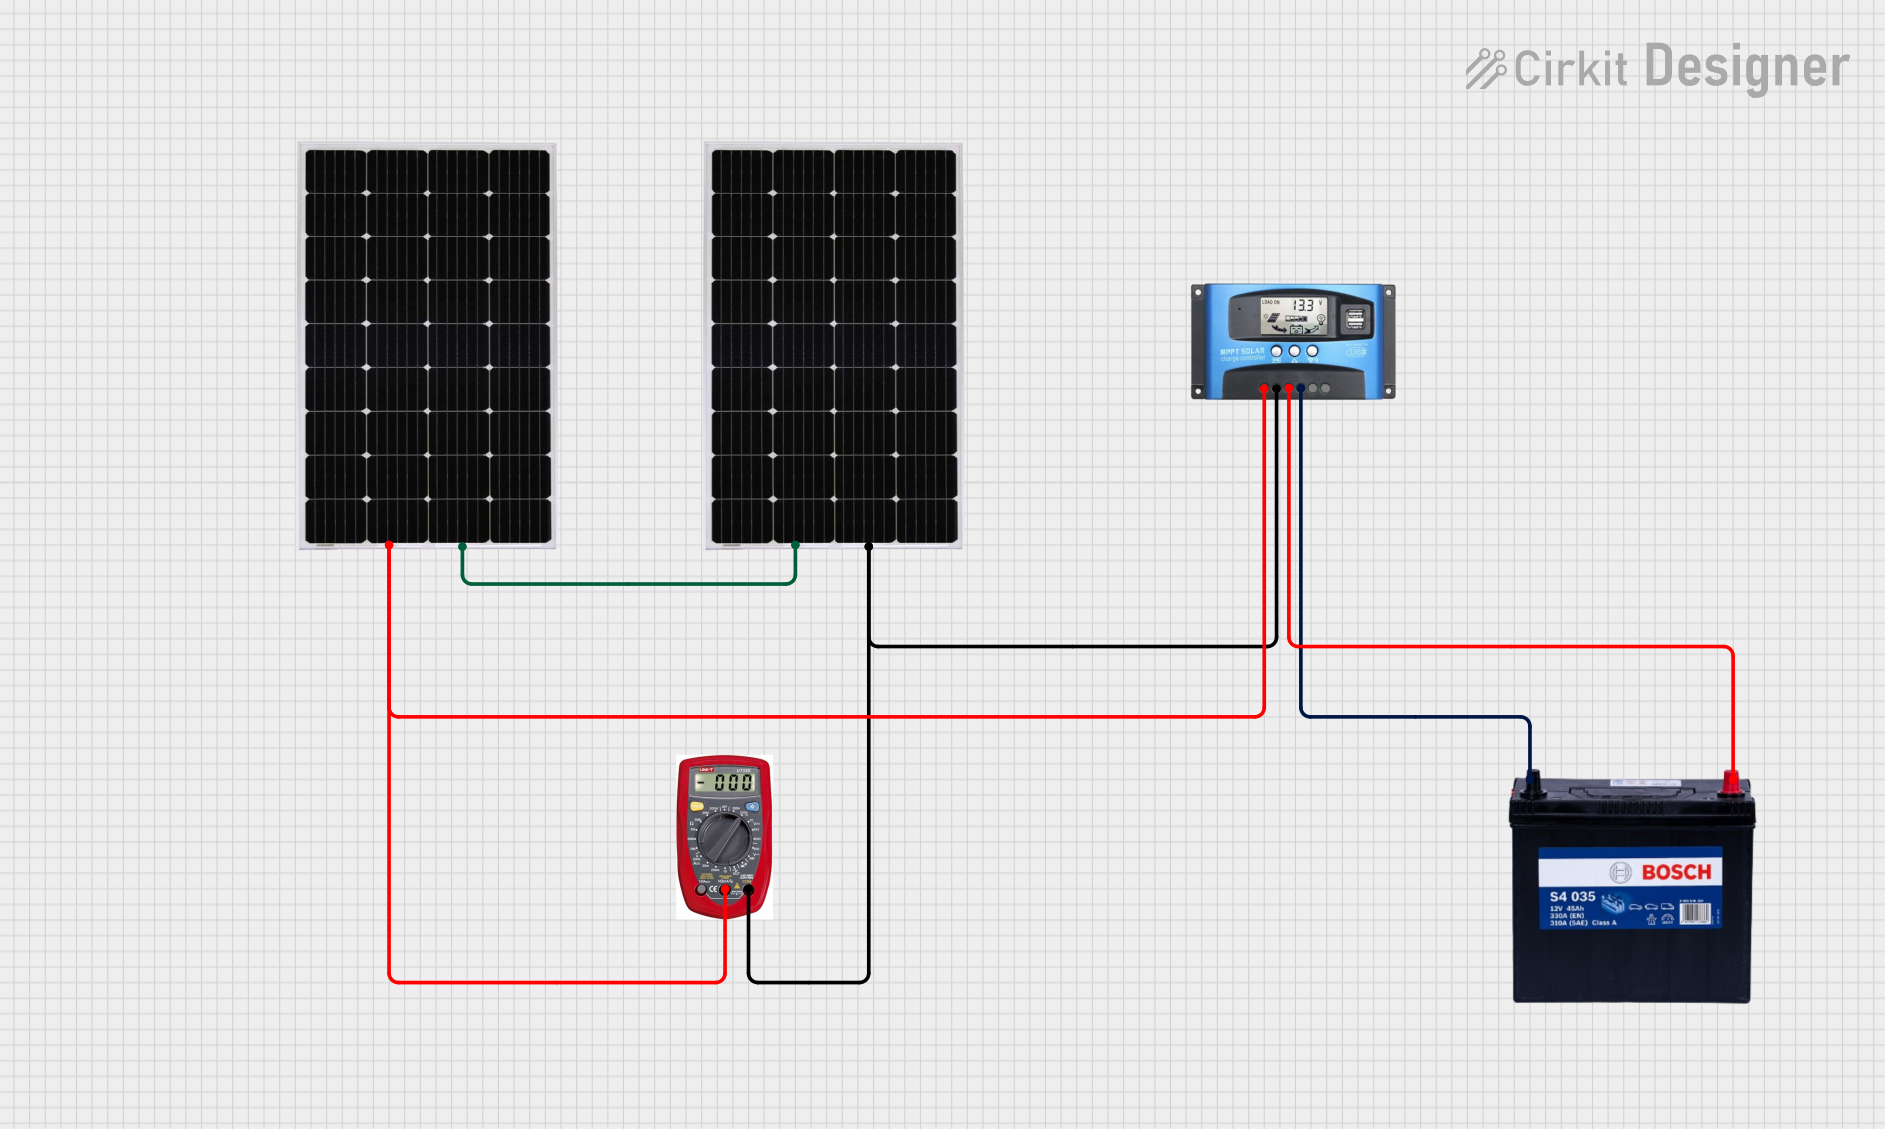
This circuit consists of two solar panels connected in series to an MPPT solar charge controller, which regulates the charging of a 12V 200Ah battery. A multimeter is integrated to monitor the voltage and current from the solar panels to the charge controller.
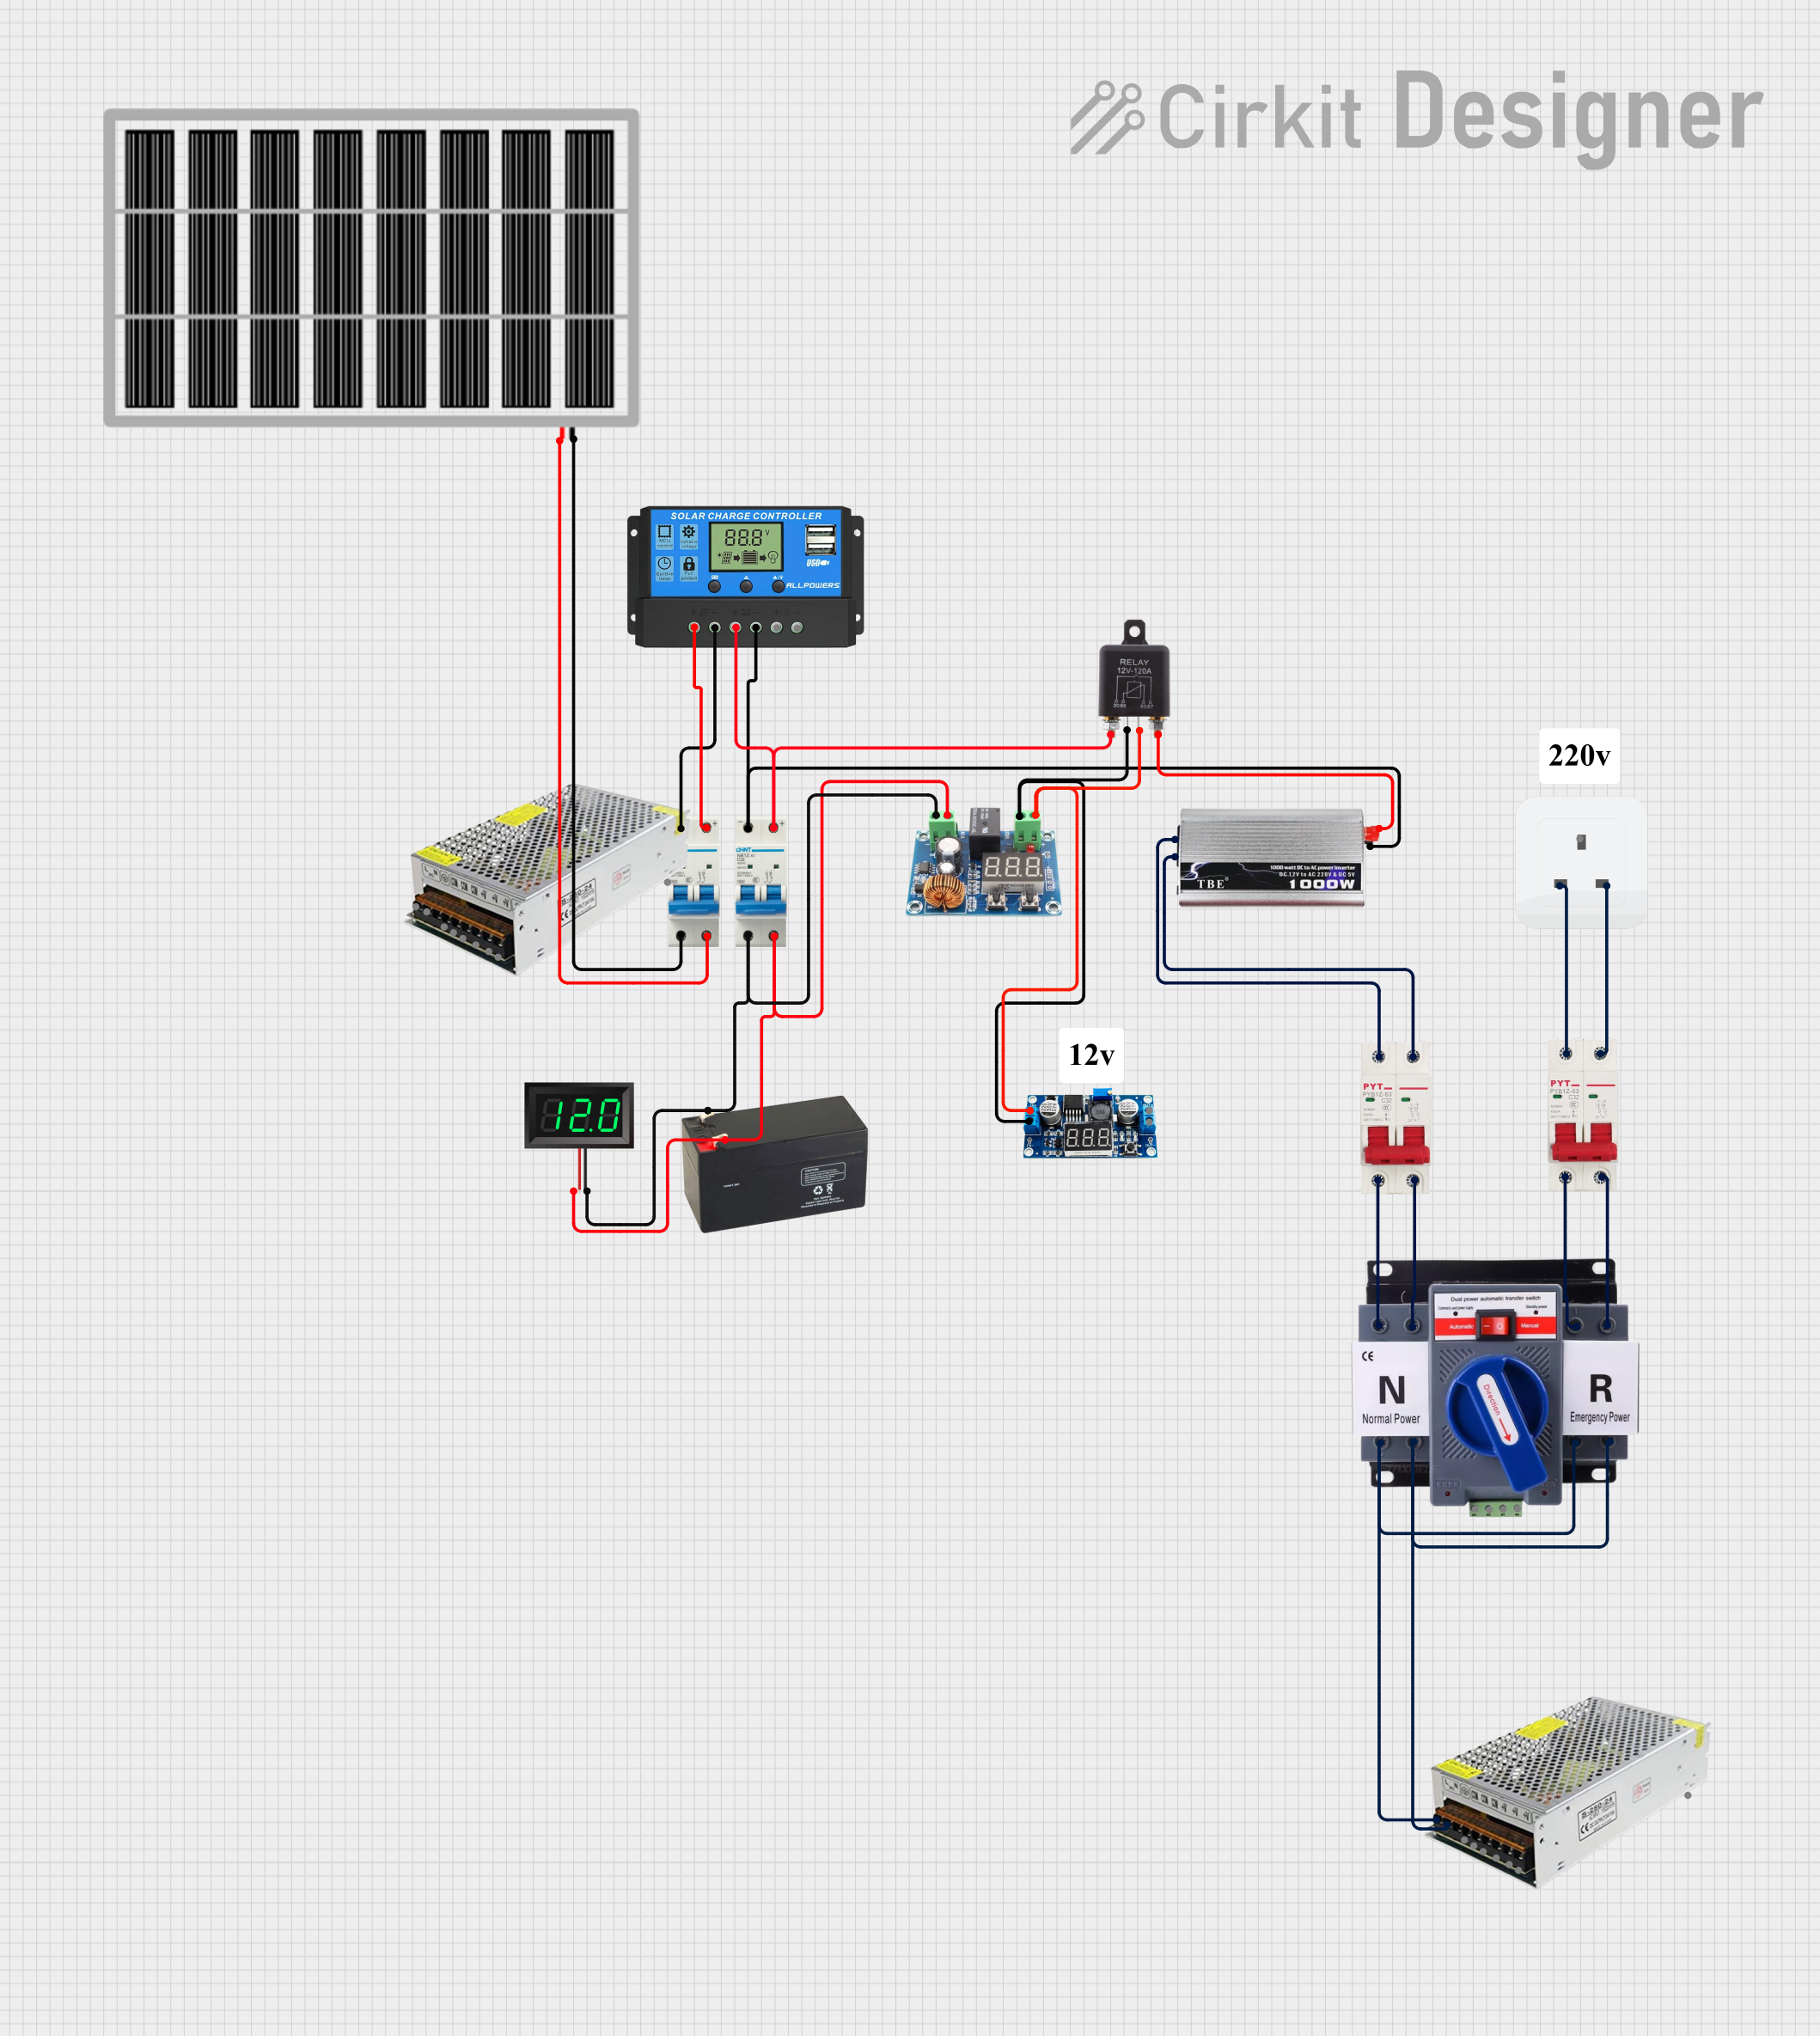
This circuit is a solar power management system that integrates a solar panel, battery, and inverter to provide a stable 12V DC and 220V AC output. It includes automatic transfer switches (ATS) and circuit breakers for safety and reliability, as well as a low voltage disconnect to protect the battery from deep discharge.
Over-temperature, short-circuit, reverse polarity, and over-voltage protection
Pin Configuration and Descriptions
The SmartSolar MPPT controller has several connection terminals and interfaces. Below is a table describing the key connections:
Pin/Terminal
Description
PV+
Positive terminal for solar panel input
PV-
Negative terminal for solar panel input
BAT+
Positive terminal for battery connection
BAT-
Negative terminal for battery connection
LOAD+
Positive terminal for DC load output
LOAD-
Negative terminal for DC load output
VE.Direct Port
Communication port for monitoring and control via Victron tools
VE.Can Port
CAN bus interface for advanced system integration
Remote On/Off
Terminal for remote control of the device
Temperature Sensor Input
Input for optional external temperature sensor
Usage Instructions
How to Use the Component in a Circuit
Connect the Solar Panels:
Connect the positive terminal of the solar panel to the PV+ input and the negative terminal to the PV- input.
Ensure the total voltage of the solar array does not exceed 150V.
Connect the Battery:
Connect the positive terminal of the battery to the BAT+ terminal and the negative terminal to the BAT- terminal.
Ensure the battery voltage matches one of the supported levels (12V, 24V, 36V, or 48V).
Optional Load Connection:
If you wish to power a DC load directly, connect the load's positive terminal to LOAD+ and the negative terminal to LOAD-.
Enable Monitoring:
Use the built-in Bluetooth to pair the device with the VictronConnect app for real-time monitoring and configuration.
Alternatively, connect to a VE.Direct or VE.Can interface for advanced system integration.
Power On:
Once all connections are secure, the controller will automatically start operating and track the maximum power point of the solar array.
Important Considerations and Best Practices
System Voltage: Ensure the battery voltage is correctly detected by the controller. The device automatically adjusts to the connected battery voltage.
Cable Sizing: Use appropriately sized cables to handle the current and minimize voltage drop.
Fusing: Install fuses or circuit breakers on both the solar input and battery output for safety.
Ventilation: Install the controller in a well-ventilated area to prevent overheating.
Firmware Updates: Regularly check for firmware updates via the VictronConnect app to ensure optimal performance.
Arduino UNO Integration Example
While the SmartSolar MPPT controller is not directly designed for Arduino integration, you can use the VE.Direct port to communicate with an Arduino for monitoring purposes. Below is an example of how to read data from the VE.Direct port using an Arduino:
#include <SoftwareSerial.h>

// Define RX and TX pins for VE.Direct communication
SoftwareSerial veDirect(10, 11); // RX = pin 10, TX = pin 11

void setup() {
  Serial.begin(9600); // Initialize Serial Monitor
  veDirect.begin(19200); // Initialize VE.Direct communication

  Serial.println("Starting VE.Direct communication...");
}

void loop() {
  // Check if data is available from the VE.Direct port
  if (veDirect.available()) {
    String data = "";
    while (veDirect.available()) {
      char c = veDirect.read();
      data += c;
    }
    // Print the received data to the Serial Monitor
    Serial.println("Received Data: " + data);
  }

  delay(1000); // Wait for 1 second before reading again
}
Note: The VE.Direct protocol requires specific parsing of data. Refer to the Victron Energy VE.Direct protocol documentation for detailed implementation.
Troubleshooting and FAQs
Common Issues and Solutions
Issue
Possible Cause
Solution
No power output to the battery
Incorrect wiring or loose connections
Verify all connections and polarity
Controller overheating
Poor ventilation or high ambient temperature
Install in a well-ventilated area
Bluetooth not connecting
Device not in range or interference
Ensure the device is within range and free of obstructions
Low charging efficiency
Shading on solar panels or incorrect MPPT settings
Remove shading and check configuration
FAQs
Can I use this controller with lithium batteries?
Yes, the controller supports lithium batteries. Ensure the correct battery settings are configured via the VictronConnect app.
What happens if the solar input exceeds 150V?
The controller is protected against over-voltage. However, exceeding 150V may damage the device. Always ensure the solar array voltage is within the specified range.
Can I monitor the controller remotely?
Yes, you can use the built-in Bluetooth or connect the device to a Victron GX device for remote monitoring.
Is the controller waterproof?
No, the controller is not waterproof. Install it in a dry and protected location.
By following this documentation, you can effectively integrate and operate the Victron Energy SmartSolar MPPT Laderegler 150V 45 in your solar energy system.

 Open Project in Cirkit Designer