
How to Use MC9S12XS64: Examples, Pinouts, and Specs

 Design with MC9S12XS64 in Cirkit Designer
Introduction
The MC9S12XS64 is a 16-bit microcontroller developed by NXP Semiconductors. It features 64KB of flash memory, 4KB of RAM, and a variety of integrated peripherals, making it a versatile solution for a wide range of applications. Designed with automotive and industrial use cases in mind, the MC9S12XS64 delivers high performance while maintaining low power consumption. Its robust architecture and peripheral set make it ideal for tasks such as motor control, sensor interfacing, and real-time data processing.
Explore Projects Built with MC9S12XS64
 Open Project in Cirkit Designer
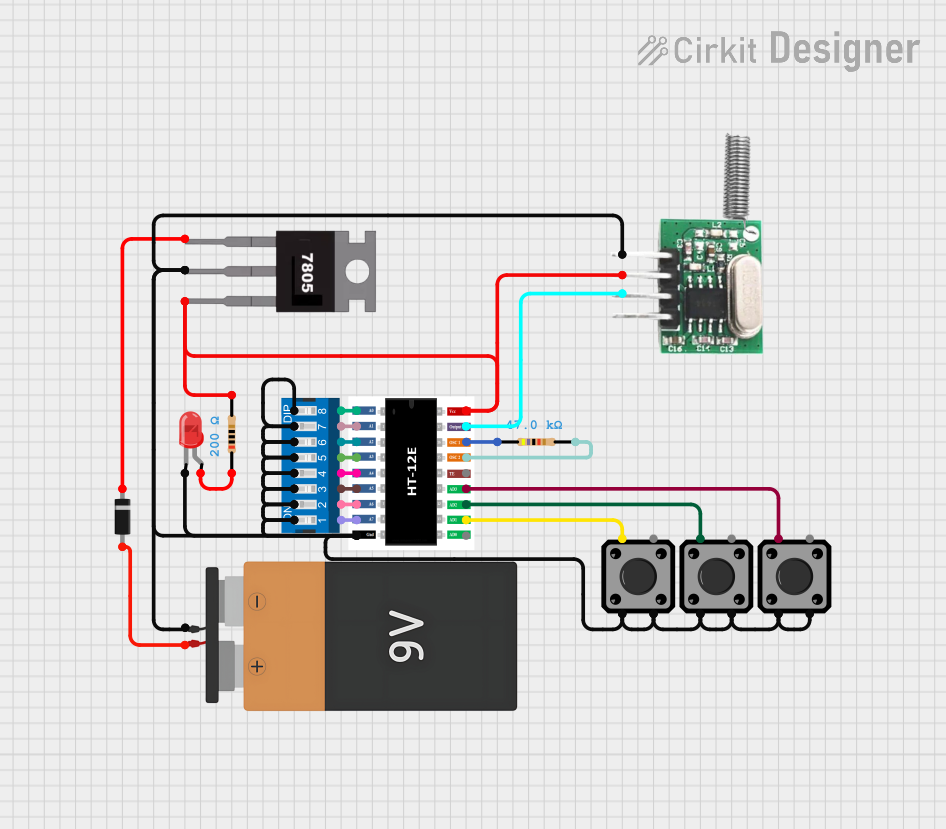 Open Project in Cirkit Designer
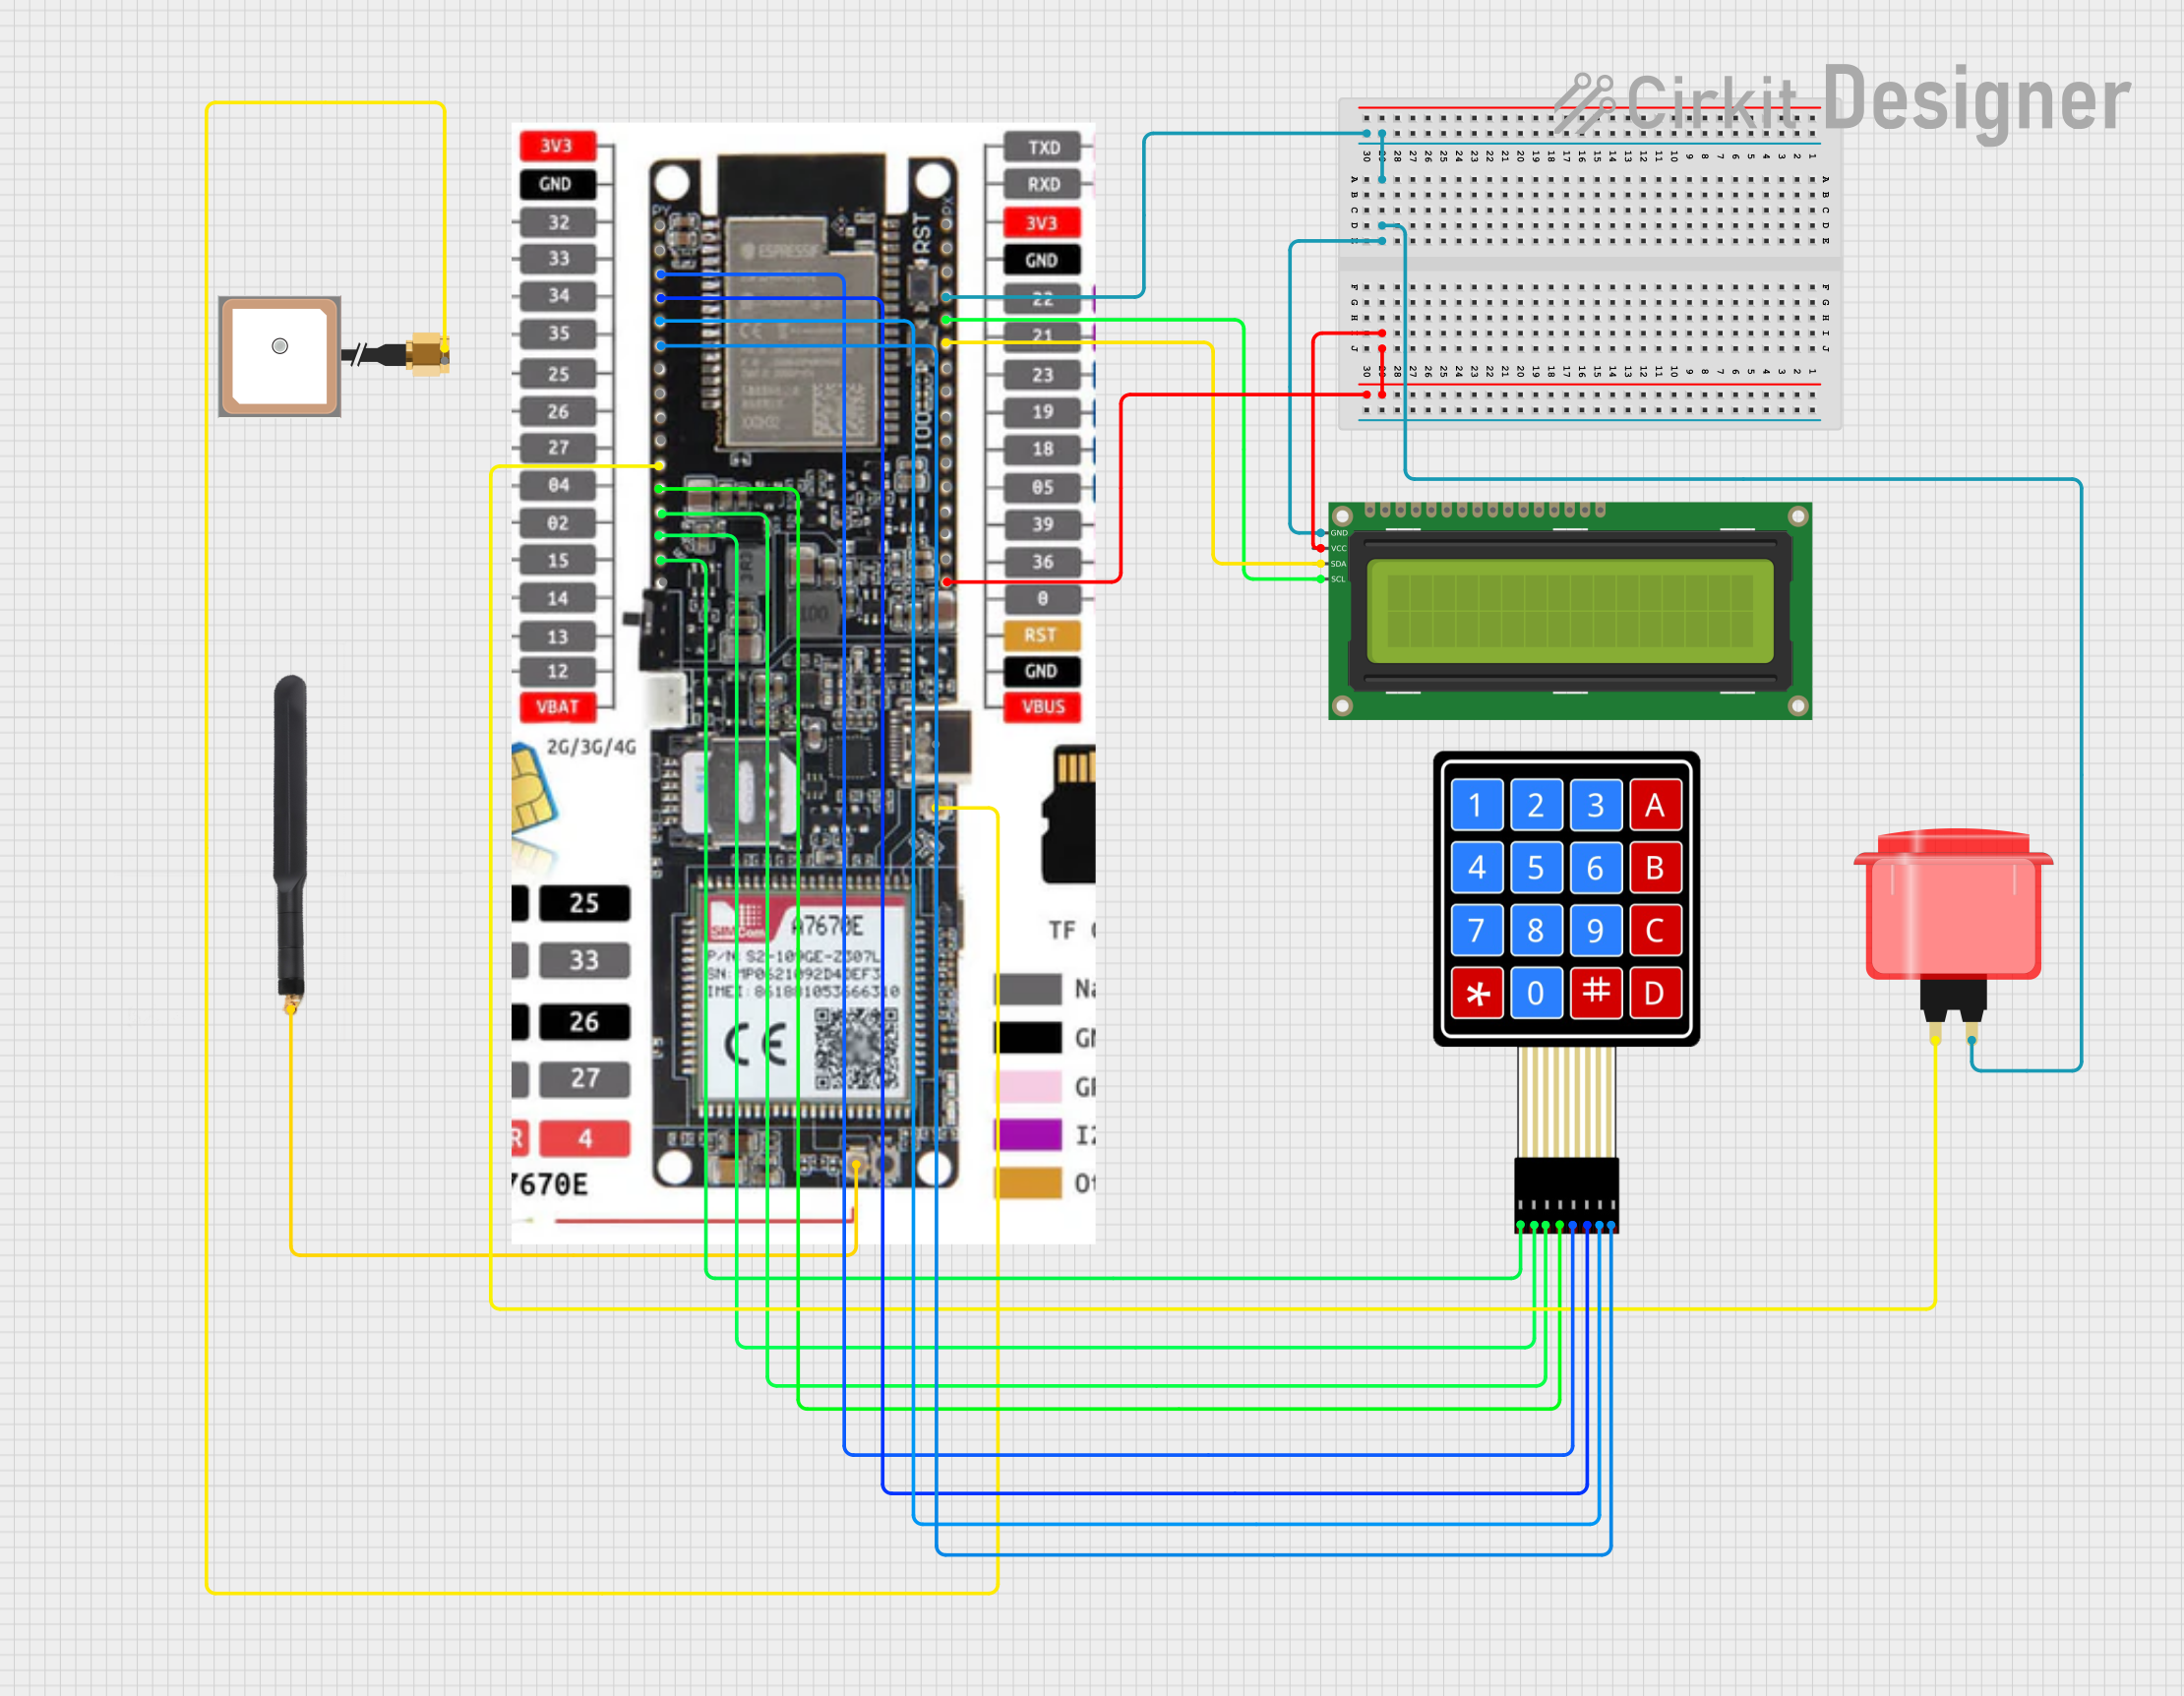 Open Project in Cirkit Designer
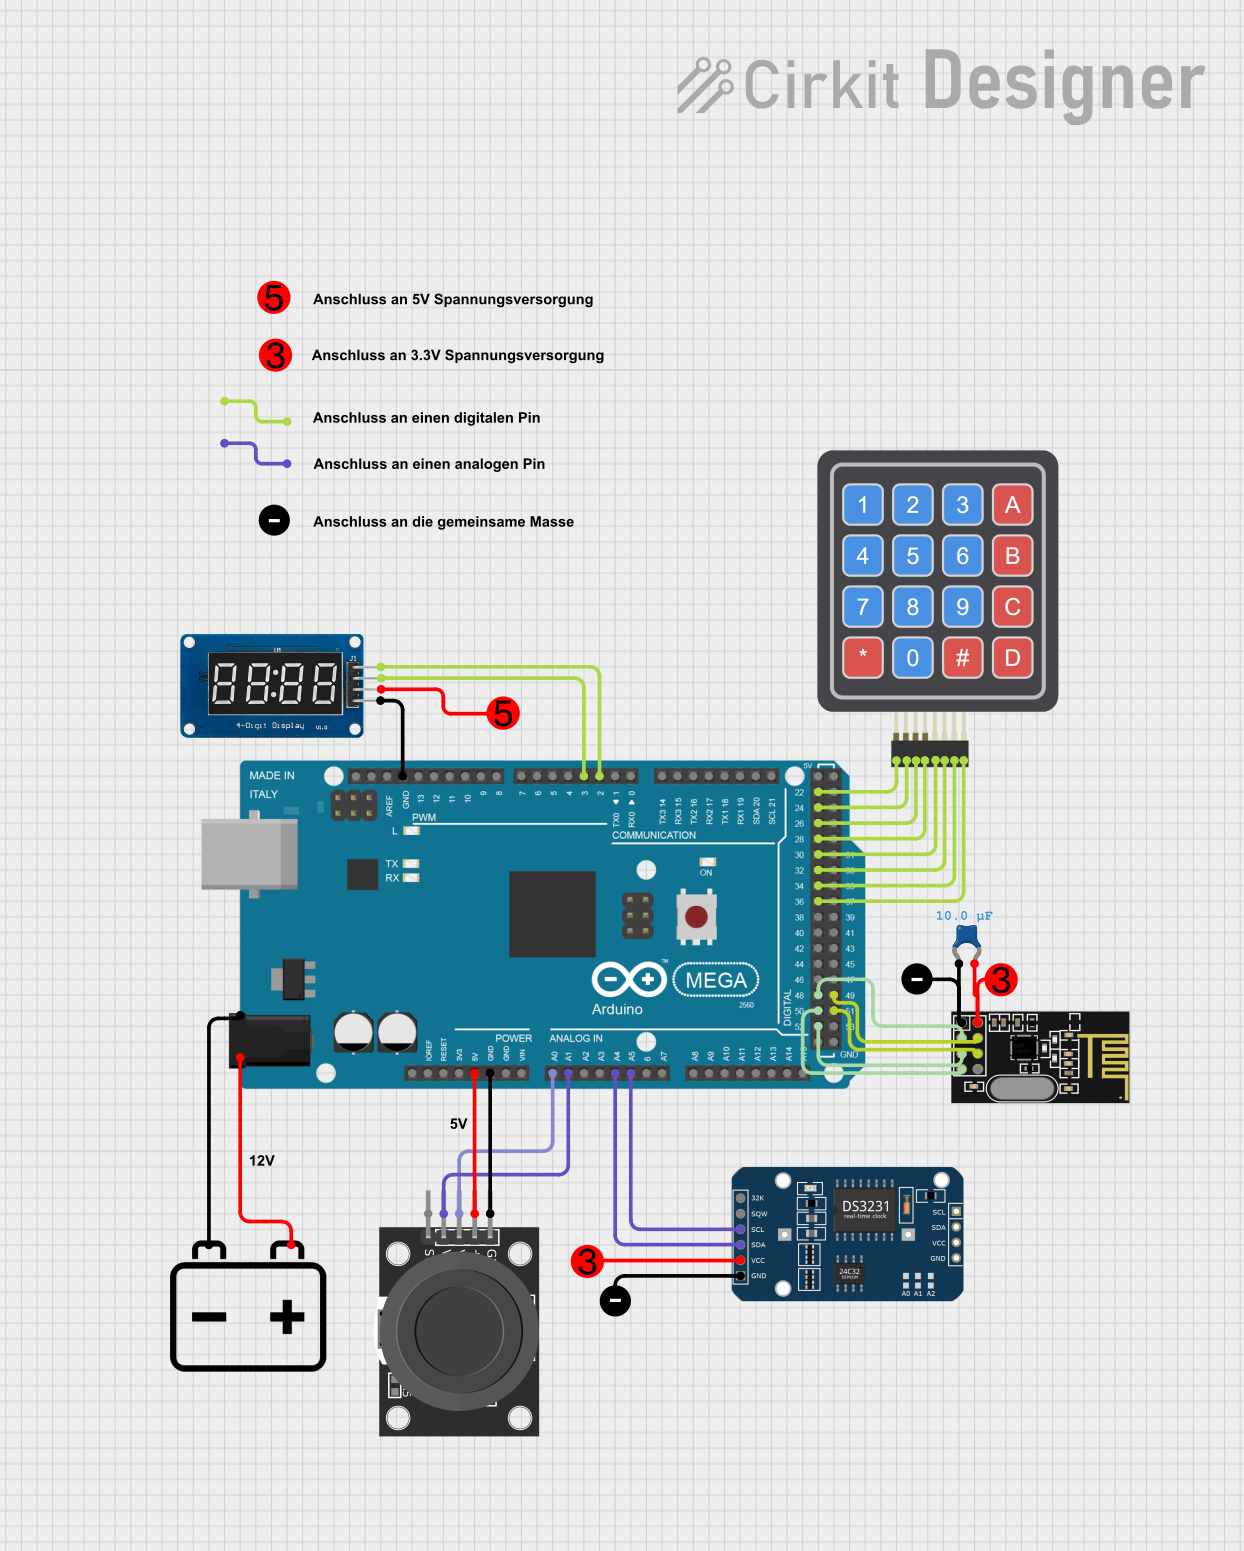 Open Project in Cirkit Designer
Explore Projects Built with MC9S12XS64
Open Project in Cirkit DesignerOpen Project in Cirkit DesignerOpen Project in Cirkit DesignerOpen Project in Cirkit DesignerCommon Applications and Use Cases
- Automotive systems (e.g., body control modules, lighting systems)
- Industrial automation and control
- Motor control applications
- Sensor data acquisition and processing
- Embedded systems requiring low power and high reliability
Technical Specifications
Key Technical Details
| Parameter | Specification |
|---|---|
| Core Architecture | 16-bit HCS12X |
| Flash Memory | 64KB |
| RAM | 4KB |
| Operating Voltage | 2.7V to 5.5V |
| Clock Frequency | Up to 50 MHz |
| Communication Interfaces | SCI, SPI, I2C |
| Timers | 16-bit and 8-bit timers |
| ADC Resolution | 10-bit |
| GPIO Pins | Configurable, up to 58 pins |
| Power Modes | Run, Wait, Stop, and Low-Power Modes |
| Package Options | LQFP-64, LQFP-48 |
Pin Configuration and Descriptions
The MC9S12XS64 is available in multiple package options. Below is the pin configuration for the LQFP-64 package:
| Pin Number | Pin Name | Description |
|---|---|---|
| 1 | VDD | Positive power supply |
| 2 | VSS | Ground |
| 3 | RESET | Reset input/output |
| 4 | XTAL | Crystal oscillator input |
| 5 | EXTAL | Crystal oscillator output |
| 6-13 | PORTA[7:0] | General-purpose I/O or peripheral pins |
| 14-21 | PORTB[7:0] | General-purpose I/O or peripheral pins |
| 22-29 | PORTC[7:0] | General-purpose I/O or peripheral pins |
| 30-37 | PORTD[7:0] | General-purpose I/O or peripheral pins |
| 38-45 | PORTE[7:0] | General-purpose I/O or peripheral pins |
| 46-53 | PORTF[7:0] | General-purpose I/O or peripheral pins |
| 54 | VREFH | High reference voltage for ADC |
| 55 | VREFL | Low reference voltage for ADC |
| 56 | IRQ | External interrupt request |
| 57-64 | Other Pins | Additional GPIO or peripheral functions |
Refer to the datasheet for detailed pin multiplexing and alternate functions.
Usage Instructions
How to Use the MC9S12XS64 in a Circuit
- Power Supply: Ensure the microcontroller is powered within the operating voltage range (2.7V to 5.5V). Use decoupling capacitors (e.g., 0.1 µF) near the VDD and VSS pins to stabilize the power supply.
- Clock Configuration: Connect an external crystal oscillator to the XTAL and EXTAL pins for clock generation. Alternatively, use the internal clock source if supported.
- Reset Circuit: Connect a pull-up resistor (e.g., 10 kΩ) to the RESET pin to ensure proper startup. Optionally, add a capacitor for debounce.
- GPIO Configuration: Configure the GPIO pins as input or output based on your application. Use pull-up or pull-down resistors as needed.
- Peripheral Setup: Initialize the required peripherals (e.g., ADC, SPI, I2C) in your firmware. Refer to the datasheet for register configurations.
- Programming: Use a compatible programmer/debugger (e.g., NXP's P&E Micro Multilink) to load your firmware onto the microcontroller via the BDM (Background Debug Mode) interface.
Important Considerations and Best Practices
- Power Management: Utilize the low-power modes to reduce energy consumption in battery-powered applications.
- Decoupling: Place decoupling capacitors close to the power pins to minimize noise and ensure stable operation.
- Peripheral Conflicts: Avoid conflicts by carefully configuring pin multiplexing for peripherals.
- Debugging: Use the BDM interface for debugging and troubleshooting during development.
Example Code for GPIO Configuration
Below is an example of configuring a GPIO pin as an output using the MC9S12XS64:
#include <mc9s12xs64.h>  // Include the device header file

void main(void) {
    DDRB = 0xFF;  // Configure all PORTB pins as outputs
    PORTB = 0x00; // Initialize PORTB pins to low

    while (1) {
        PORTB = 0xFF; // Set all PORTB pins high
        delay_ms(500); // Wait for 500 ms
        PORTB = 0x00; // Set all PORTB pins low
        delay_ms(500); // Wait for 500 ms
    }
}

// Simple delay function
void delay_ms(unsigned int ms) {
    unsigned int i, j;
    for (i = 0; i < ms; i++) {
        for (j = 0; j < 4000; j++) {
            __asm("nop"); // No operation (waste time)
        }
    }
}
Troubleshooting and FAQs
Common Issues and Solutions
Microcontroller Not Starting
- Cause: Improper reset circuit or power supply issues.
- Solution: Verify the reset circuit and ensure the power supply is stable and within the specified range.
Peripheral Not Responding
- Cause: Incorrect pin configuration or register settings.
- Solution: Double-check the pin multiplexing and peripheral initialization code.
Programming Failure
- Cause: Faulty programmer/debugger connection or incorrect BDM settings.
- Solution: Ensure the programmer is properly connected and configured. Verify the BDM clock settings.
High Power Consumption
- Cause: Unused peripherals or incorrect power mode.
- Solution: Disable unused peripherals and utilize low-power modes.
FAQs
Q: Can I use the MC9S12XS64 without an external crystal oscillator?
- A: Yes, the microcontroller supports an internal clock source, but an external crystal is recommended for precise timing.
Q: How do I protect the microcontroller from voltage spikes?
- A: Use TVS diodes and proper decoupling capacitors to protect the device from voltage transients.
Q: What is the maximum GPIO current?
- A: The maximum current per GPIO pin is 25 mA. Ensure the total current does not exceed the device's limits.
Q: Can I use the MC9S12XS64 for motor control?
- A: Yes, the microcontroller's timers and PWM capabilities make it suitable for motor control applications.