How to Use Tap Switch: Examples, Pinouts, and Specs
Introduction
The Tap Switch by ELEGOO is a versatile component designed to allow the selection of different voltage levels in a transformer by tapping into various points of the winding. This functionality is crucial in applications where precise voltage control is necessary. Common use cases include power supplies, voltage regulators, and various types of electrical equipment that require adjustable voltage levels.
Explore Projects Built with Tap Switch

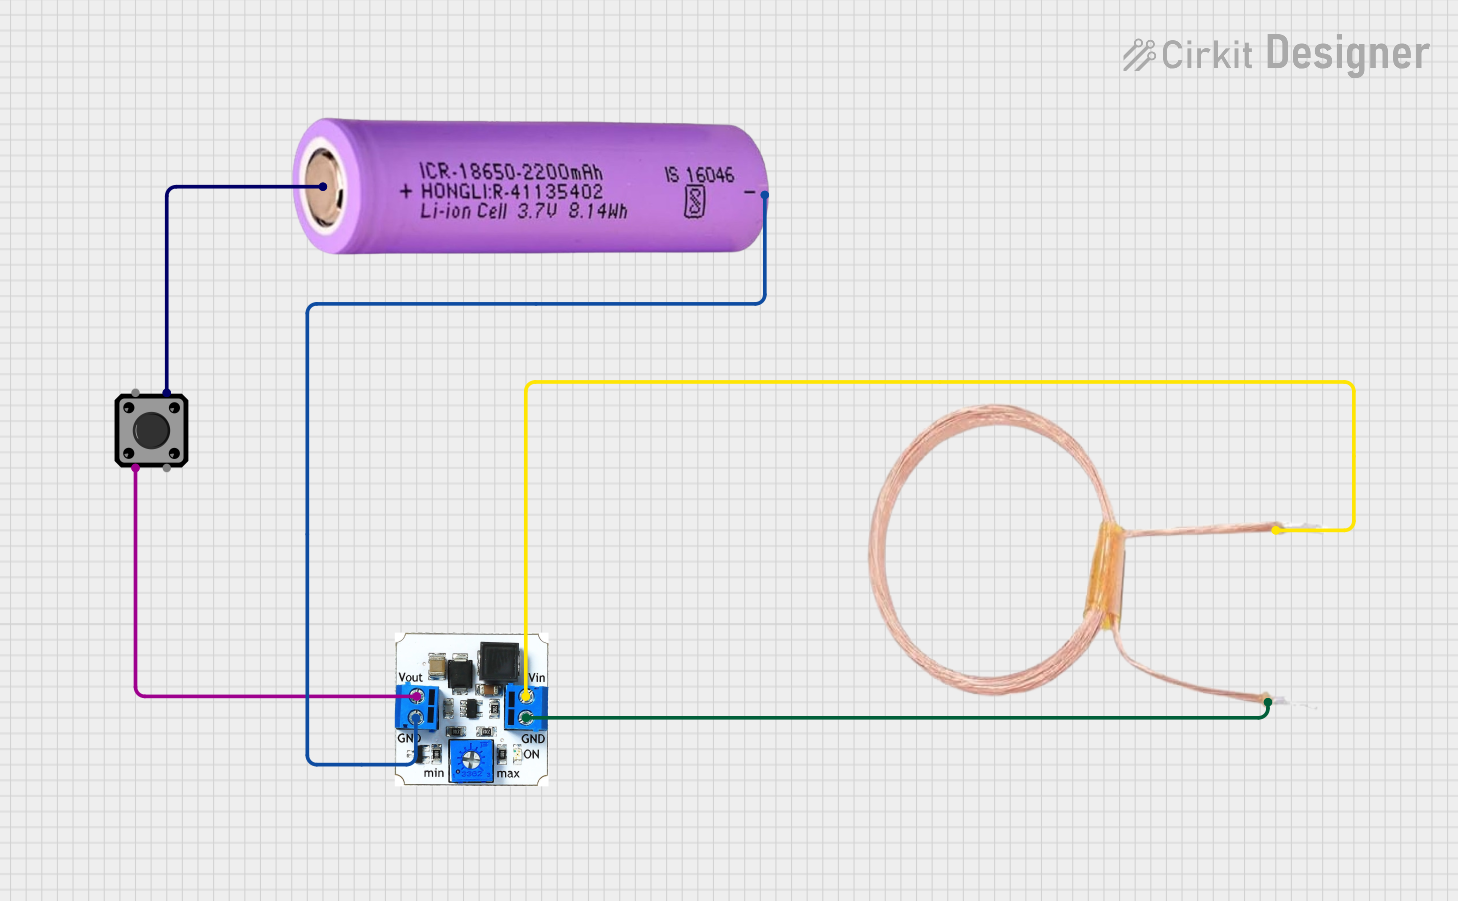

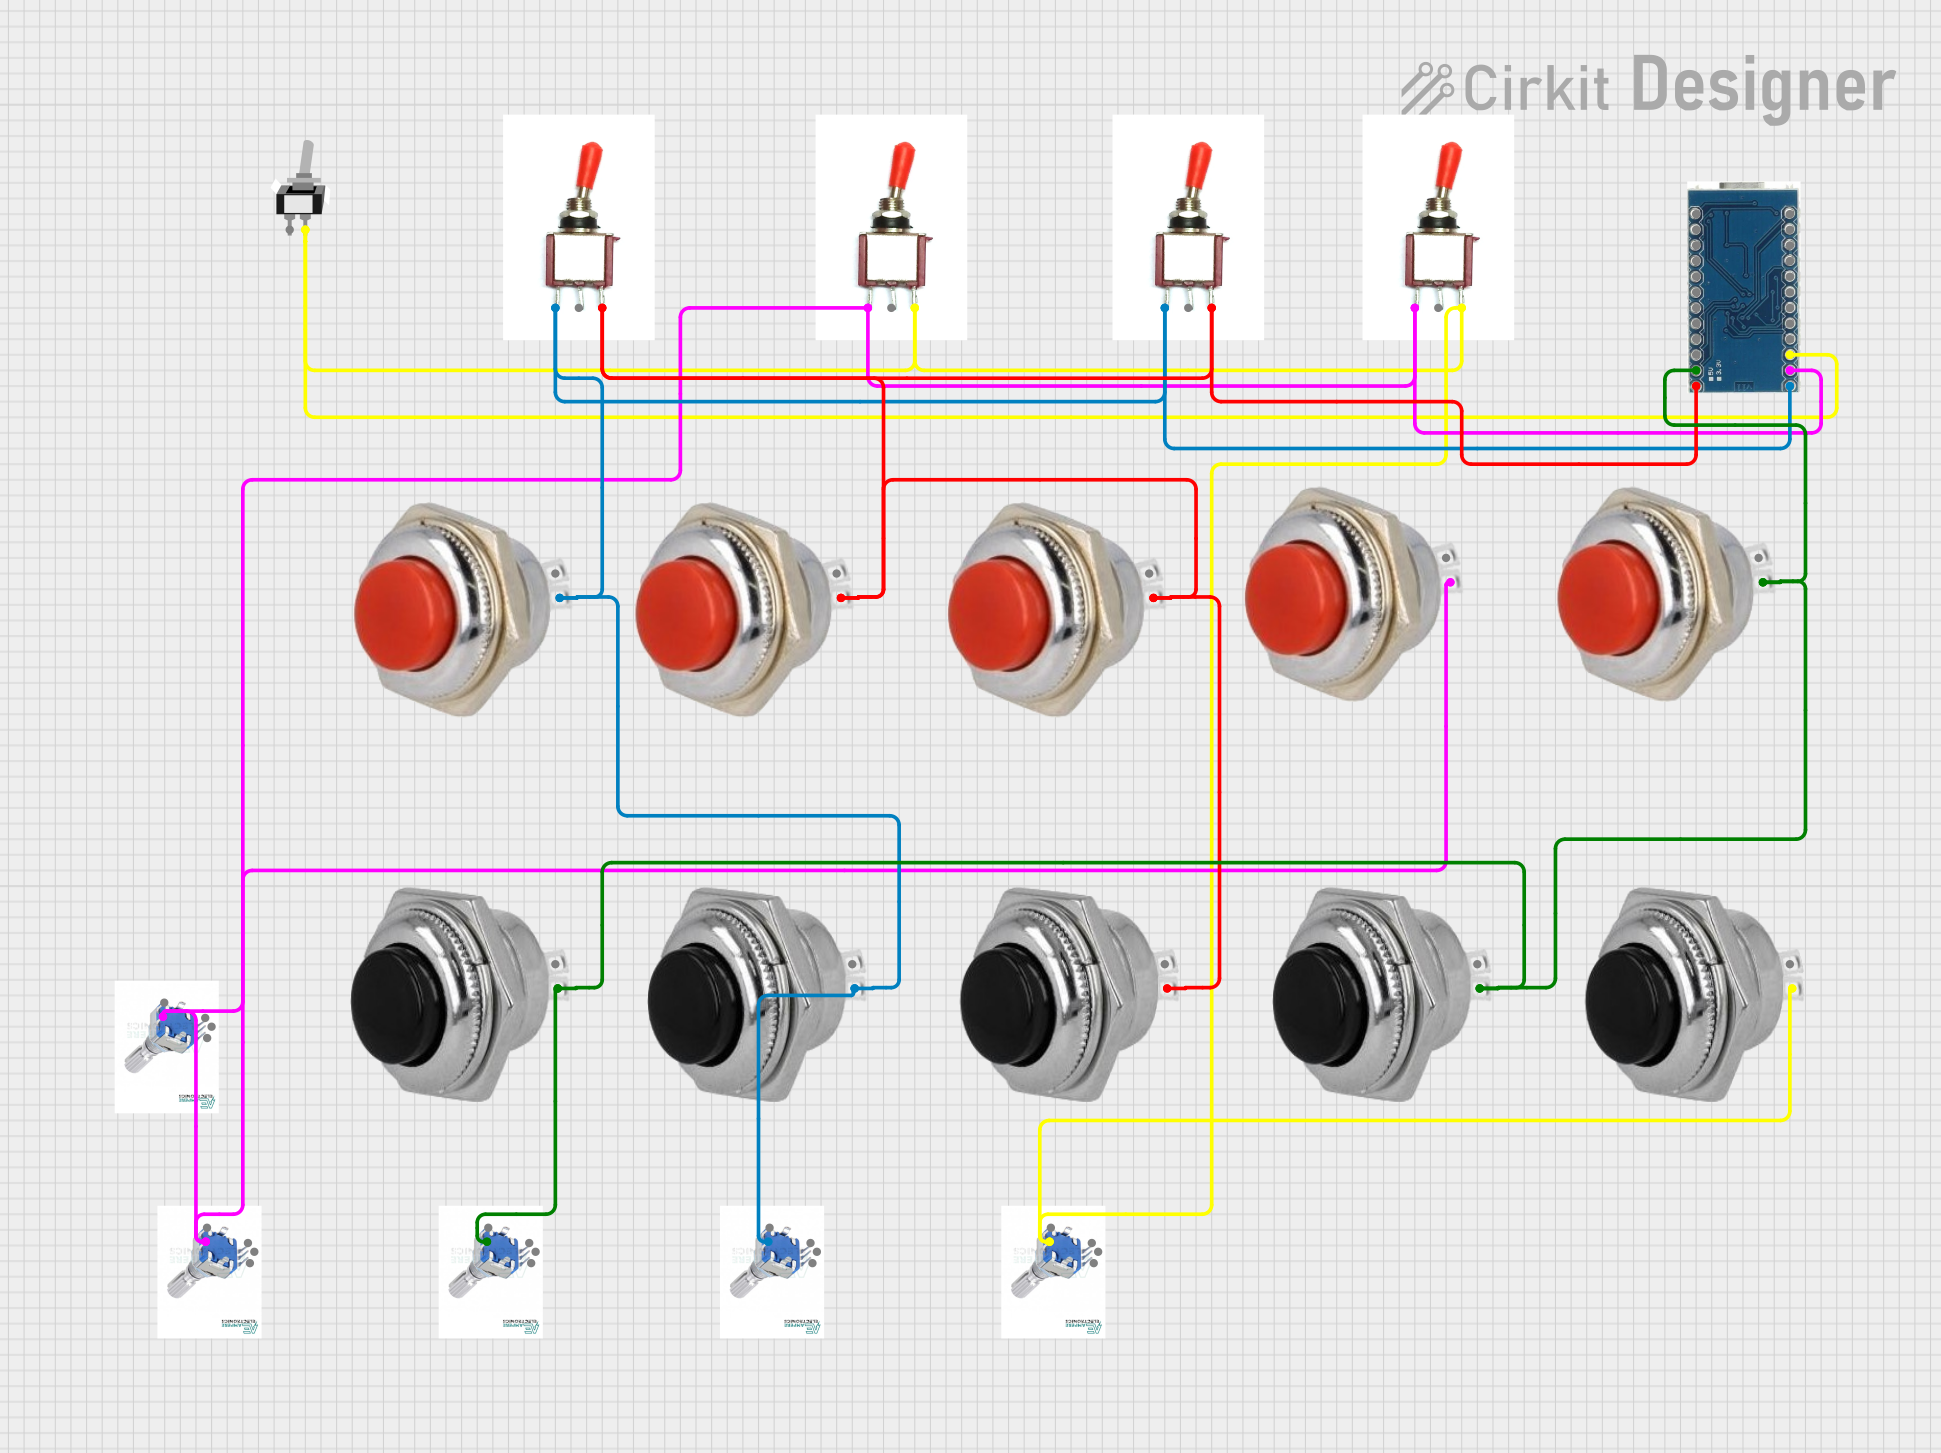
Explore Projects Built with Tap Switch
Technical Specifications
Key Technical Details
| Parameter | Value |
|---|---|
| Manufacturer | ELEGOO |
| Voltage Rating | 0-250V AC/DC |
| Current Rating | 0-10A |
| Power Rating | Up to 2500W |
| Contact Resistance | ≤ 50mΩ |
| Insulation Resistance | ≥ 100MΩ @ 500V DC |
| Operating Temperature | -40°C to +85°C |
| Mechanical Life | 10,000 cycles |
Pin Configuration and Descriptions
| Pin Number | Description |
|---|---|
| 1 | Common (COM) |
| 2 | Tap 1 (T1) |
| 3 | Tap 2 (T2) |
| 4 | Tap 3 (T3) |
| 5 | Tap 4 (T4) |
| 6 | Tap 5 (T5) |
Usage Instructions
How to Use the Component in a Circuit
- Identify the Pins: Refer to the pin configuration table to identify the common pin (COM) and the tap pins (T1, T2, T3, T4, T5).
- Connect the Common Pin: Connect the common pin (COM) to the input voltage source.
- Select the Desired Tap: Connect the desired tap pin (T1, T2, T3, T4, T5) to the load or the next stage in your circuit.
- Ensure Proper Ratings: Make sure that the voltage and current ratings of the tap switch are not exceeded in your application.
Important Considerations and Best Practices
- Voltage and Current Ratings: Always ensure that the voltage and current ratings of the tap switch are not exceeded to avoid damage.
- Mechanical Life: The tap switch has a mechanical life of 10,000 cycles. Plan for maintenance or replacement if used frequently.
- Insulation Resistance: Ensure proper insulation to avoid short circuits and maintain safety.
- Temperature Range: Operate the tap switch within the specified temperature range to ensure optimal performance.
Example: Connecting to an Arduino UNO
While the tap switch is not typically used directly with an Arduino UNO, it can be part of a larger circuit controlled by the Arduino. Below is an example of how you might use the Arduino to control a relay that switches between different taps.
/*
  Example code to control a relay with Arduino UNO
  to switch between different taps of the tap switch.
*/

const int relayPin = 7; // Pin connected to the relay module

void setup() {
  pinMode(relayPin, OUTPUT); // Set relay pin as output
  digitalWrite(relayPin, LOW); // Initialize relay as off
}

void loop() {
  // Turn on the relay to switch to a different tap
  digitalWrite(relayPin, HIGH);
  delay(1000); // Wait for 1 second

  // Turn off the relay
  digitalWrite(relayPin, LOW);
  delay(1000); // Wait for 1 second
}
Troubleshooting and FAQs
Common Issues Users Might Face
- No Voltage Change: If switching between taps does not change the voltage, check the connections and ensure the tap switch is functioning correctly.
- Overheating: If the tap switch overheats, verify that the current and voltage ratings are not being exceeded.
- Intermittent Operation: If the tap switch operates intermittently, check for loose connections or worn-out contacts.
Solutions and Tips for Troubleshooting
- Check Connections: Ensure all connections are secure and correctly made according to the pin configuration.
- Verify Ratings: Double-check that the voltage and current ratings are within the specified limits.
- Inspect for Damage: Look for any physical damage or wear on the tap switch that might affect its operation.
- Use Proper Insulation: Ensure that all connections are properly insulated to prevent short circuits.
By following this documentation, users can effectively utilize the ELEGOO Tap Switch in their projects, ensuring reliable and efficient voltage control.