
How to Use Adafruit BQ24074 Solar-DC-USB Lipo Charger: Examples, Pinouts, and Specs
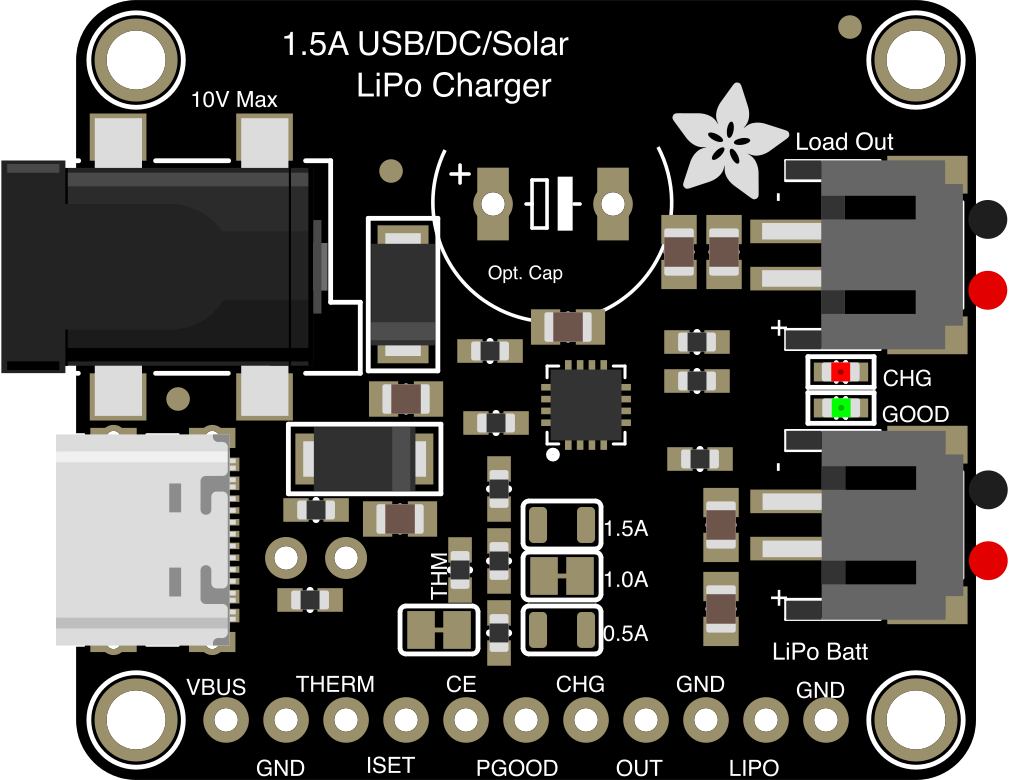
 Design with Adafruit BQ24074 Solar-DC-USB Lipo Charger in Cirkit Designer
Introduction
The Adafruit BQ24074 Solar-DC-USB LiPo Charger (Part ID: 4755) is a versatile charging module designed for lithium polymer (LiPo) batteries. It supports charging via solar panels, DC power supplies, or USB sources, making it an excellent choice for portable and renewable energy projects. This module integrates battery management and protection circuitry, ensuring safe and efficient charging while extending battery life.
Explore Projects Built with Adafruit BQ24074 Solar-DC-USB Lipo Charger
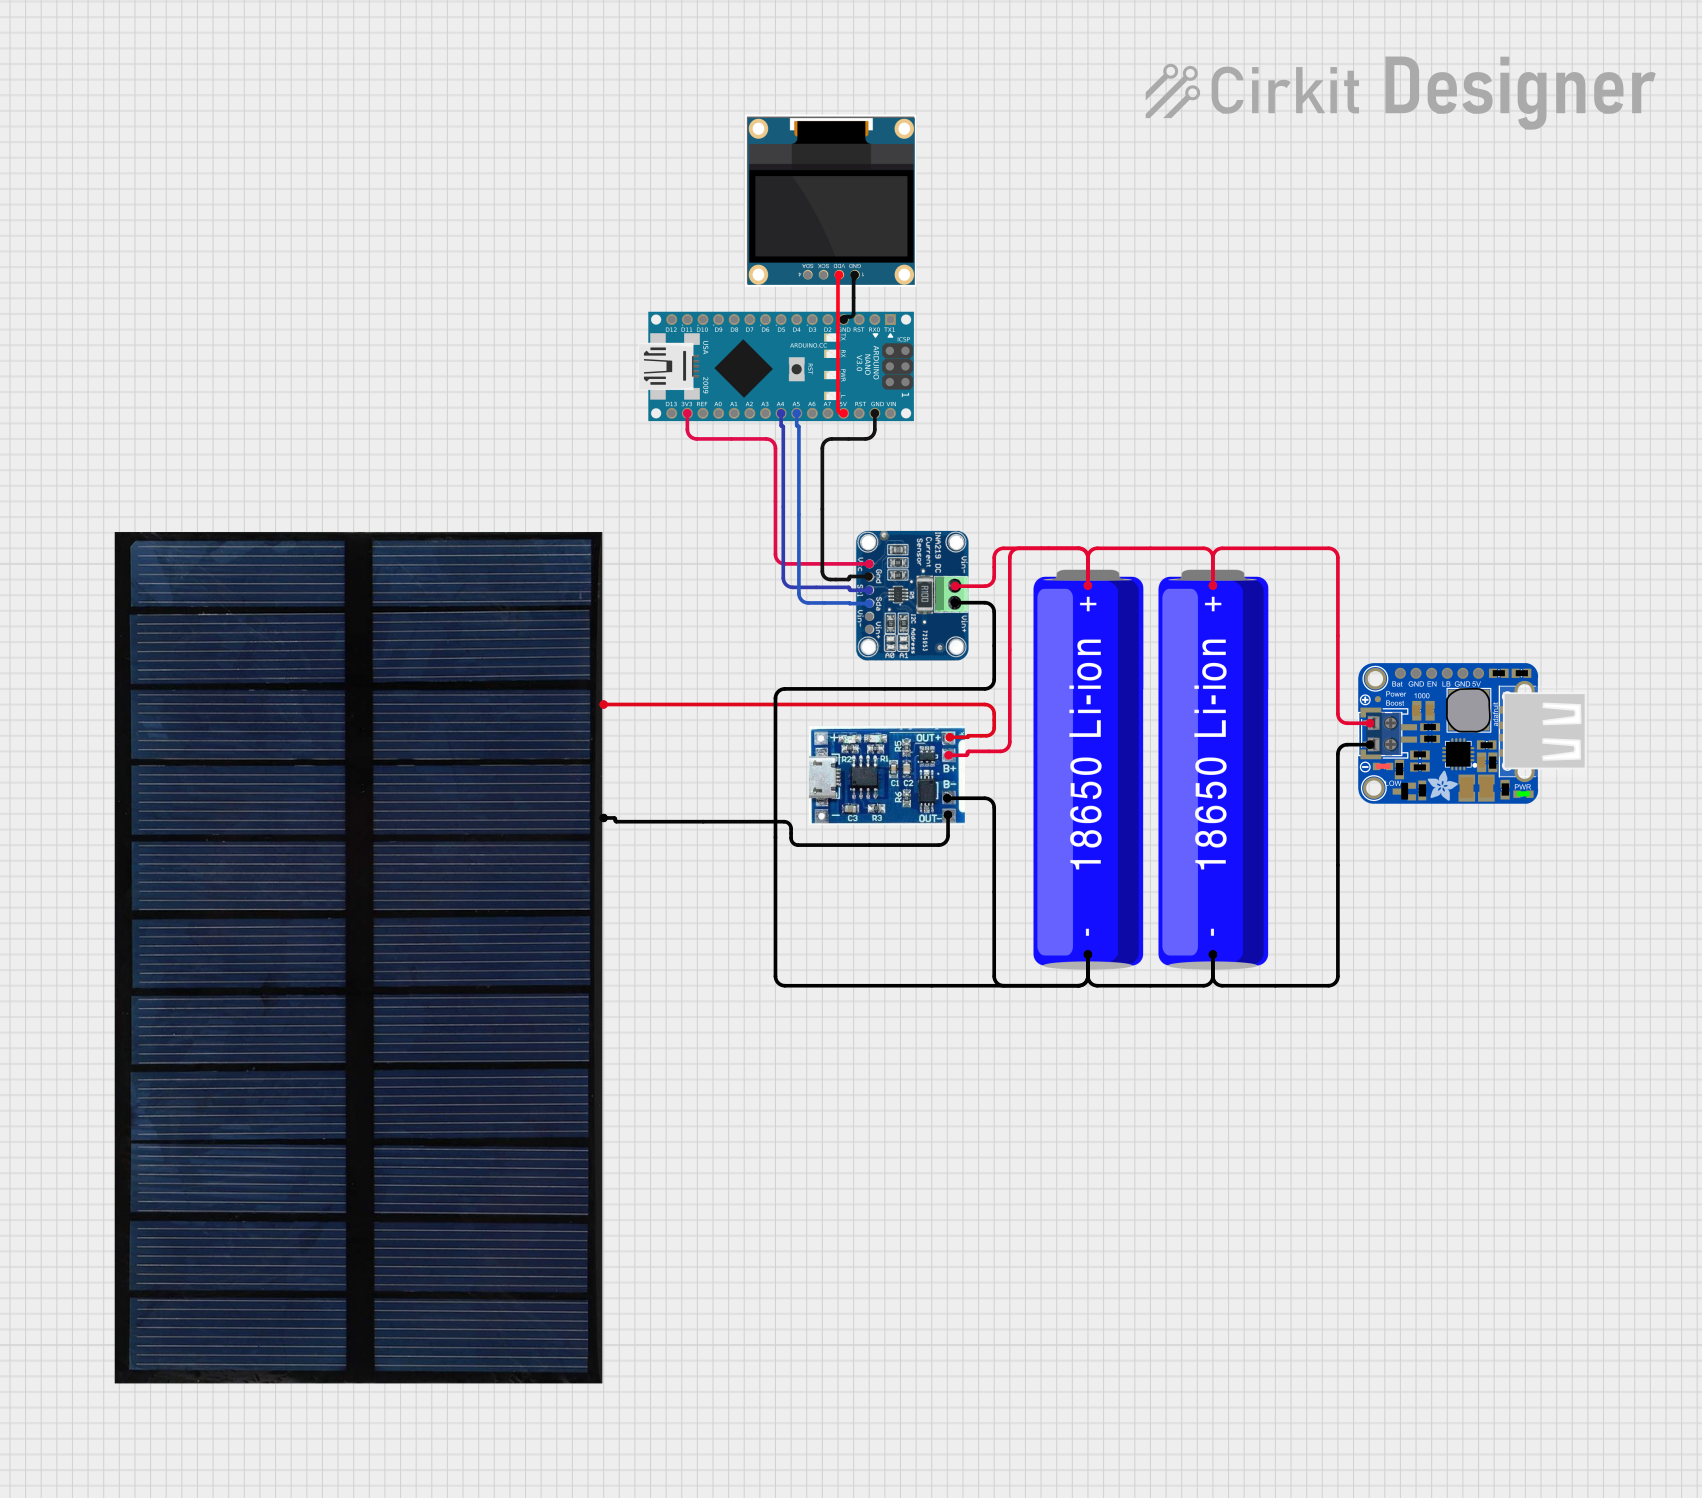 Open Project in Cirkit Designer
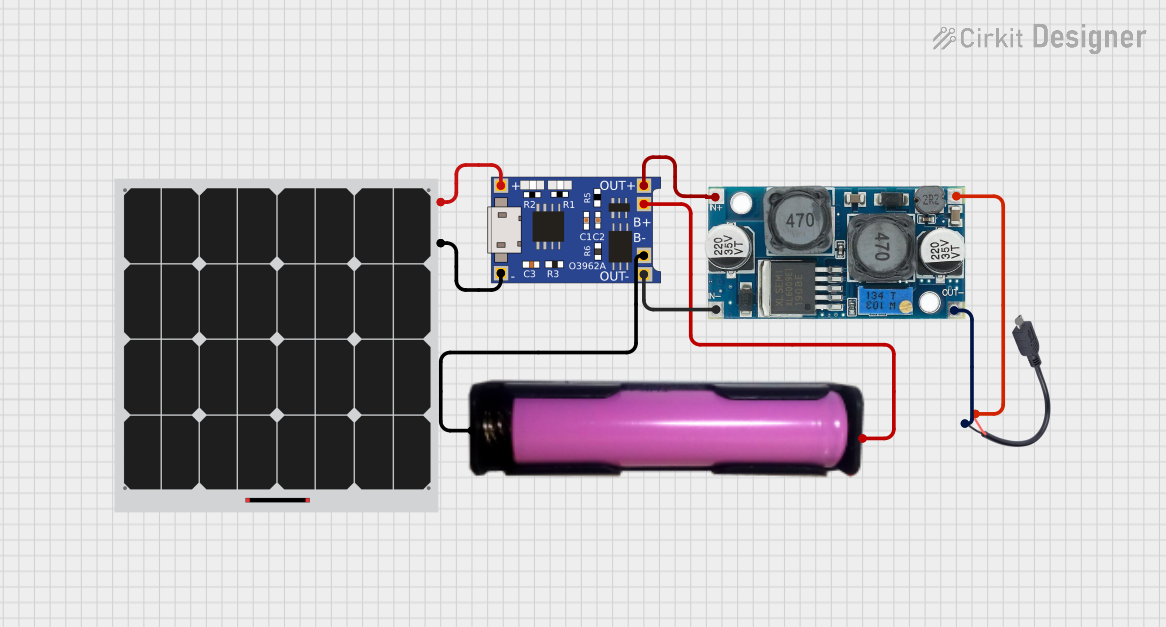 Open Project in Cirkit Designer
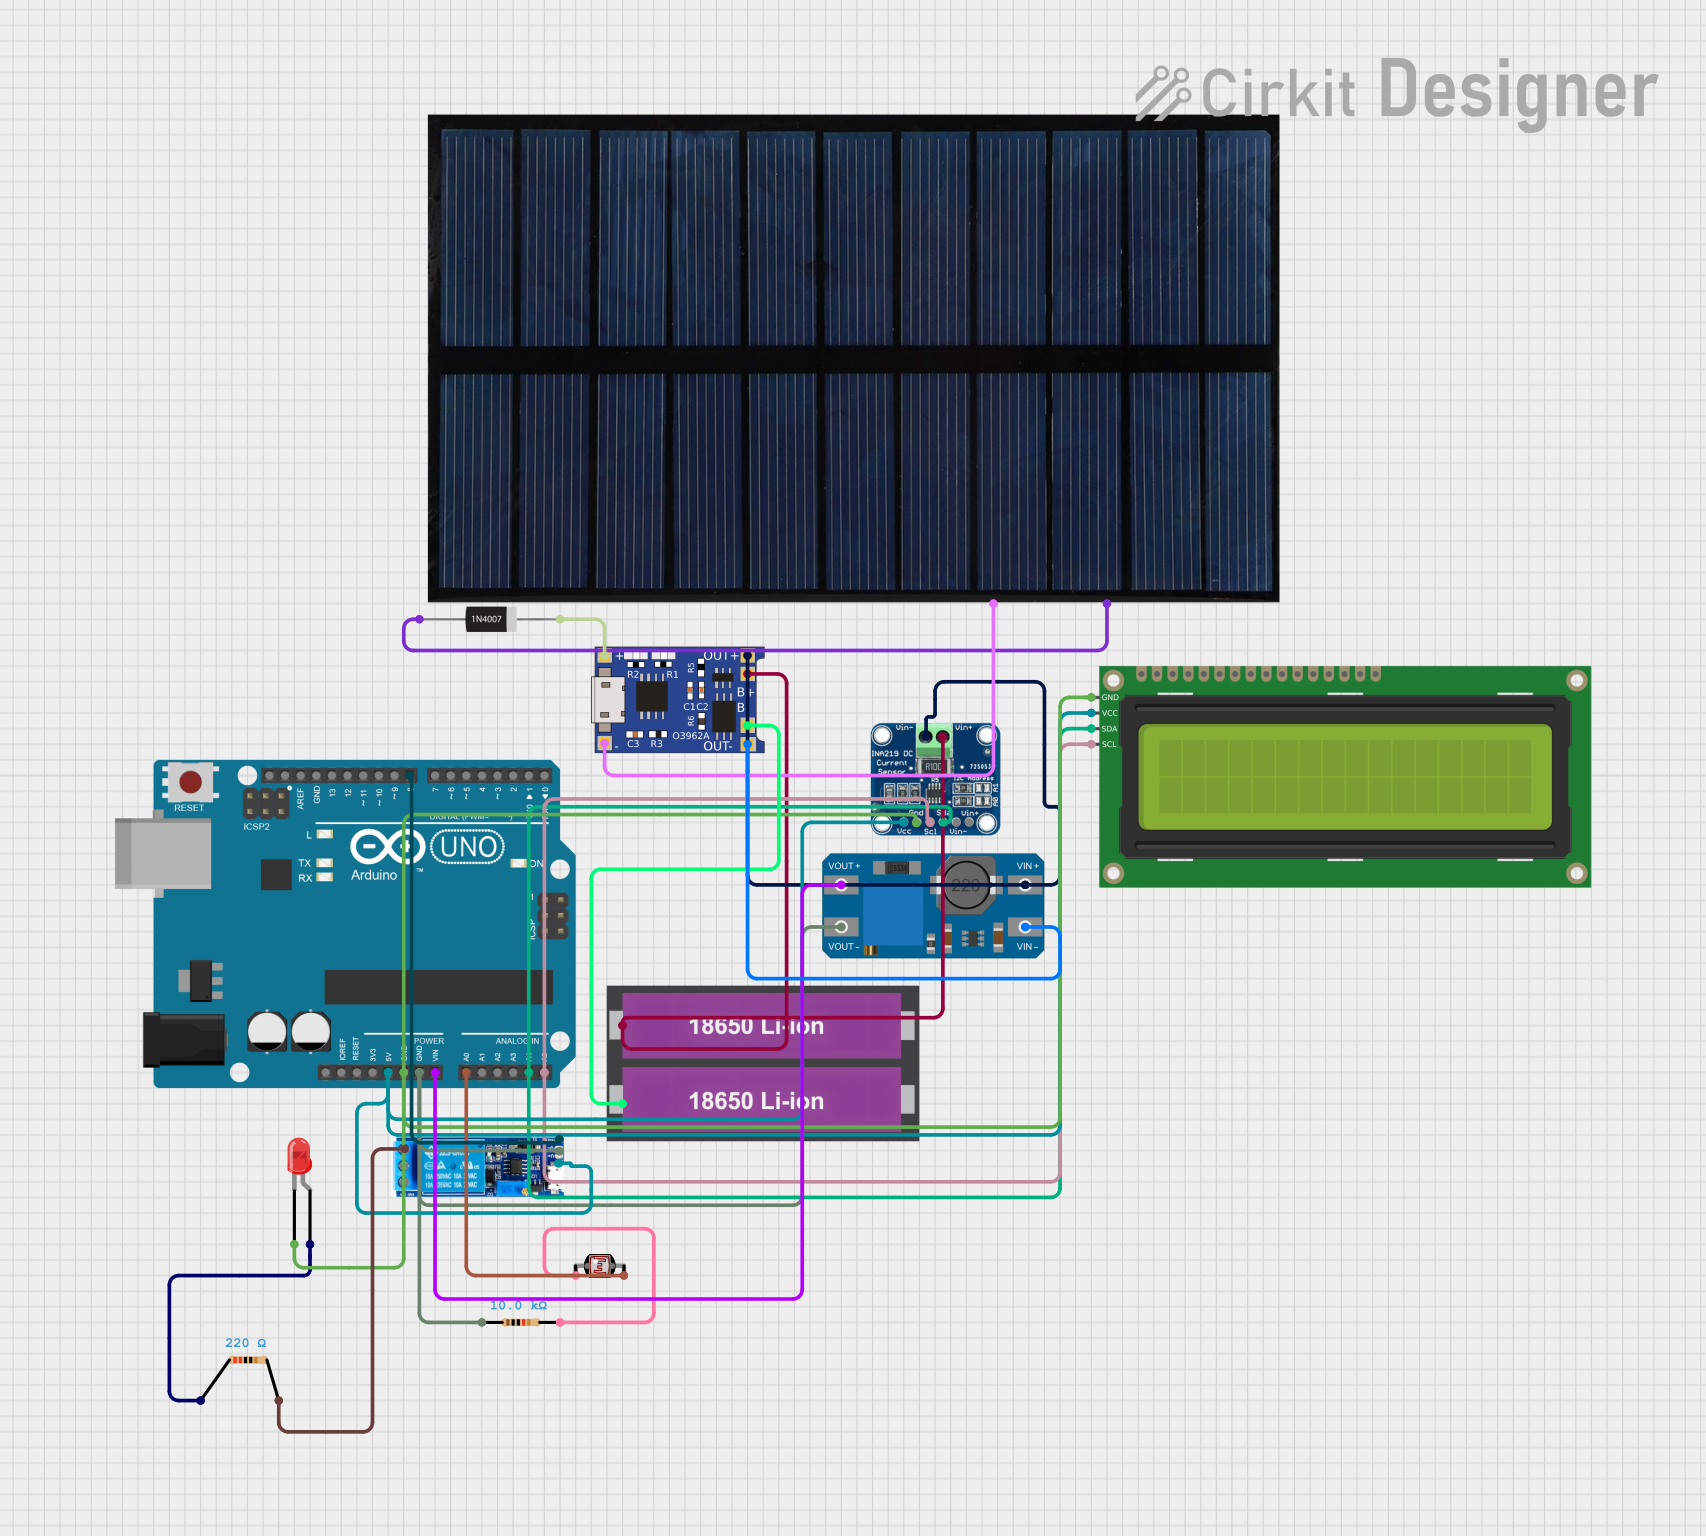 Open Project in Cirkit Designer
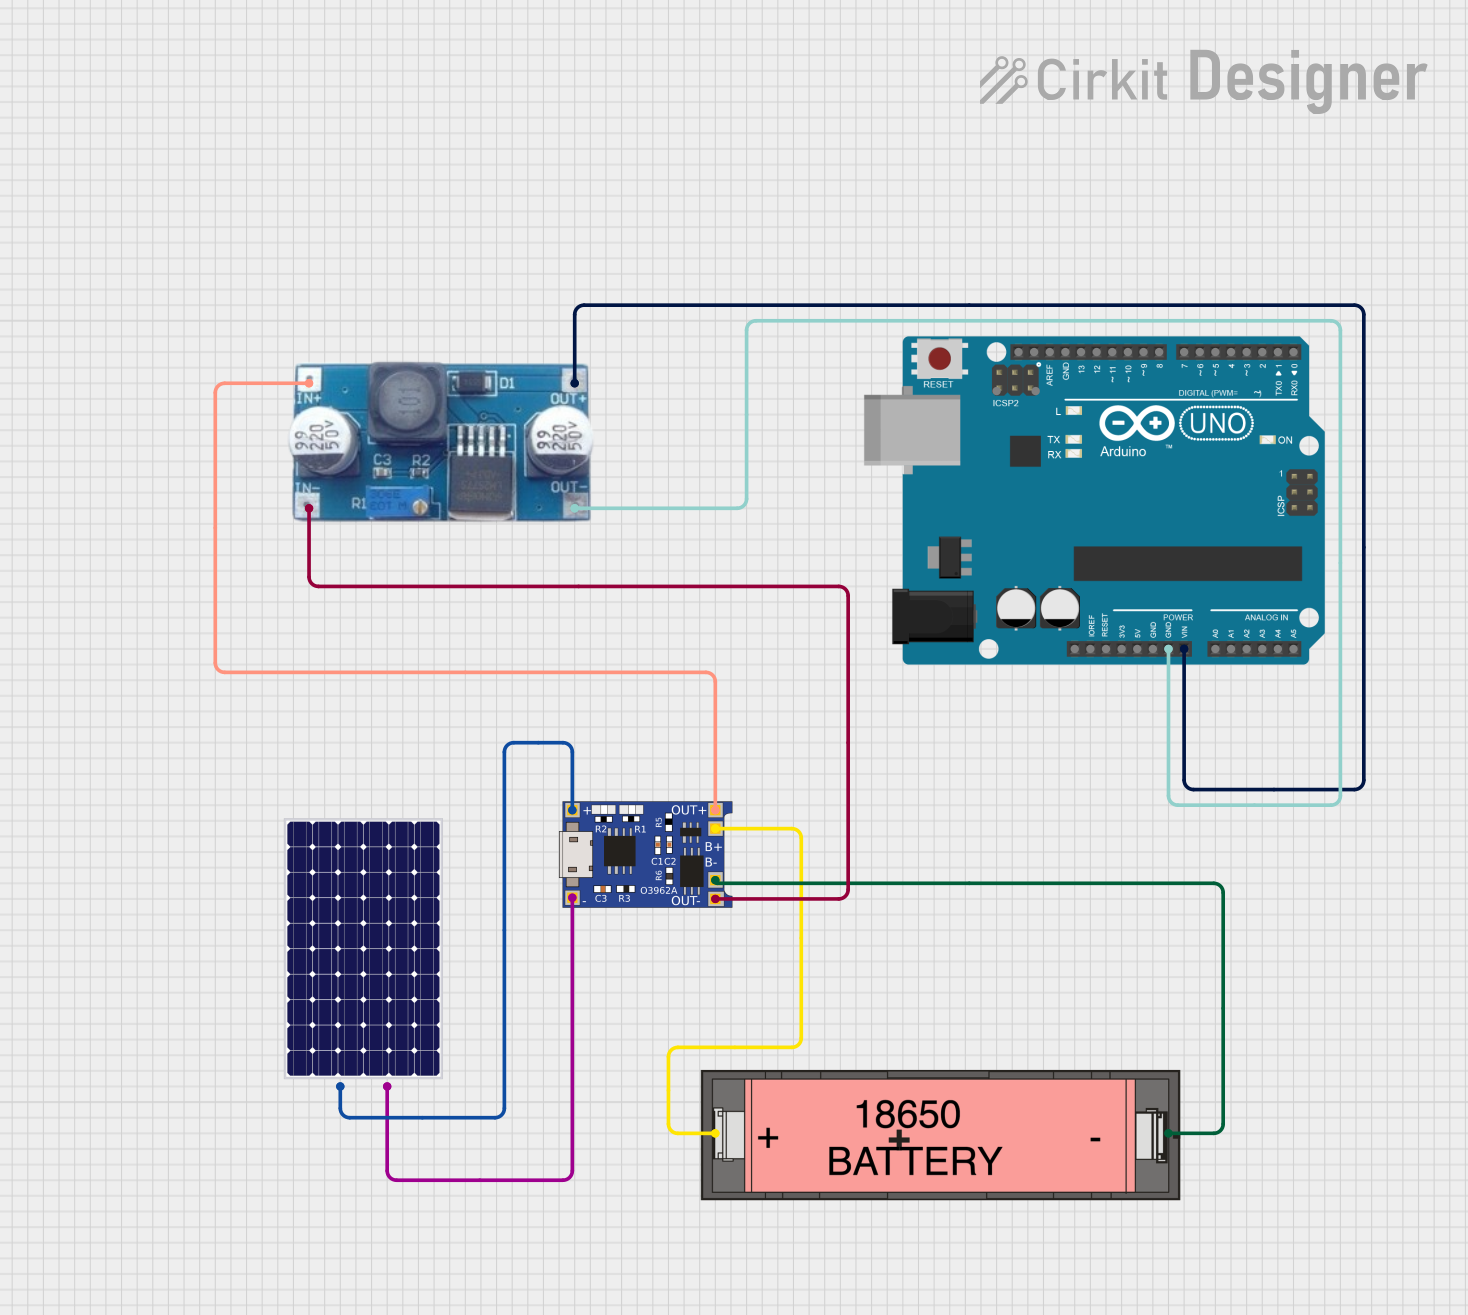 Open Project in Cirkit Designer
Explore Projects Built with Adafruit BQ24074 Solar-DC-USB Lipo Charger
Open Project in Cirkit DesignerOpen Project in Cirkit DesignerOpen Project in Cirkit DesignerOpen Project in Cirkit DesignerCommon Applications and Use Cases
- Solar-powered IoT devices
- Portable battery-powered electronics
- Wearable technology
- Remote environmental monitoring systems
- DIY renewable energy projects
Technical Specifications
The Adafruit BQ24074 charger is built around the Texas Instruments BQ24074 chip, optimized for solar charging and efficient power management. Below are the key technical details:
Key Technical Details
| Parameter | Value |
|---|---|
| Input Voltage Range | 4.4V to 6.2V |
| Recommended Solar Panel | 6V, 1W to 2W |
| Battery Type | Single-cell LiPo/Li-ion |
| Charge Current | Configurable up to 1.5A |
| Output Voltage | 3.7V to 4.2V (regulated by battery state) |
| Operating Temperature | -40°C to +85°C |
| Protection Features | Overvoltage, overcurrent, and thermal |
Pin Configuration and Descriptions
The module has several pins and connectors for input, output, and configuration. Below is the pinout:
| Pin/Connector Name | Type | Description |
|---|---|---|
| BAT | Output | Connects to the positive terminal of the LiPo battery. |
| GND | Ground | Common ground for the circuit. |
| LOAD | Output | Provides regulated output voltage to power the load. |
| USB | Input | Micro-USB connector for charging via USB power sources. |
| DC | Input | JST connector for DC power input (e.g., solar panel or wall adapter). |
| EN (Enable) | Input | Enables or disables the LOAD output. Active high. |
| PG (Power Good) | Output | Indicates input power is present and valid. Active low. |
| CHG (Charging) | Output | Indicates the battery is charging. Active low. |
| PROG | Input | Configures the charge current using an external resistor. |
| TS (Thermistor) | Input | Connects to a thermistor for battery temperature monitoring (optional). |
Usage Instructions
How to Use the Component in a Circuit
- Connect the Battery: Attach a single-cell LiPo battery to the
BATandGNDpins. Ensure correct polarity. - Select Power Input:
- For USB charging, connect a USB power source to the
USBport. - For solar or DC charging, connect a 6V solar panel or DC power source to the
DCinput.
- For USB charging, connect a USB power source to the
- Configure Charge Current:
- Use a resistor on the
PROGpin to set the desired charge current. Refer to the datasheet for resistor values. - For example, a 2kΩ resistor sets the charge current to approximately 500mA.
- Use a resistor on the
- Power the Load: Connect your device to the
LOADandGNDpins. The module will regulate the output voltage based on the battery state. - Monitor Status: Use the
PGandCHGpins to monitor input power and charging status, respectively.
Important Considerations and Best Practices
- Solar Panel Selection: Use a 6V solar panel with a power rating between 1W and 2W for optimal performance.
- Battery Protection: Ensure the connected LiPo battery has built-in protection circuitry to prevent overcharging or deep discharge.
- Thermal Management: Avoid placing the module in enclosed spaces without ventilation, as it may generate heat during operation.
- Load Priority: The module prioritizes powering the load over charging the battery when input power is available.
Example: Using with Arduino UNO
The Adafruit BQ24074 can be used to power an Arduino UNO from a LiPo battery. Below is an example circuit and code to monitor the charging status:
Circuit Connections
- Connect the
LOADpin to the Arduino'sVINpin. - Connect the
GNDpin to the Arduino'sGNDpin. - Connect the
CHGpin to a digital input pin on the Arduino (e.g.,D2).
Arduino Code
const int chargePin = 2; // Pin connected to CHG pin of BQ24074

void setup() {
  pinMode(chargePin, INPUT_PULLUP); // Set CHG pin as input with pull-up resistor
  Serial.begin(9600);              // Initialize serial communication
}

void loop() {
  int chargingStatus = digitalRead(chargePin); // Read CHG pin status

  if (chargingStatus == LOW) {
    // CHG pin is active low, so LOW means charging
    Serial.println("Battery is charging...");
  } else {
    // HIGH means charging is complete or no input power
    Serial.println("Battery is not charging.");
  }

  delay(1000); // Wait 1 second before checking again
}
Troubleshooting and FAQs
Common Issues and Solutions
Battery Not Charging
- Cause: Incorrect input voltage or insufficient power from the source.
- Solution: Ensure the input voltage is between 4.4V and 6.2V. For solar panels, ensure adequate sunlight.
Module Overheating
- Cause: High charge current or poor ventilation.
- Solution: Reduce the charge current by adjusting the
PROGresistor. Improve airflow around the module.
No Output Voltage on LOAD
- Cause:
ENpin is not enabled or battery is deeply discharged. - Solution: Ensure the
ENpin is pulled high. Check the battery voltage and recharge if necessary.
- Cause:
CHG or PG Pins Not Responding
- Cause: Faulty connections or damaged module.
- Solution: Verify connections and test the module with a multimeter.
FAQs
Q: Can I use a 12V solar panel with this module?
A: No, the input voltage must be between 4.4V and 6.2V. A 12V panel will damage the module.
Q: What happens if the battery is fully charged?
A: The module automatically stops charging to prevent overcharging and switches to a maintenance mode.
Q: Can I charge and power a load simultaneously?
A: Yes, the module supports simultaneous charging and load powering. However, the load takes priority over charging.
Q: Is a thermistor required for operation?
A: No, the thermistor is optional. If not used, connect the TS pin to GND.