How to Use Laser Diode: Examples, Pinouts, and Specs
Introduction
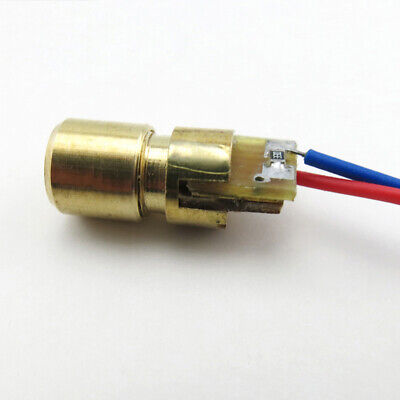
The RY-LASER01 is a high-performance Laser Diode manufactured by Rytronics, designed to emit coherent light through the process of stimulated emission of photons. This component is widely used in various applications, including but not limited to optical communications, barcode scanners, laser pointers, CD/DVD/Blu-ray players, and laser printers.
Explore Projects Built with Laser Diode

Explore Projects Built with Laser Diode
Technical Specifications
General Characteristics
- Wavelength: 650 nm (typical for a red laser diode)
- Output Power: 5 mW (Class IIIa laser)
- Operating Voltage: 3.0 V to 5.0 V
- Operating Current: 25 mA (typical)
- Threshold Current: 15 mA (typical)
- Operating Temperature: -10°C to +40°C
- Storage Temperature: -40°C to +85°C
- Package: TO-18 (3-pin)
Pin Configuration and Descriptions
| Pin Number | Name | Description |
|---|---|---|
| 1 | Anode (+) | Positive power supply input |
| 2 | Cathode (-) | Ground connection (0V) |
| 3 | Case | Connected to the laser diode case |
Usage Instructions
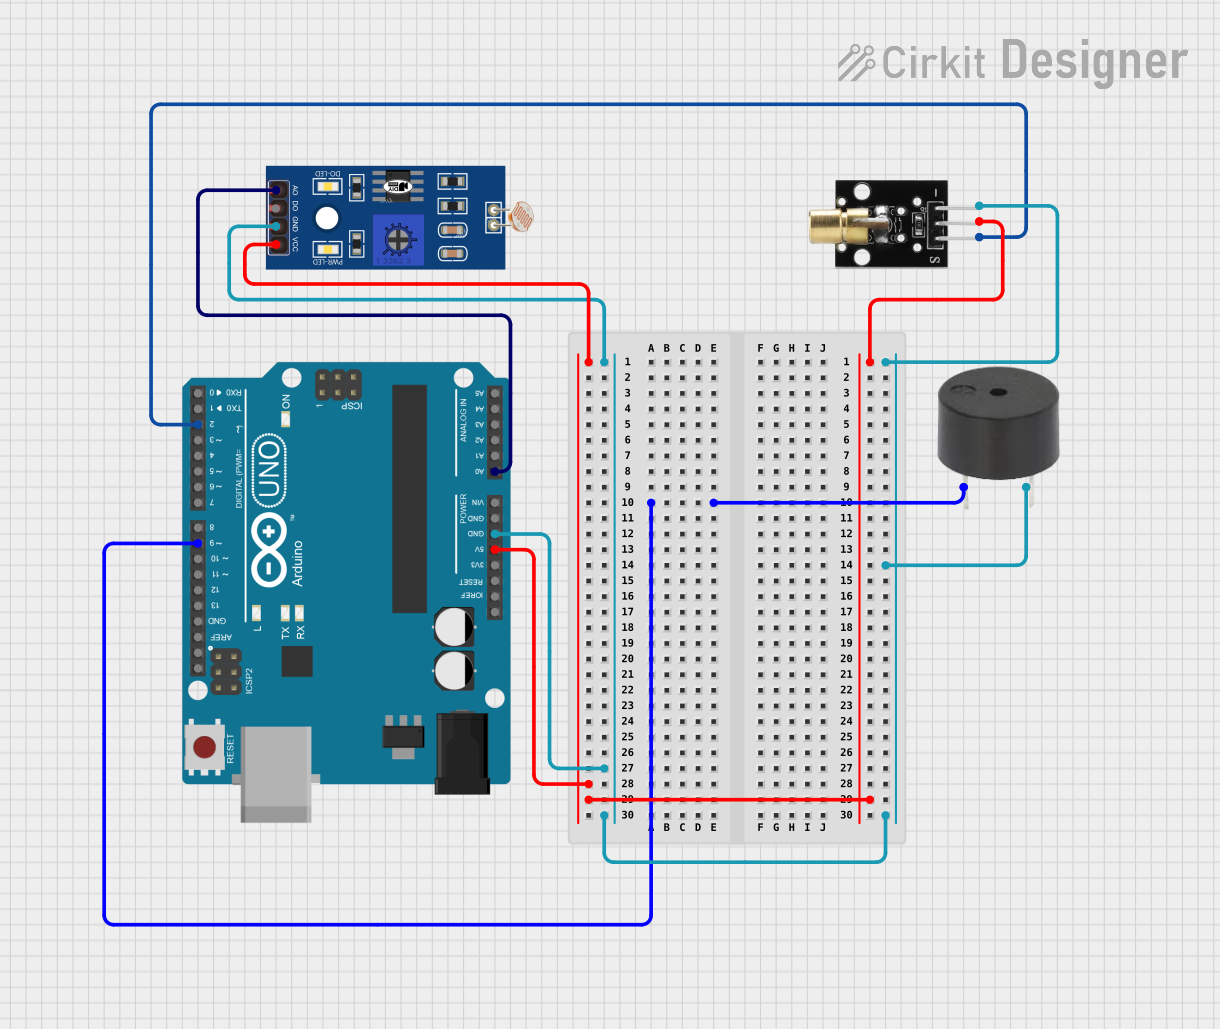
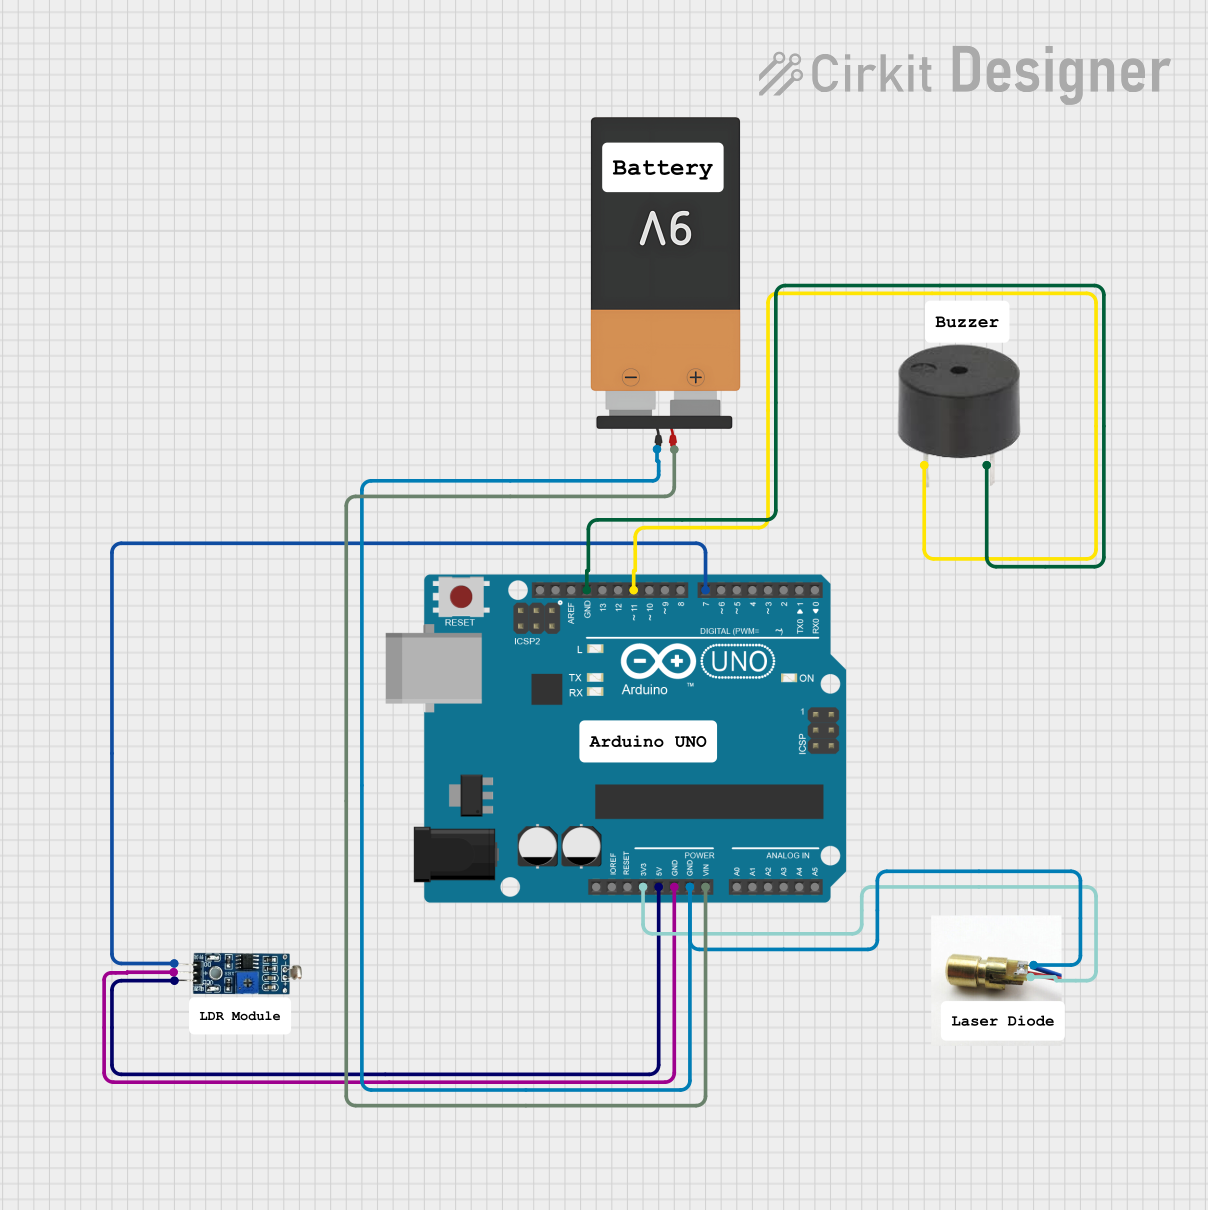
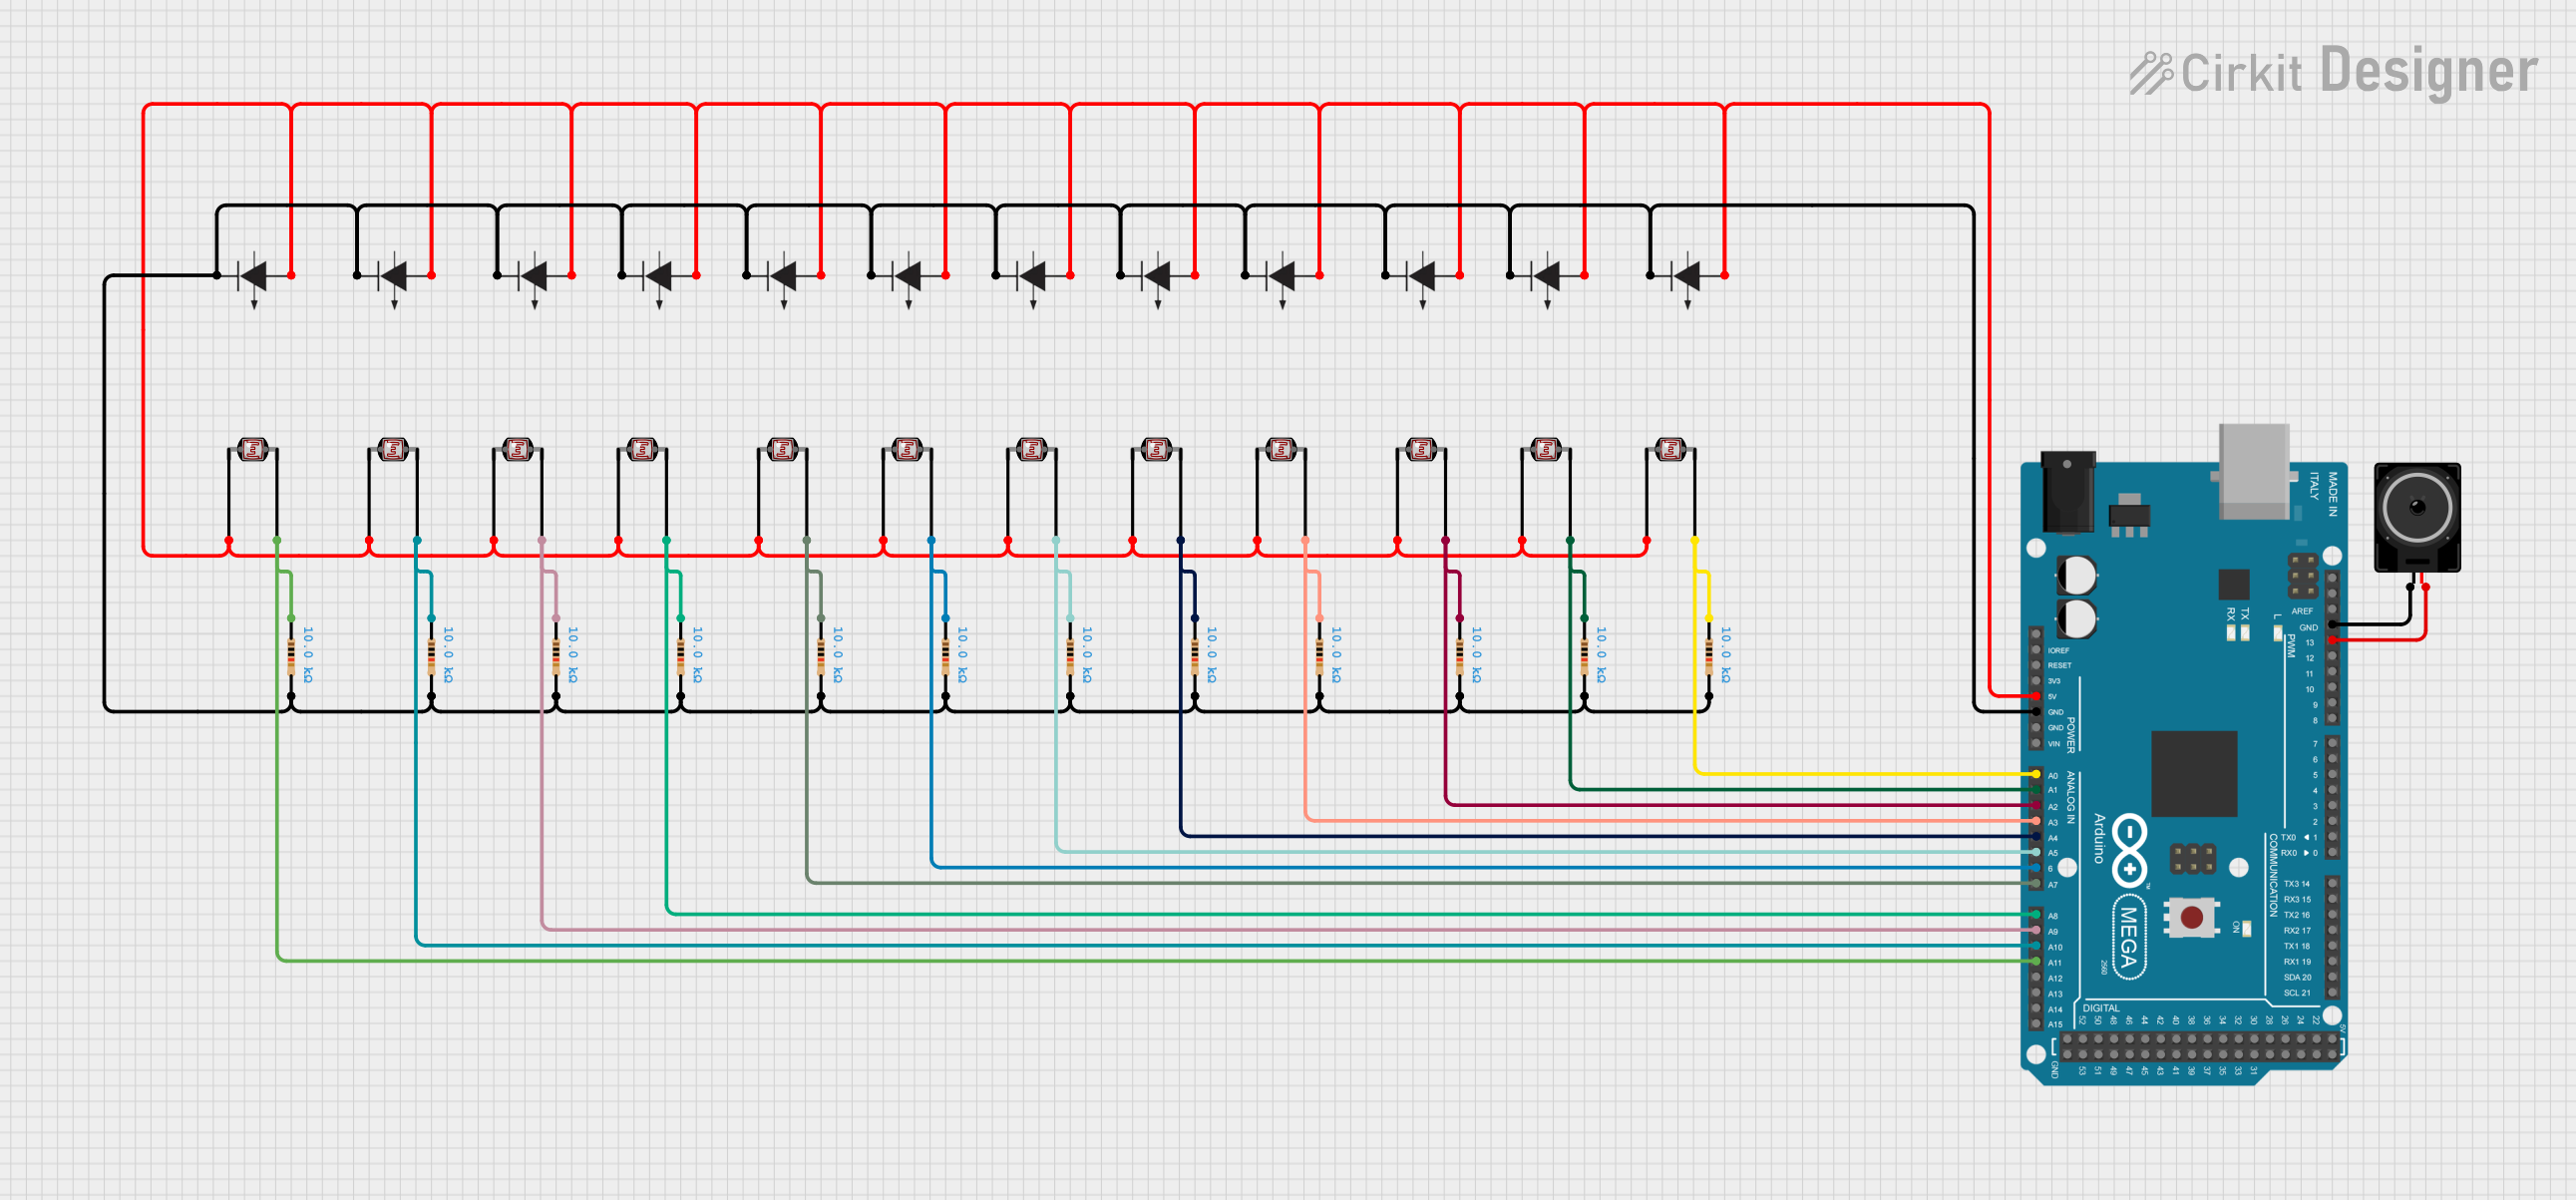
Circuit Integration
To use the RY-LASER01 Laser Diode in a circuit, follow these steps:
Power Supply: Ensure that the power supply voltage is within the operating range of the laser diode (3.0 V to 5.0 V). Exceeding the maximum voltage can damage the diode.
Current Limiting: Always use a current limiting resistor or a constant current source to prevent exceeding the operating current of 25 mA. The value of the resistor can be calculated using Ohm's law:
R = (V_supply - V_diode) / I_diode.Heat Sinking: Laser diodes generate heat during operation. It is recommended to use a heat sink to dissipate heat and prevent overheating.
Safety Precautions: Laser light can be harmful to the eyes. Avoid direct eye exposure and follow laser safety standards.
Example Circuit
// Example code for controlling a Rytronics RY-LASER01 Laser Diode with an Arduino UNO

const int laserPin = 3; // Connect the anode of the laser diode to pin 3

void setup() {
  pinMode(laserPin, OUTPUT); // Set the laser pin as an output
}

void loop() {
  digitalWrite(laserPin, HIGH); // Turn on the laser
  delay(1000);                  // Keep the laser on for 1 second
  digitalWrite(laserPin, LOW);  // Turn off the laser
  delay(1000);                  // Keep the laser off for 1 second
}
Note: Ensure that the laser diode is connected with the correct polarity and with a current limiting resistor in series.
Troubleshooting and FAQs
Common Issues
- Laser Diode Not Emitting Light: Check the power supply and connections. Ensure the current is within the specified range.
- Laser Diode Overheating: Verify that the current is not exceeding the maximum rating and that adequate heat sinking is in place.
- Dim Laser Output: The diode may be operating below the threshold current, or the power supply voltage may be too low.
FAQs
Q: Can I drive the laser diode directly from an Arduino pin? A: No, an Arduino pin cannot supply sufficient current and may not provide adequate voltage. Always use a current limiting resistor or a driver circuit.
Q: Is it safe to look into the laser diode when it's on? A: No, direct exposure to laser light can be harmful to the eyes. Always follow laser safety standards and use appropriate protective equipment.
Q: How do I know if my laser diode is damaged? A: If the diode does not emit light when properly powered and all connections are correct, it may be damaged. Laser diodes are sensitive to electrostatic discharge and overcurrent.
Q: Can I use a different voltage supply? A: You must use a voltage within the specified operating range (3.0 V to 5.0 V). Using a voltage outside this range can damage the diode.
For further assistance, please contact Rytronics technical support.